phantom II
Master at Arms
Ian, this is fantabulous now that I have found my way out of the live reconstruction
Cheers, Christian B)
Cheers, Christian B)

Modelers Alliance has updated the forum software on our website. We have migrated all post, content and user accounts but we could not migrate the passwords.
This requires that you manually reset your password.
Please click here, http://modelersalliance.org/forums/login to go to logon page and use the "Forgot your Password" option.
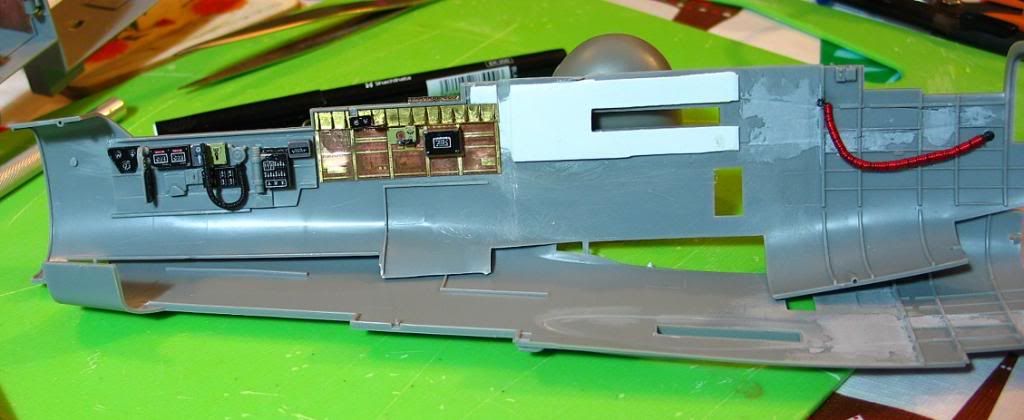
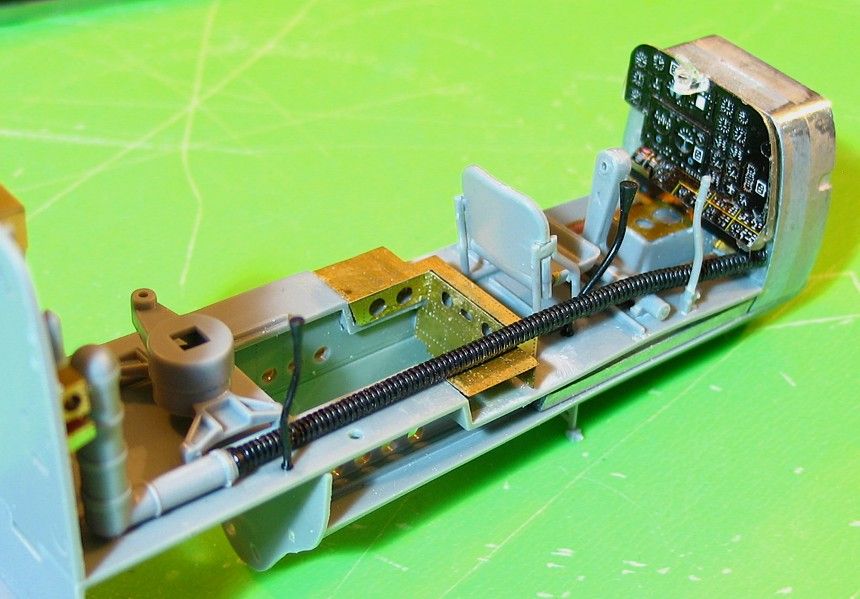
Looking good. Mine is on temp hold until my PE gets here. For the wing roots, were the inserts not enough? Or should I look at adding more plastic in there over top of the inserts?
James
 Now I'm wanting to build one....smaller of course :idonno
 Wish I had not looked at all those rebuilding efforts
Cheers, Christian B)

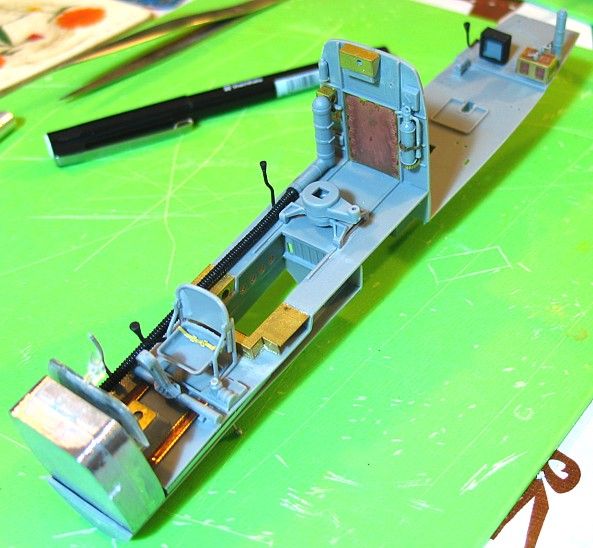
All that work is looking awesome Ian!
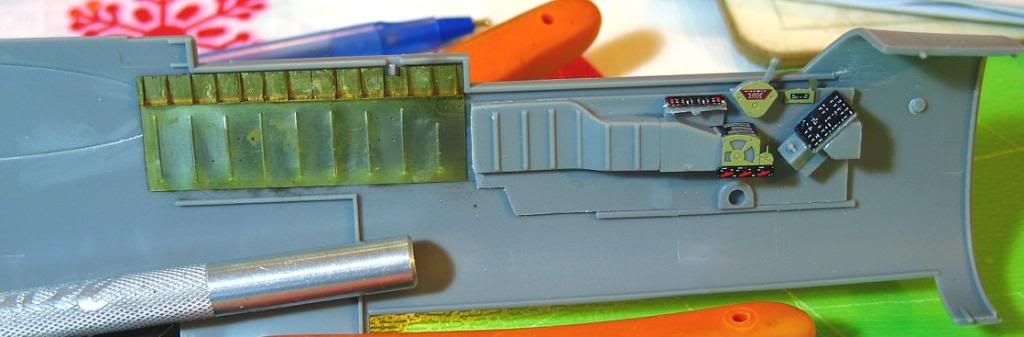
Can someone tell me what was in the area of the fuse below the top mounted turret guns of the P-61? Was it just ammunition, empty space or something else?

") Are you sure you want to crash it ?
Are you sure you want to crash it ?  Helps keep me motivated