• Modelers Alliance has updated the forum software on our website. We have migrated all post, content and user accounts but we could not migrate the passwords.
    This requires that you manually reset your password.
    Please click here, http://modelersalliance.org/forums/login to go to logon page and use the "Forgot your Password" option.

GWH 1/48 P61 Black Widow "Glassnose"

Phil

Active member
And here we go............

Today was a miserable rainy day so since it is 01/02/13 in Australia........

a full day at the bench with no interruptions

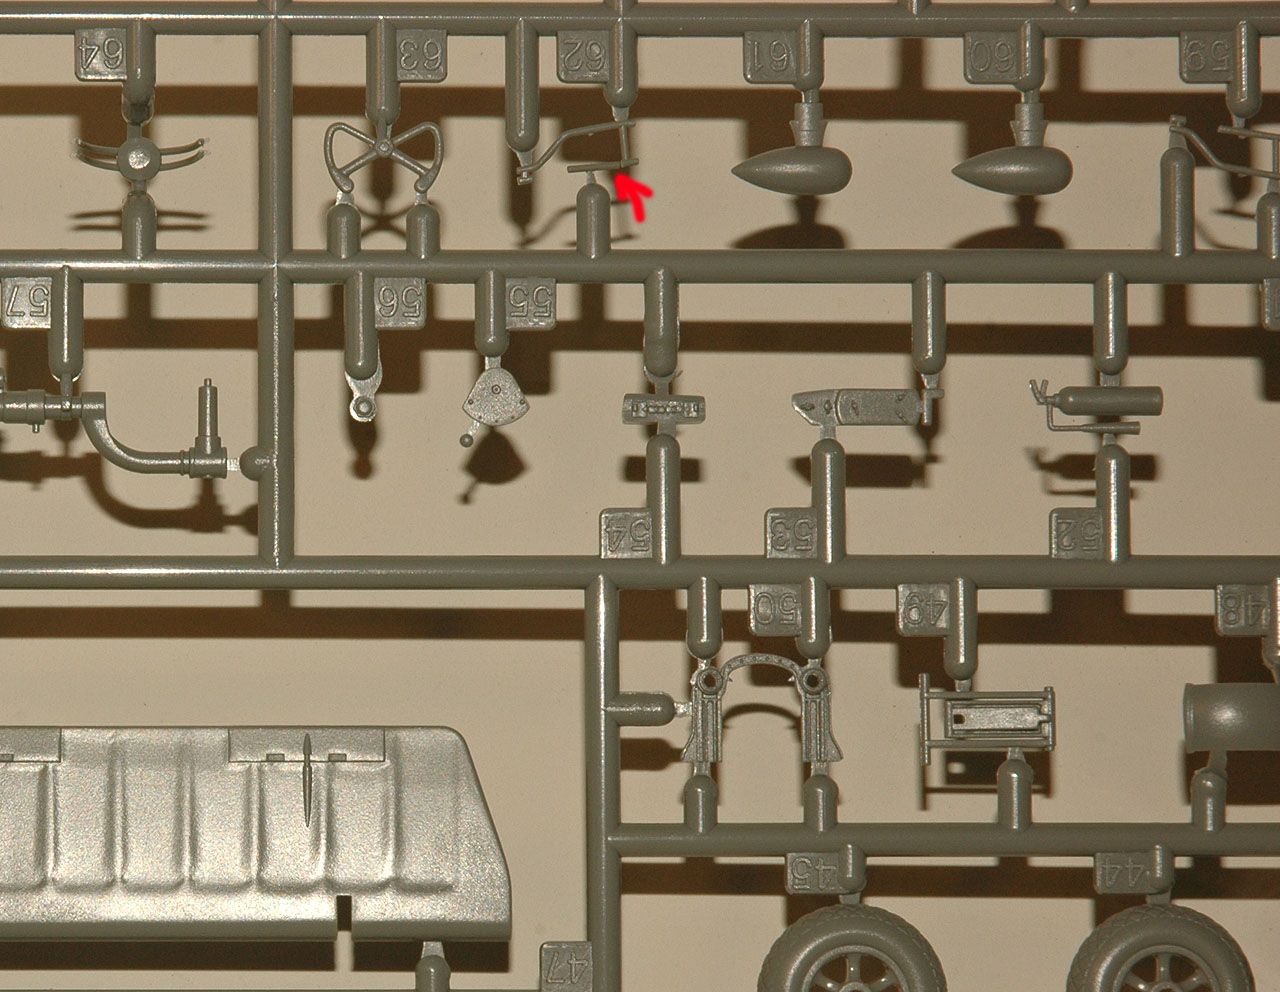
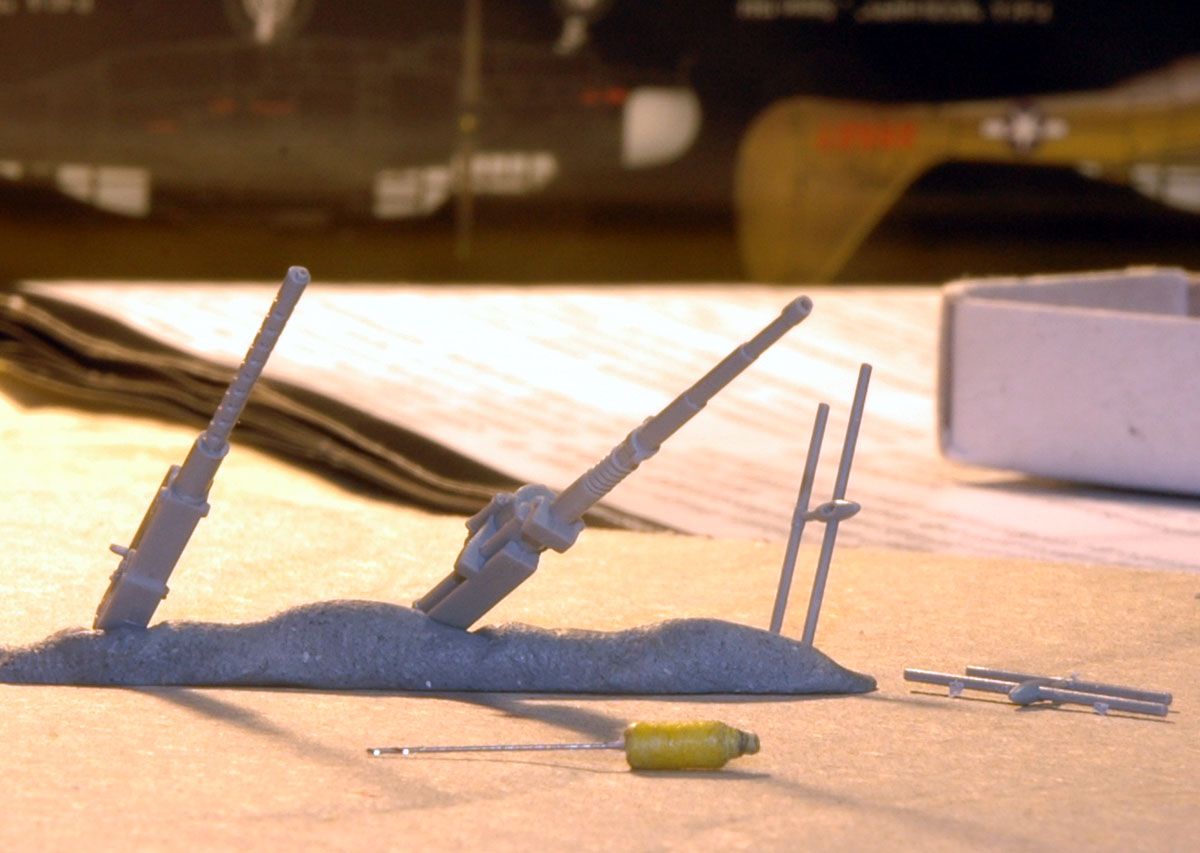
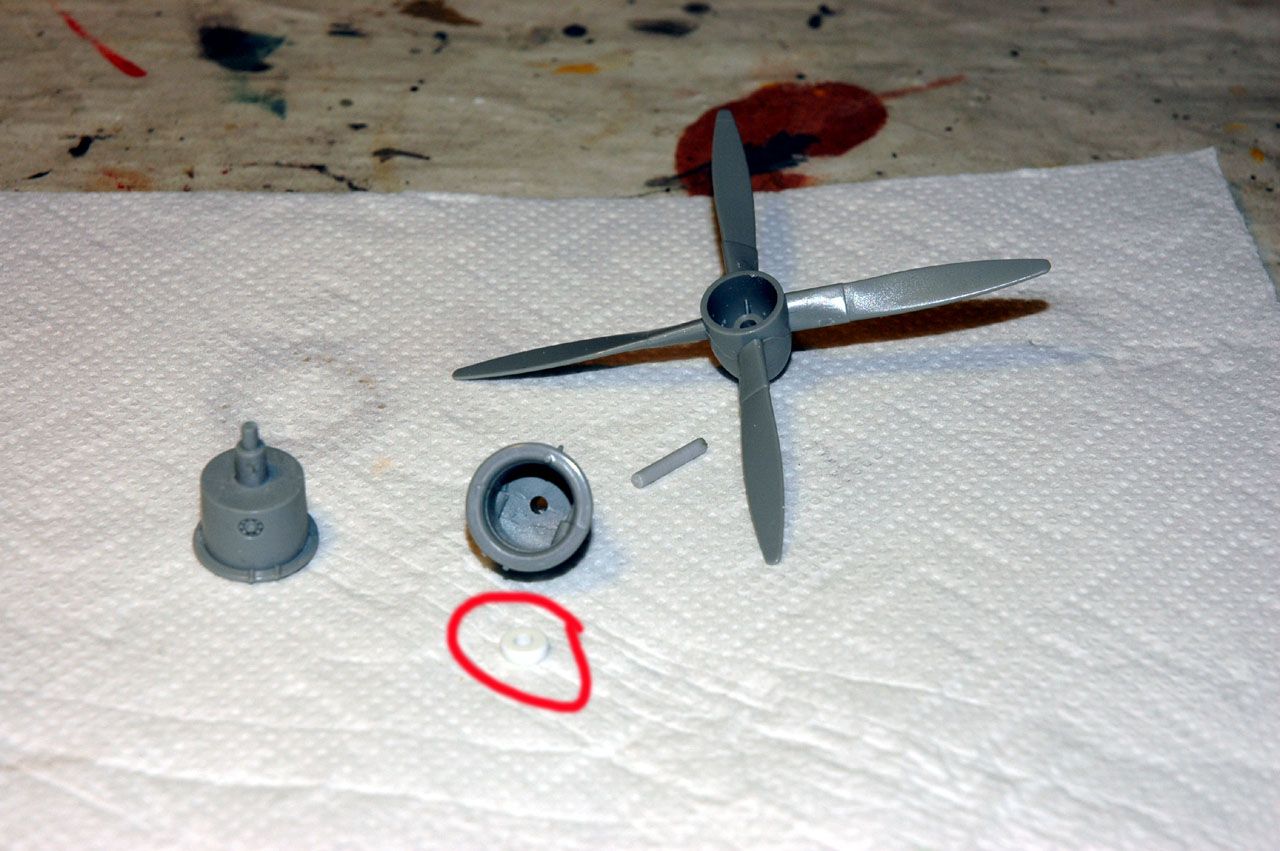
First off I addressed the non rotating props.
Simple fix really, cut off the prop pin and drill a hole through, make a shaft from scrap spru, and a locking donut
DSC_8165pp.jpg


DSC_8186e.jpg


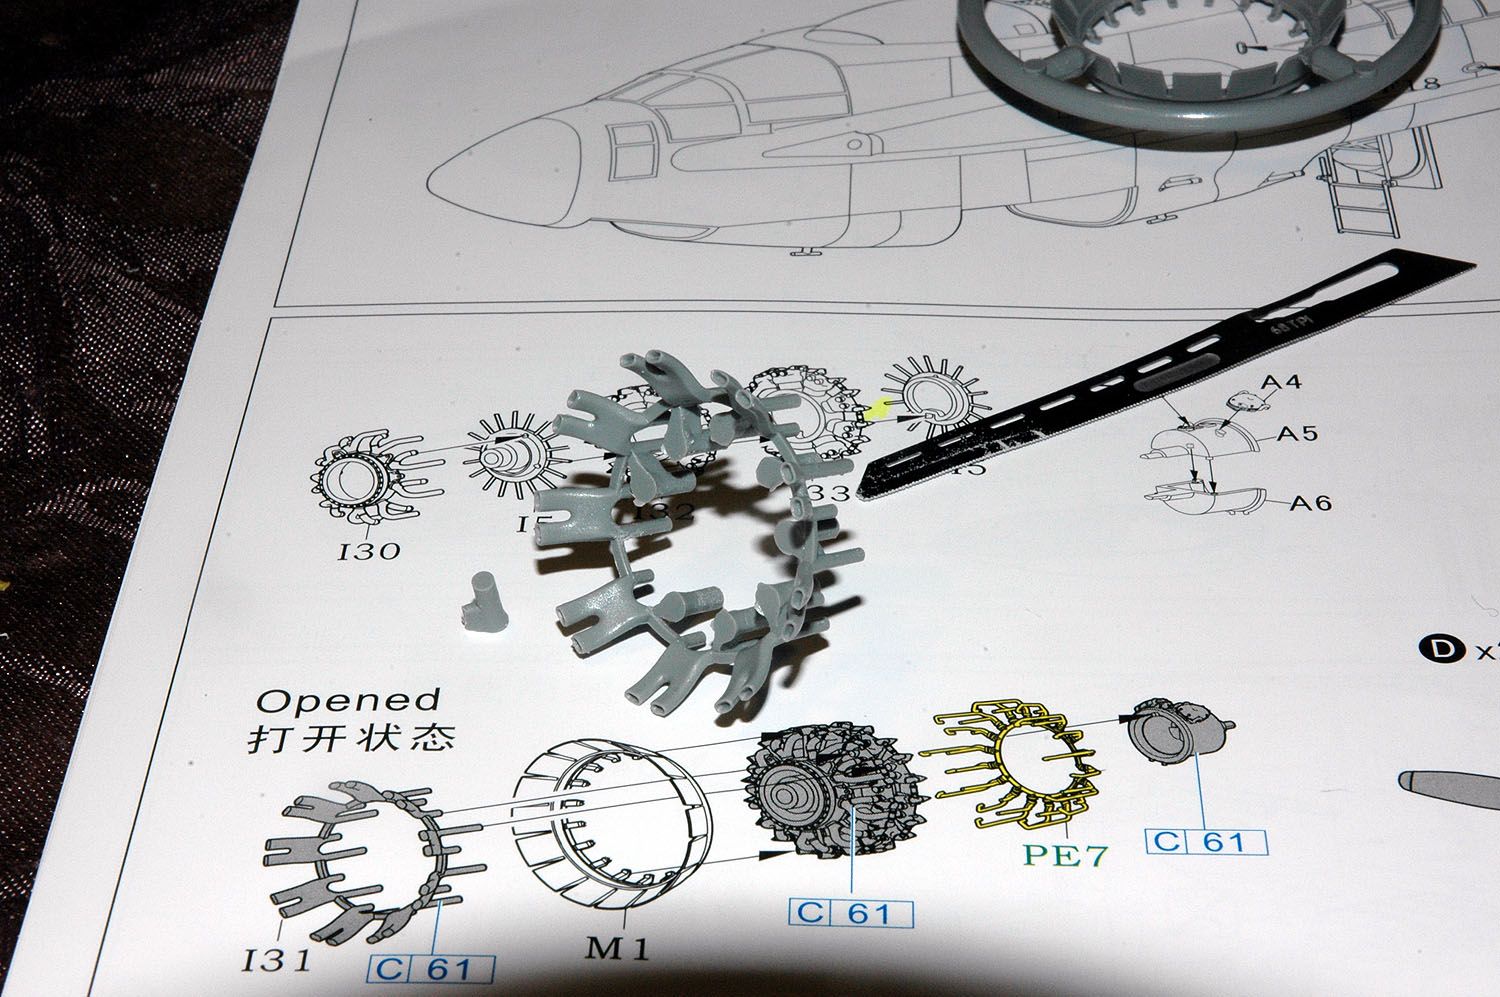
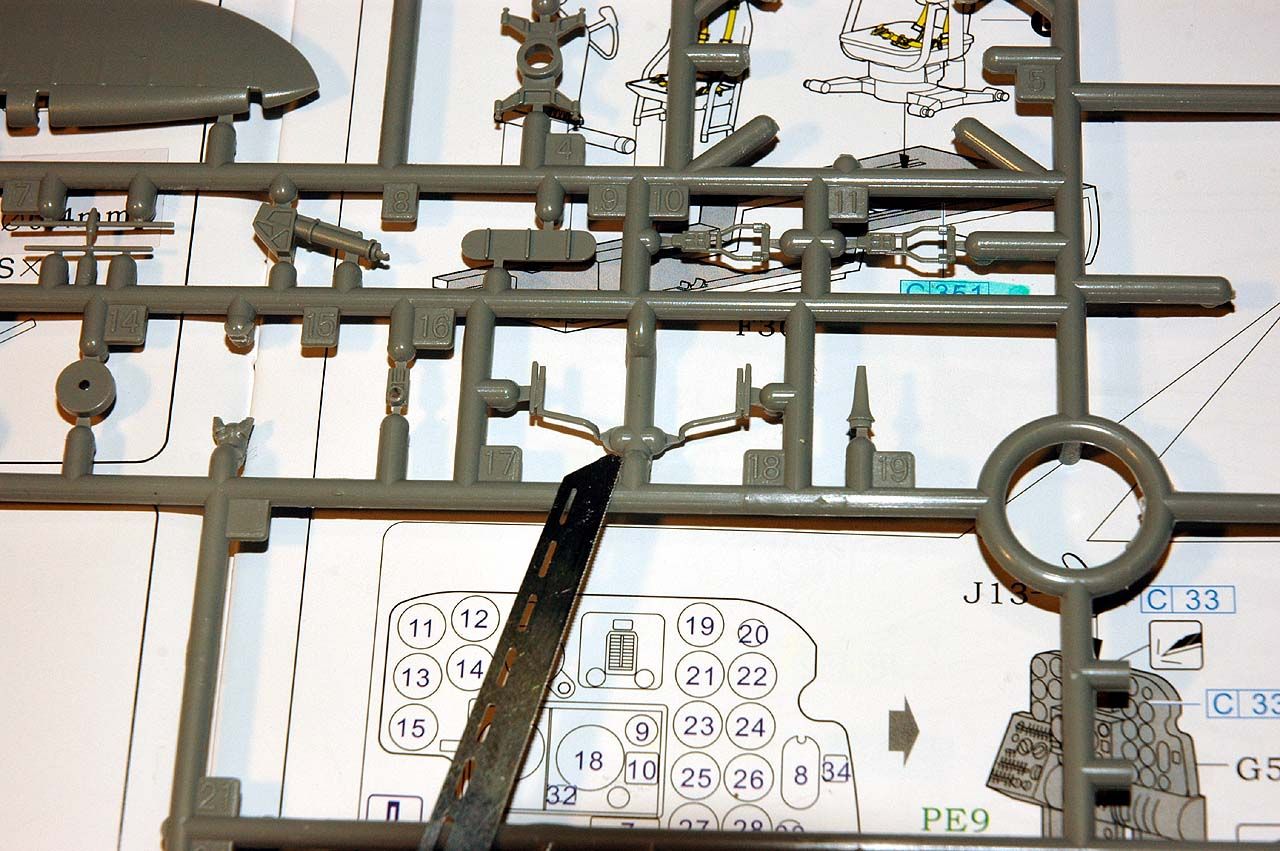
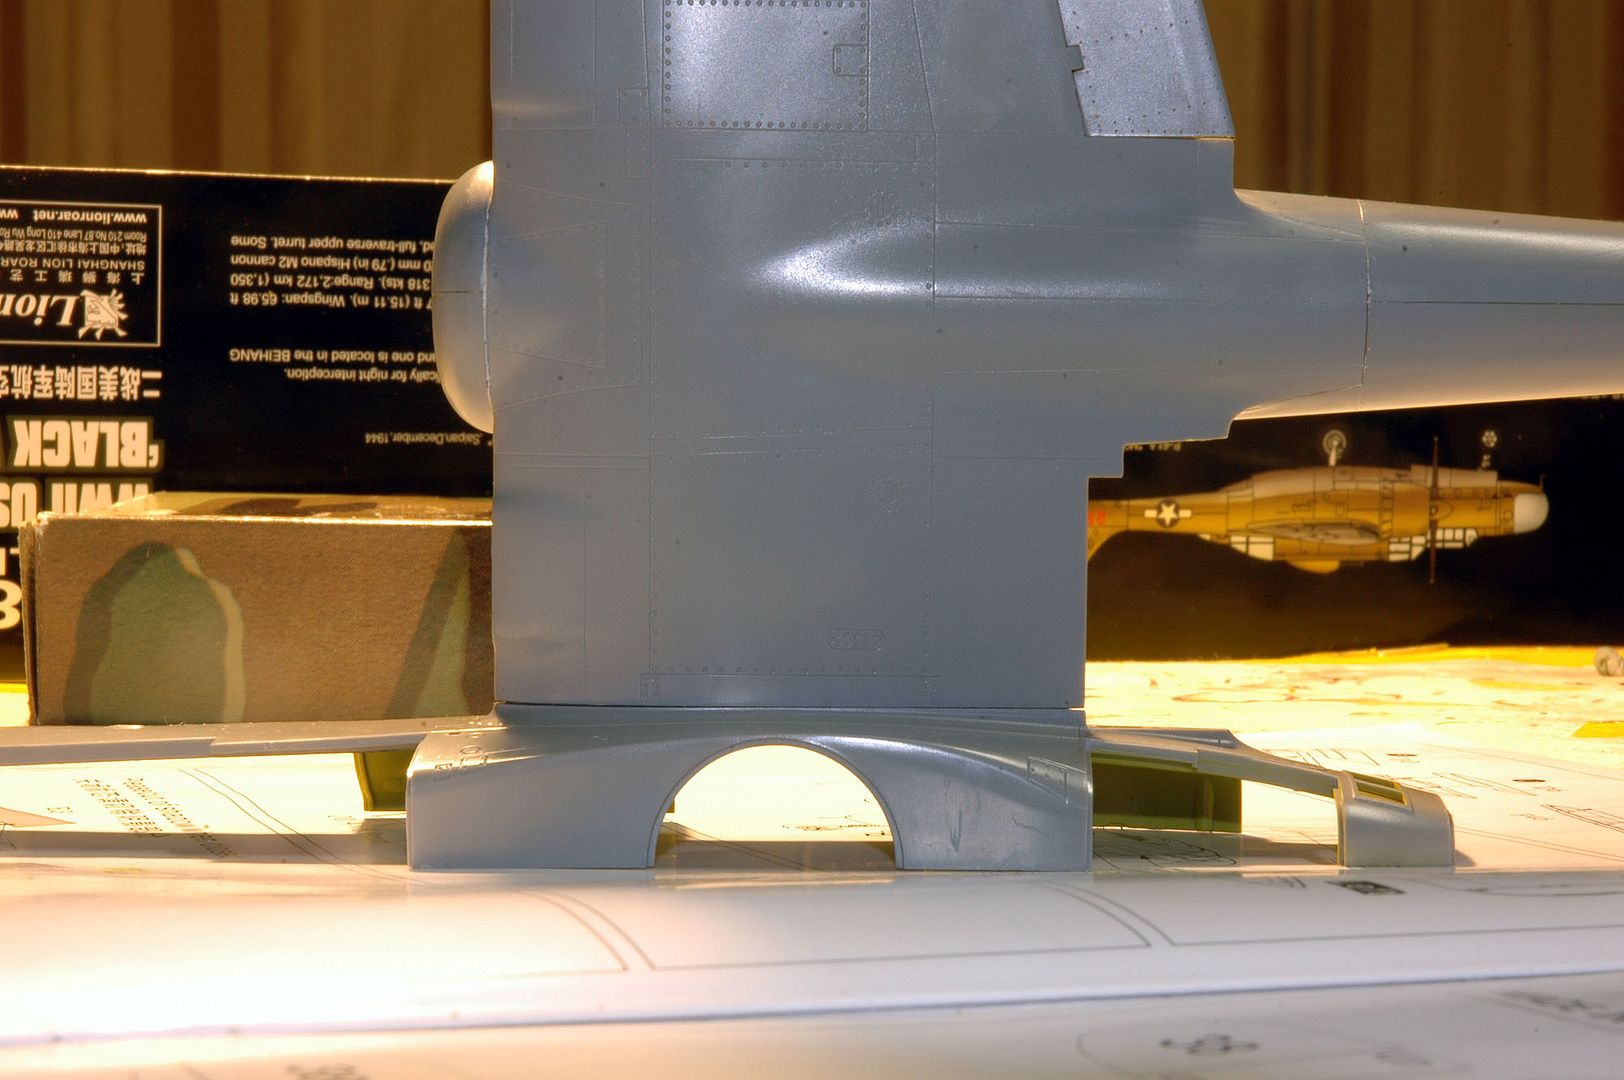
The next thing was one tedious step, cutting off all those molding pins from part I31 for the opened rad flaps, just to get it out of the way.

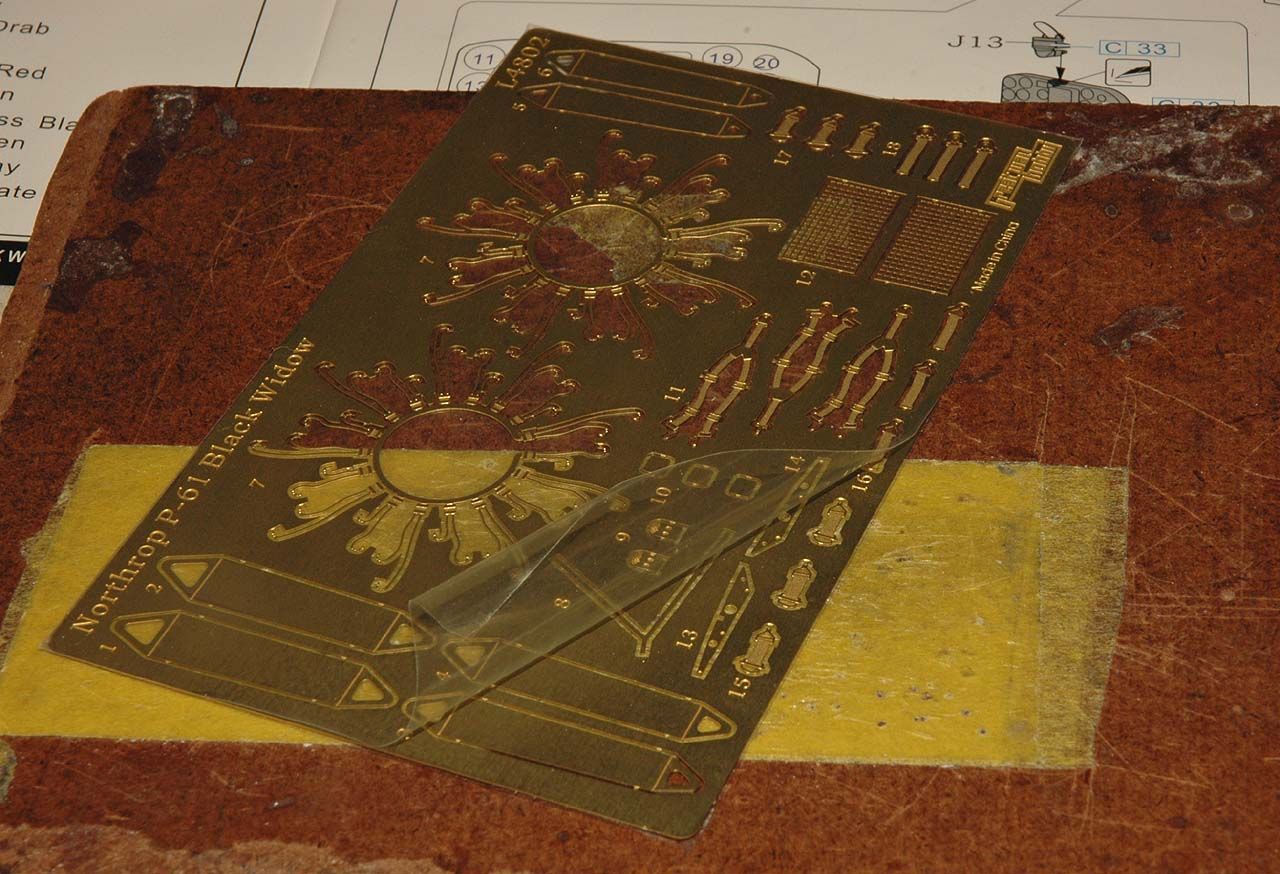
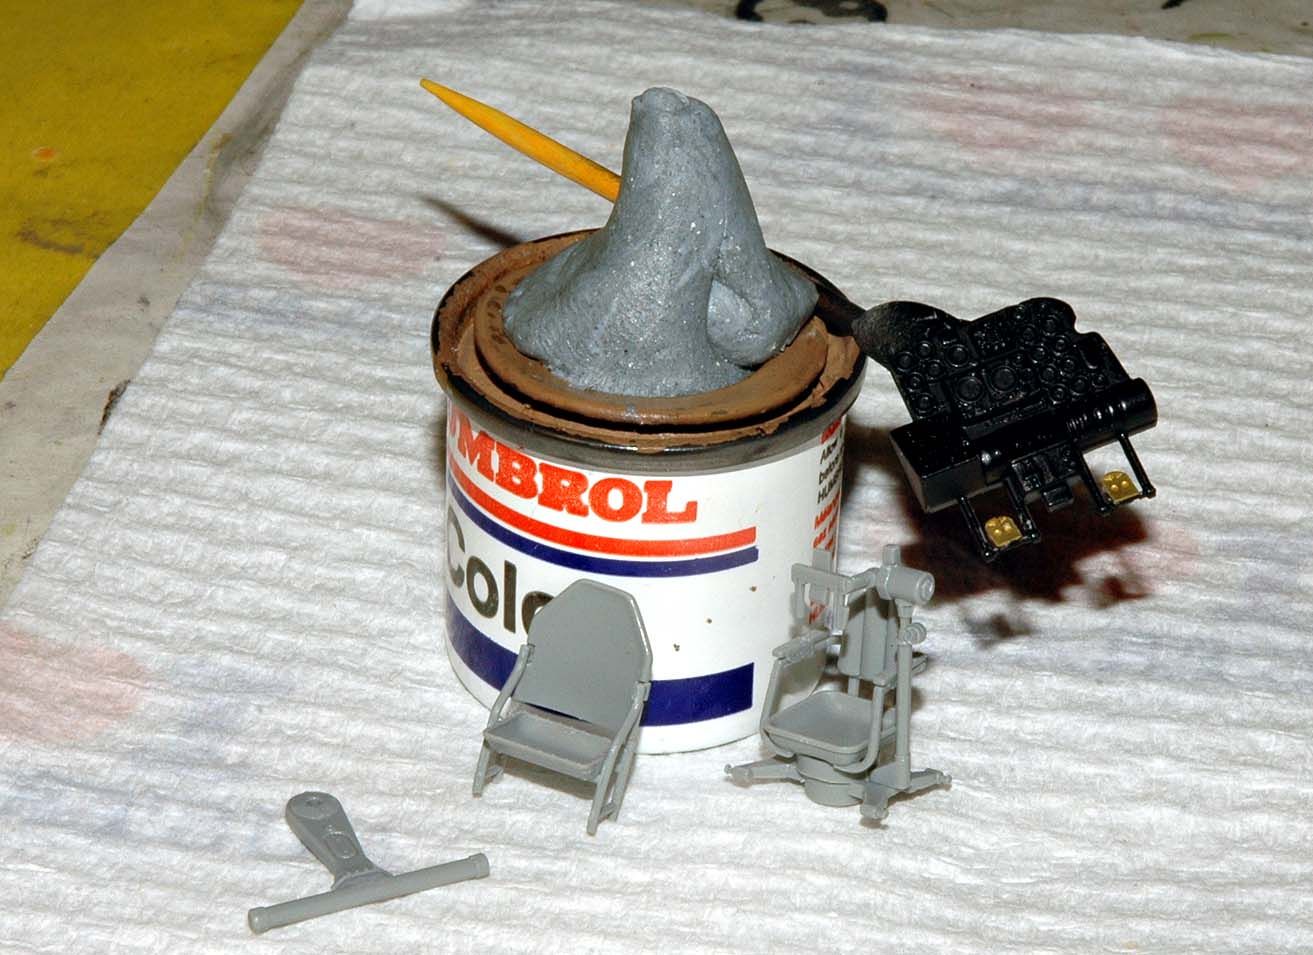
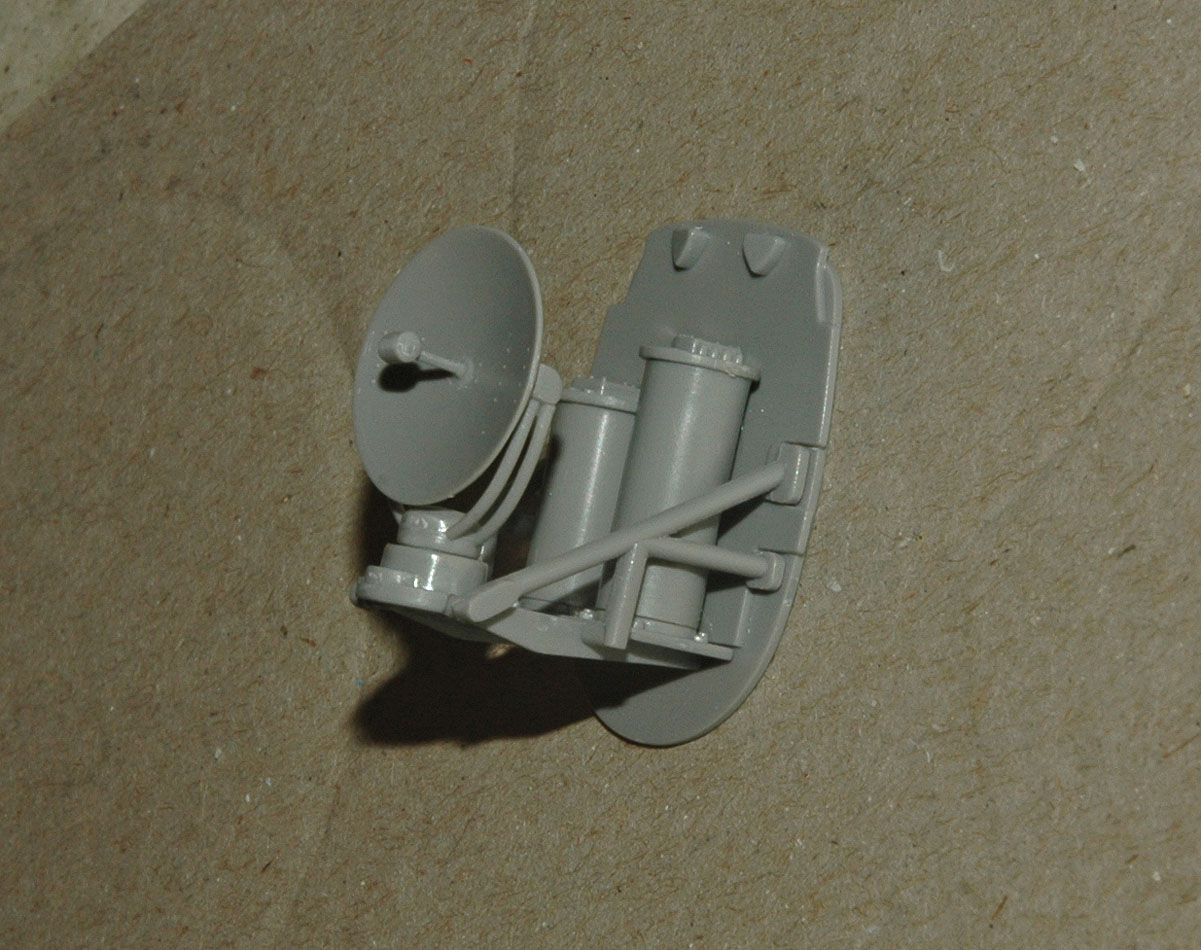
Curious to see how the engine all fitted together I assembled one and held it together with blu tac, Pe piece to go on later, but with the cowling on you can't see any of the nice detail
DSC_8188c1.jpg


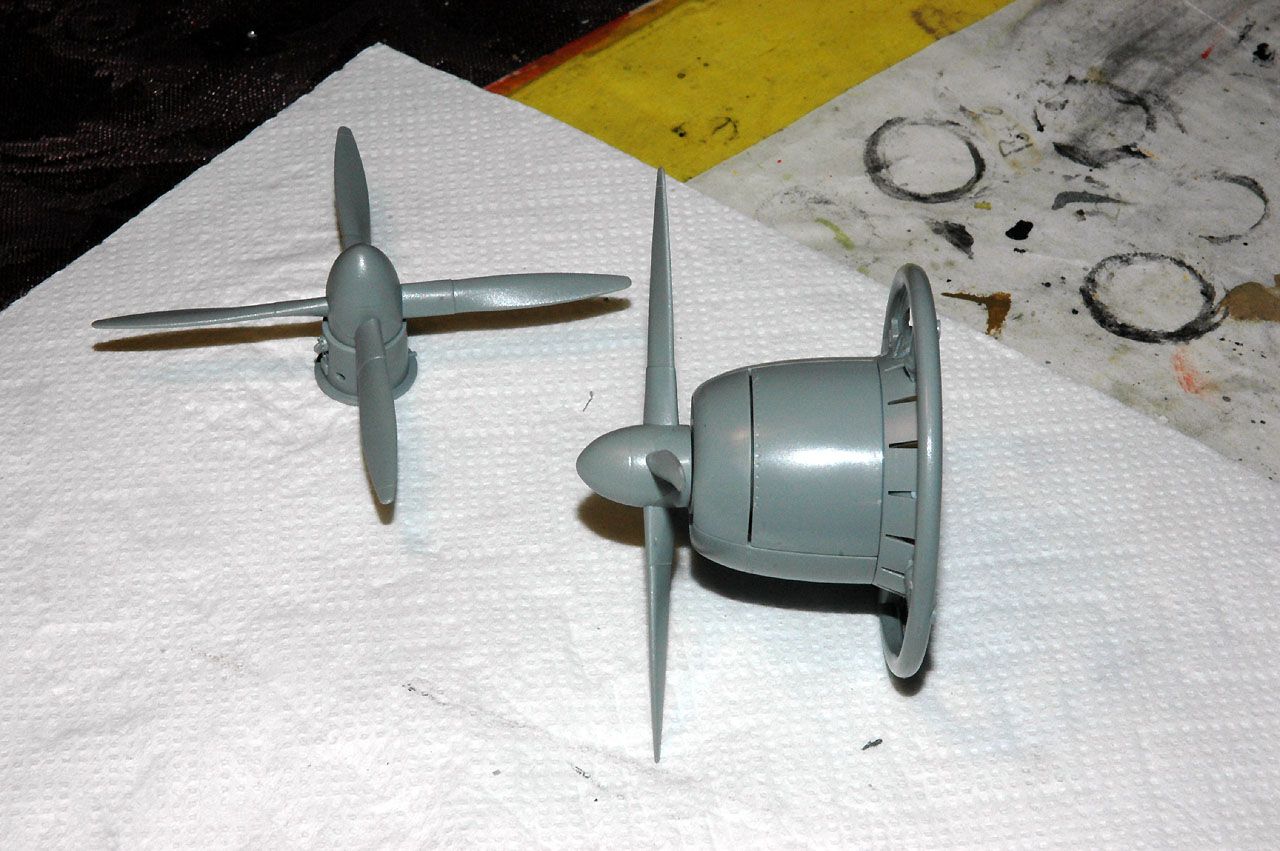
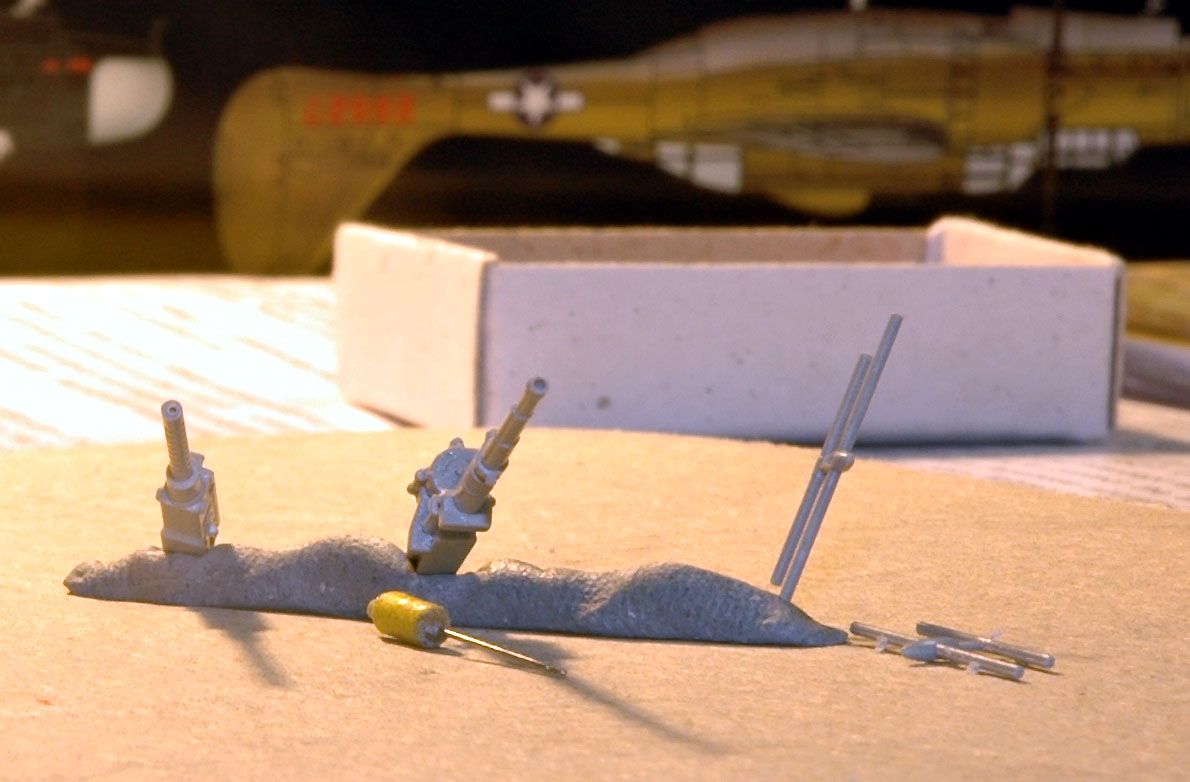
So I got creative........

DSC_8189c2.jpg


And the props spin perfect!
 
Great start. That engine looks pretty good already, but with some extra detail it should look awesome.
:popcorn
James
 
ok, first thing I found about this kit is you have to be extra careful cutting the pieces from the spues as alot of the pieces are thin and finely detailed, with multiple attachment points the first piece was broken which was a support piece for the pilots seat.

going back to my first review pics shows the broken piece first time out of the bag
DSC_7573c.jpg


some of the parts are very fine, these are the arm rests for the gunners seat
DSC_8213x1.jpg


one neat idea the GWH kit has is this plastic sheet on both sides of the Pe which allows you to cut the Pe part straight through the plastic leaving the free Pe piece right there - no Scud Missile!
Just peel back the plastic, remove the cut Pe piece, then reseat the plastic sheet ready for the next time
DSC_8216x1.jpg


And here is my total for tonight! this could be a very slow build!

DSC_8221x1.jpg
 
Working out the two zinc chromate colours in the fuselage today I noticed this decal,

DSC_8224a.jpg


expand it to full size,

now the letters seem to read

LOOKATTHATE CAT SWE PRODUC

PEOPLESWEETDGROT

break it up and remove the e and s, add ed and you get
lOOK AT THAT CAT WE PRODUCed


very strange!!!

as for the other one - it beats me!!!
 
Well............

some progress on this, impressions - plastic reminds me of Classic Airframes - very soft - one has to be careful with sanding.

Cutting parts from sprues - Much care and thinking how to do it - cut willy nilly - you got probs!

I made the pic 2000 pixels so you can have a good look at the joins

wig to boom outside - ok, a little squeezing with the fingers while the Ca glue grabs and holds needed - the gear bulkheads need a bit shaved off but have to be careful you don't start cutting into the detail

DSC_8261x1.jpg


wing to boom inside - a bit of a step, sanded lightly to clean up a little but a fair amount of detail there, it will be hard to spot I think when all joined up to the fuselage, left it alone.
DSC_8262x1.jpg


wing to boom Top - a bit of a step, it sands down easy, again care needed with the plastic, also you need to check your join on the rear wing inside of the flaps as the glue grabs
DSC_8263x1.jpg


wing to boom inside - another view to show the fit -
DSC_8264x1.jpg


Boom seam - nice fit joins very nice, you also need to trap the movable rudder when gluing these together, instructions are rather vague to tell you the best way of attaching the rudders, either when the booms are together, then join the two pieces of rudders, or do the rudders first then trap them between the booms, i did the later.

Point to remember, with the gear well sidewalls you must align these carefully otherwise one edge will stick out and the other will push in, you can align this when gluing the two booms together - i glued the well after the booms were together after the discovery of gluing it in to one side first - :bur2:

Note - the Ailerons are ONE piece with two T attachments, these must be put in before gluing the wing together!
DSC_8266x1.jpg


completed wing to stb fuse bottom - Dry fitted only
fit is how you see it, slight gap front and rear
DSC_8267x1.jpg


completed wing to stb fuse top - Dry fitted only
fit is how you see it, slight gap front and rear
DSC_8268x1.jpg


DSC_8272x1.jpg

and the completed radar dry fitted to bulkhead- a few wires needed I think!! :biggrin:

I have lots of sub assemblies going, this kit is not to be rushed, dry fitting is essential IMO, I have found that a lot of the joining pin holes need re drilling out, and some joining pins shortening, injection pin marks are prevalent I guess it's up to the builder to decide whether to remove or leave, some won't be seen, some will.

Now for the port boom/wing assembly...!
 
So would you say the kit is worth the extra price over the old Monogram bird?

I'll reserve my views until I see a Monogram kit being built,haven't seen anything on pit detail etc on the Mono, so until then jury is still out!

Can't fault the detail on the parts, fit wise seems good so far, as I've said before the two things I just don't like are the non rotating props and the lack of supplied nose weight as shown on the instruction page as a molded item that slots straight in behind the IP.

kit guns look nice, the 50 cal barrel is not drilled out so I did that, although it is a bit off center oob, the 20mm is drilled out for you though
DSC_8273a.jpg


DSC_8274a.jpg

the two radar poles cleaned up - these had 5 attachment points on the spru - 3 would be plenty!
at least I didn't break them while removing and cleaning them up!
DSC_8275a.jpg
 
Well Phil, there is no want for trying. I think it looks rather keen. I will have to wait until the whole show is over.
 
Thankyou all!

I got the ''green chromate'' parts done today going by this photo colours this is what I came up with
DSC04310web.jpg


It will do me fine, I added a couple of drops of Testors (very light!!) ZCGreen to Humbrol 117
DSC_8283a.jpg


DSC_8286a.jpg


started detailing the parts tonight, more soon
 
Back
Top