• Modelers Alliance has updated the forum software on our website. We have migrated all post, content and user accounts but we could not migrate the passwords.
    This requires that you manually reset your password.
    Please click here, http://modelersalliance.org/forums/login to go to logon page and use the "Forgot your Password" option.

GWH 1/48 P61 Black Widow "Glassnose"

The finished model will be secured onto an Eduard PSP board by inserting brass rod Ca glued into the wheels.

Well there ya go. just mount it to a base and have that brass rod going all the way through the base, or a threaded rod and screw it into the underside of the base.
 
You really seem to be having a great time with this kit ! :gogo The thingy with the levers looks like a throttle quadrant, yeah I know it only has two engines but the Tamiya Lancaster only has three throttle levers on it. I some times think the mold makers have little knowledge of aircraft.
 
Yeah you are not wrong Gary........!!!!! but I'll finish this B*t*h !!!

I agree with you about the mold makers, to me the IP&rudder peddles, pilots seat and controls are not quite rightly positioned.........

At least if anyone thinks about buying this kit they will have a nice heads up on it, I haven't rushed it, dry fitted before gluing any parts, even more so than a Classic Airframes kit.
 
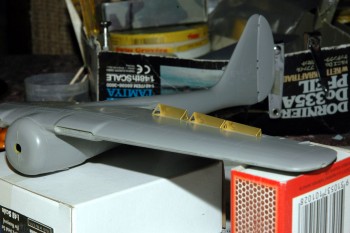
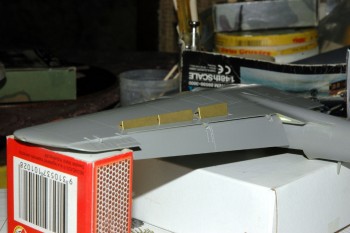
here are gwh ''spoilerons'' in all there detail...?? pretty chunky and they will be glued closed, just thought I'd show them open first.


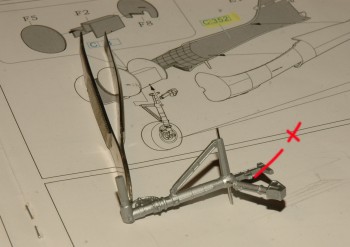
replaced gwh's pissy plastic gear leg pins with a steel sewing pin all the way through the gear leg.
X is where the support broke, it was glued with CA, pathetically weak joint.

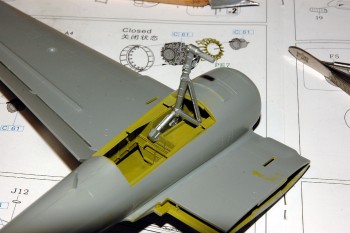
I drilled and inserted another piece of steel pin, it won't be in the correct place - I couldn't give a shit, now it supports the leg in the bay


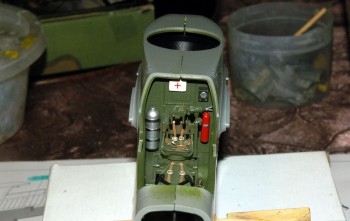
Thanks to MP :dude I redid the plain black box into first aid boxes, used leftover decal red dashes from the Eaglecal JV44 sheet for the red cross


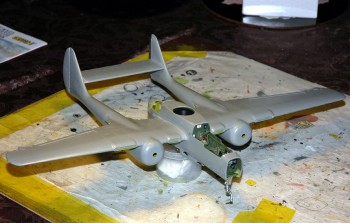
wings all on, ready for the first round of primer and then silver base.
 
Thanks for the shout out but what if we're wrong??? :rotf

Keep plowing on it Phil, looks good from here.
 
If you have been following this build you know I've been having fit probs with it - here is another build to show that there are and I'm not the only one to fall foul of this kit

http://www.militarymodelling.com/forums/postings.asp?th=64968&p=6

Quote ''At this point the instructions tell you to add the cannon bay and the roof of the wheel well to the right fuselage as I have done here. Do not do this! Because if you do, the pilot's compartment does not fit! Take my word for this, I found the wrong way! Remove the wheel well which I was able to do fortunately, and insert the pilot's section,attaching it to the cannon bay/r/o"s compartment!"


Which now explains why I could not work out why this thing didn't want to close up around the front of the cannon bays.
 
If you haven't seen this one it's worth a watch, a training film on the P-61, it's 28 minutes long and if I remember correctly they do show how the spoilerons on the wing work.

P-61 training film
 
Cheers Gary, I did find this vid but didn't post it up, the spoilerons are certainly different aren't they!!
 
Different and very effective from what I've read. For such a large aircraft it was quite agile and supposedly could fly circles around a P-47. The Go 229 had slats that extended from the top and bottoms of the wings not for roll but to act as a pseudo rudder since it didn't have a real one.
 
Looks to be a bit of a pain Phil but I would say you're winning the battle!

Coming along nicely!

:fencing
 
Thanks Warren, I think the ''worst'' is over!! now, neutral grey on and getting ready for the OD, I'm trying a new method of chipping and a multi colour OD green for this one so it may look good or may look crap!!!

We will see...........
 
Well.....
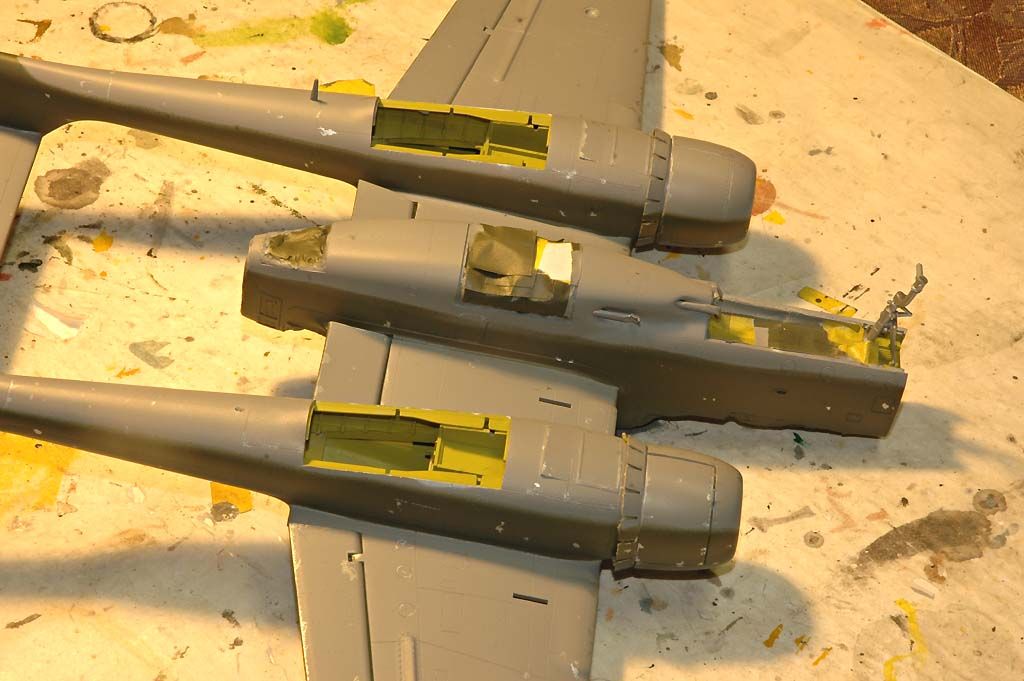
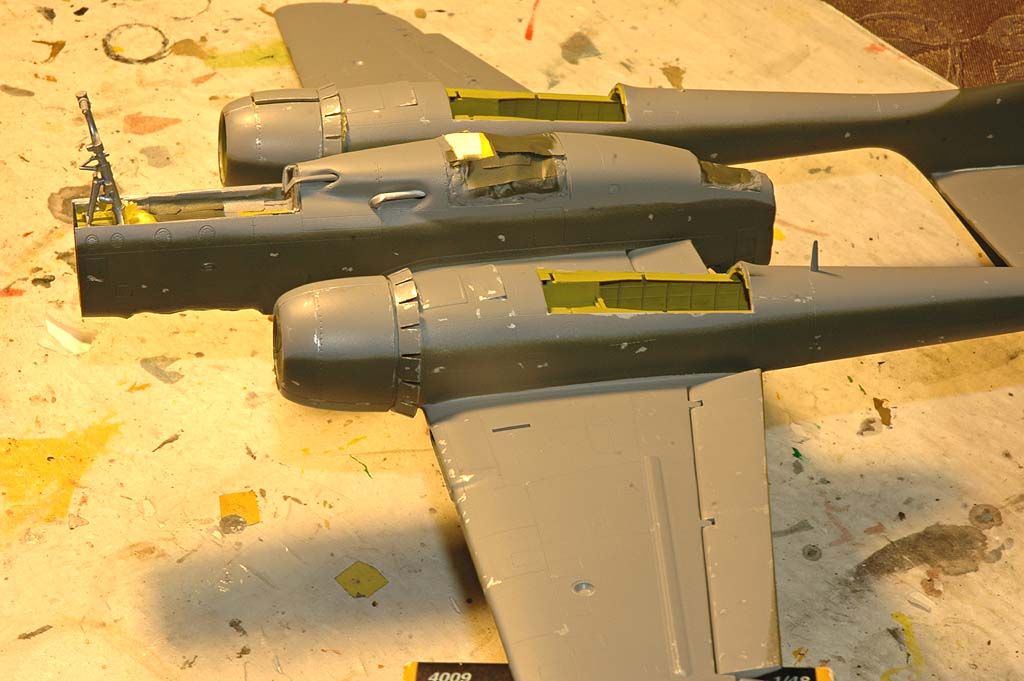
tried a new chipping method - not sure if I like the result - maybe a respray needed, yay - nay?

Thoughts? suggestions?

DSC_8561c.jpg


DSC_8562c1.jpg


DSC_8563c1.jpg


DSC_8567c1.jpg


DSC_8564c1.jpg


DSC_8565c1.jpg


DSC_8566c1.jpg
there is no other weathering on it yet.

(MP, do you know why the first lot of code does not display on this forum? it works on others the same way i posted it here)
 
Hi Phil, the weathering seems a bit random. Maybe more on the leading edges as they took the brunt of the air friction, sand, coral dust etc.
I looked and all code seems to be there. 7 lines, 7 pictures.
James
 
Phil I don't know what you're talking about there bud, chipping looks good though, I'd say it's a keeper. :pilot
 
Looks like the weird prob sorted itself somehow, I could only see the text code for the photos then added thumbs to see the pics on this forum - photobucket issues I would say - it's their ''new improved'' version,
although their new ''view at original size'' option seems like it doesn't work, the first photo should be seen at 1200 wide pixels.

Cheers MP and James, will look at that

DSC_8561c.jpg


ah now, the prob why I couldn't see this pic at 1200 here is the word original which is added by photobucket to achieve this size - but the pic doesn't display with it in the code line.

Take it out and the photo displays here, but at 1024 capped standard PB size on their new site.

Strange because the code line unaltered on another forum displays the photo and at 1200 pixels wide.
 
I tend to agree with James, the chipping effect it self looks good but a bit to random, needs to be located in more likely locations, leading edges, access panels, places where crew or service personnel might tread, that sort of thing.
 
Back
Top