• Modelers Alliance has updated the forum software on our website. We have migrated all post, content and user accounts but we could not migrate the passwords.
    This requires that you manually reset your password.
    Please click here, http://modelersalliance.org/forums/login to go to logon page and use the "Forgot your Password" option.

Messerschmitts X 3

Thanks guys!

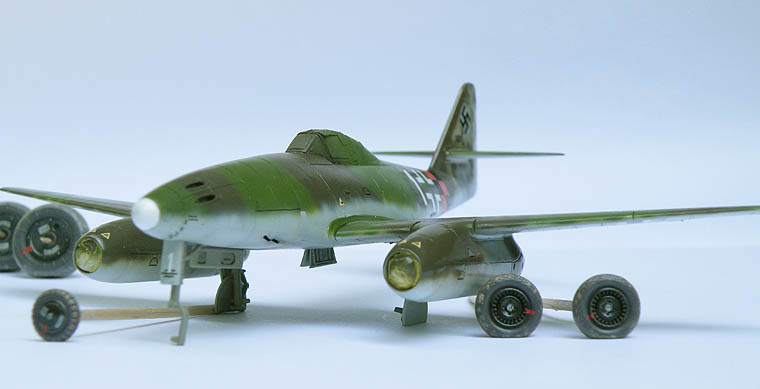
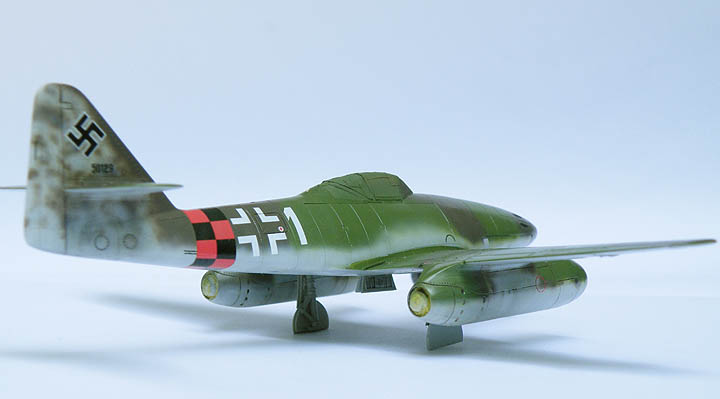
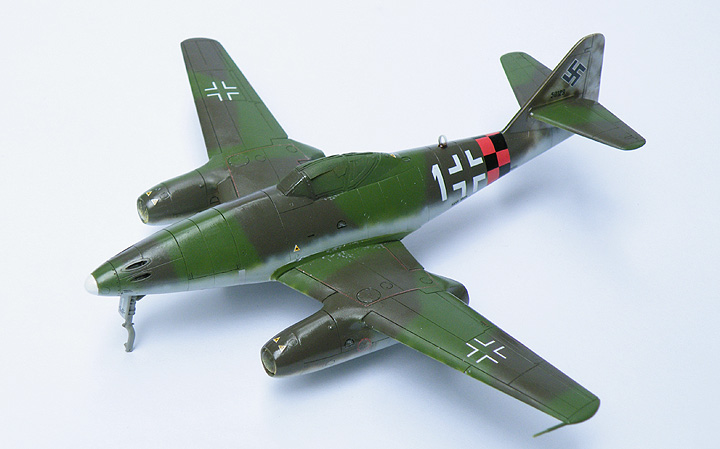
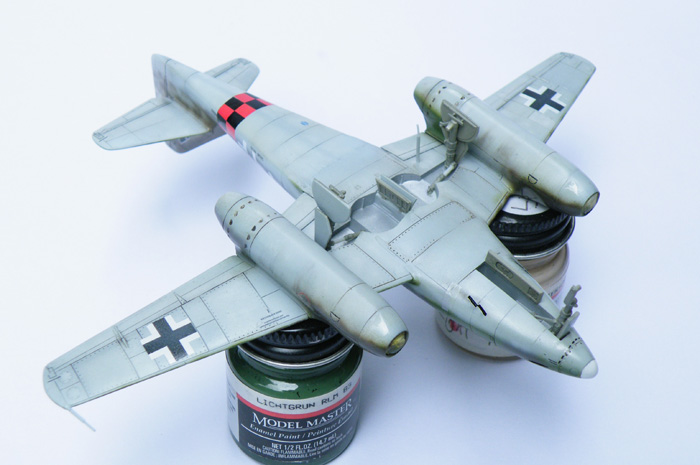
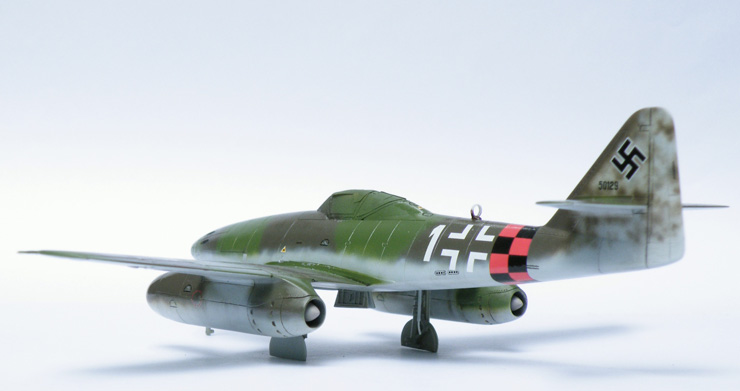
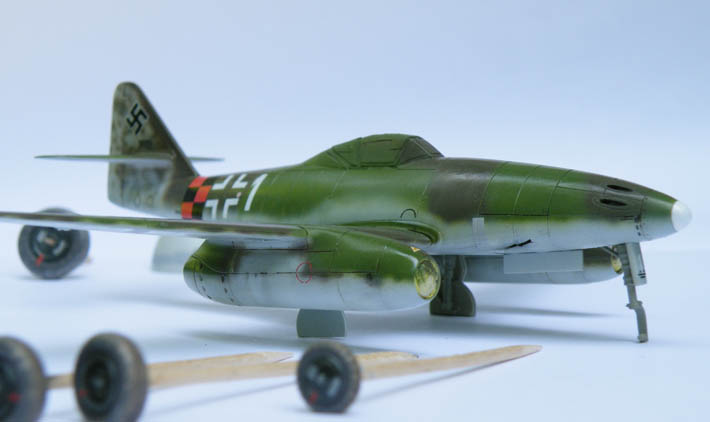
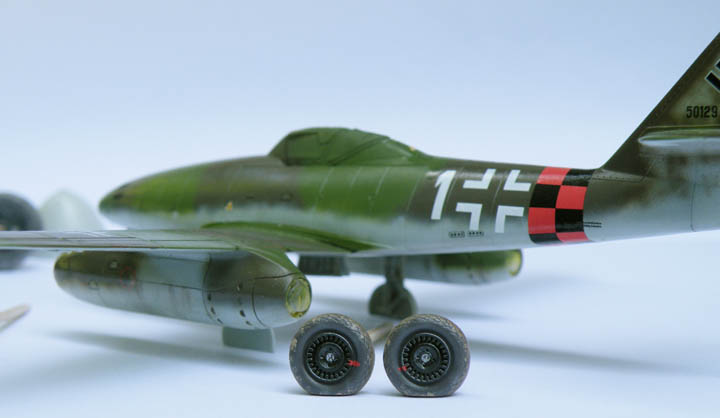
The Me 262 has its gear legs glued on now, there are only a very few small bits to be added before I can spray on the flat clear coat.
Also the weathering of the tires has been done, they look terrible now because of the gloss coat but I expect them to look much better after the flat coat is sprayed on.
h4b5371c.JPG


h148f4ce.JPG


hfc326ae.JPG


h93c9c22.JPG


h4ad3361.JPG


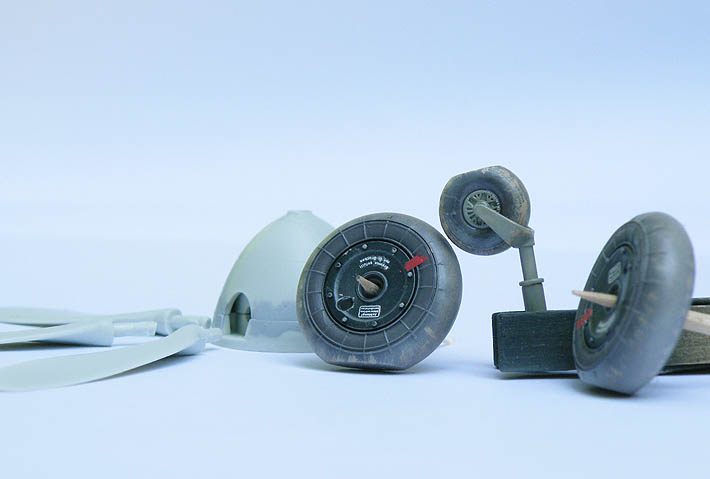
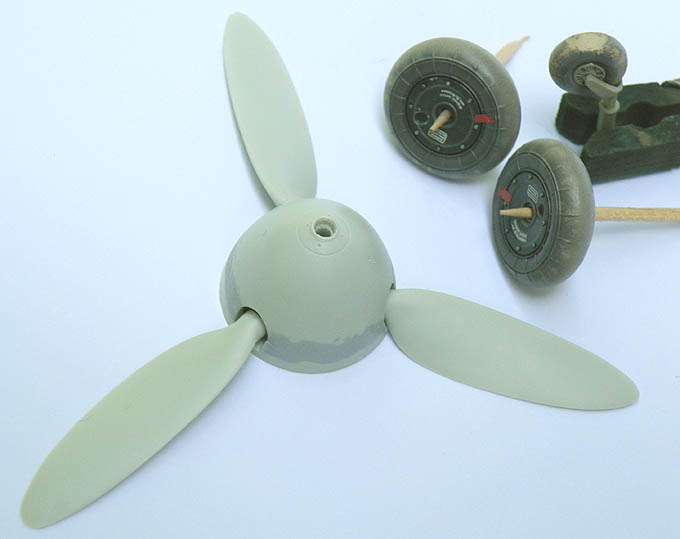
The Bf 109G-10'Erla' also had some work done on it, the wheels have been given their weathering and the prop blades have been modified so they can be placed into the spinner after it has been glued together.
Revell decided to put a seam line on the spinner where there should be none and this MUST be filled to look right and filling in the seam line and later painting the spinner spiral would be made more difficult with the prop blades in place.

h94ca923.JPG


h751a06b.JPG


This last picture shows the prop blades test fit into the assembled spinner.
hcbb271e.JPG


Matrixone
 
Thanks again for looking!

Bob,
The wheels should look much better after I get rid of the gloss on them. I had trouble getting these pictures to where the gloss was not reflecting the light so much.


No pictures today, the last of the small parts are now glued on the Me 262 airframe and the 109 'Erla' is getting very close to getting paint...there are always some small things that need to be dealt with and delay my painting fun. :frantic
The 109 will get its fin/rudder painted first and then be masked off while I paint the rest of the airframe.

Due to the fast approaching deadline the Bf 110G-4 has been cancelled. ;)

Matrixone
 
Some new pictures...

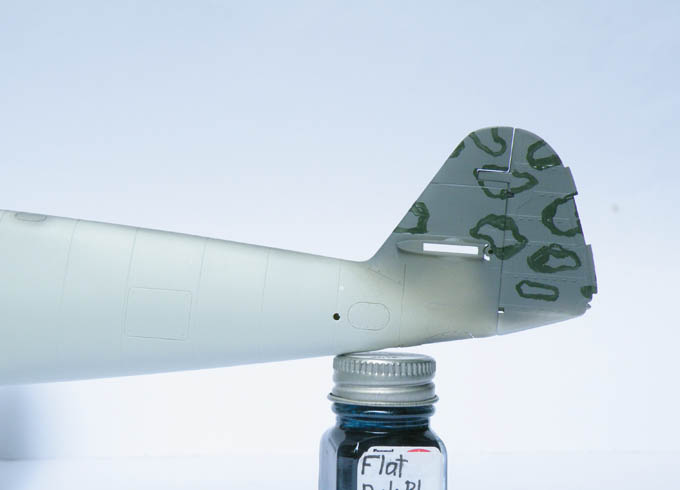
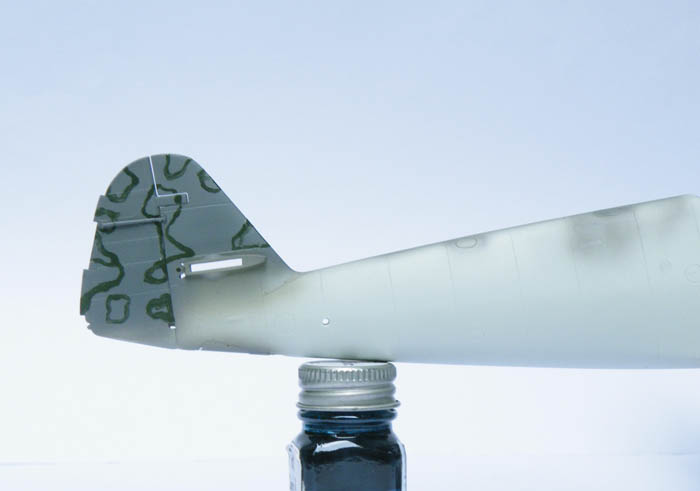
The fin/rudder on the 109 I am modeling has the late war stencil applied camouflage finish on it and below are the steps showing the easy way to paint this.

1. A base coat of RLM 75 has been sprayed on.

h3fcf355.JPG


2. Using a small paint brush I applied the outlines of the dark green mottles.

hf8385f5.JPG


h5aa02fb.JPG


3. Using the airbrush I sprayed the same dark green color just inside the mottle outlines and filled them in. I wanted the edges of the mottles to have a very tight but soft edge to them...a number of the stencil applied camouflage patterns on the fin/rudders of late war 109's had slightly soft edges on the mottles that looked like the stencil might have lifted while the paint was being sprayed on and I wanted that look for my model.

h2f86124.JPG


h82c469d.JPG


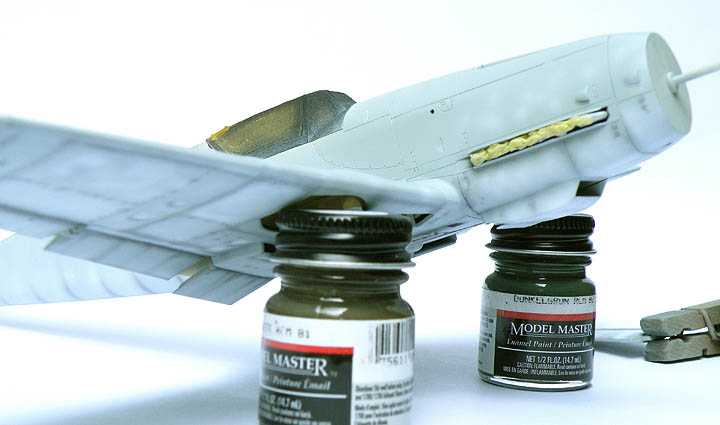
After looking at some drawings of Erla built G-10s I thought the Revell upper engine cowling looked skinny, here are two pictures of the Revell G-10 windscreen next to a Hasegawa G-10 windscreen, the Hasegawa part is the widest one. I suspect the Hasegawa version is closer to being correct.

h02aec44.JPG


hce9c944.JPG


Matrixone
 
Thanks for the comments guys!

The technique I used for painting the fin/rudder camouflage on the Revell G-10 will also work for painting camouflage patterns on other aircraft types like those used by the RAF in WWII...it would sure beat masking them! :hmmm

Now the fun begins on the Bf 109G-10 build...painting! :yipee

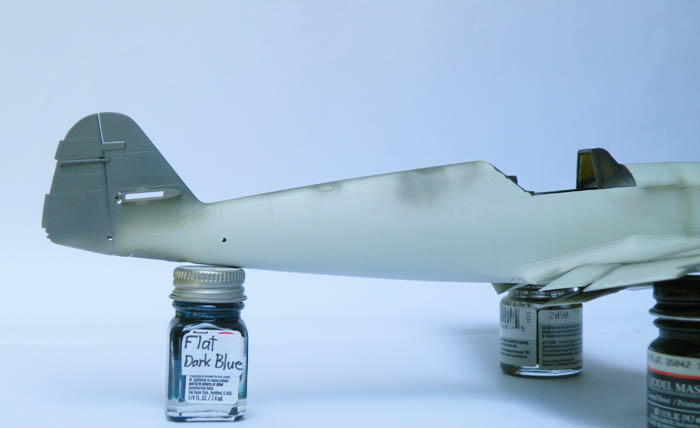
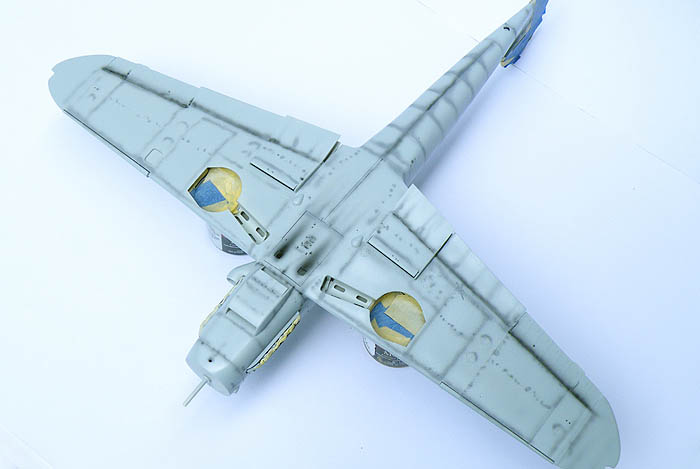
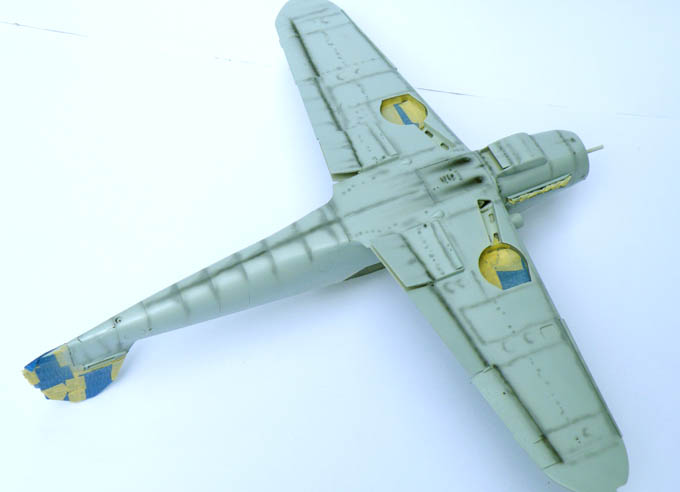
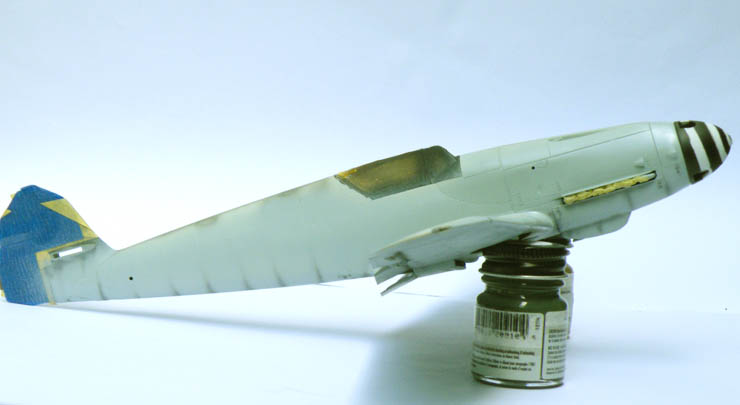
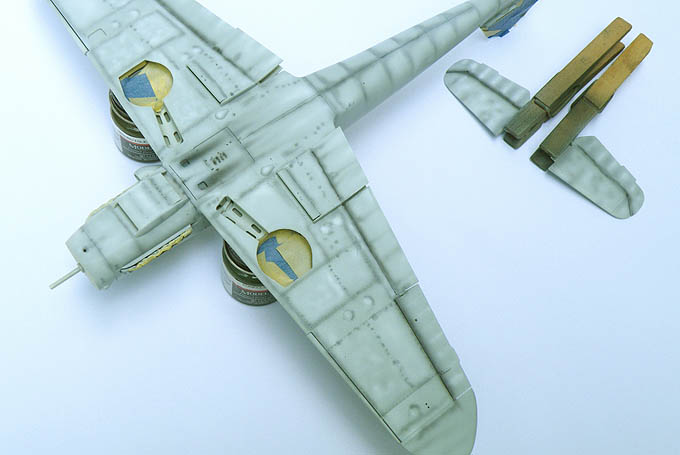
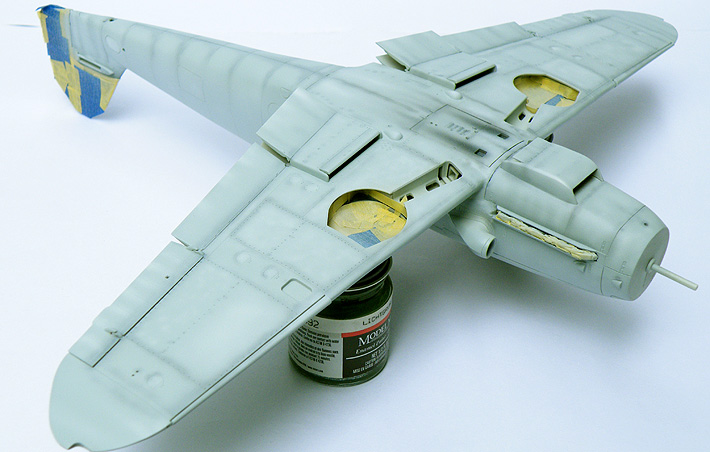
A base coat of RLM 76 has been sprayed on the sides and undersurface and after that was dry I used gray and black paint to add some pre-shading effects.

h422c04e.JPG


h557c894.JPG


hde3cd63.JPG


Some highlights were added with white paint to add a little more interest.

hd34e382.JPG


hdf3c05f.JPG


h16088e9.JPG

In these next two snaps you can see these weathering effects look so much better when the model is right side up. I have yet to spray on a thin coat of pale RLM 76 to tone down the pre-shading and highlights but after looking at these two pictures I decided to not tone down these weathering effects as much as I usually do on my models.

h12df413.JPG


h7e1fde2.JPG


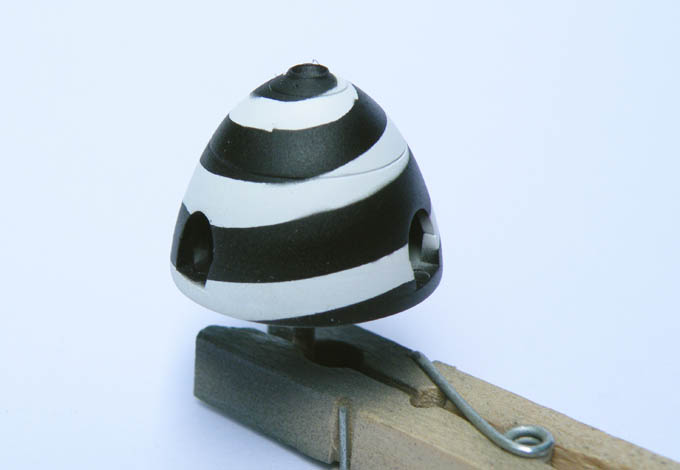
...and here is the spinner after painting. As you can easily see here this was not a huge success, some touch ups will be needed. ;)

h9a0932e.JPG


h8925421.JPG


Matrixone
 
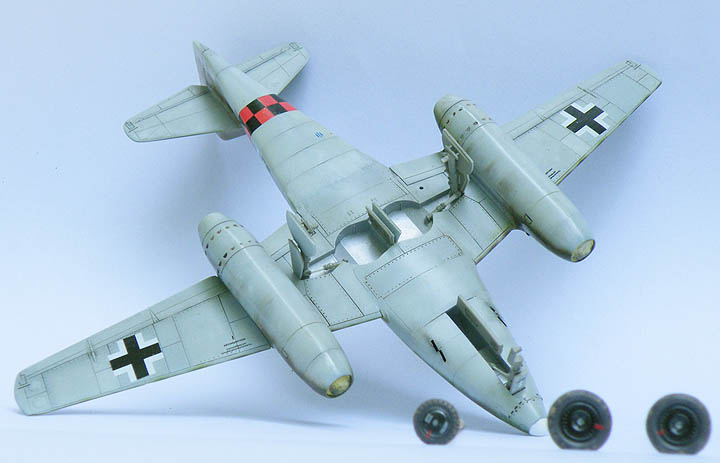
Some final work was done on the Me 262 with the airbrush, the decals on the undersurfaces were toned down by spraying on an ultra fine coat of RLM 76 pale gray. The RVD band was left as is since I wanted that marking to look like it was recently painted on.

h76aec36.JPG


hdf632b7.JPG


h2e5a205.JPG


The pre-shading on the Revell G-10 was toned down a bit.

h624d3e8.JPG


hf4fca18.JPG


hcfe2269.JPG


The spinner spiral was cleaned up and the painting on it is now finished. Also the prop blades were given their coat of RLM 70 black green.

hf79c6c9.JPG


Tuesday I will start painting the upper surface camouflage colors on the Revell G-10. :)

Matrixone
 
Dear Les.

Like so much the shadows and "Highs" on 76 undersurfaces...Very inspiring for my Hartmann 's 109!

Thanks for posting your works , always very interesting...learning a lot :eek:ldguy

:salute

Luiz
 
Thank you Luiz. :)

The pre-shading I did will help the upcoming oil pin washes blend in to give them a more natural look. It has been my experience that once the other camouflage colors and markings are put on the model the pre-shading will hardly be noticed...and that's exactly what I am after.
Pre-shading aircraft models is dissed by many on other modeling sites but I believe if used with restraint pre-shading can be a useful and important weathering effect.


Matrixone
 
With your two G-10's and a friend of mine just finishing a G-2 on another site... that G-14 I have stashed away is starting to look like it may make the bench in the Spring...

' :frantic D*mn you and your inspirational building style...'

Ian.
 
Back
Top