Thank you Mike!
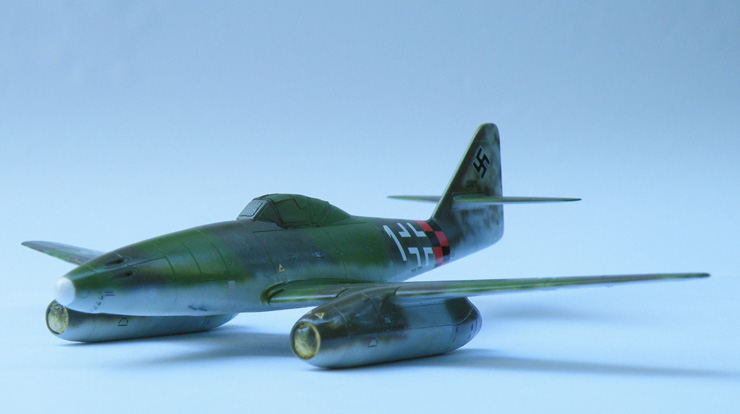
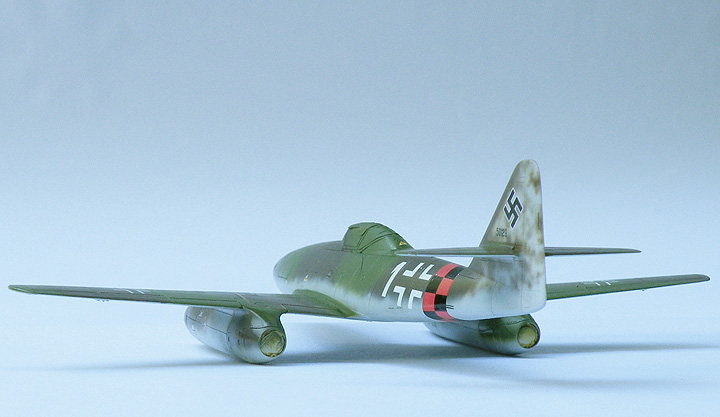
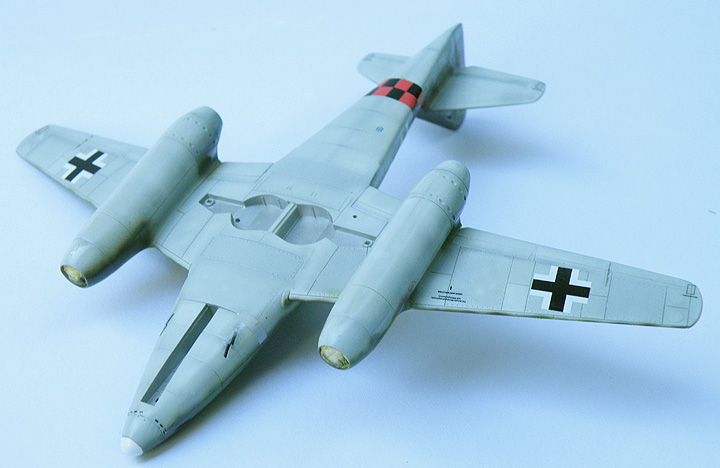
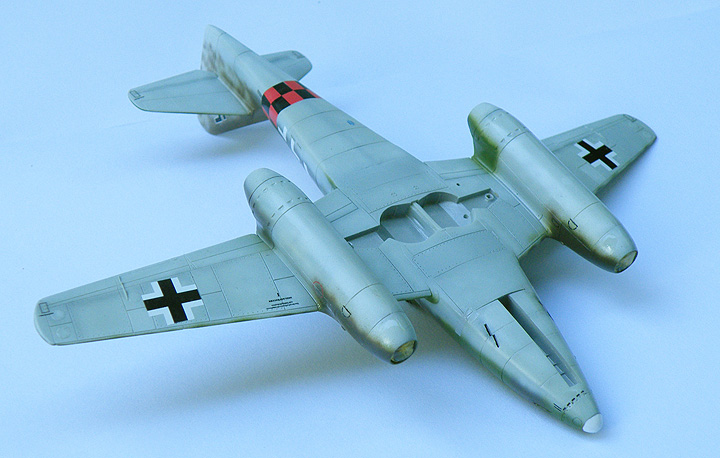
Most all of the decals are now on the Me 262, the two remaining decals that have yet to be put on the model go on the nose gear door and I need to wait until the model is almost finished before I can do that.
If the weather clears up I hope to get some in-progress pictures later today.
Matrixone
Most all of the decals are now on the Me 262, the two remaining decals that have yet to be put on the model go on the nose gear door and I need to wait until the model is almost finished before I can do that.
If the weather clears up I hope to get some in-progress pictures later today.
Matrixone
") :zen :zen
:zen :zen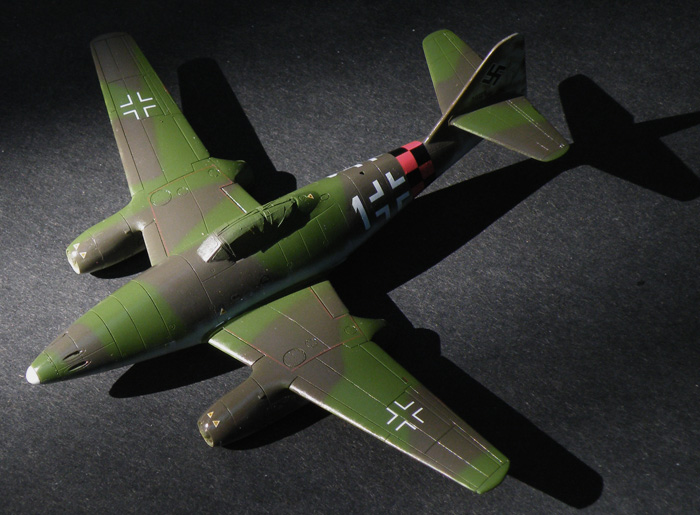
 :dude
:dude