• Modelers Alliance has updated the forum software on our website. We have migrated all post, content and user accounts but we could not migrate the passwords.
    This requires that you manually reset your password.
    Please click here, http://modelersalliance.org/forums/login to go to logon page and use the "Forgot your Password" option.

hawkenstien 3...........finished

hawkenstien 3...........fuse joined

Maybe we can find some pictures of how the real one looks, I know they had antenna wire going out to both wings but how they joined at the rudder, I never paid attention.

Looks good Joe :pilot
 
hawkenstien 3...........fuse joined

Looking good. Certainly takes more patience than I have.
JAmes
 
hawkenstien 3...........fuse joined

many thanks for looking in.

mp i have a couple of pics of the attachment to the rudder. i had to go with a bit thicker wire just to support the "insulated" piece. but overall it seems to match up to what i see in the pics. funny though. i have nothing on how it attaches to the wing itself. i thought i had a few photos of that saved but not when i looked.


joe
 
hawkenstien 3...........fuse joined

attachment to the rudder. ... i have nothing on how it attaches to the wing itself.

Rudder attaches to wing? You lost me. If you describe what you need, I probably have some images from the manuals to help out.

Regards,
 
hawkenstien 3...........fuse joined

luiz thanks. appreciated.

saul what i have is a couple of pictures of the connection of the antenna to the tail. i have nothing for the antenna to the wing. no better said i do have one drawing of the antenna socket but it is a blurry rendition with no scale indication.


joe
 
hawkenstien 3...........fuse joined

Are these what you are referring to?

h022f4b1.jpg


he03f197.jpg


Regards,
 
hawkenstien 3...........fuse joined

saul that is it exactly. many thanks again. never could seem to find a pic of it.


joe
 
hawkenstien 3...........wing work

well here i am again with a small update.


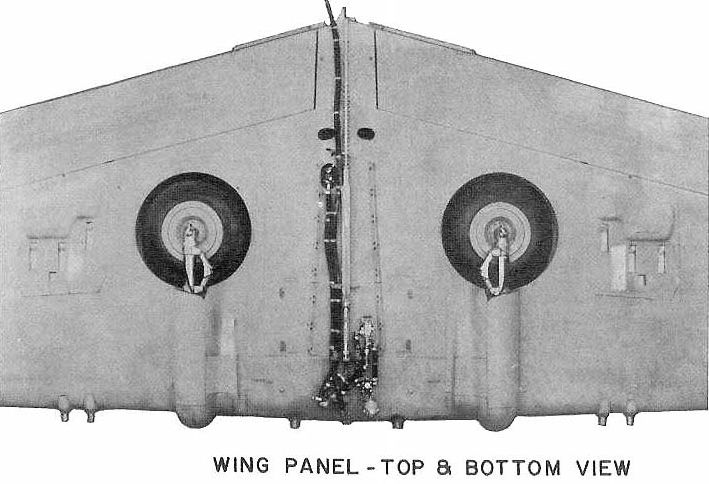
after two weeks of work ended in frustration i went to work again and came up with the skeleton for the starboard wing. i started with a cheat of sorts. i have built this kit before and in the box of builds that didnt make the moves i found the lower wing as well as the upper wings. i reglued them and then sliced them to get a profile for the spars. i then traced them out, gut them out, glued them to the cut wing parts with white glue, sanded them to the appropriate shape, and then assembled them with the wingtip to fuse spars. mind you these are in no way, shape, or form perfect. i am sure they are not 100% accurate but close enough for me. they are not square either. this is something that i can, to be honest, live with.

so the starboard wing skeleton.

wing-1_zps8a96b0c8.jpg

wing-2_zps8e04f8a7.jpg

wing-3_zpsa8aea34b.jpg


used the kit wingtop to try to get the overall shape correct.


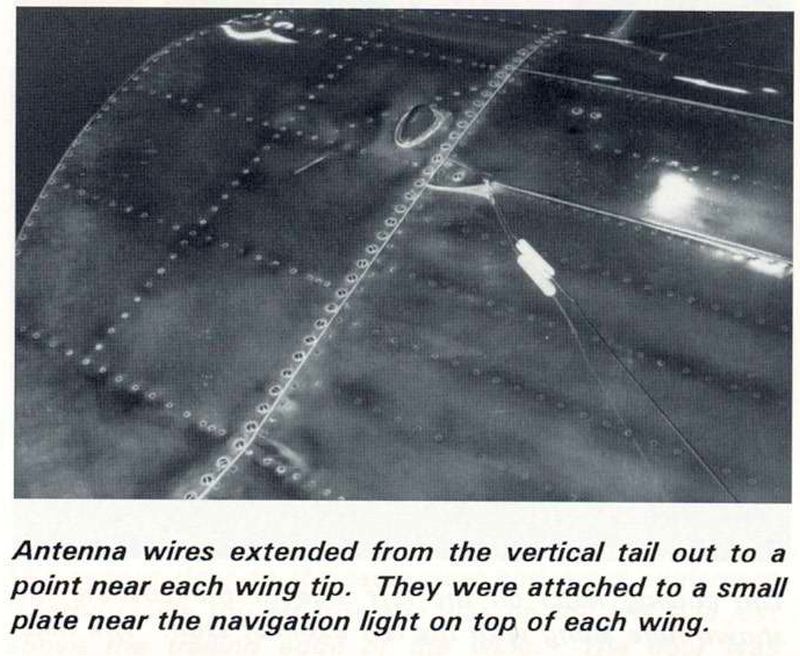
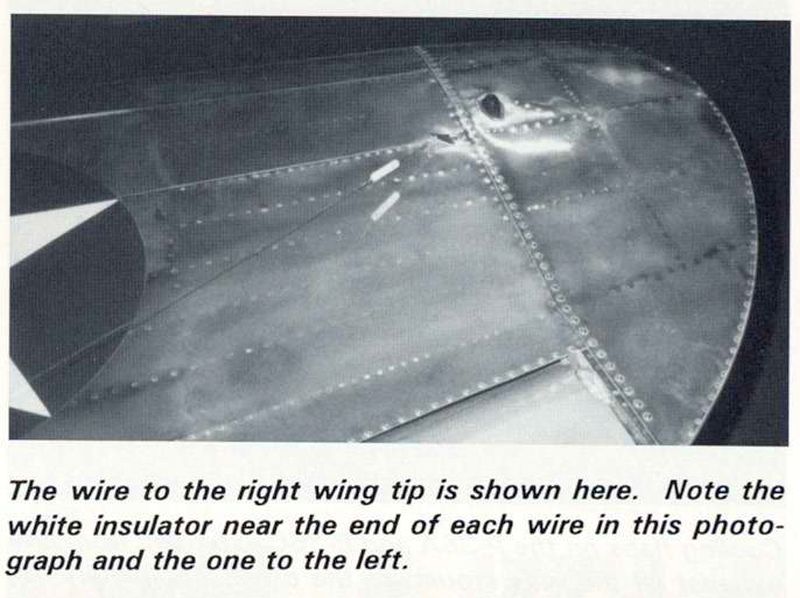
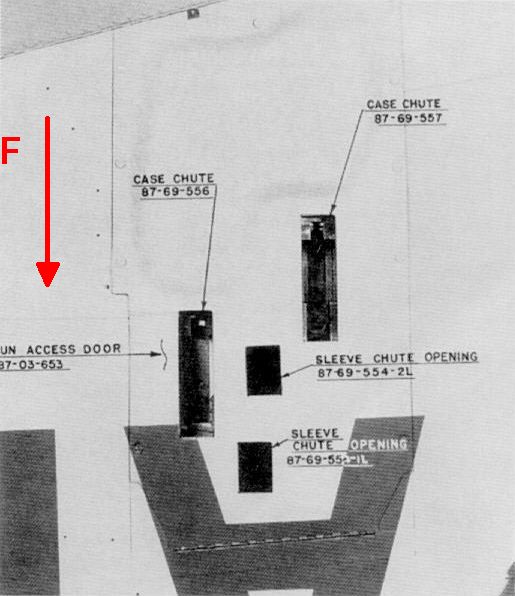
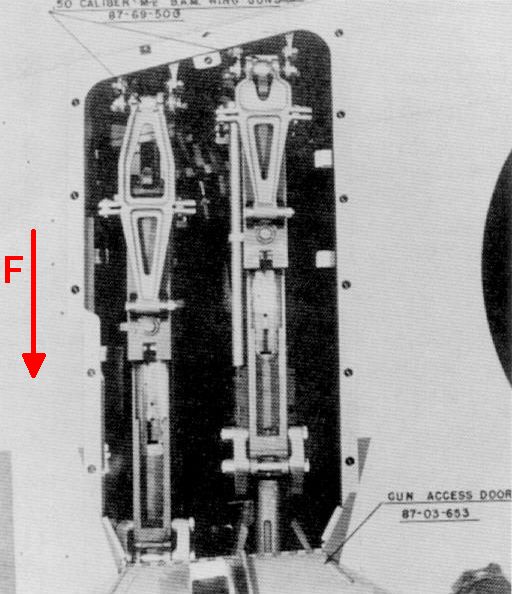
next up is to try to fashion the wing mounted gun assembly, the cable and pulley system for the flaps, the wingtip lights, and the fuel tank. thinking the upper wing will be cut on frame inward of the skeleton and the lower one frame outward of the wheel well.


what do you think of this. if it dont work i will be using the full wing and go that route.

all comments, critiques, and criticism are encouraged.


joe
 
hawkenstien 3...........wing work

Have you seen these sets of photos? Click photo to see set:


Regards,
 
hawkenstien 3...........wing work

i had not saul. some very nice a/c there. love the nmf bird. want to try that someday.


joe
 
hawkenstien 3...........wing work

Bottom views of the wing gun mounts. Note that F is forward:

hc862db8.jpg


hac03c2d.jpg


For your inquisitive friend on the other site:

hf05f404.jpg


h7873010.jpg


hd507501.jpg


I hope they are put to good use...

Regards,
 
hawkenstien 3...........wing work revisited

saul many thanks for those.

now for the news.

this has taken a bit of a change. there will be no skeleton wing for this bird. as much as i wanted it, my skill set at this time wont allow it. so on to plan b.

this morning i began by trying to get the skeleton wing to work. try as i may all i ended up with was frustration. after a couple of hours of cussing and such i went with the suggestion of cutting the wing without redoing the entire wing. so out came the blades, the dremel, and the sandpaper. the cut was made, sorry no pic of just the cut. then out came the files and the sandpaper and i went about trying to clean up the mess. i then started with boxing out the ammo bin. now mind you this is, i am more than sure, not accurate. i am however moving forward with it. i then began to try to fashion some ammo crates, again these are not accurate, i am more than positive i just couldnt get the right shape for the pic i have nor the room that would allow the belts to feed the guns. i then moved onto the set of .303's in the wing. now these although not perfect are a large step up from the kit parts.

all told was a pretty long day in the bunker with really not much to show for it.

first up the .303's.

wing-guns-1_zpsac82db37.jpg

wing-guns-2_zpsfc259acf.jpg

wing-guns-4_zps35bb355e.jpg

wing-guns-3_zpsfeb6ce06.jpg


now for the overall. this is why i am actually pretty happy to move forward.

wing-5_zps4707b5b7.jpg

wing-4_zps1518383d.jpg


now unless the mood strikes me to redo the ammo boxes i plan to get some color on this and then move on to the next step.


all comments, critiques, and criticism are encouraged.


joe
 
hawkenstien 3...........wing work revisited

Good work!

After a long day, it is time for an adult beverage :drinks
 
hawkenstien 3...........wing work revisited

I promote you to Armorer First Class, Joe! Very nice work on dem guns! :drinks
 
Back
Top