-
Modelers Alliance has updated the forum software on our website. We have migrated all post, content and user accounts but we could not migrate the passwords.
This requires that you manually reset your password.
Please click here, http://modelersalliance.org/forums/login to go to logon page and use the "Forgot your Password" option.
You are using an out of date browser. It may not display this or other websites correctly.
You should upgrade or use an alternative browser.
You should upgrade or use an alternative browser.
Dragon Jagdpanzer IV L/70 (V)
- Thread starter Iron Mike
- Start date
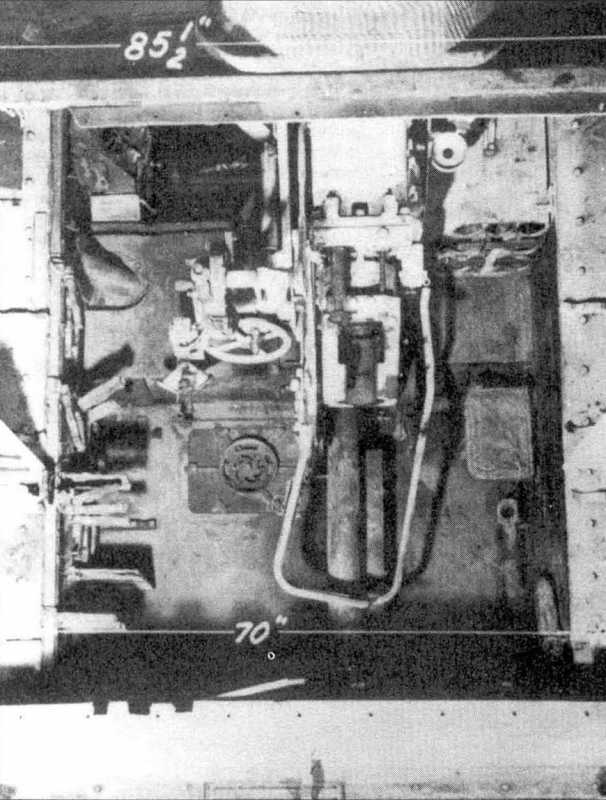
Seems like a long way to look up in the hull to see the breach, you sure it's going to be visible?
I decided to build the rear breech and am going to glue it behind the Armorscale parts.
Mike, the breech of this variant is not the same as the kit included one. The gun is the same as used on the Jagdpanzer 38.

One of my Jagdpanzer 38 will be a Czech Uprising vehicle without its gun... do you wish to swap the Eduard parts for this? The L/70 is the same gun type as the Panther, modified for use in the Jagdpanzer, this explains why the first seen had the threaded end for a muzzle brake as the guns were taken from those alloted for Panther production and adapted.
Regards,
Iron Mike
Master At Arms And Resident Curmudgeon
Thanks, Saul, but so little shows through the hatches, I'm going proceed with what I have. I have made so little progress in the past week, I was ashamed to post any pictures, but have made strides today!
Following Tony's suggestion, I washed the breech with Raw Umber.


Grimy and well used!
I glued the completed breech behind the Armorscale mantlet and sealed everything up. The trusty old blue clamps provided assistance while the CA set.

After an hour, I removed the "clamps" and added the shurzen brackets. The reference photo I'm using shows all the brackets intact, although a bit twisted.

The PE brackets on the engine deck were added along with several miscellaneous bits in prep for primer.


Thanks for your patience, comments and suggestions are welcome. :drinks
Following Tony's suggestion, I washed the breech with Raw Umber.
Grimy and well used!
I glued the completed breech behind the Armorscale mantlet and sealed everything up. The trusty old blue clamps provided assistance while the CA set.
After an hour, I removed the "clamps" and added the shurzen brackets. The reference photo I'm using shows all the brackets intact, although a bit twisted.
The PE brackets on the engine deck were added along with several miscellaneous bits in prep for primer.
Thanks for your patience, comments and suggestions are welcome. :drinks
AndyFettes
Master at Arms
Enjoying this Mike 
BAM! that looks like a heavy hitter, nice work Mike. 
I've been too busy to drop by but glad I did now!
Regards,
Regards,
Similar threads
- Replies
- 50
- Views
- 5K
- Replies
- 21
- Views
- 3K

