
-
Modelers Alliance has updated the forum software on our website. We have migrated all post, content and user accounts but we could not migrate the passwords.
This requires that you manually reset your password.
Please click here, http://modelersalliance.org/forums/login to go to logon page and use the "Forgot your Password" option.
You are using an out of date browser. It may not display this or other websites correctly.
You should upgrade or use an alternative browser.
You should upgrade or use an alternative browser.
Coanda-1910 - scratch built
- Thread starter White_Wolf
- Start date
Just watching Laurence, not sure if I can offer any advice. 
White_Wolf
Master at Arms
Had another thought. What if you over spray with clear red?
James
Thanks James, worth trying

Very much experimenting different things to see how it turns out. Not saving time but rather the good old trial and error process

Just watching Laurence, not sure if I can offer any advice.
Any ideas are always welcome MP - always worth listening to anything other fellow modellers have to say
randy_ditton
Master at Arms
Hello Laurence, Wonderful build of a very different plane
Randy
Randy
White_Wolf
Master at Arms
Thank you Randy 
White_Wolf
Master at Arms
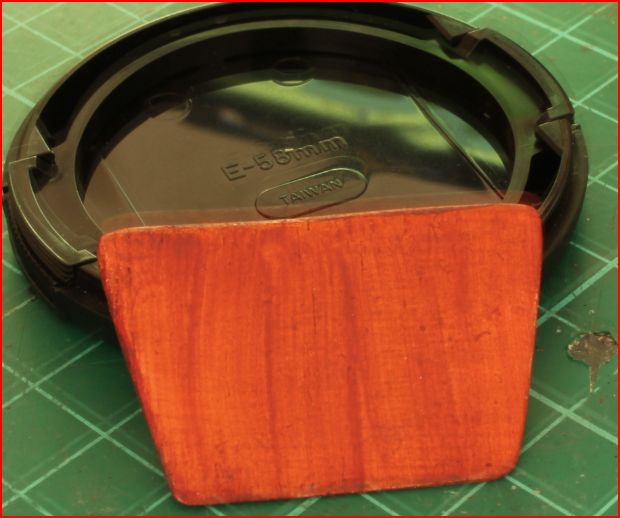
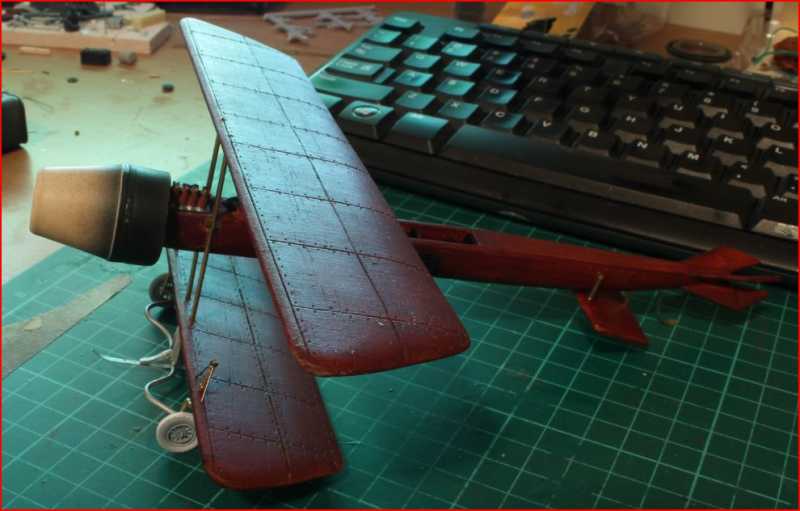
Right ... some pics to show the colors I am after, the small wing and the lower wing (primed Vallejo black, undercoat Vallejo Flesh and a coat of raw umber+ burnt sienna.
This one shows the initial color, before I was told the plane was a more reddish - mahogany like :smack
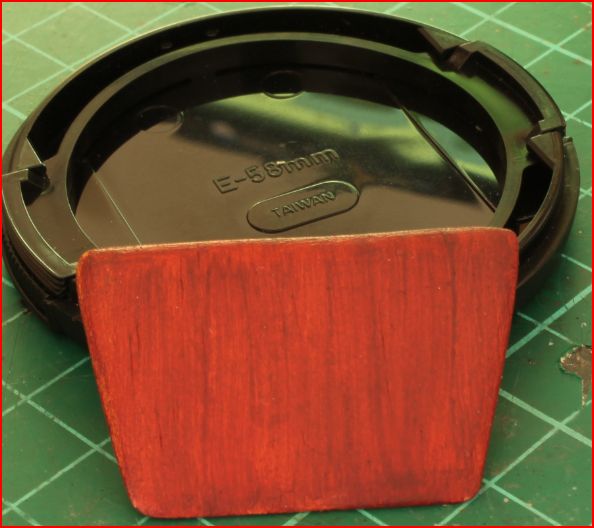
This one shows the one above plus a "thicker wash" than usual with a drop of carmine red into the mix.One sweep with the brush over the color showing in the first pic, mixture like milk in texture, pretty diluted.
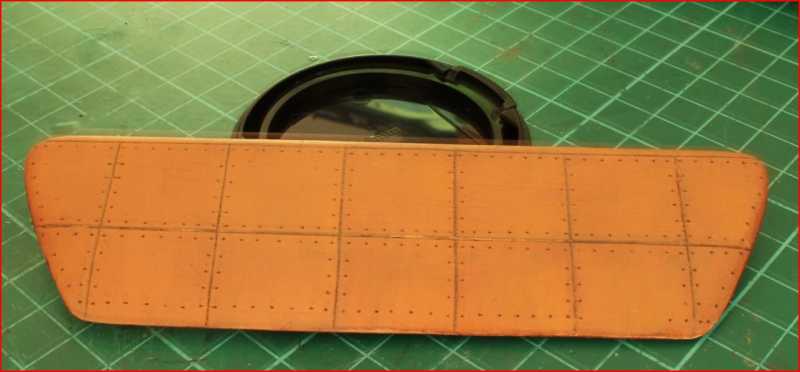
Last one showing the lower wing. The other wing is at the back of the plane, under the fuselage for extra lift.
I had to rework the upper wing due to a messy piece of work prior . The steel rod was not glued properly, there was a lot of untidy bits and pieces hanging around like a bad smell
Removed it, repainted it, now it's drying nicely, will get a coat of Vallejo Steel. The elements supporting it have been cleaned thoroughly and will receive the same treatment.
Fuselage repainted to obtain the initial color then will make it turn reddish. I dare not touch it even to take a pic, that's going to wait until tomorrow.
Thanks for watching, and, as always, suggestions, opinions, criticism are most welcome
This one shows the initial color, before I was told the plane was a more reddish - mahogany like :smack
This one shows the one above plus a "thicker wash" than usual with a drop of carmine red into the mix.One sweep with the brush over the color showing in the first pic, mixture like milk in texture, pretty diluted.
Last one showing the lower wing. The other wing is at the back of the plane, under the fuselage for extra lift.
I had to rework the upper wing due to a messy piece of work prior
. The steel rod was not glued properly, there was a lot of untidy bits and pieces hanging around like a bad smell Removed it, repainted it, now it's drying nicely, will get a coat of Vallejo Steel. The elements supporting it have been cleaned thoroughly and will receive the same treatment.
Fuselage repainted to obtain the initial color then will make it turn reddish. I dare not touch it even to take a pic, that's going to wait until tomorrow.
Thanks for watching, and, as always, suggestions, opinions, criticism are most welcome
White_Wolf
Master at Arms
Thanks again fellas, appreciate it.
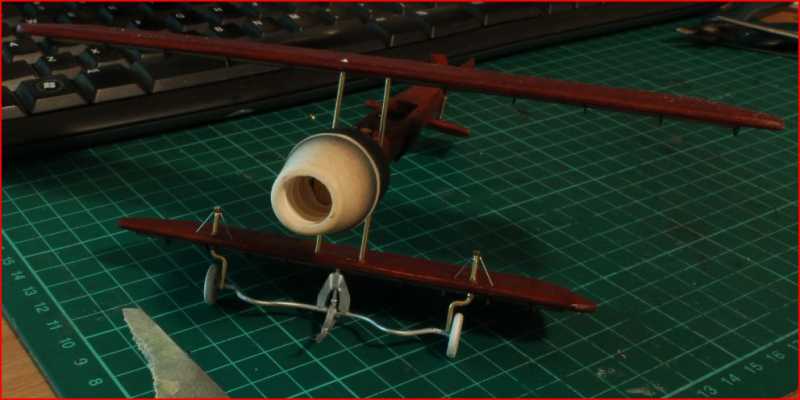
Next installment is just one photo - fuselage with the almost final color, engine is mounted and so is the rear wing, and the skidding thingy behind it. More to come soon I hope.
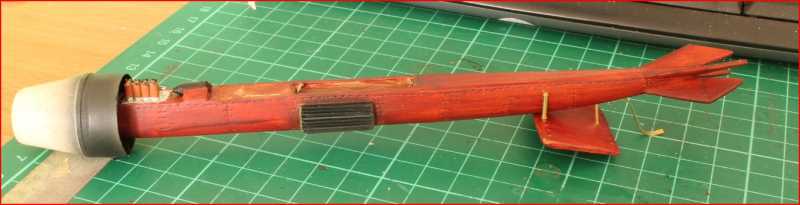
Next installment is just one photo - fuselage with the almost final color, engine is mounted and so is the rear wing, and the skidding thingy behind it. More to come soon I hope.
White_Wolf
Master at Arms
Way too kind James, thank you
That's cool
phantom II
Master at Arms
Wow, this is definitely way above the average build Very interesting .
Cheers, Christian B)
Very interesting . Cheers, Christian B)
White_Wolf
Master at Arms
Thanks MP & Christian, more to come today if it goes to plan
White_Wolf
Master at Arms
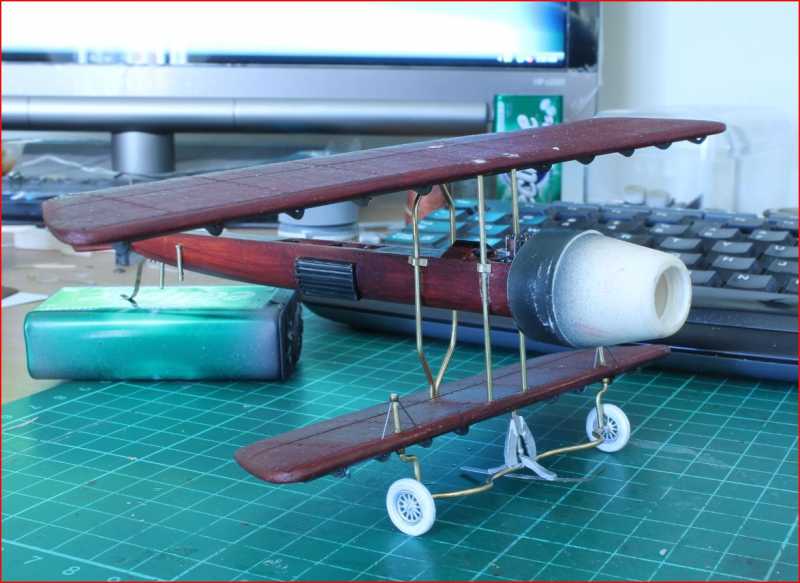
More done today - fiddly little things cut to approximative size as much as I can tell from the original pics. Anyway still a long way to go, two more struts to be added, landing gear to be glued into place and the rotor / fan with 15 curved blades  plus a general cleanup (some debris there)and a nice coat of gloss finish. I watched a 1970 interview with the inventor himself and he pointed at the coffee table in front of him saying the finish was "like that" - polished shiny table that was.
Anyway, here are the pics ...
plus a general cleanup (some debris there)and a nice coat of gloss finish. I watched a 1970 interview with the inventor himself and he pointed at the coffee table in front of him saying the finish was "like that" - polished shiny table that was.Anyway, here are the pics ...
Outstanding!
White_Wolf
Master at Arms
Thank you Sir
phantom II
Master at Arms
An odd looking gadget to be sure . Well done
Cheers, Christian B)
Cheers, Christian B)
White_Wolf
Master at Arms
Many thanks gentlemen, appreciate it
One more progress pic, all 4 struts are in place now, the landing gear is glued too. Needs more painting, have corrected the rear wing hence its' absence from the pic but will be in place soon.
I still have to attach a few things but hopefully this week will be all done.
One more progress pic, all 4 struts are in place now, the landing gear is glued too. Needs more painting, have corrected the rear wing hence its' absence from the pic but will be in place soon.
I still have to attach a few things but hopefully this week will be all done.
Similar threads
- Replies
- 7
- Views
- 840