jeaton01
Well-known member
I guess I forgot to post this one here, so here's a recap up to where it is now.
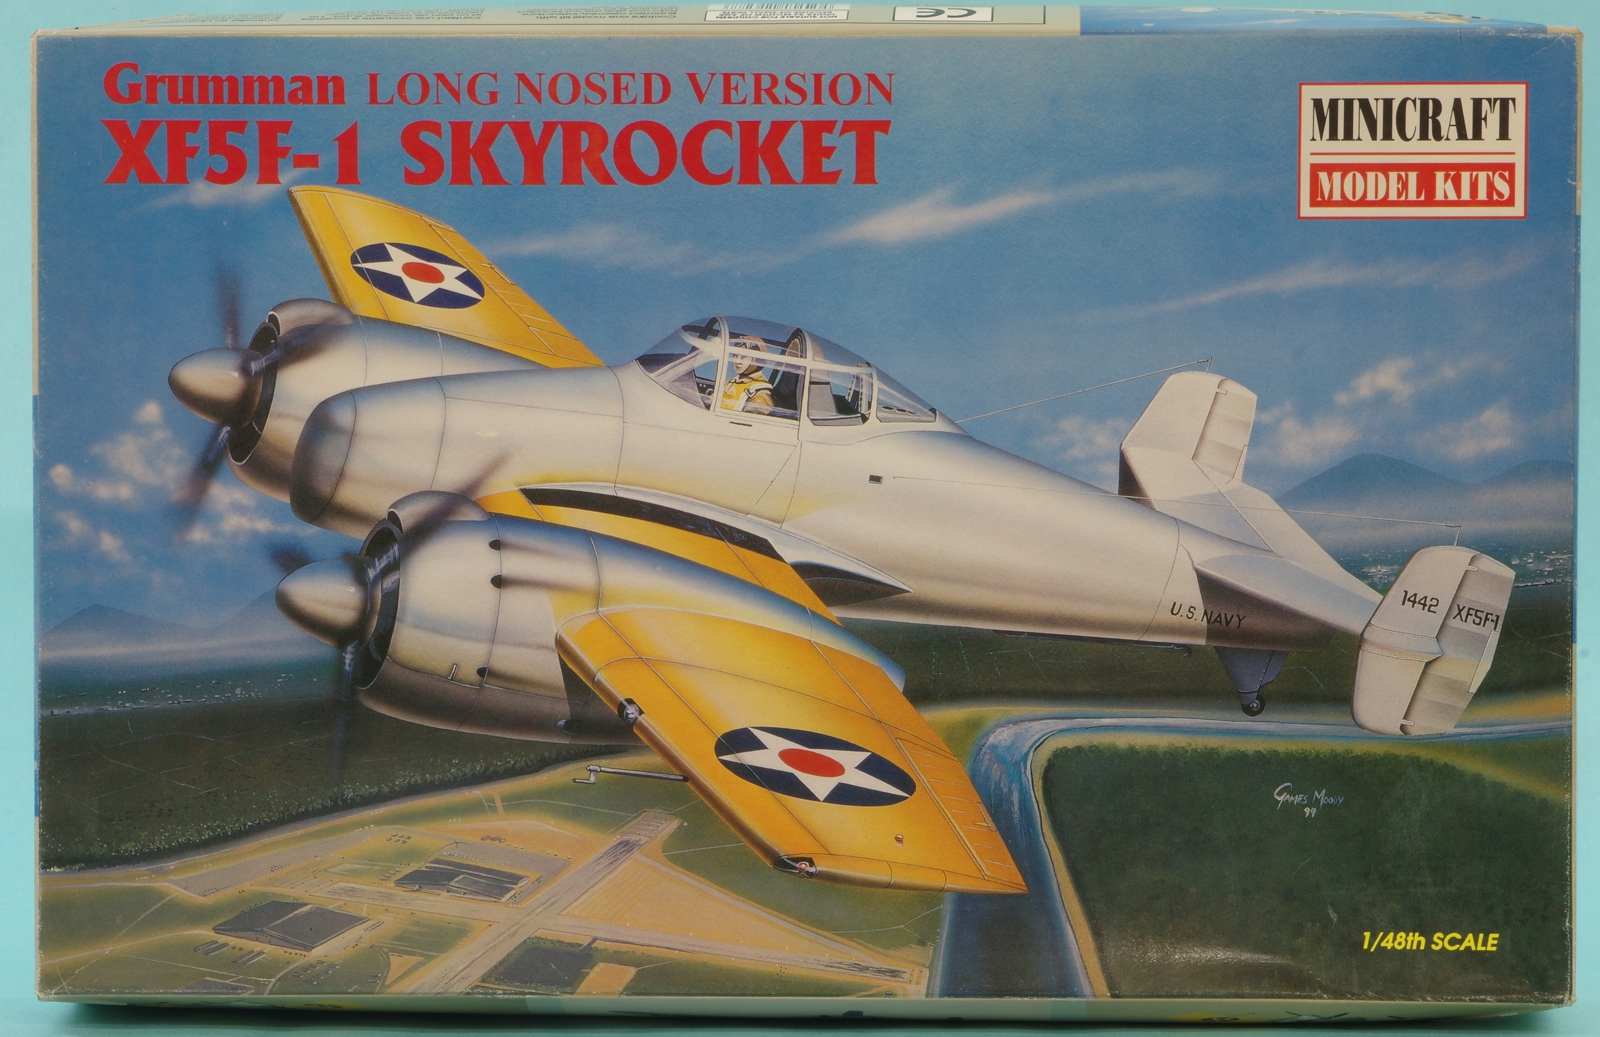
The box art:
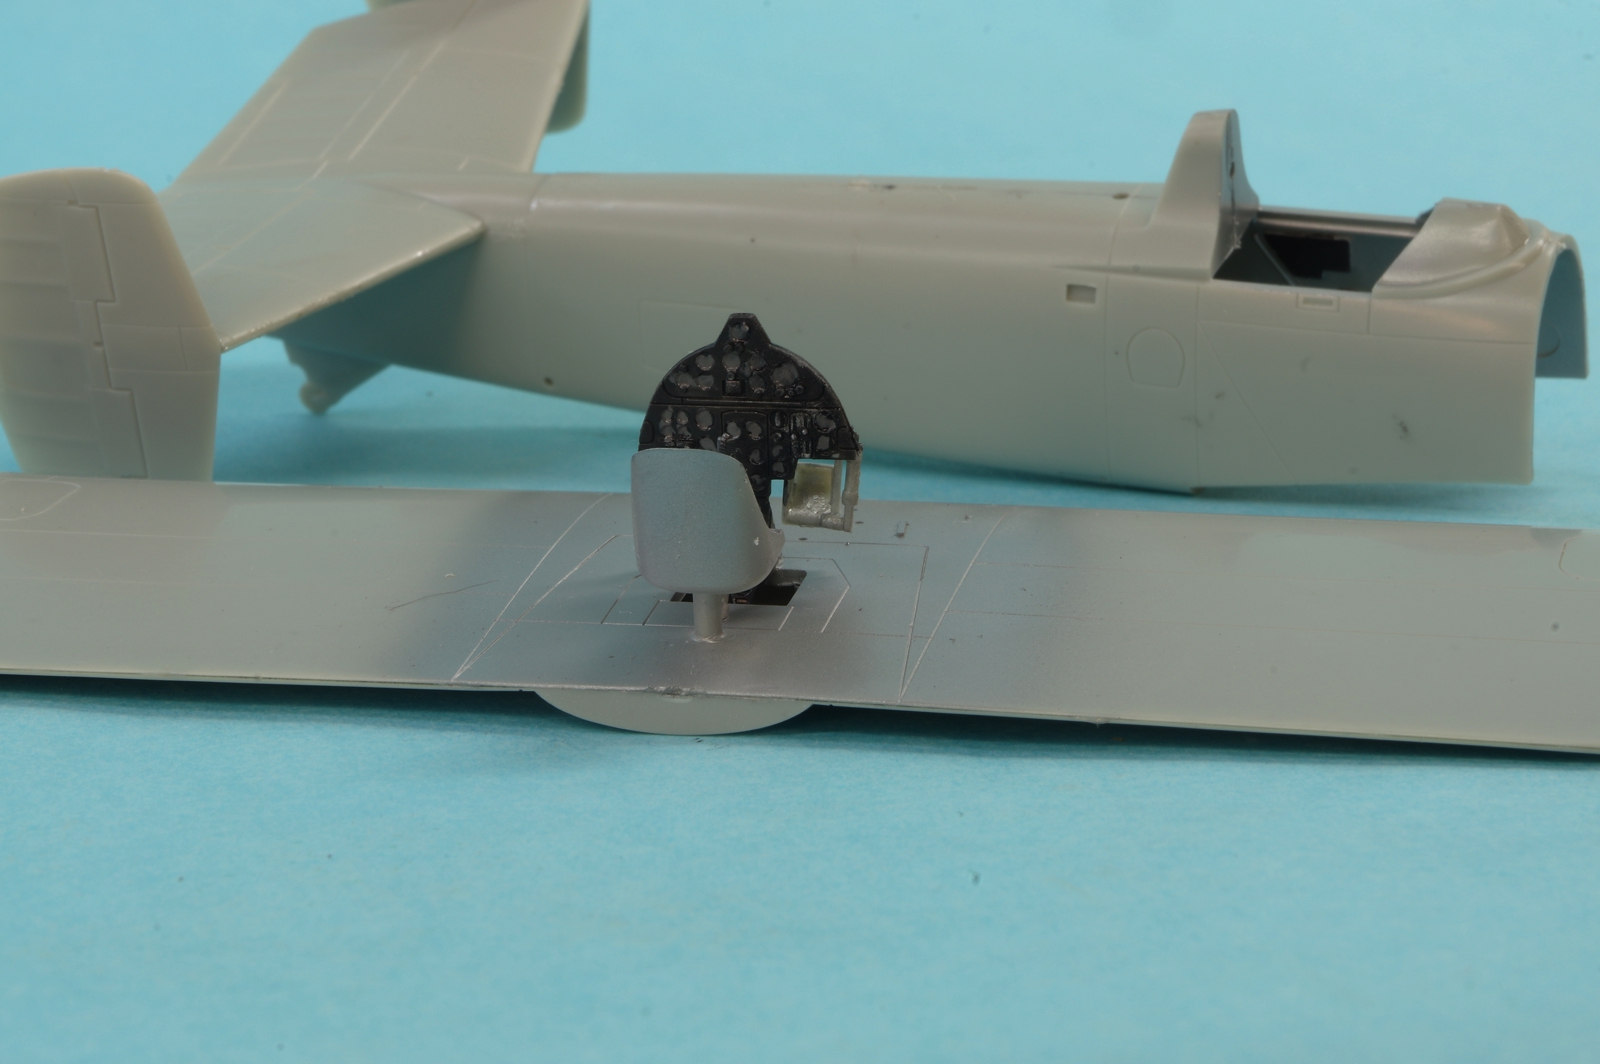
I painted the instrument panel with Model Master Black Chrome, and filled the dial faces with a dark grey, and then overcoated the faces with Alclad Gloss Clear. I can see I need to touch up some of the areas around the gauges in the pictures. It looked great while I was doing it, as usual. The panel will be very hard to see with a closed canopy.
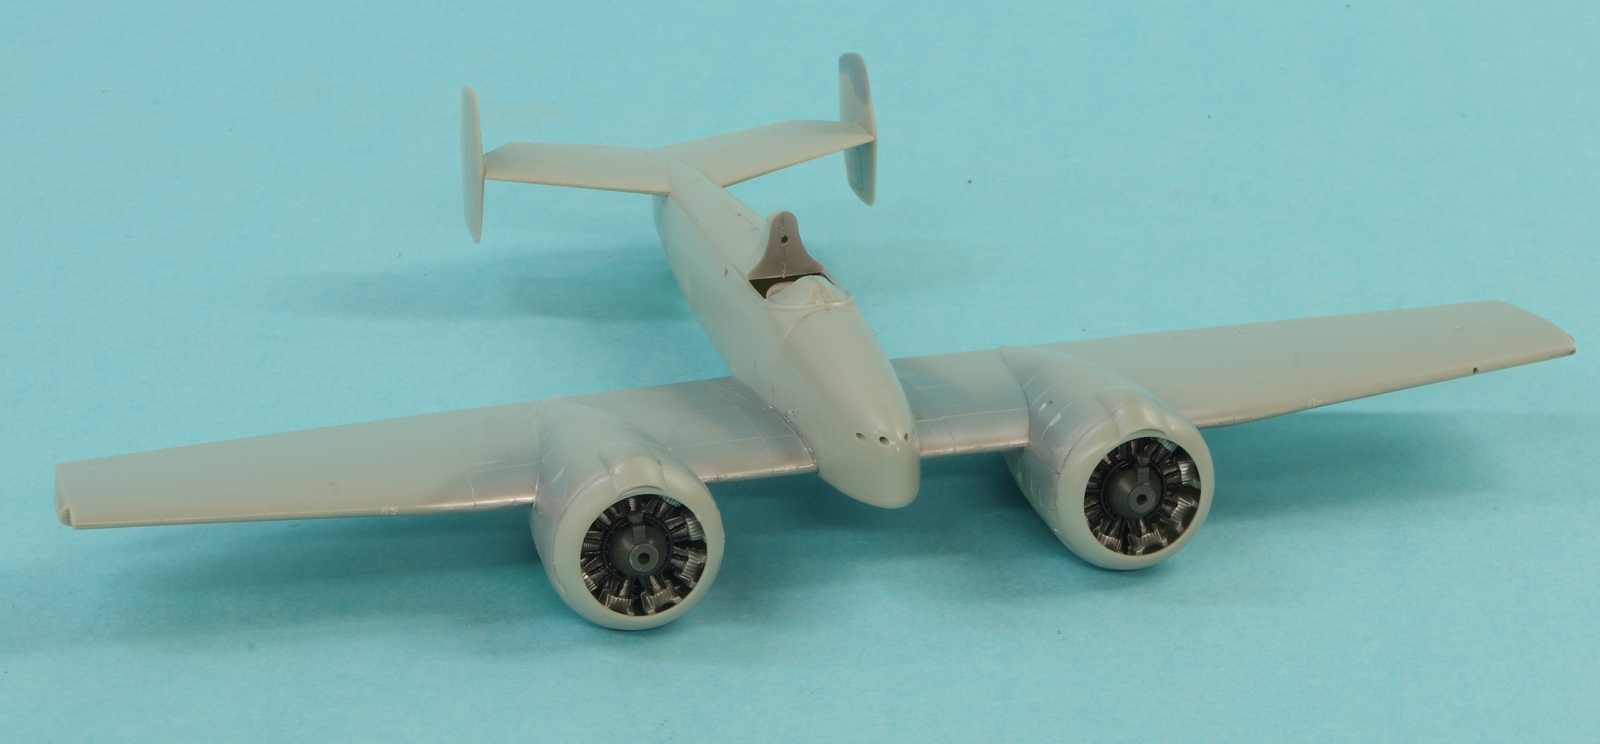
There is no real alignment left and right for the fuselage on the wing. It looked easier to glue the nose on the wing first, as it at least had some guide rails on the wing. I think building the short nose version will be difficult because of this because the nose comes in three parts and has no fit to the leading edge of the wing.
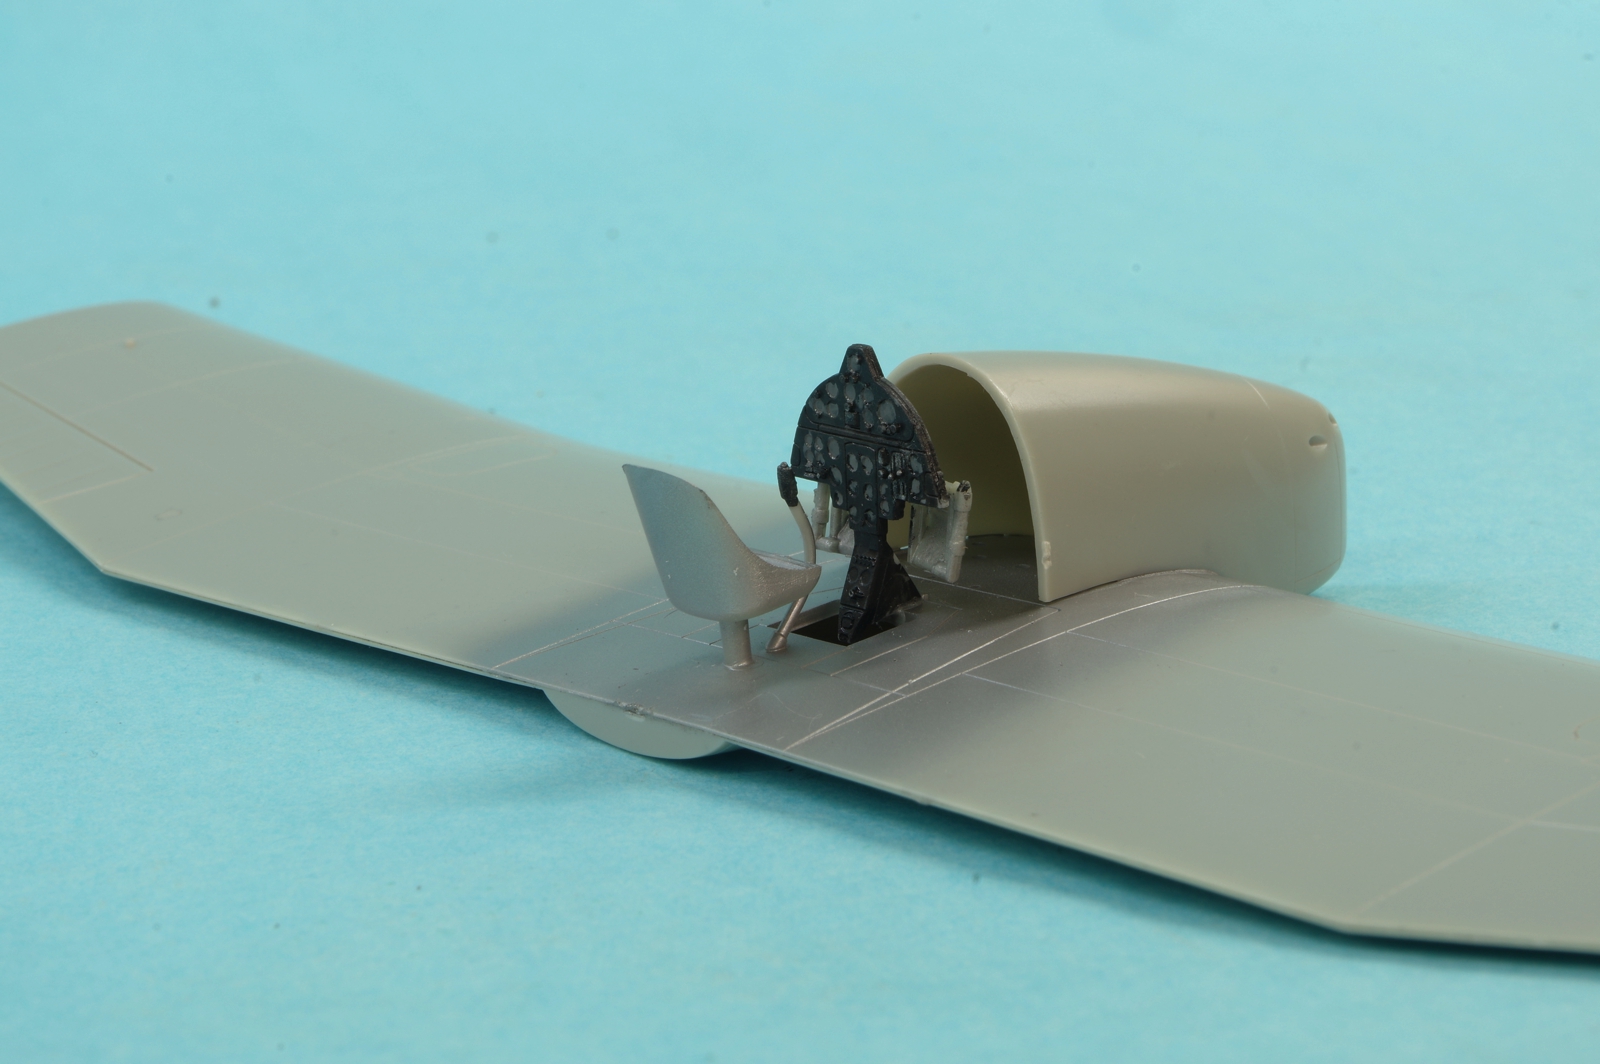
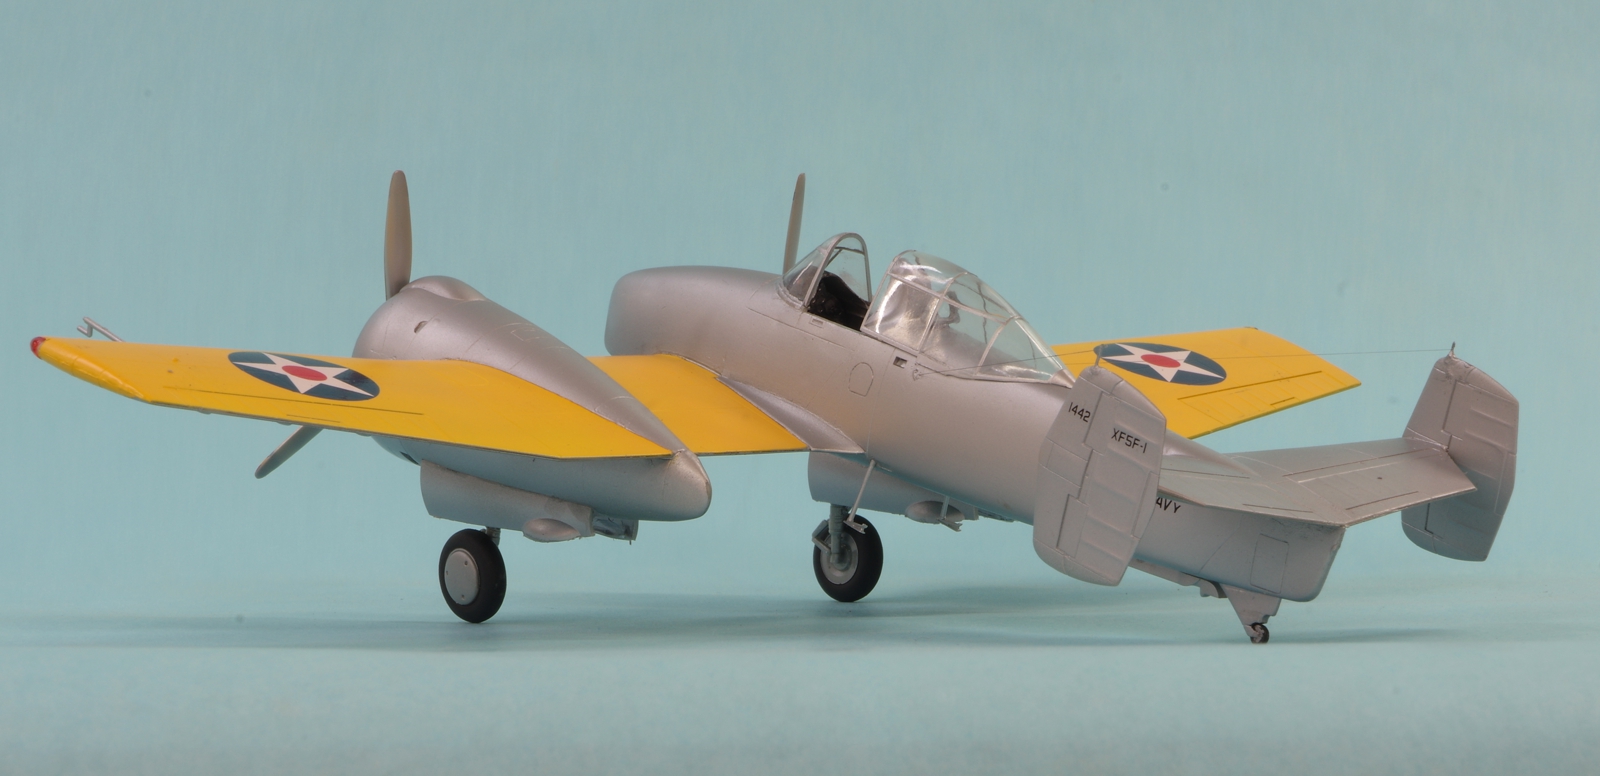
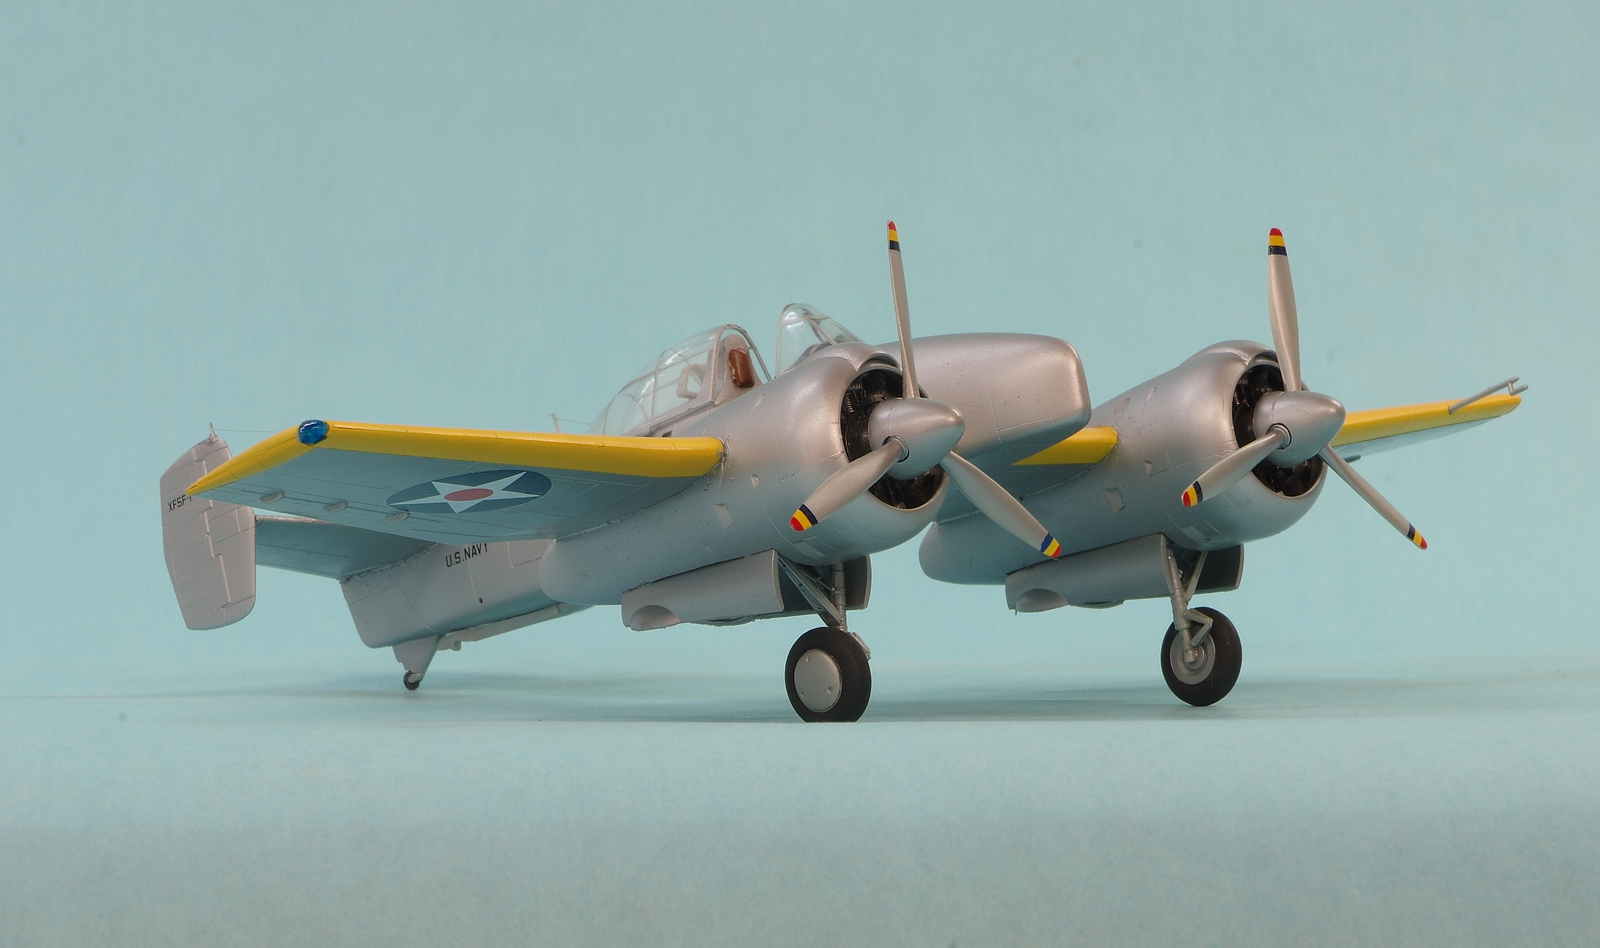
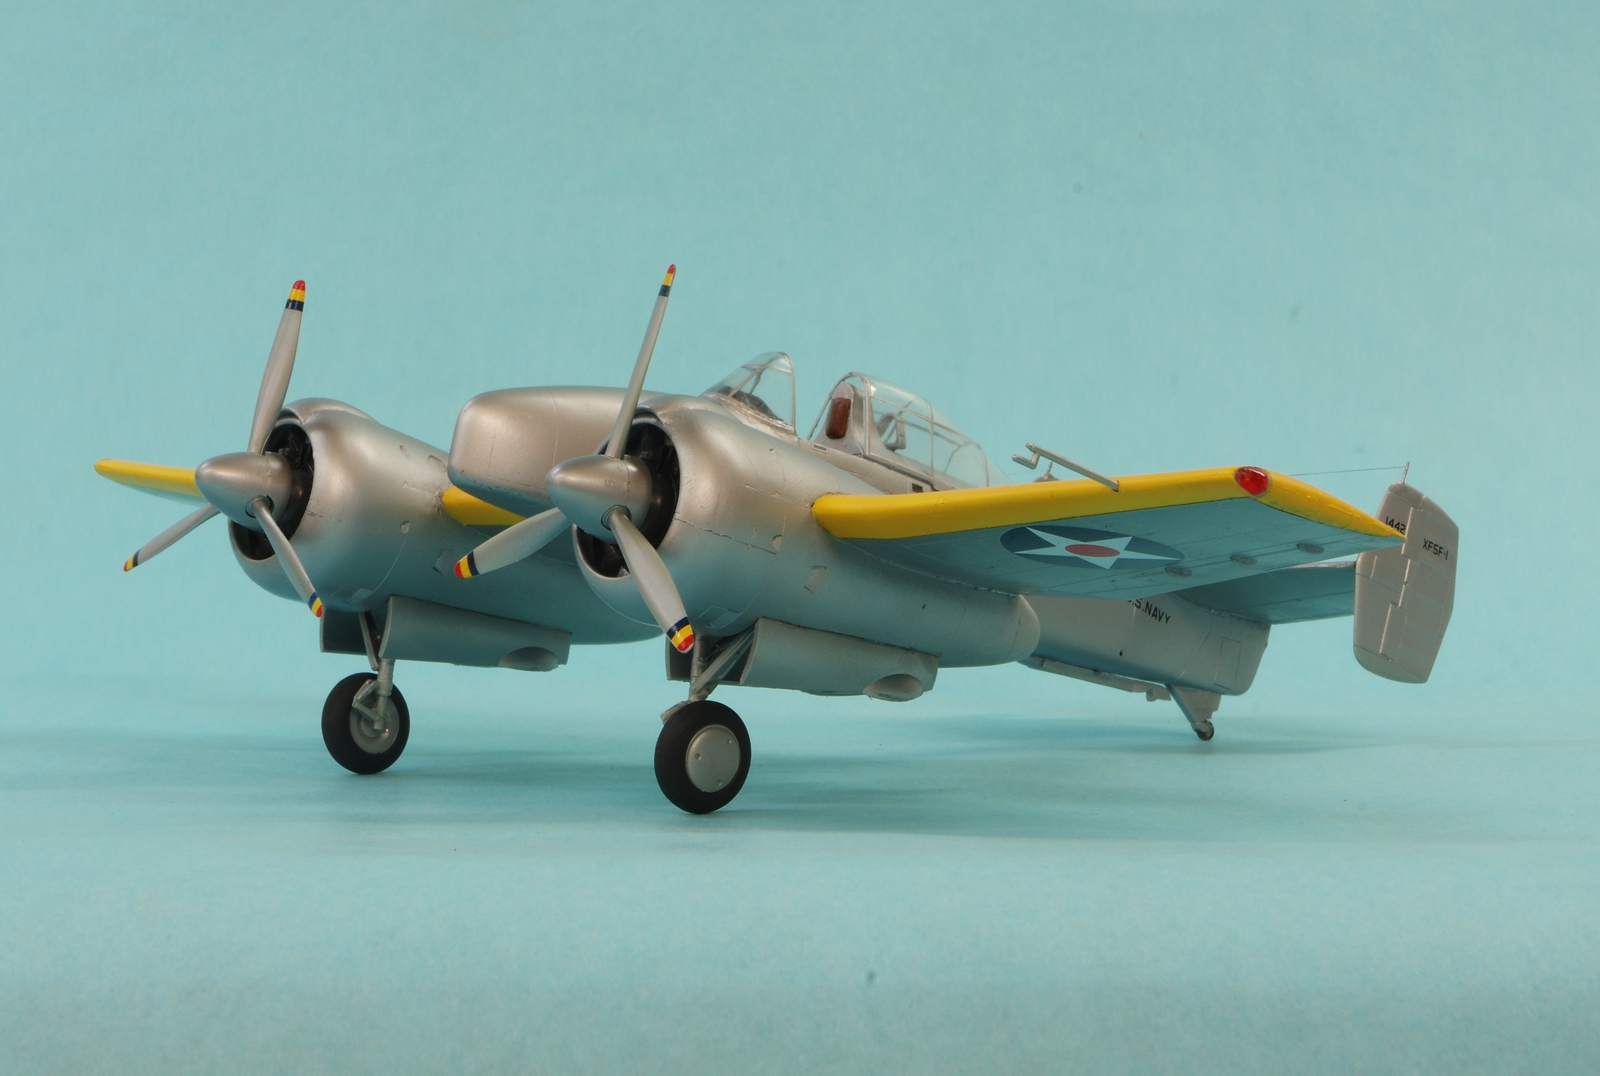
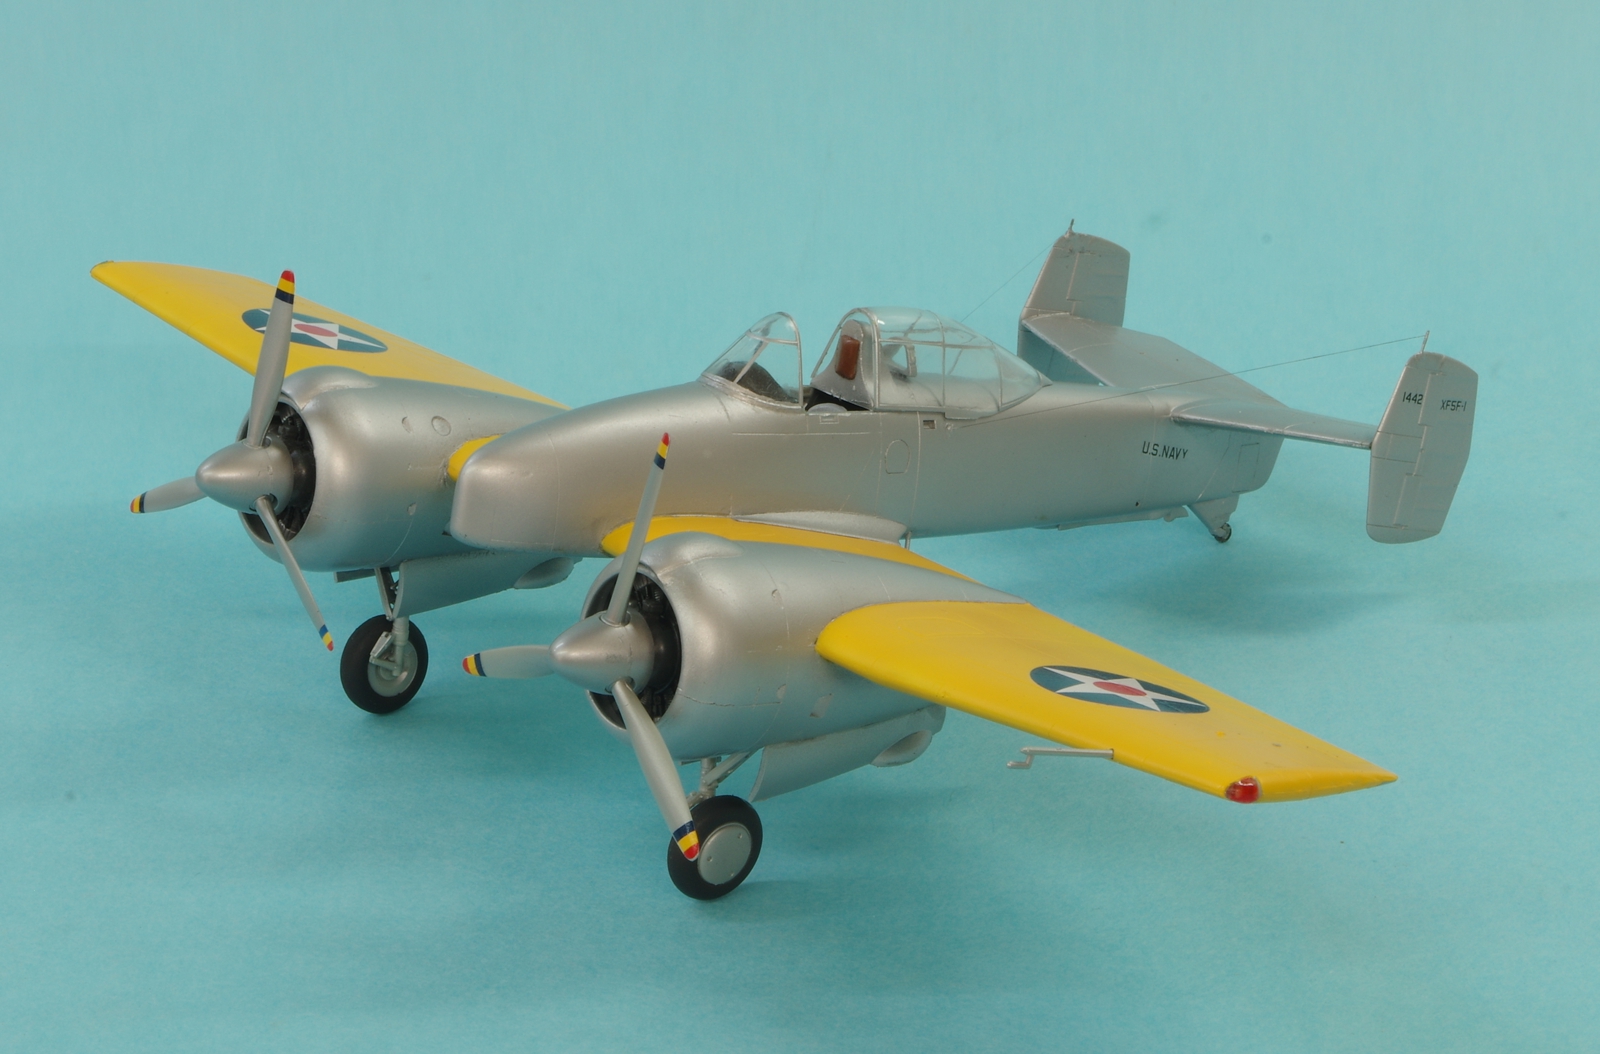
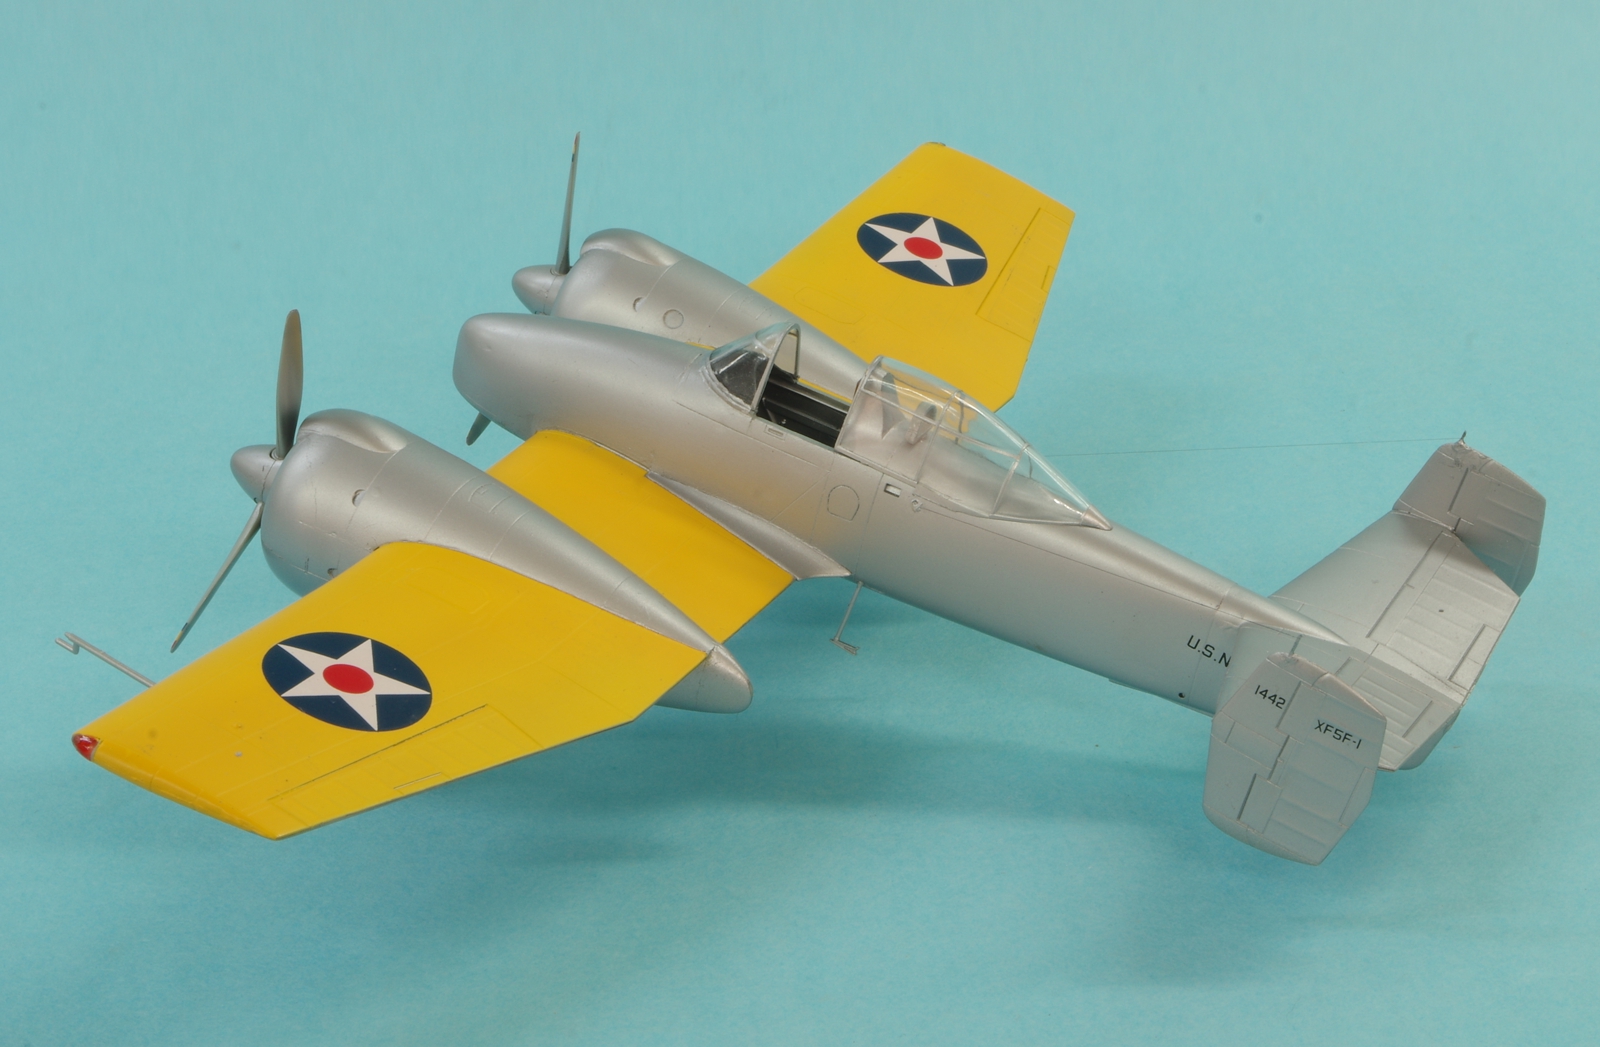
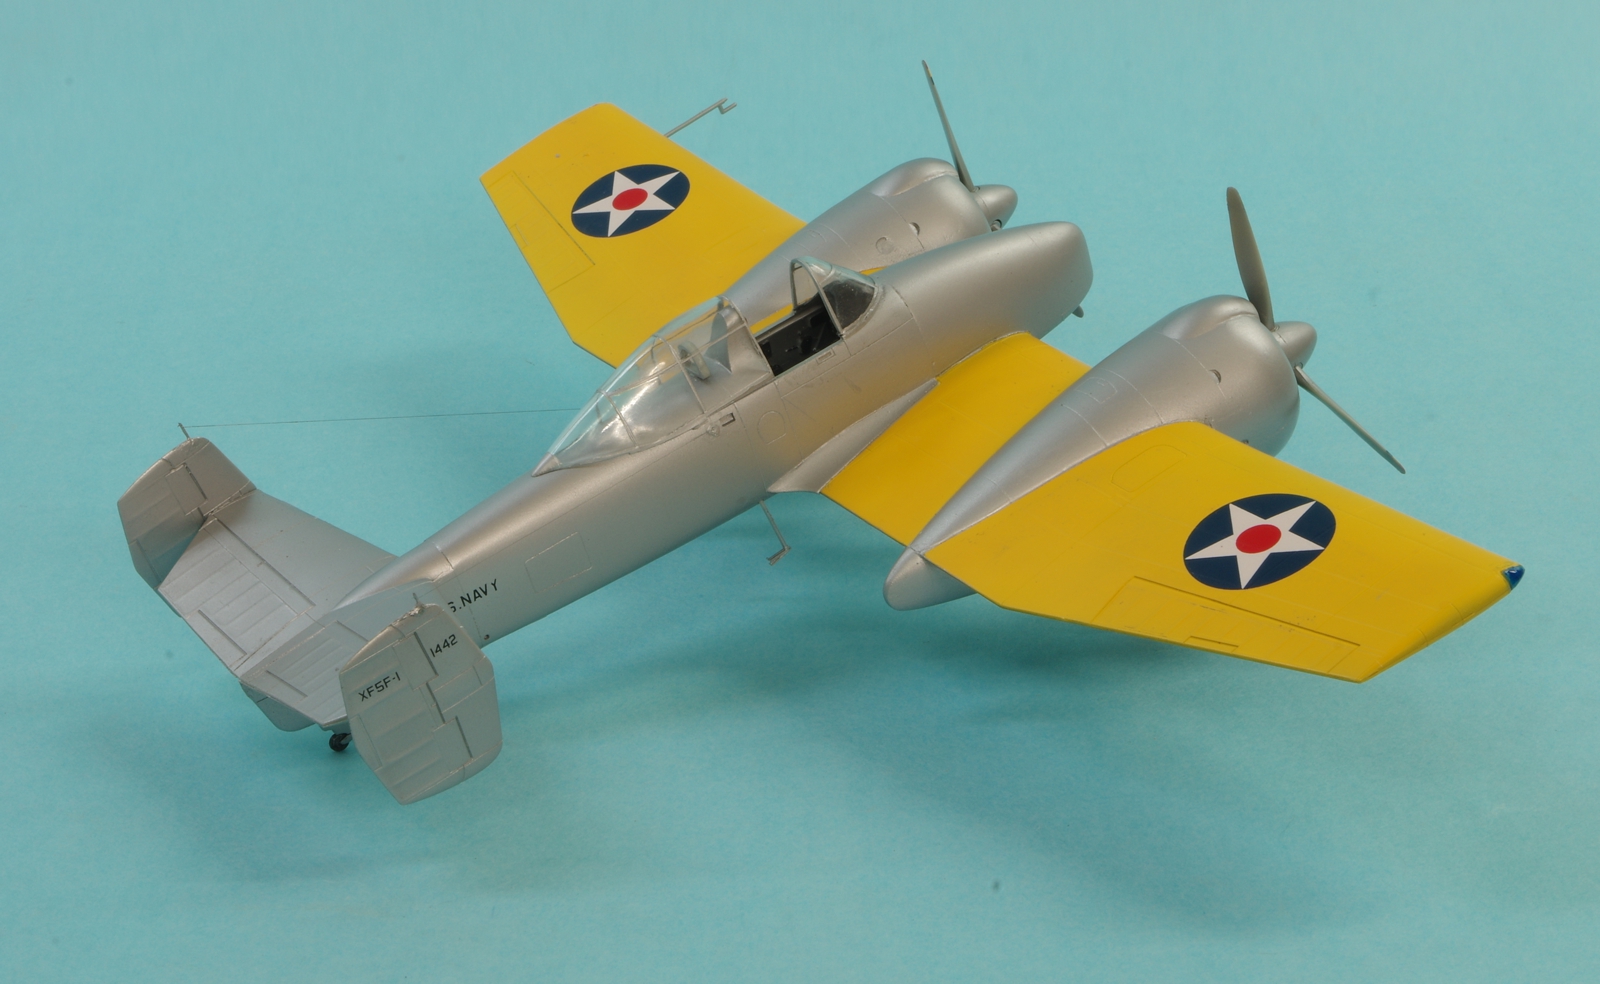
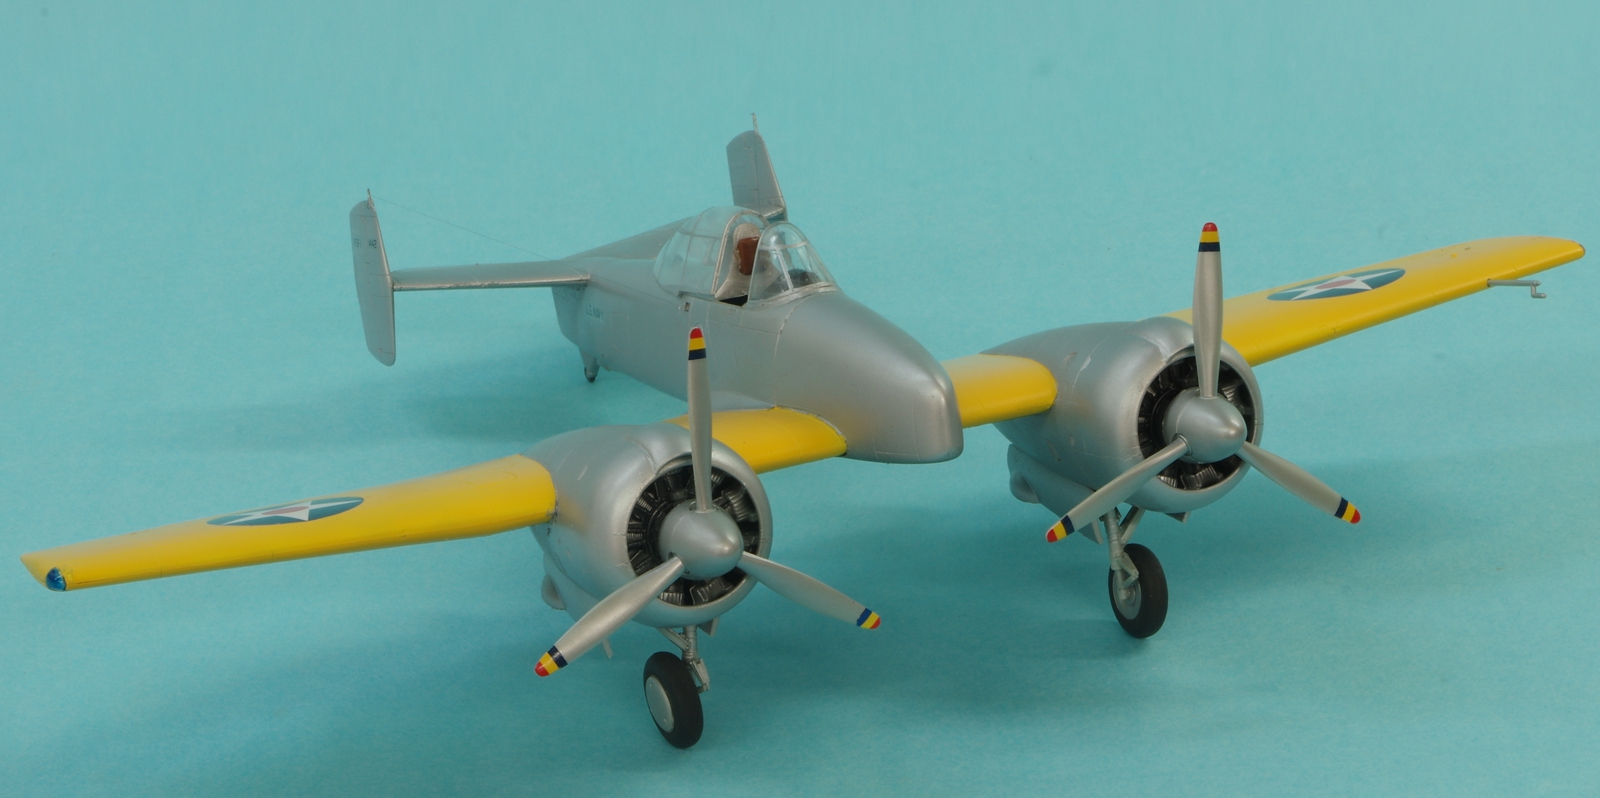
Right now the white undercoat is drying on the upper wing panels in preparation for the yellow, but here are some pictures of the construction. I glued the nose section on the wing first, after figuring out where it fit left to right by dry fitting the aft fuselage. I aligned the aft fuselage with the lower wing, it has a shape that drops down to fair to the fuselage there. When the nose was dry enough I glued on the aft fuselage, being careful to get the sides spaced so there was a good match to the nose. There is no positive alignment, just some ridges that fit the short nose, not the long one The engines are nice, though the things they call the ignition harness are more like push rod housings except for being too short. Whatever, they look nice enough and fit well. There is an intake manifold and exhaust collector ring, but once in they will never be seen again by man nor beast. The cowling fronts fit well but I did spend some time eliminating the seams as there is no panel line there. As with the fuselage, there is no positive fit for the long nacelles, just some ridges on the bottom of the wing that are appropriate to the short nacelle/short nose version. The fit was pretty nice but took some care and planning to get all four cowling parts in place.
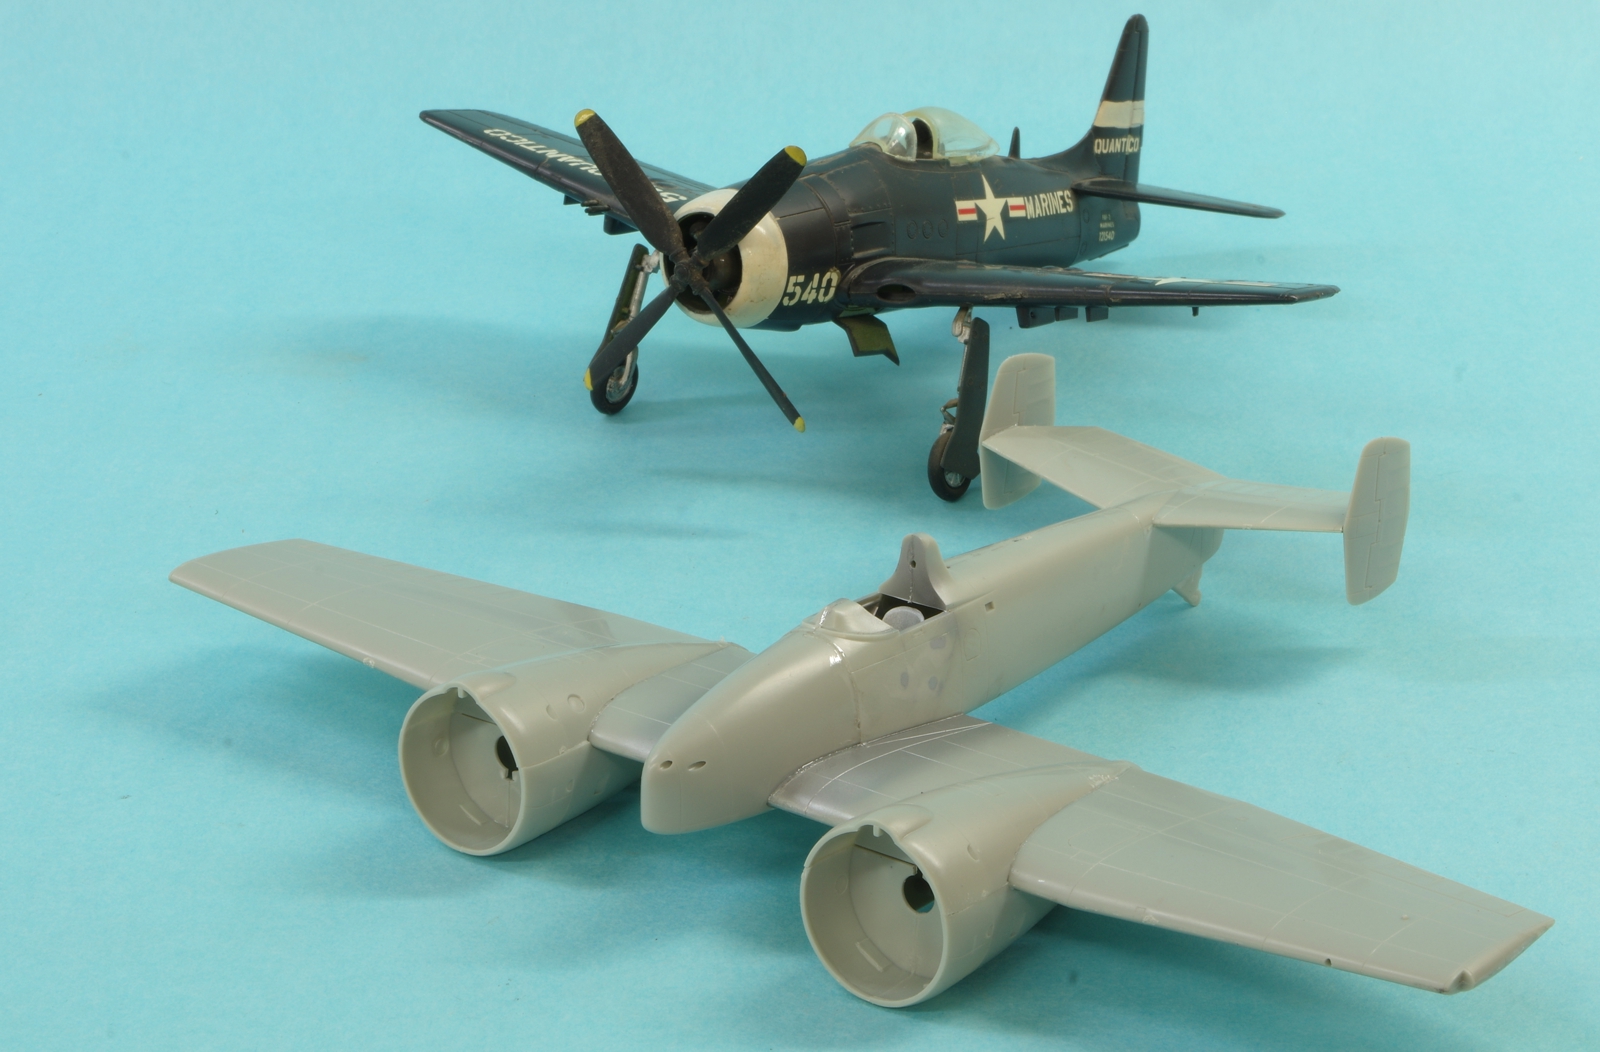
The Bearcat in the first photo is the original Hawk kit, which I built in 1968 and is still in great shape, a very sturdy model. Obviously the fit was great as filler was unknown to me then, and if set before a fan the propeller spins freely. Same kit that Carlos just built from the later Testors release.
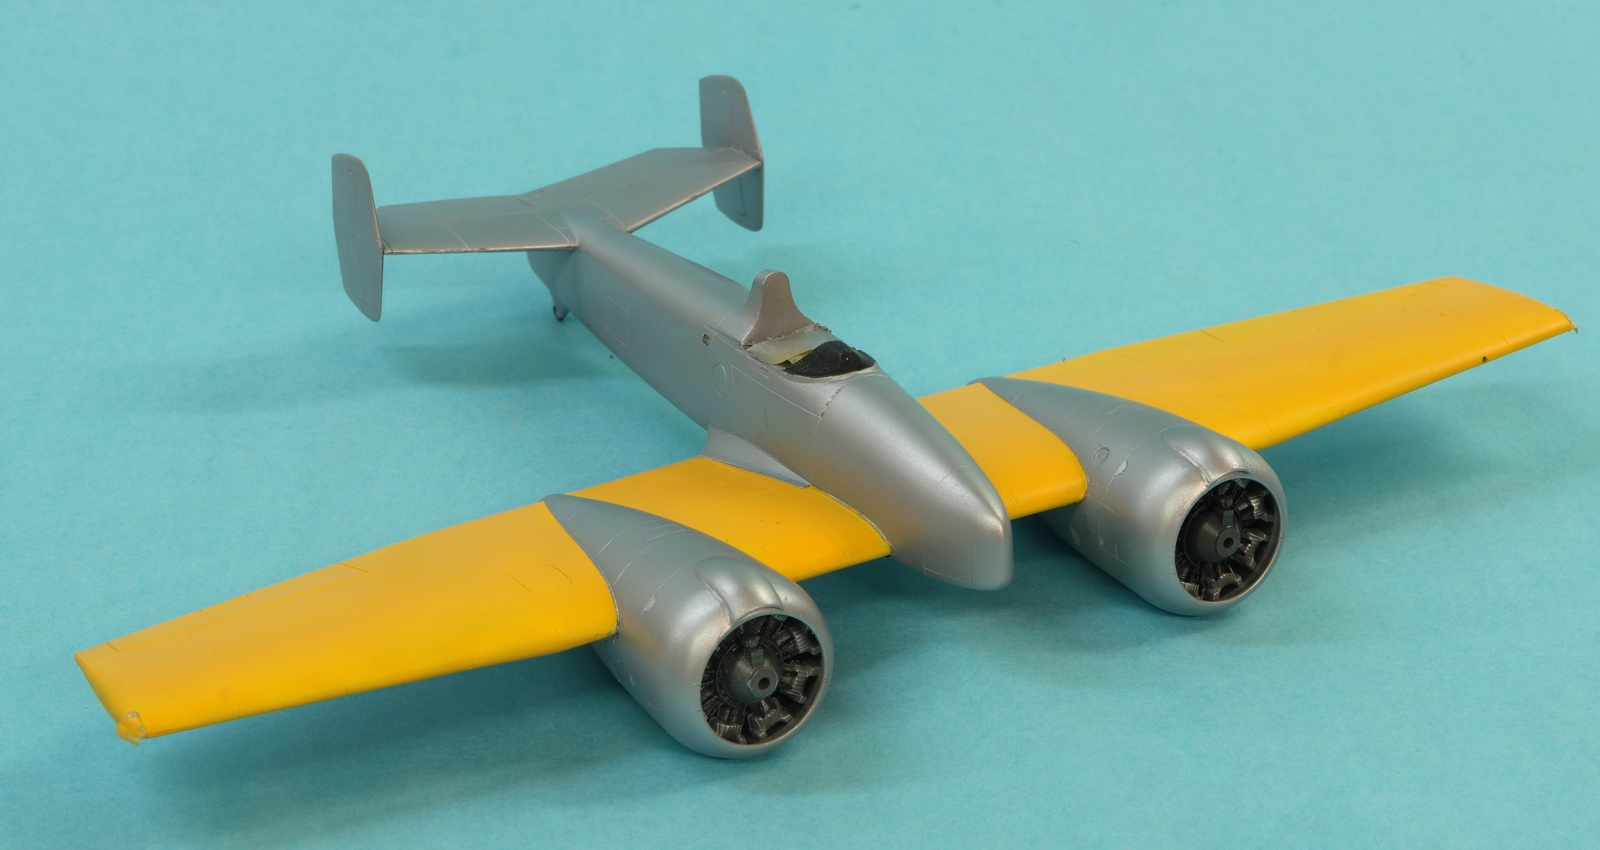
Somewhat the same report as on the XP-72, fixing stuff I don't want to show, including filling the gun ports in the nose. I used decanted Tamiya AS-12 silver and Hataka C006 Orange Yellow.
The box art:
I painted the instrument panel with Model Master Black Chrome, and filled the dial faces with a dark grey, and then overcoated the faces with Alclad Gloss Clear. I can see I need to touch up some of the areas around the gauges in the pictures. It looked great while I was doing it, as usual. The panel will be very hard to see with a closed canopy.
There is no real alignment left and right for the fuselage on the wing. It looked easier to glue the nose on the wing first, as it at least had some guide rails on the wing. I think building the short nose version will be difficult because of this because the nose comes in three parts and has no fit to the leading edge of the wing.
Right now the white undercoat is drying on the upper wing panels in preparation for the yellow, but here are some pictures of the construction. I glued the nose section on the wing first, after figuring out where it fit left to right by dry fitting the aft fuselage. I aligned the aft fuselage with the lower wing, it has a shape that drops down to fair to the fuselage there. When the nose was dry enough I glued on the aft fuselage, being careful to get the sides spaced so there was a good match to the nose. There is no positive alignment, just some ridges that fit the short nose, not the long one The engines are nice, though the things they call the ignition harness are more like push rod housings except for being too short. Whatever, they look nice enough and fit well. There is an intake manifold and exhaust collector ring, but once in they will never be seen again by man nor beast. The cowling fronts fit well but I did spend some time eliminating the seams as there is no panel line there. As with the fuselage, there is no positive fit for the long nacelles, just some ridges on the bottom of the wing that are appropriate to the short nacelle/short nose version. The fit was pretty nice but took some care and planning to get all four cowling parts in place.
The Bearcat in the first photo is the original Hawk kit, which I built in 1968 and is still in great shape, a very sturdy model. Obviously the fit was great as filler was unknown to me then, and if set before a fan the propeller spins freely. Same kit that Carlos just built from the later Testors release.
Somewhat the same report as on the XP-72, fixing stuff I don't want to show, including filling the gun ports in the nose. I used decanted Tamiya AS-12 silver and Hataka C006 Orange Yellow.
Last edited: