• Modelers Alliance has updated the forum software on our website. We have migrated all post, content and user accounts but we could not migrate the passwords.
    This requires that you manually reset your password.
    Please click here, http://modelersalliance.org/forums/login to go to logon page and use the "Forgot your Password" option.

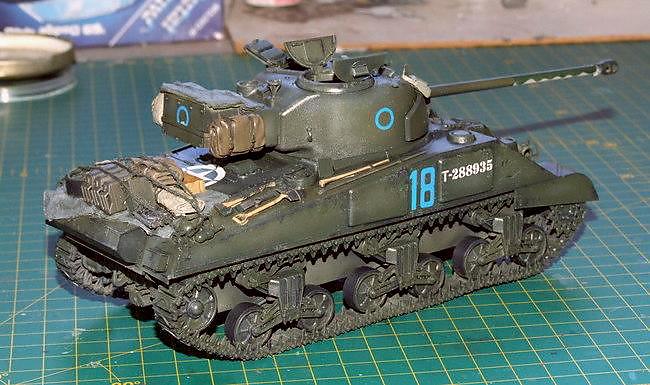
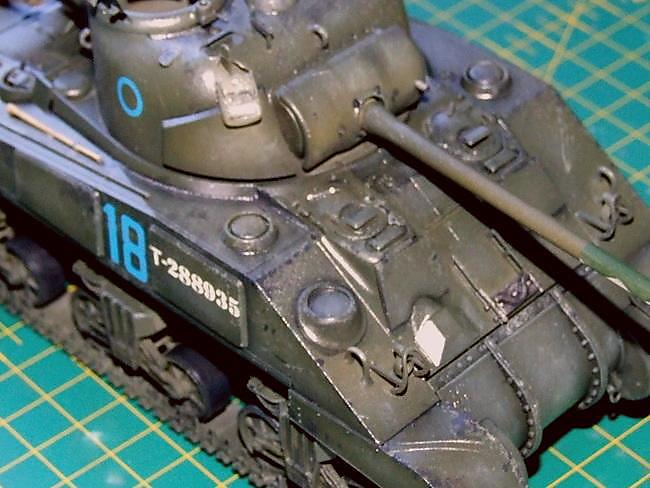
(Kiwi) Firefly * * F I N I S H E D * *

ij001

Well-known member
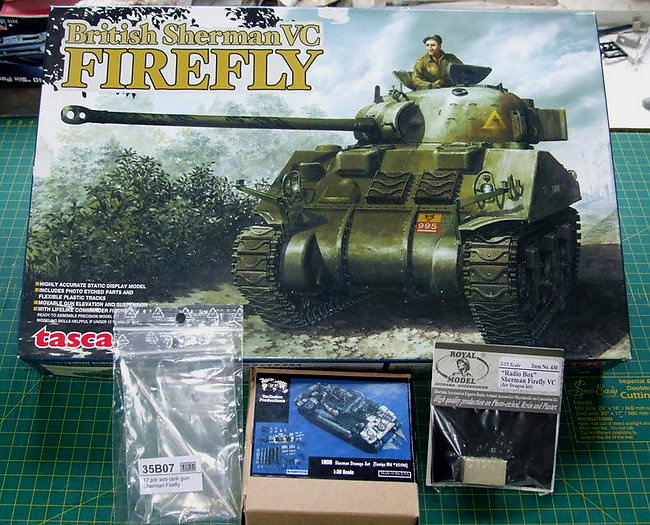
First and y'all already pretty-much know this - I’m not an expert Shermaholic, I’m simply a bloke who likes to build the occasional AFV model, usually straight from the box, to the best of my limited ability.

Nor am I colour fanatic, I know that there as many opinions about ‘ambush schemes’, ‘Caunter schemes’ and what is the correct tone for WWII Olive Drab as there are people willing to share them. I’m from the School of ‘do the research – look at what others have done (especially 'our Terry') – try and match what looks right to you’.

I am happy to try new weathering techniques but NOT if they’re nothing more than old-and-tried techniques with a slight new twist and an expensive new brand name. In the same vain I’ll cheerfully mix ‘old skool’ and new approaches to get the effect I’m after. I’ve taken a couple of liberties with this project already. As I’ve no photos of the actual vehicle then it’s open to question as to whether it had the extra stowage box attached to the radio bustle. I have had it for years and I wanted to use it, so I did.

OK, on to some pics, stay tuned.

he06c10a.jpg


Ian.
 
(Kiwi) Firefly

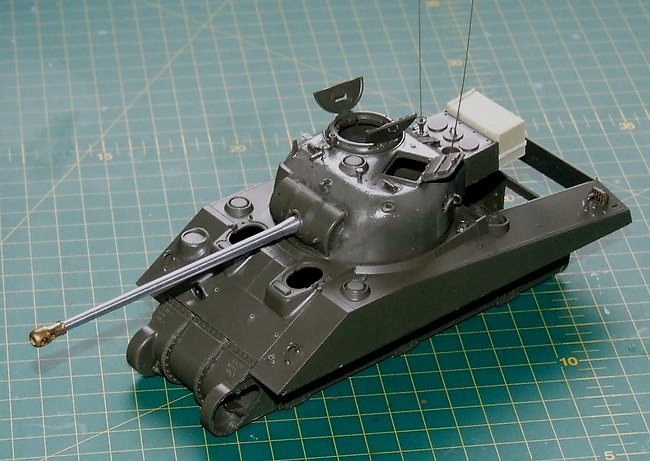
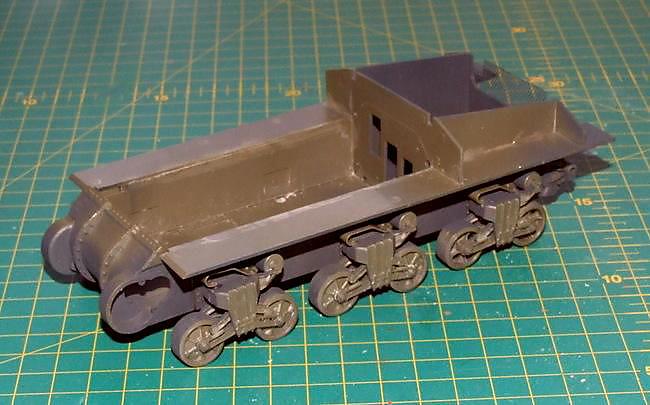
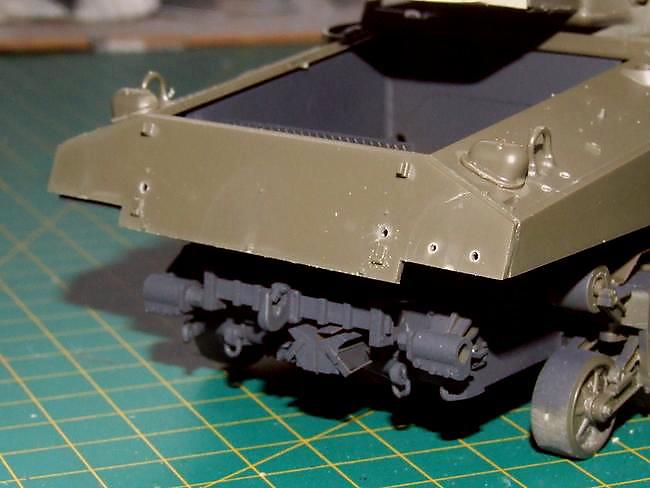
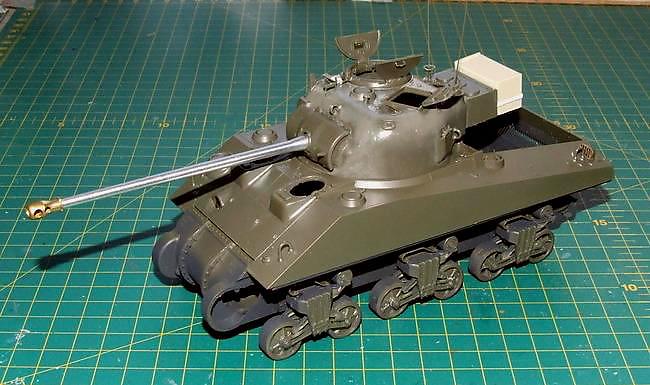
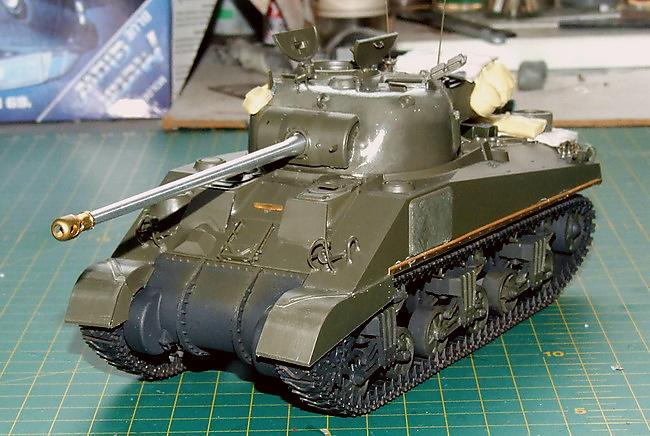
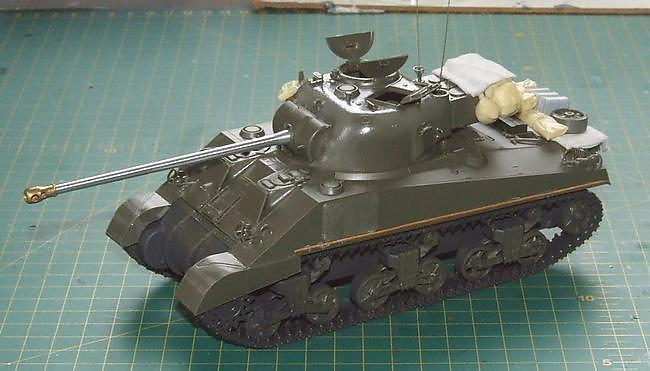
Right, some self-explanatory progress pics

h0f867de.jpg


h9ddba12.jpg


h3f0abe2.jpg


h34d7057.jpg


Took about three weeks on-and-off to get to this point at the end of last week.

More in a min', don't touch that dial...

Ian.
 
(Kiwi) Firefly

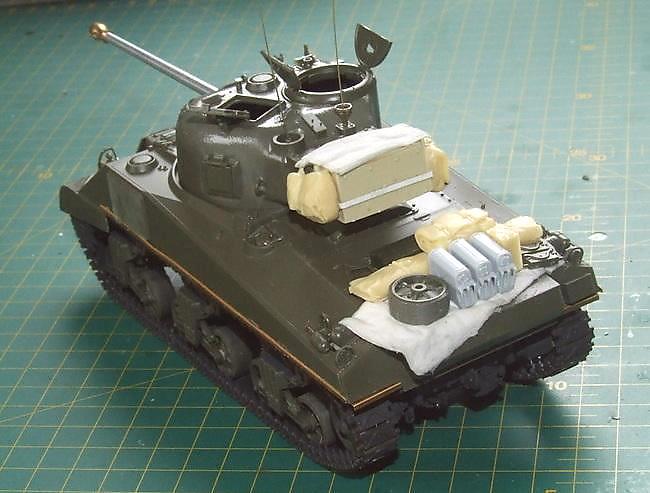
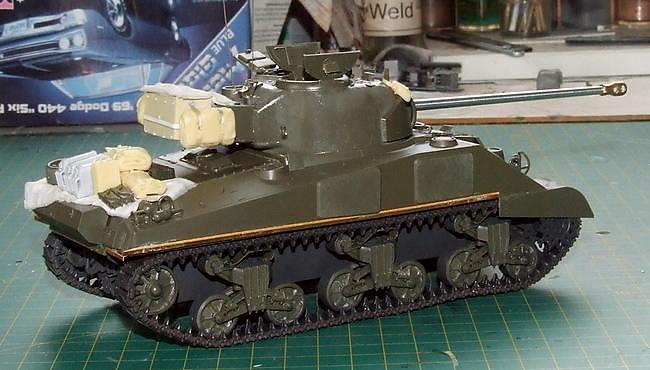
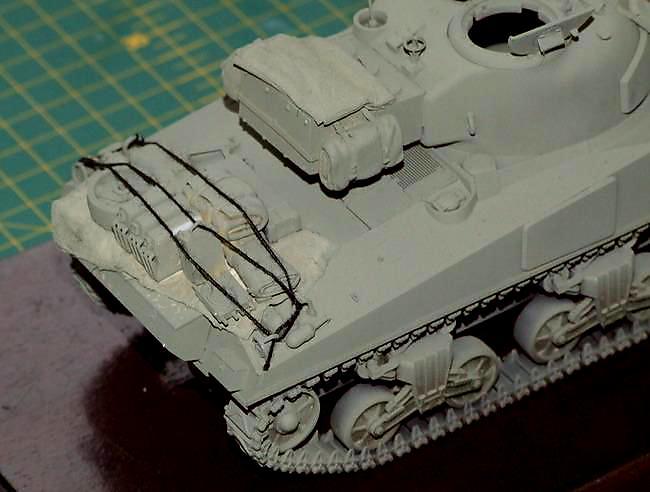
So this morning I finished-up the construction and added the tracks. Then spent a little time sorting and arranging the the (limited) stowage:

h161f193.jpg


hfff4114.jpg


hacab45b.jpg


h7a99628.jpg


hbceb54b.jpg


Almost up-to date at this point, standby again...

Ian.
 
(Kiwi) Firefly

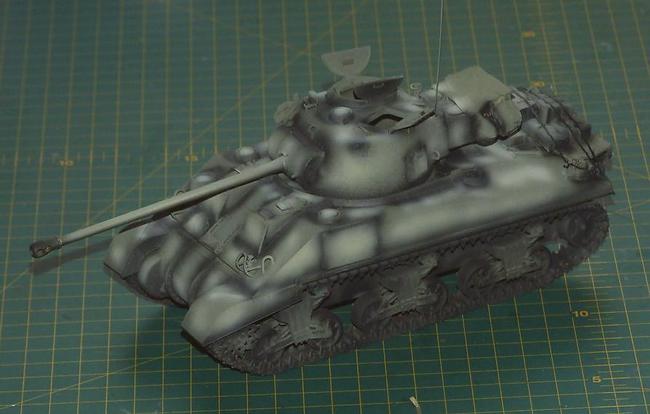
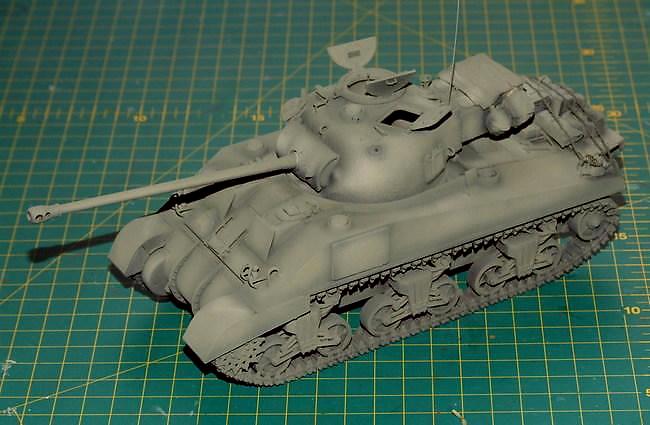
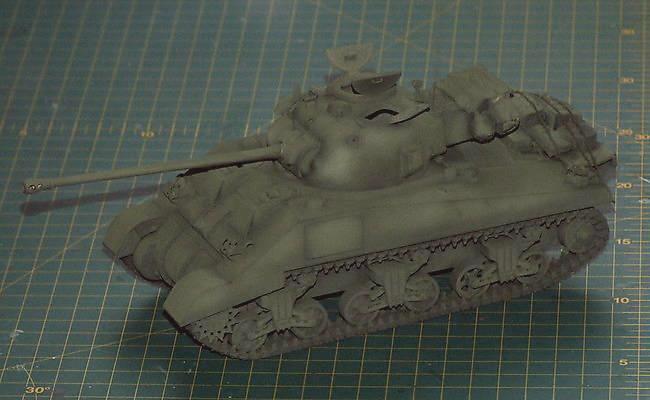
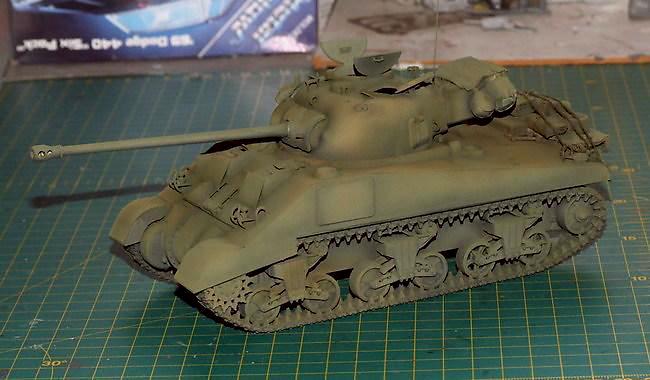
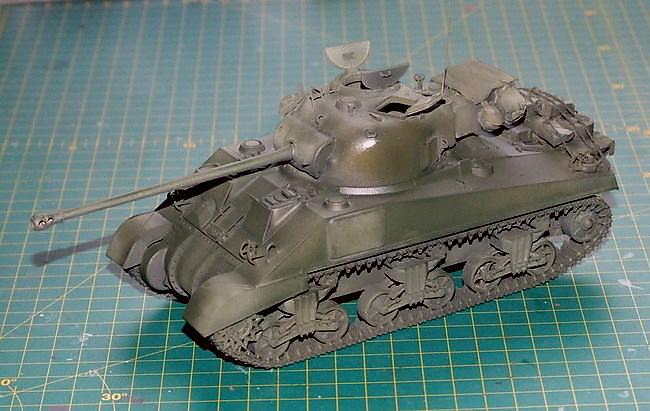
...and after lunch some undercoat occurred:

h3202f30.jpg


h4bdbd56.jpg


h2cc6eb7.jpg


h0957e30.jpg


Okay that's all the boring stuff out of the way, next I'll be starting the fun and games with acrylic paints, pigments and washes.

More later in the week, thanks for taking the time to look and/or comment.

AFN

Ian.
 
(Kiwi) Firefly

Woo that was fast!

So what is the correct tone for OD Ian?

Let's check this authentic and absolutely correct color reference.

3-16-2006-36.jpg


Notice the OD sandbags, OD tent flap, and the two OD Uniforms, you know they are all the absolute correct tones.

:rotf

:soldier
 
(Kiwi) Firefly

Good job on the tank Ian .

Curious about that deep green uniform though . Is that supposed to be a US uniform ?

If so, I have never seen one like it.

Cheers, Christian B)
 
(Kiwi) Firefly - paint progress

And off we go...

hf759eaf.jpg


All Tamiya acrylics - pre shaded with a 50/50 mix of satin black & Panzer Grey, Field Grey lightened with a little white and White with a little Field Grey.


h85d5193.jpg


Next I mixed Dark Green 61 with OD 62 and a few drops of 'Buff' and sprayed three very light coats.


h5d802ae.jpg


Then I made a 'filter' ( :idonno ) of acrylic thinner & 61 Dark Green and gave it two thin coats.


hd761fb7.jpg


That dried a little 'too green' to my eye so using the same ratio I substituted the XF61 for Olive Drab which turned got very, very close to what I was aiming for but just a little too brown - yes I know I'm hard-to-please but I'm really clear in my head how I want this to look.


h836f689.jpg


So about an hour ago I shot a coat of thinned X22 clear gloss with a drop of Dark Green mixed in and got this... About as close as I'm going to get to what I want. I'll get the decals on probably tomorrow afternoon and then seal it all in with a couple of coats of Klear. I'll post some pics of that on Friday.

AFN

Ian.
 
(Kiwi) Firefly - paint progress

That rocks Ian! Think you got all the shades of OD in there. (y)
 
(Kiwi) Firefly

Good job on the tank Ian .

Curious about that deep green uniform though . Is that supposed to be a US uniform ?

If so, I have never seen one like it.

Cheers, Christian B)

He's US for sure Chris. Guess it was new verse his pals old cotton uniform.

http://brittsbytes.com/Korea_1952/index.htm

Check out the rest of the photos, these are the ones my Dad took in Korea. You'll see that dark green even on the same guy.

Shoot, I had some cotton shirts that faded out really bad matched with the polyester pants, looked just like this.

The dark green is OD GREEN and the other is OD OLIVE = two totally different colours. The small 1/4 ounce Tester's jars have 1164 Matt OD Green and 1165 Matt Army Olive that are close matches for those two grens in that image.

Cheers
 
(Kiwi) Firefly - paint progress

And off we go...

hf759eaf.jpg


All Tamiya acrylics - pre shaded with a 50/50 mix of satin black & Panzer Grey, Field Grey lightened with a little white and White with a little Field Grey.


h85d5193.jpg


Next I mixed Dark Green 61 with OD 62 and a few drops of 'Buff' and sprayed three very light coats.


h5d802ae.jpg


Then I made a 'filter' ( :idonno ) of acrylic thinner & 61 Dark Green and gave it two thin coats.


hd761fb7.jpg


That dried a little 'too green' to my eye so using the same ratio I substituted the XF61 for Olive Drab which turned got very, very close to what I was aiming for but just a little too brown - yes I know I'm hard-to-please but I'm really clear in my head how I want this to look.


h836f689.jpg


So about an hour ago I shot a coat of thinned X22 clear gloss with a drop of Dark Green mixed in and got this... About as close as I'm going to get to what I want. I'll get the decals on probably tomorrow afternoon and then seal it all in with a couple of coats of Klear. I'll post some pics of that on Friday.

AFN

Ian.
Damn thats awesome
 
(Kiwi) Firefly - paint progress

Thanks all, much appreciated.
Been a fair bit of progress with decals stowage and paint chips etc which is all sealed-in under a coat of Tamiya gloss. Because of real-life getting in the way, the next step - putting the streaking effects on - won't happen until the middle of this coming week at the earliest. But at least that means that when I get around to that that varnish layer will not just be dry but cured too.

Not sure which technique to use for the streaking, I favour the oil-dot method with white, olive, yellow & brown/umber tones... any thoughts or suggestions ??

:soldier

Ian.
 
(Kiwi) Firefly - paint progress

Try a couple and see what you like best. With a good seal coat the oils are easier to work with.
 
(Kiwi) Firefly - paint progress

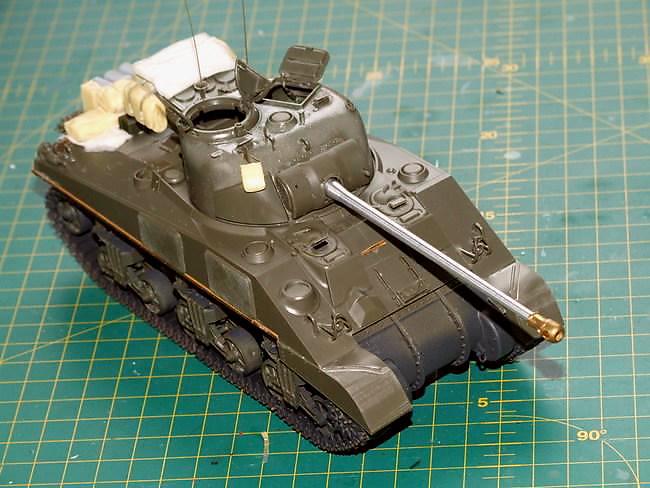
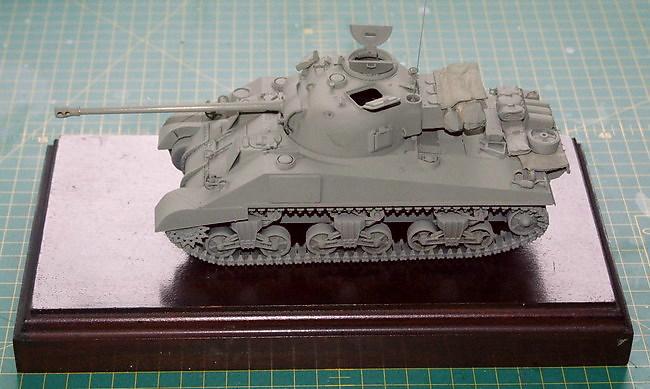
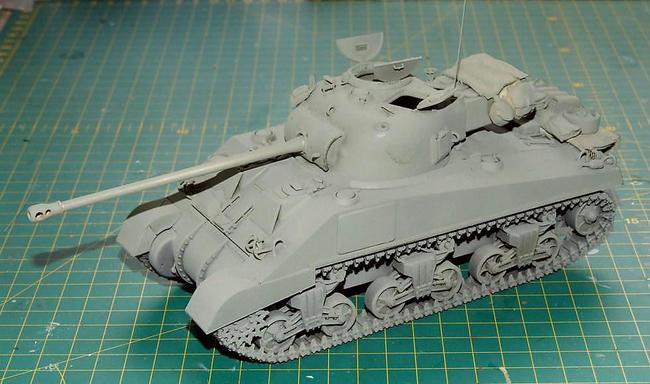
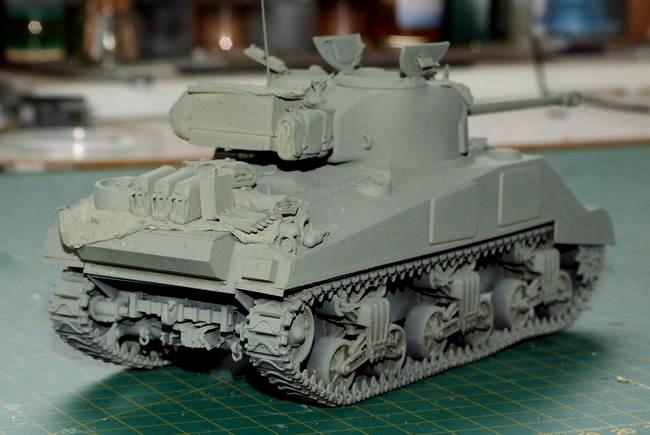
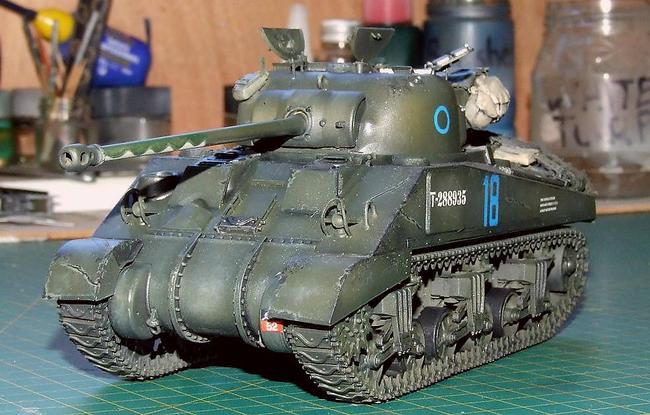
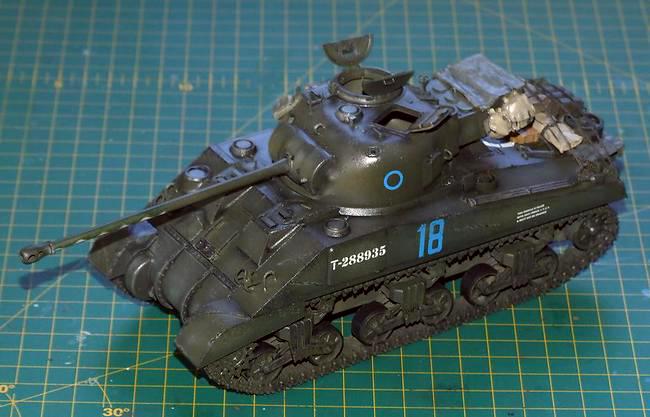
So this morning, I have a couple of hours to m'self and will be heading to the 'cave' very soon. My start point is here:

h248d927.jpg


hb857fc4.jpg


h5286ef7.jpg


hb137c8a.jpg


Stowage is painted but still needs a little work to my eye, decals on, scratches and chips done - overdone on the right side of the hull at the rear so if that is still to prominent after the streaking and dusting then I'll push that back with a little careful painting with the base colour a little later. So as mentioned, today's session will be careful streaking using the oil dot method and once done, I'll seal it all in this time with a matt coat ready for 'dusting' later in the week.

AFN and thanks as ever for taking the time to look and/or comment.

Ian.
 
Back
Top