• Modelers Alliance has updated the forum software on our website. We have migrated all post, content and user accounts but we could not migrate the passwords.
    This requires that you manually reset your password.
    Please click here, http://modelersalliance.org/forums/login to go to logon page and use the "Forgot your Password" option.

GRAND SLAM LANCASTER

Re: The 10 ton bomb

As a sink hold and seam filler expert right now. I would suggest the thick CA, dab a blob in the hole, take a straight blade and smooth it over keeping the CA level with surrounding surface, allow to harden and sand sand sand...
 
Thanks Gene, Martin, and Bob!

Martin...I do get that point and am usually right in that boat with you. But as of late looking at artist's like Chuk and Bob Letterman and the amount of extra effort they exert in their builds, I feel as though I should be striving higher than just the good enough level. Under regular conditions I never even think to notice them, but then when I am posting my progress pics, they seem like moon craters!

MP...if Saul's method doesn't pan out, I will go that route...
 
Other thing you could try is a drop of future. If your paint is water based just put a drop in the fuure and mic then put a drop of mix in.
James
 
Very cool build, Jeeves! You make things look easy and uncomplicated, although I know the truth is far from that. :unsure: 
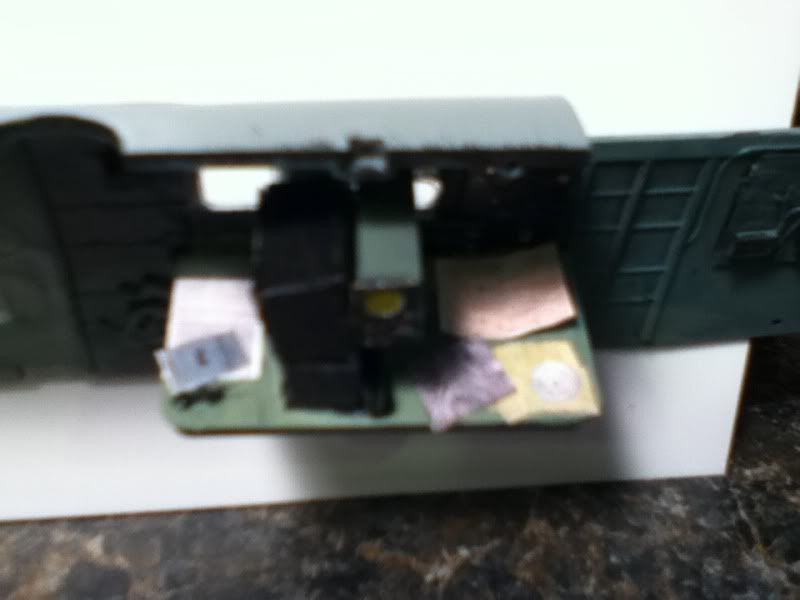
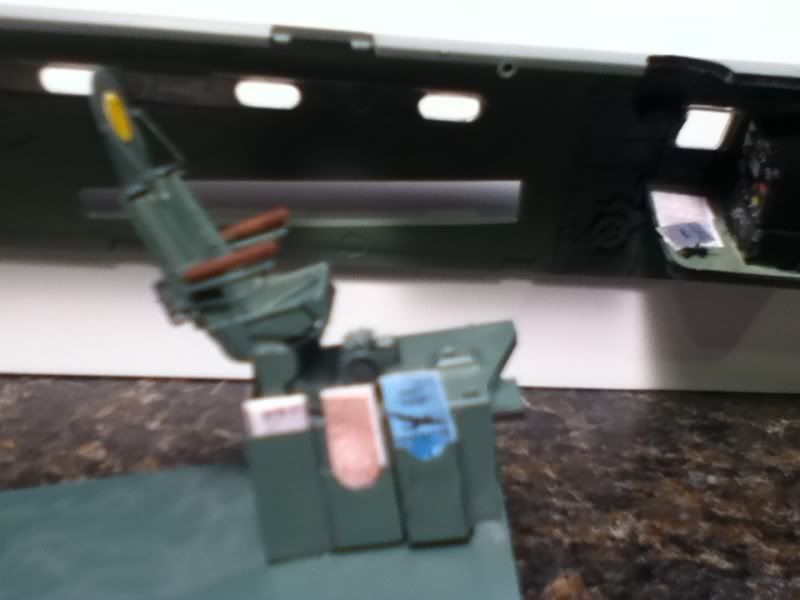
Those colored PE's also look great: hope the one's I bought for the Ju-88A are the same. :)

The Lancaster is an awesome plane that did much to bring havoc to Germany during the war. It's design is very British, if I may say so: looks rugged, full of purpose and a bit "stubborn" - I've seen some pretty impressive pics of Lancs coming home with gruesome dammage due to flak shrapnel or/and fighter contact. Great subject to model, IMO.
emoticon_nod.gif


Congrats on your build so far and thanks for sharing! :dude

Cheers! B)
Fernao
 
Thanks to you for looking and commenting Fernao! I have really been enjoying the build and seeing the progress of the others. I haven't done anything these last few days as work has been a real bear and I have been conking out during my normal late-night modelling time.

The time to make the decision as to whether I install the motors for the spinning engines is coming though which will complicate things. I keep picturing something going wrong with my beginner level wiring and then having the engines overheT and melt all my work...improbable I am sure, but I always dwell on the worst that can happen ;)
 
Inspiring work, Jeeves!
I think I picked up a Squadren book on the Lancaster when I was thinking of depicting one my uncles planes, but I could be wrong. I've got it somewhere. I'll take a look. Or, perhaps, you already have it.
And, yes, I remember him telling me that those planes could take a massive licking and keep on ticking. He never told his female siblings (one of which was my mother) about his adventures until after the war. He didn't want to worry them. On the other hand, my other uncle was a bit of a bragger. He flew a Spitfire, but then fighter pilots are always full of bravado. I truly miss them both.
Peace and Love,
Randy
 
The only thing I have is this softcover book I picked up used on Amazon...
http://www.amazon.com/gp/product/1574270524/ref=oss_product

It gives a pretty good history and has sections of the book on each station...

They must have had some great stories Randy-- my one grandfather started telling stories when he was delirious with pain from cancer-- even survived a U Boat sinking...that was how he met my grandmother I think as she was a French nurse...

My other grandfather was a Marine at Iwo Jima and Okinawa with the same division as those from Flags of our Fathers...but he never spoke of it-- I learned that much from his obituary...I miss them both as well...
 
Note, my method is best for pin marks on curved surfaces or shallow ones on level surfaces. Deeper ones call for a slightly different method (still requires repainting though). Before I had a punch and die tool (this is my preferred method now), I would mark the edges of the pin mark with a permanent marker. I would then apply a little baking soda within the pin mark if it was sunken. Over this a drop of cyano-acrylate thin glue in the CENTER of the pin mark and I would watch it spread out and harden rather quickly. Sometimes a second drop was needed. Last, as Moon Puppy wrote, sand, sand, and sand until the permanent marker around the pin mark is gone. This indicates the pin mark is now level and probably invisible.

If the pin mark is proud, a curved blade on curves, or a chisel blade on level surfaces. I use the permanent marker around the pin mark to let me know if I am gouging. When I see scratches, I switch to sandpaper (different grits) which I 'super glued' to a pencil's eraser. Twirling the pencil acts like a mini sanding wheel and I then complete the pin mark removal.

Really old school methods. Surely, some of you are old enough to remember those tricks? OK, I won't call you Shirley.

Regards,
 
Haven't had much time lately for working on this beast as the end of the semester was near- with mid-term and semester final exams to give and grade...but here is some work on the seat area. I was trying to figure out how best to do the yellow center on the headrest area...figured I'd never paint a perfect circle- or have great coverage with yellow anyways...and then it occurred to me. Taking my punch set and a sheet of the kids stickers (with their OK first)-- I punched out two perfect circles and mounted them up...
1-30-11_154.jpg

1-30-11_155.jpg

1-30-11_156.jpg


Got some touching up to do...and need to add some manuals to those pouches...then back to the rest of the interior...
 
Wow Jeeves that seat looks great! The punch idea is cool.

Terry B)
 
Hi Jeeves,

Excellent sub-assembly: that seat looks awesome! :dude I can see some very thin parts, that I guess are PEs and must not have been easy to put together. :eek:hmy: The punch idea was very cool: I love it when you guys come up with some new and innovative stuff! :notworthy

Cheers and thanks for sharing! B)
Fernao
 
Got a chance to do some uber-detailing (i.e. Stuff you won't see later) today after some time at the printer. First off the radio and navigator station. It looks as though one of these two crew members were not there in the Special version...the radio position has no seat, so was it him? Well either way, they musta needed to man the radios at some point...so to that station on the left is a radio log and manual...still have to add some headphones. At the navigator station to the right is some maps, an air recon photo of the objective...Bielfeld Viaduct...and a navigational computer...

5c3640d6.jpg


To the pilot chair pouches on the right, from left to right (this is a guess since I have no idea what went there...a pilot log, maps, and a pilot manual...
3c10e5f5.jpg


My apologies if these end up blurry as I took them on my iTouch camera which I can post directly from. I took some pics with the good camera as well, but with my wife taking classes online full-time, my access to the computer is limited...
 
Thanks guys...I am with you...nobody has a clean desk...including these guys ;). Hope to get some better pics up tomorrow when the girls are off riding horses...
 
Back
Top