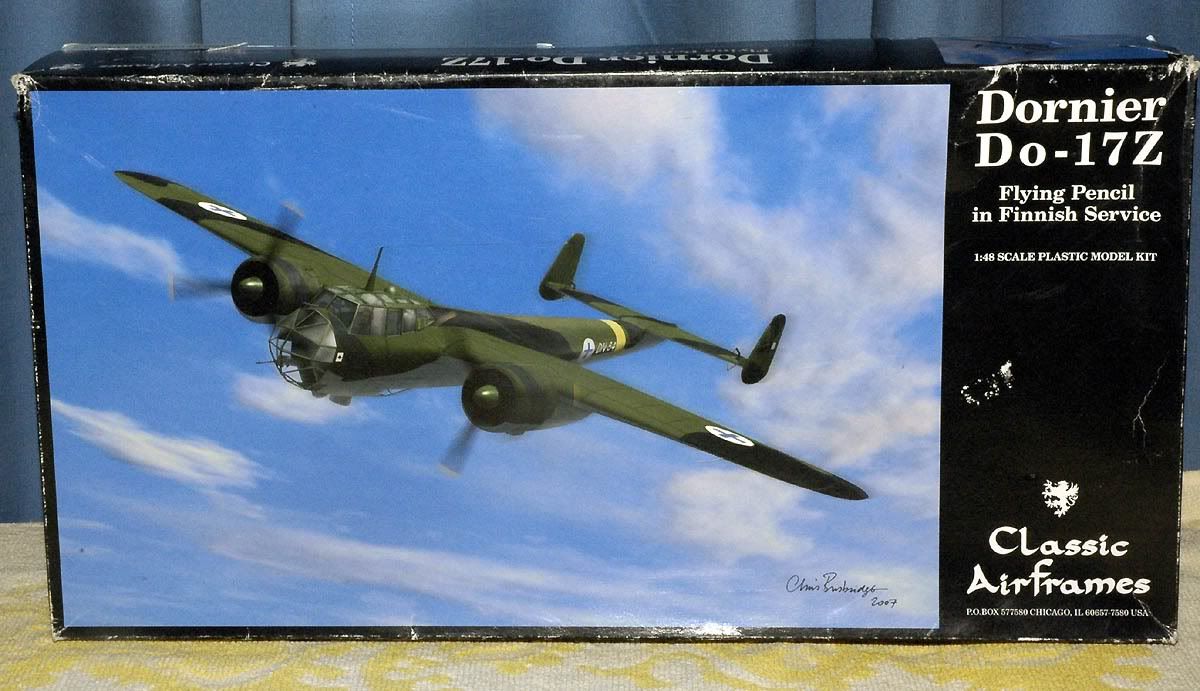
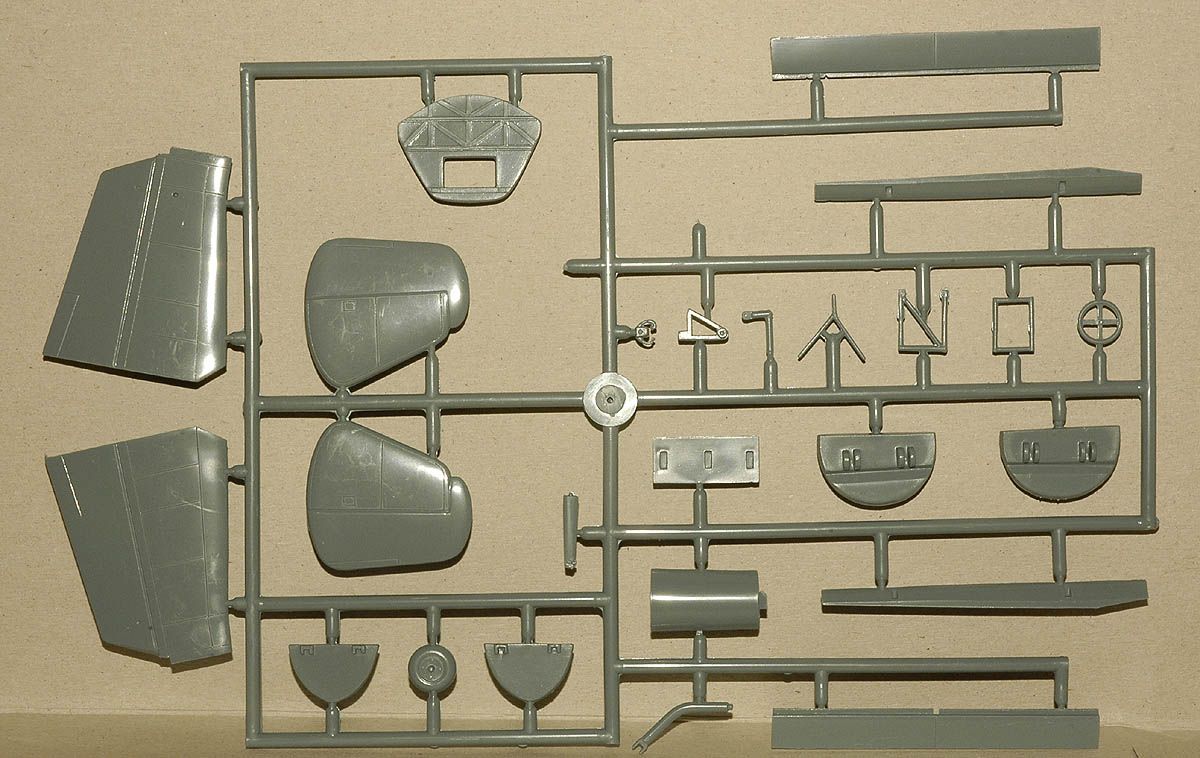
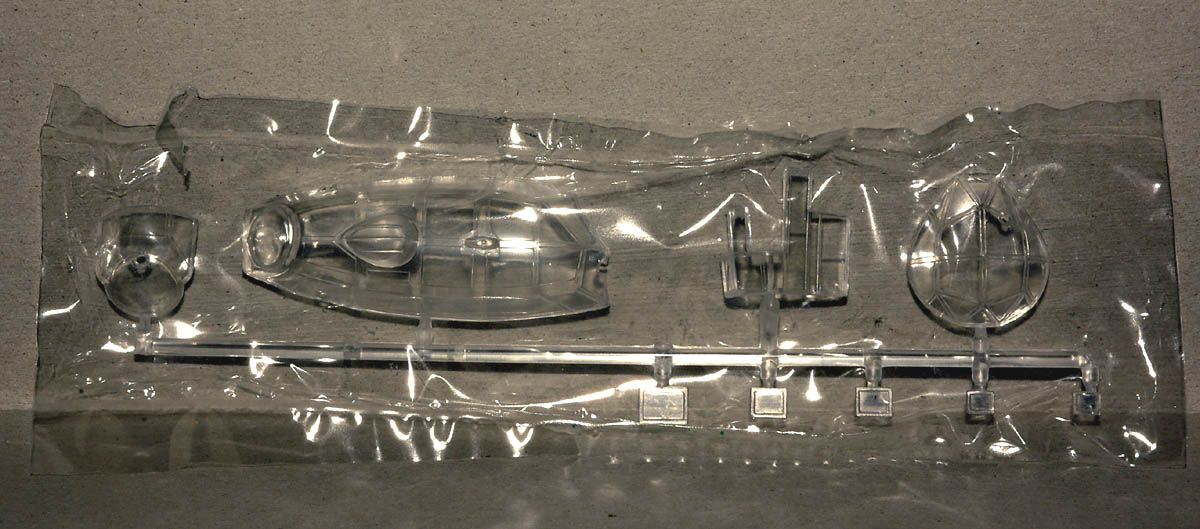
Well here is a kit I bought some time back, it's been staring at me each time I open the cupboard so I decided to start this one
I've been working on it slowly for a while, here is the build progress

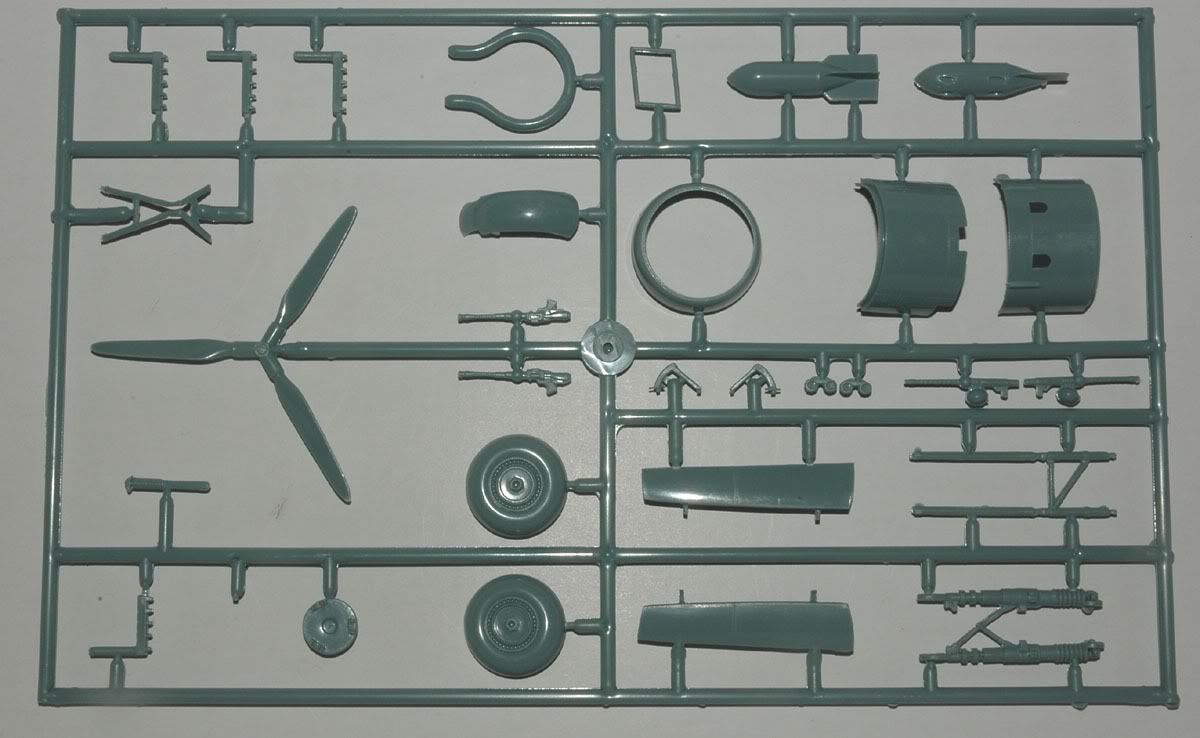
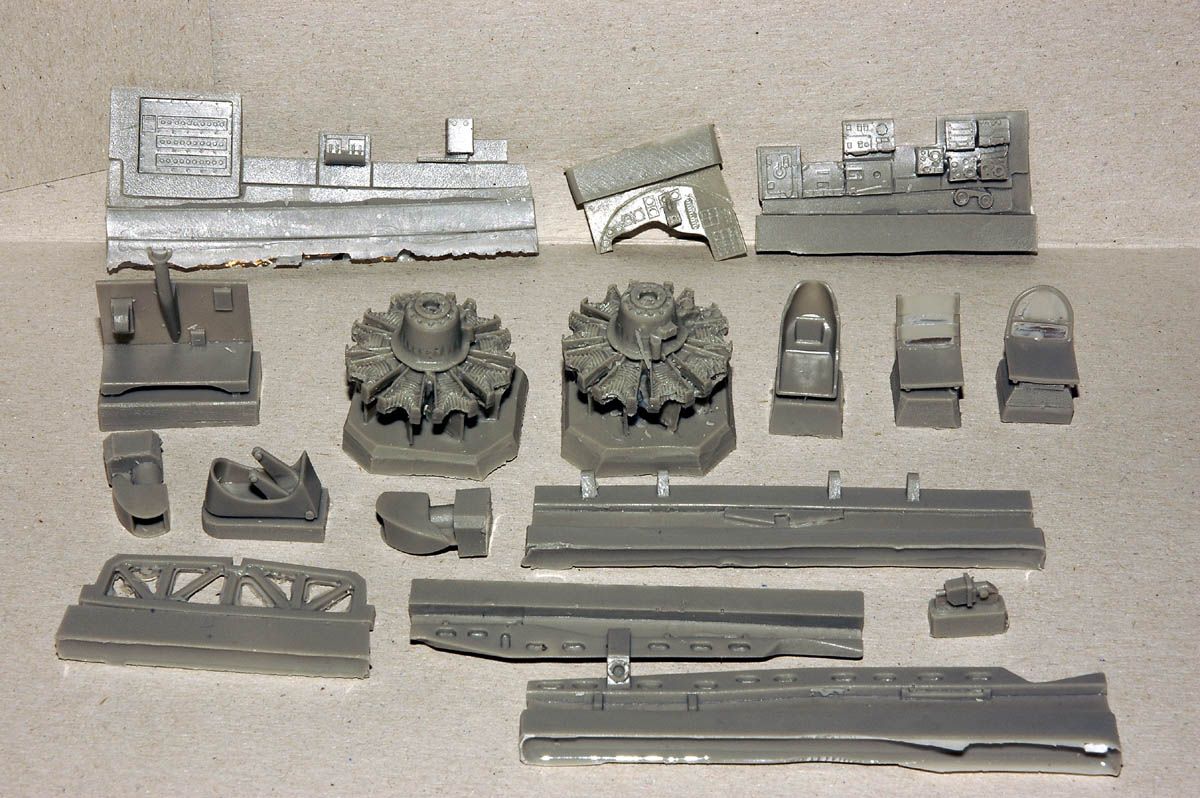
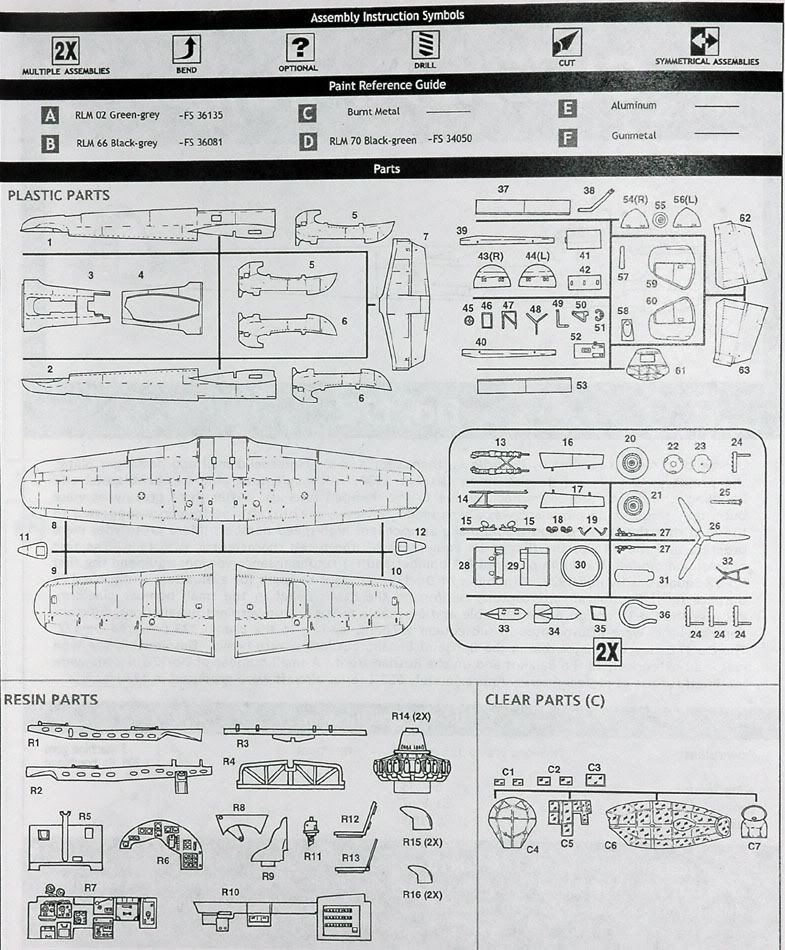
resin
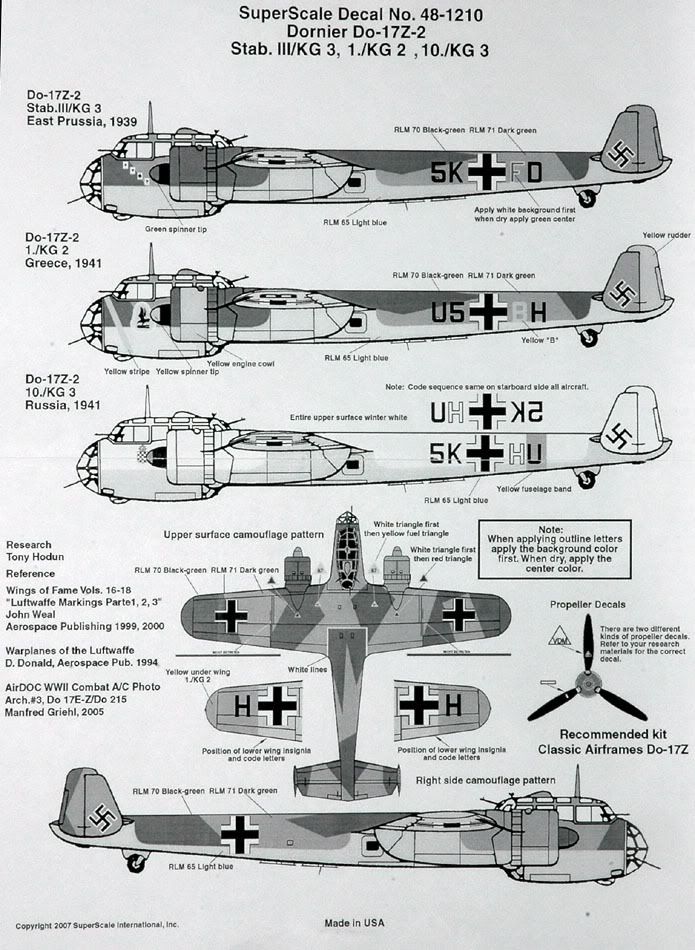
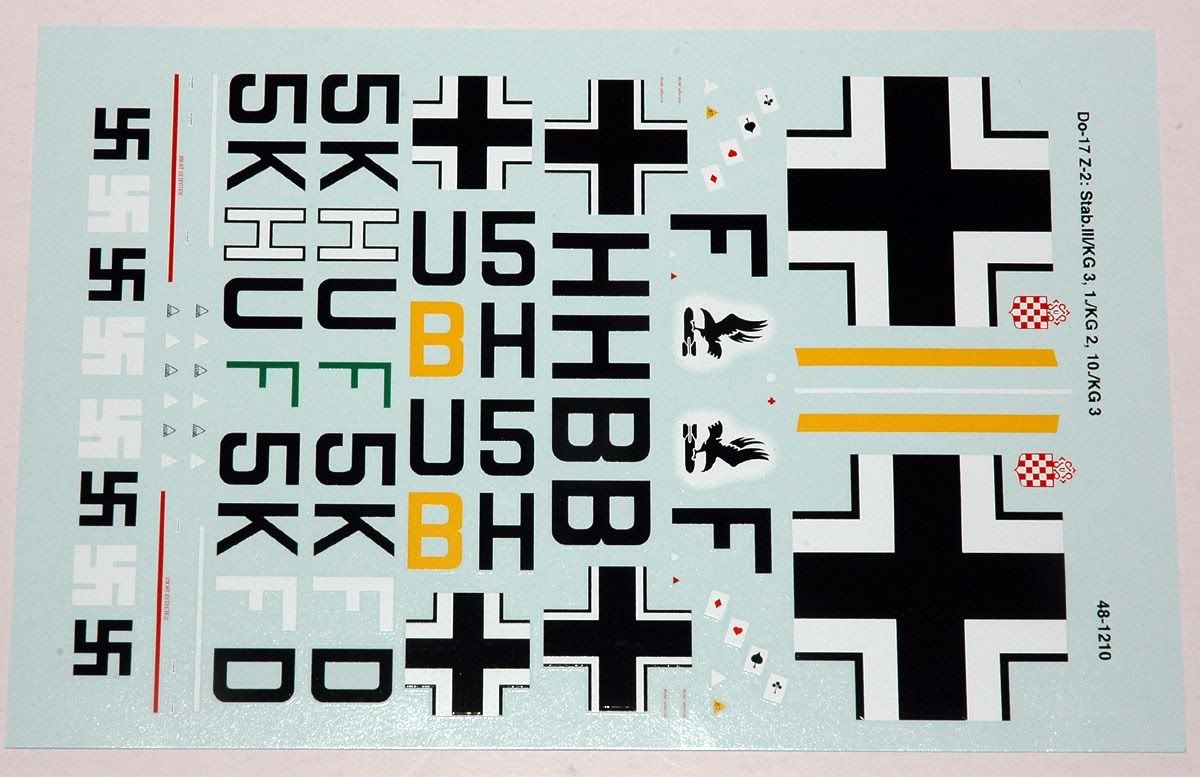
kit gives camo for Finnish aircraft
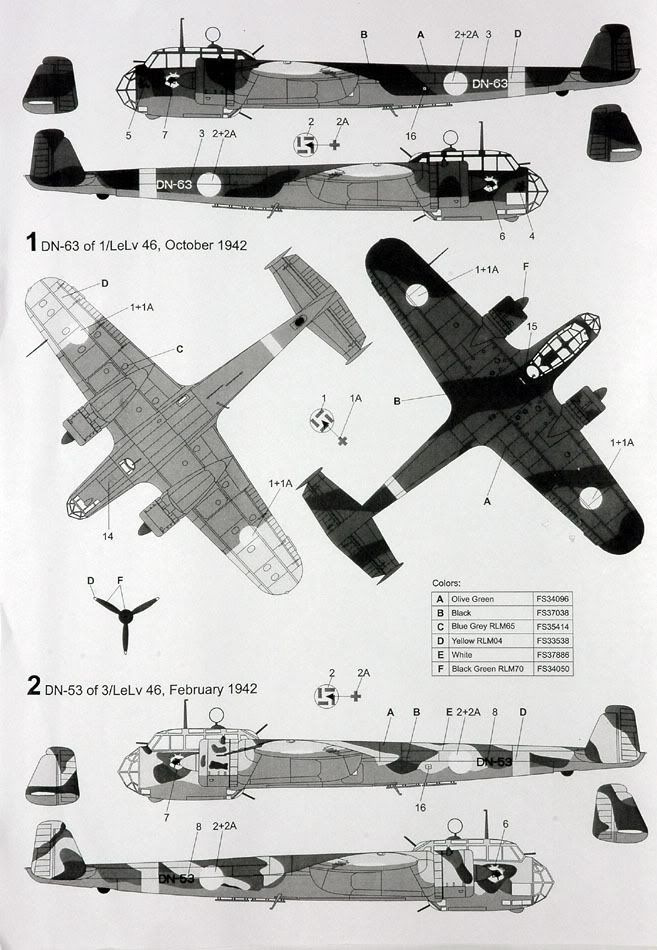
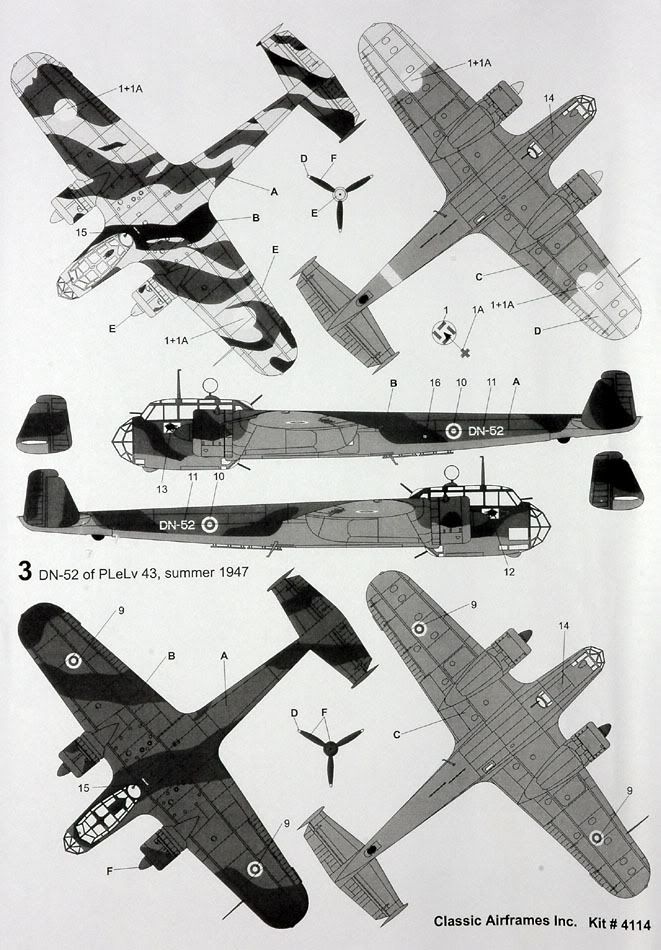

not liking that I got this sheet
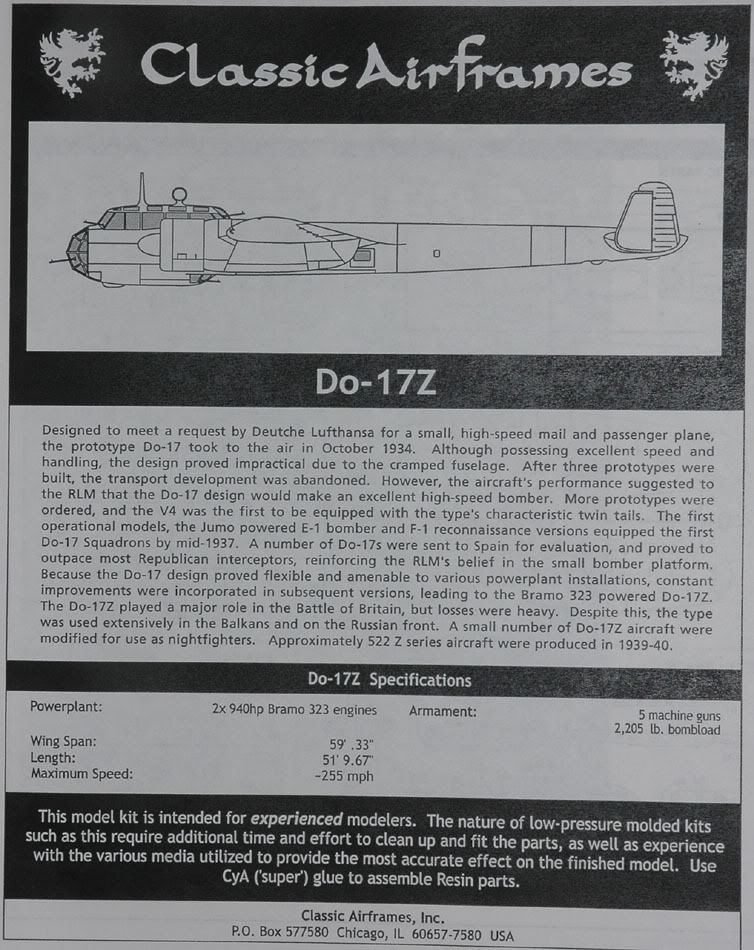
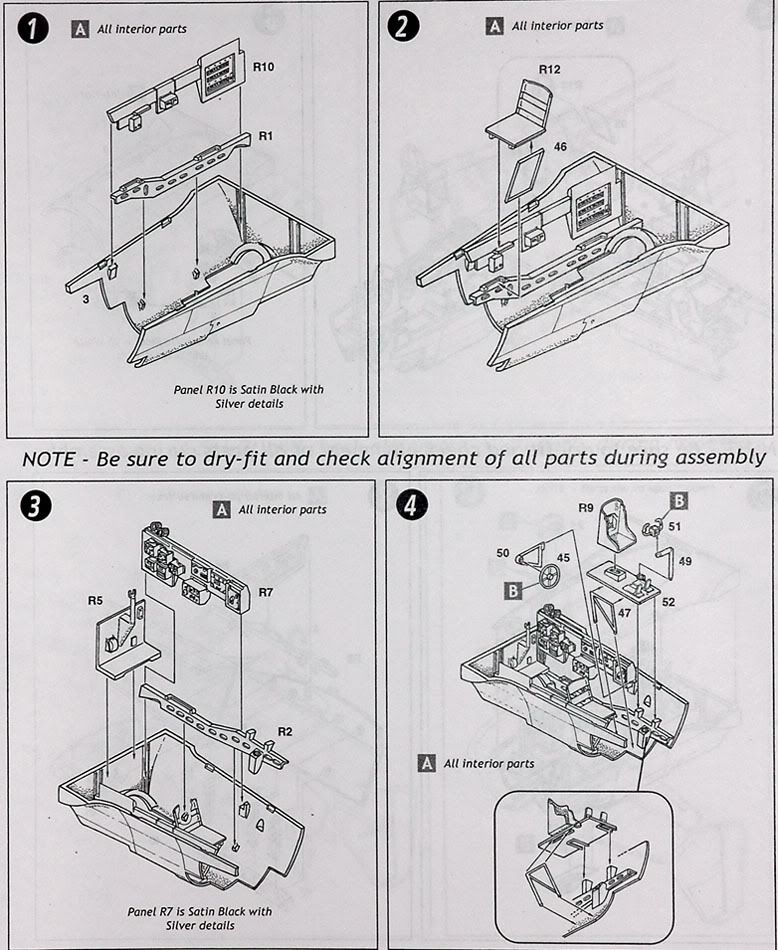
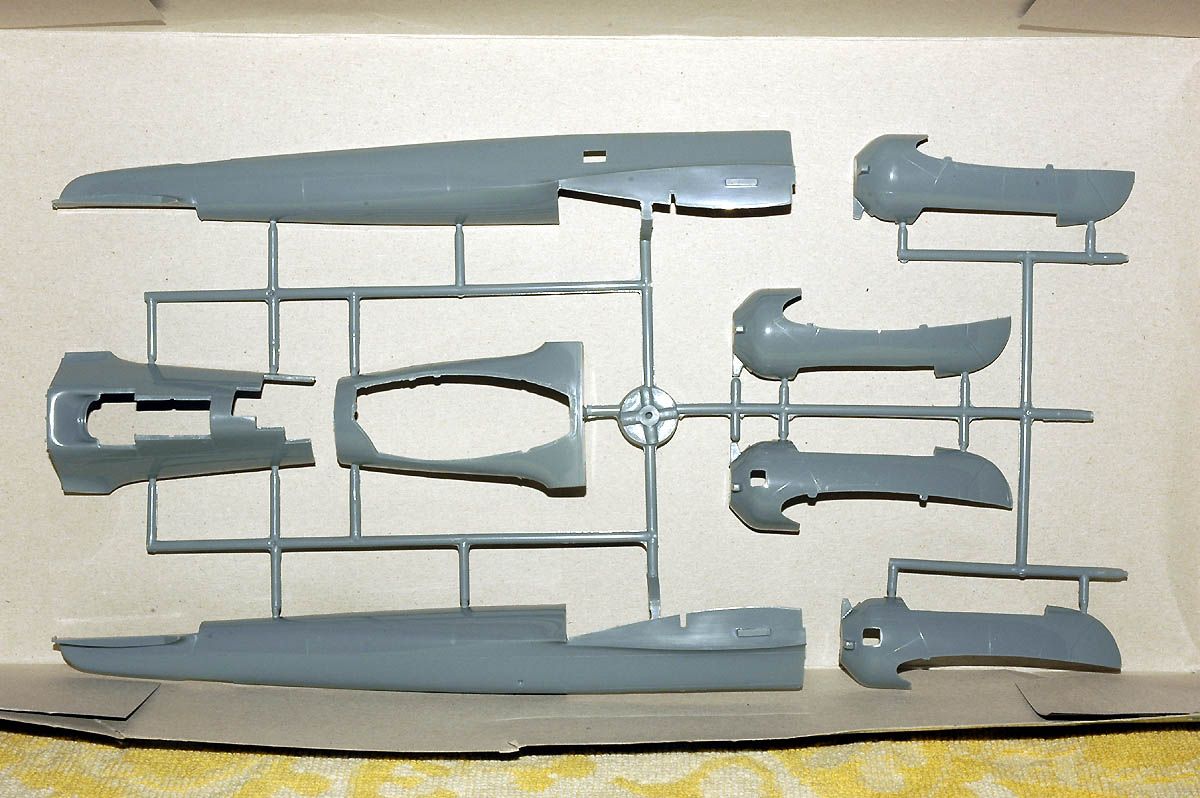
There's quite a bit of cleaning up of parts - but I don't care cause I just love the Classic Airframes kits.
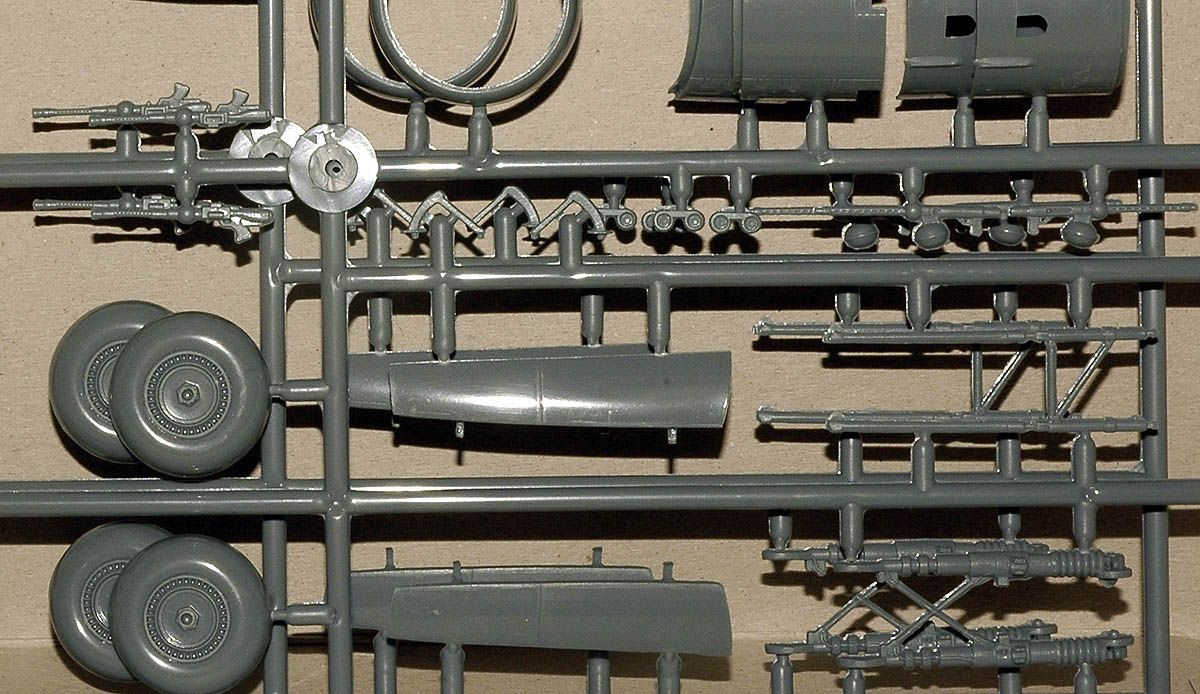
after breaking one of the rear wheel axle forks I had a nice time trying to re glue the resin bit - ended up using a very thin wire brace into drilled holes which worked fine
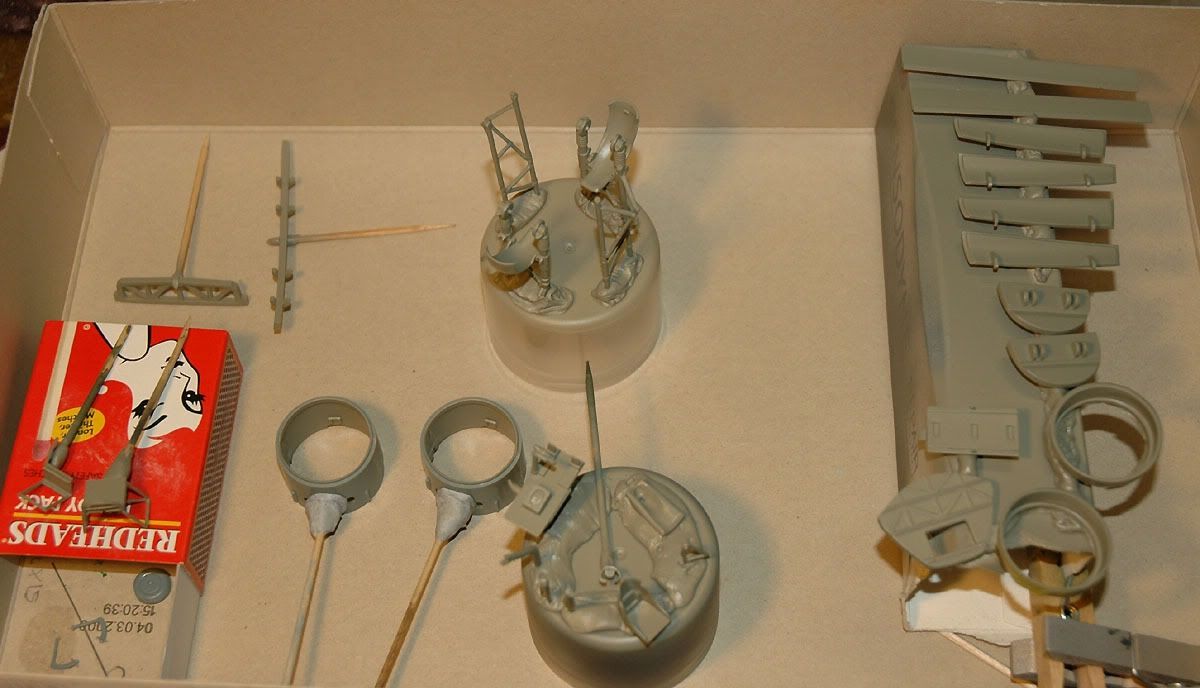
some early clean up on the resin bits which came off the casting blocks very easy - except for that tail wheel part....
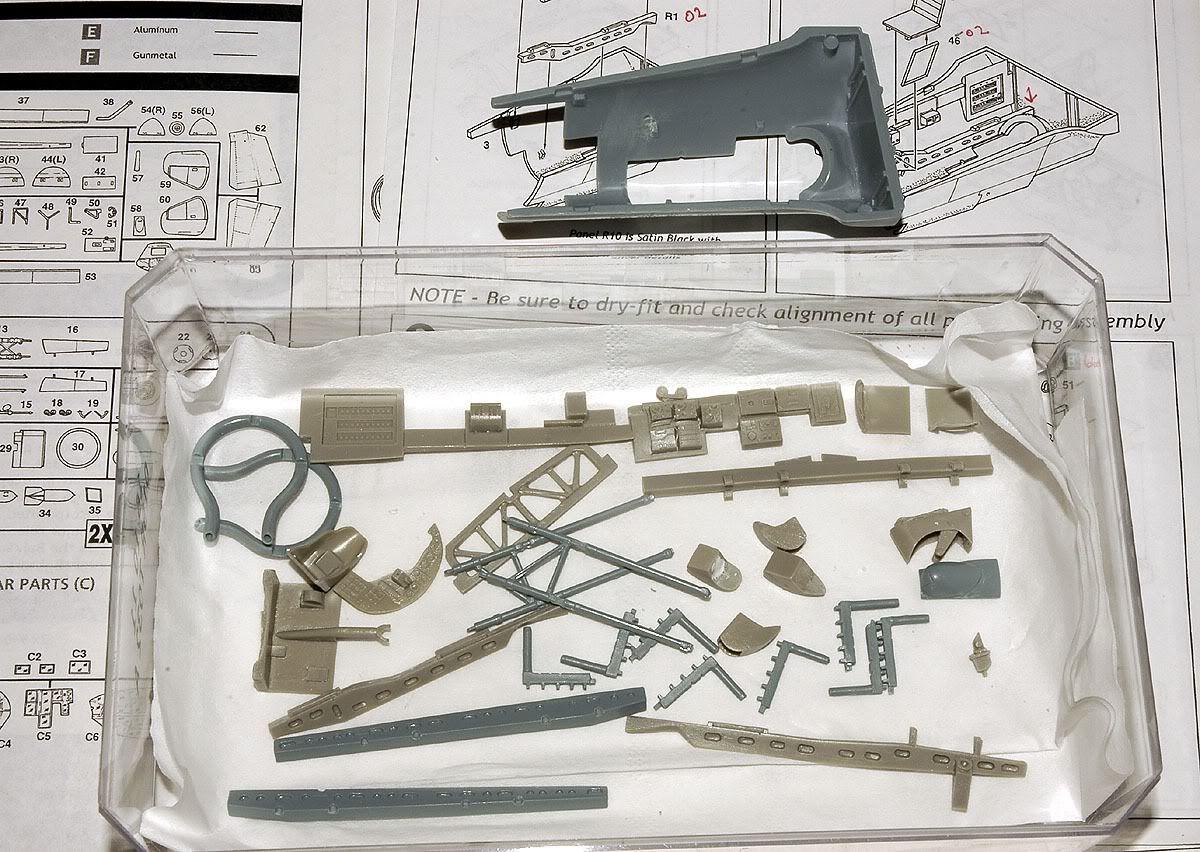
kit Mg's - all look like the two on the bluetac now
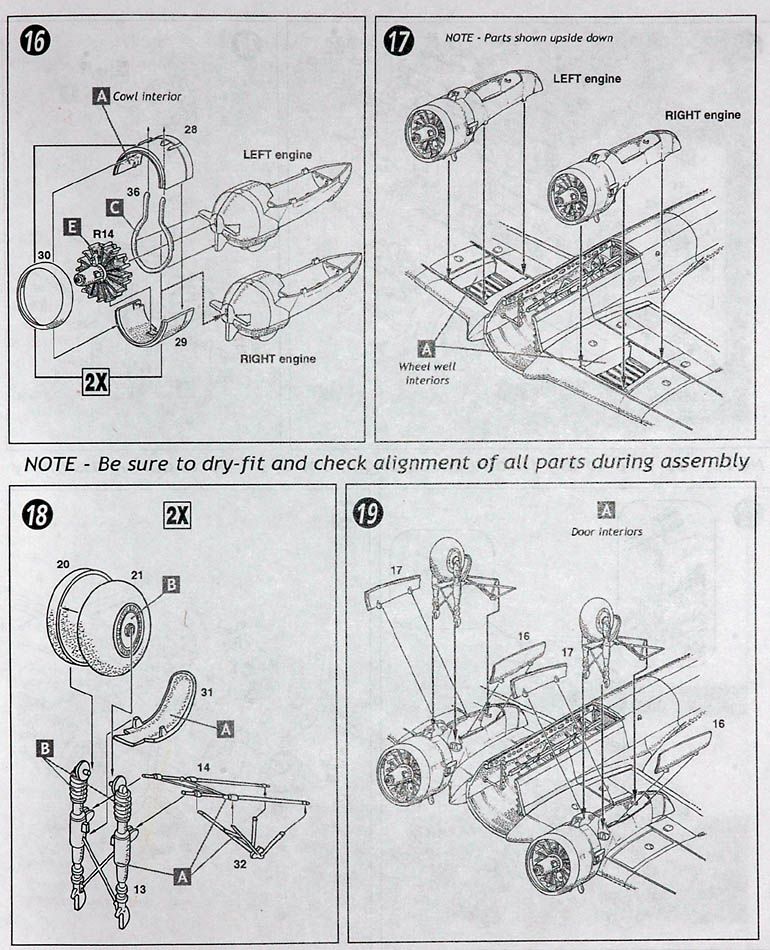
The secret of doing a Classic Airframes kit - plenty of cleanup and dry fitting!
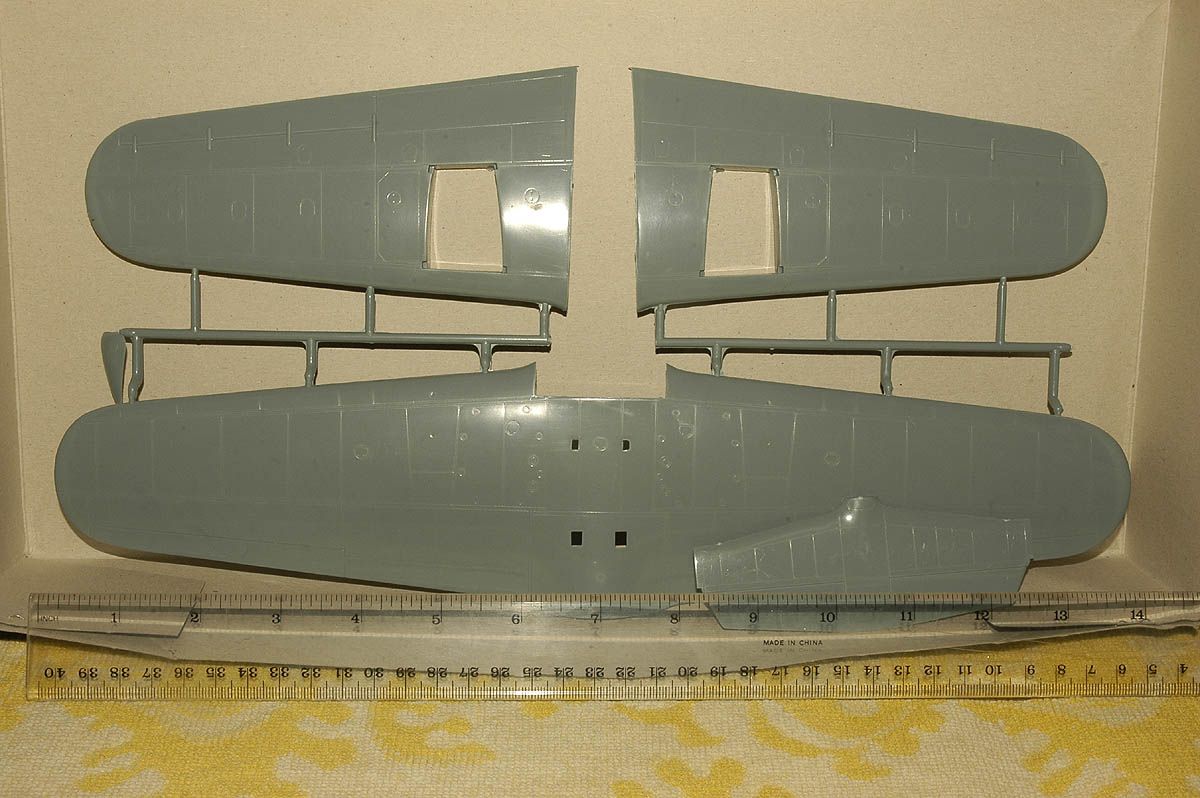
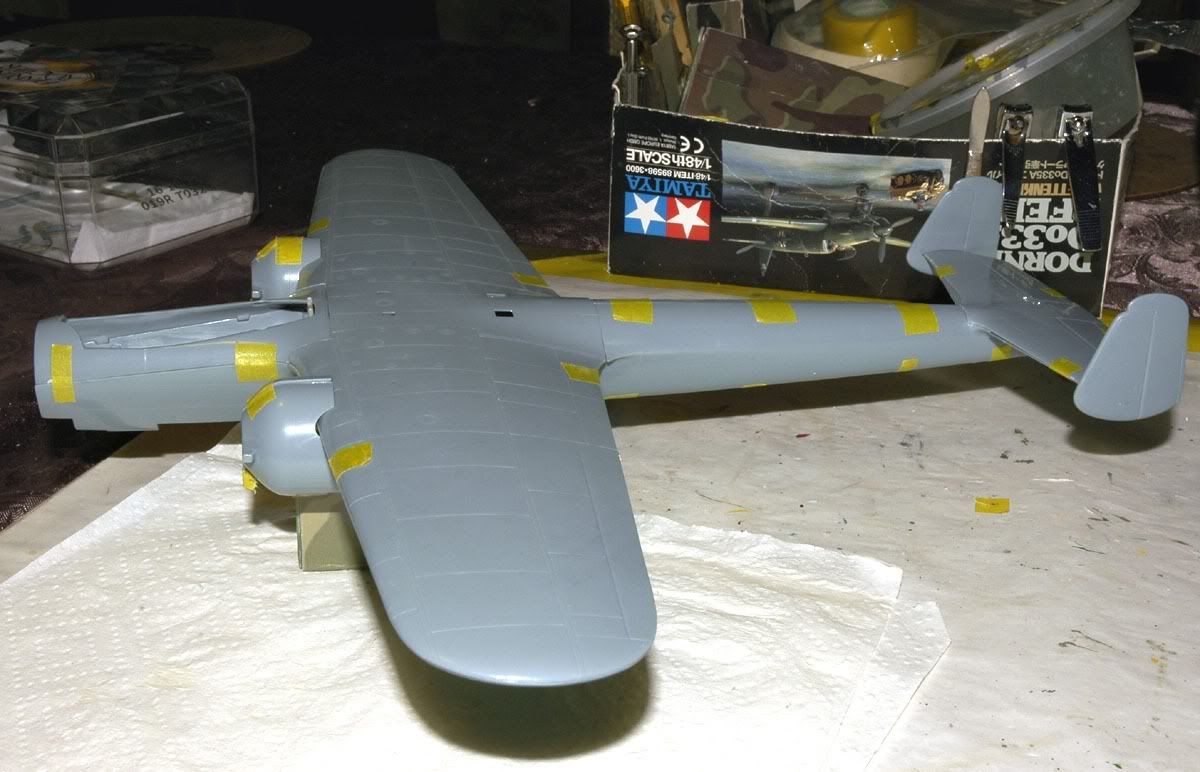
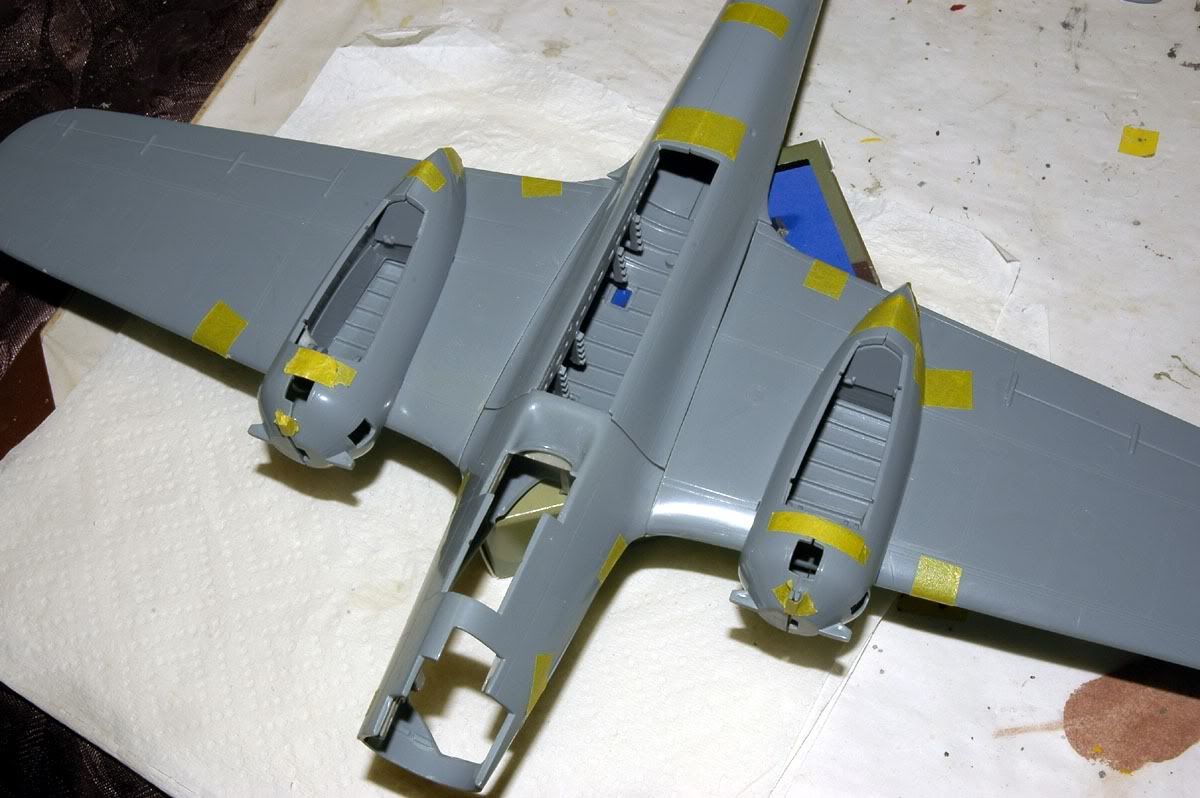
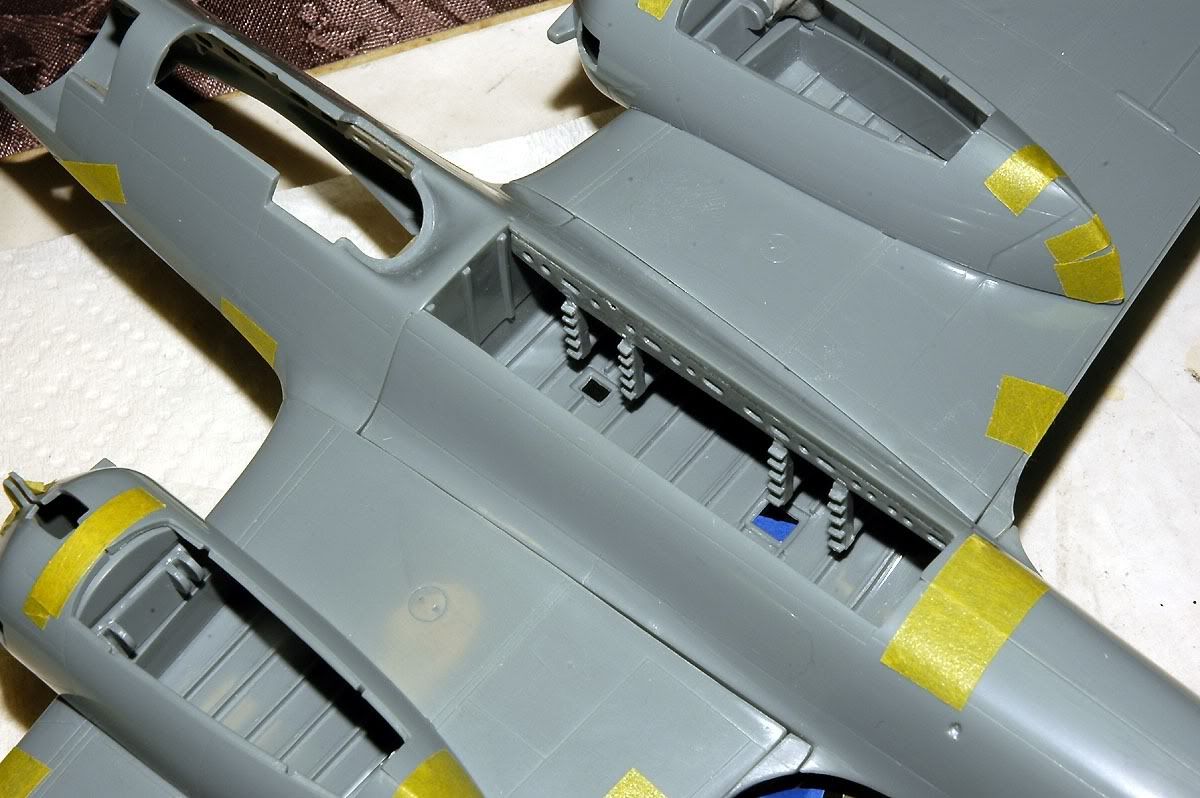
Preliminary dry fit test after some solid clean up work
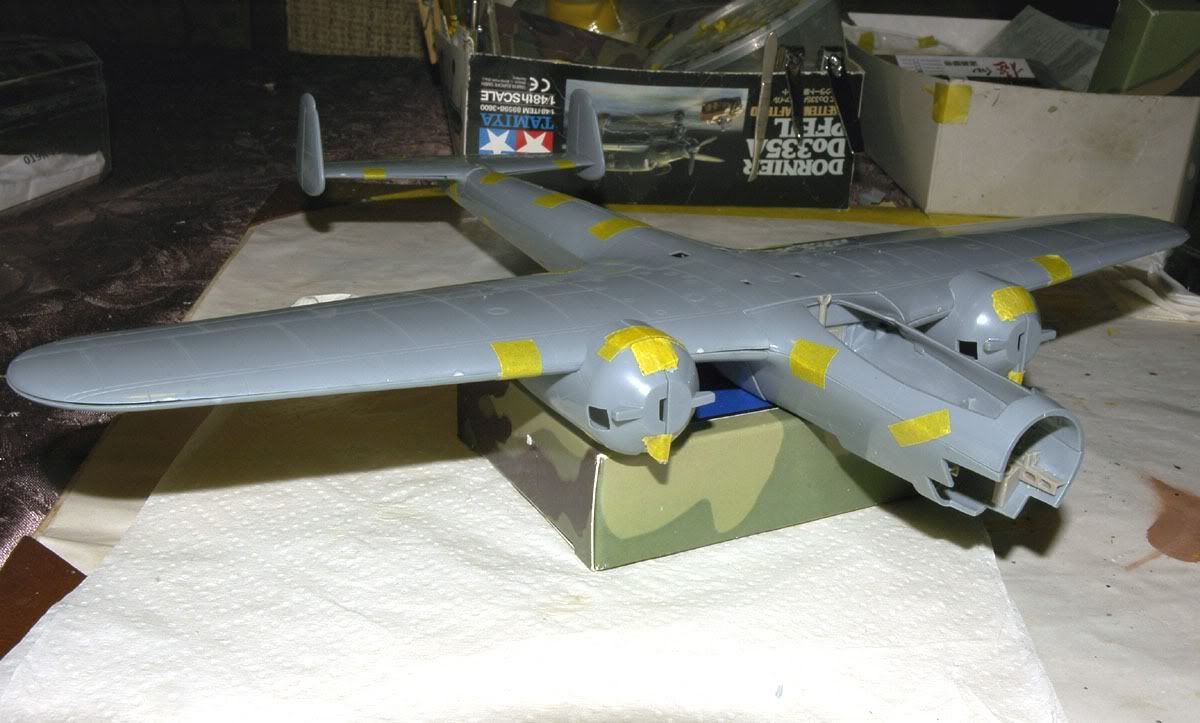

I do believe the engines nacelles fit better than an Eduard 110C kit!!!!!!! :yipee
this one needs lots of test fitting and fine sanding/scrapping to make things fit nicer, the initial fit is quite good but this one is getting plenty of TLC!
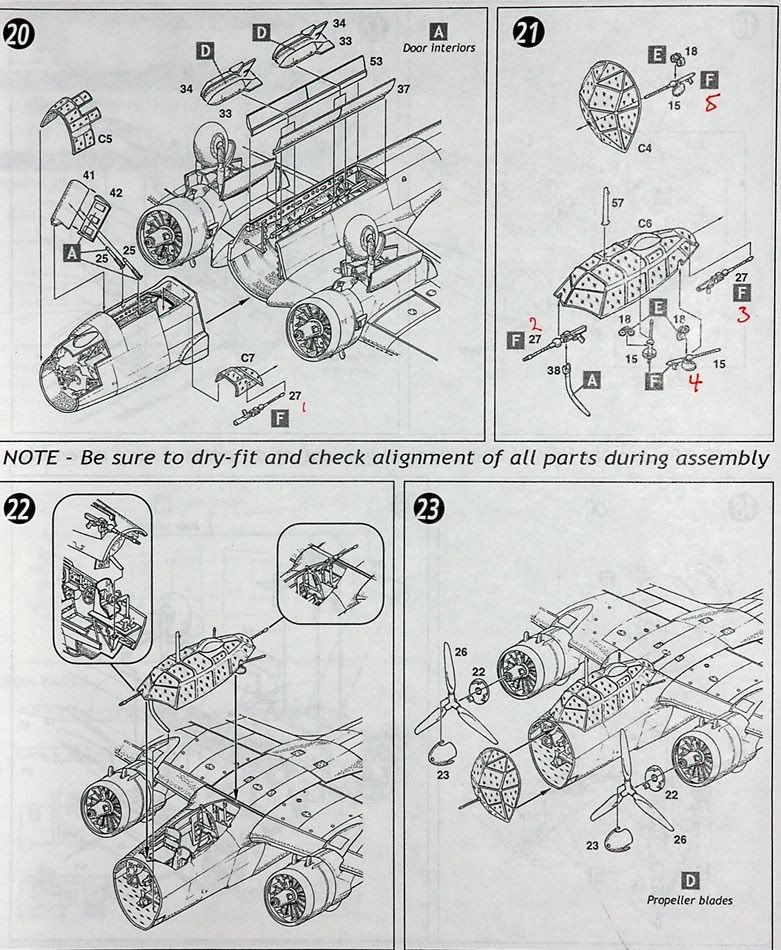
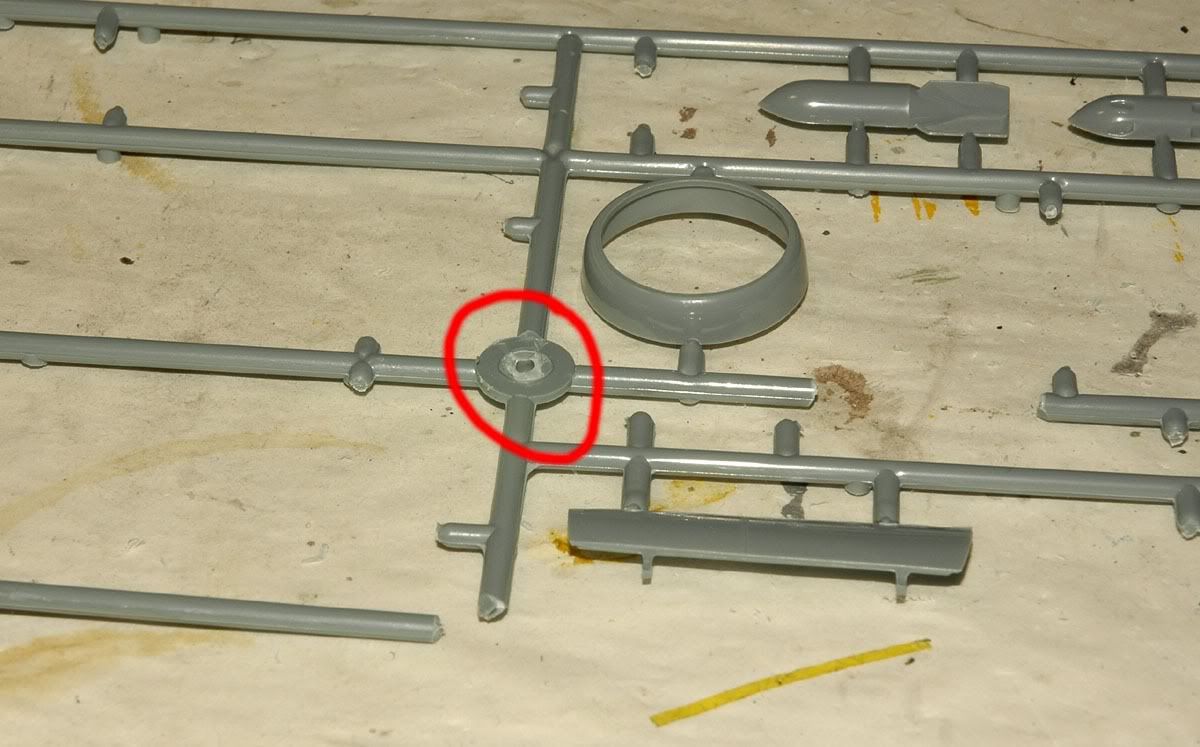
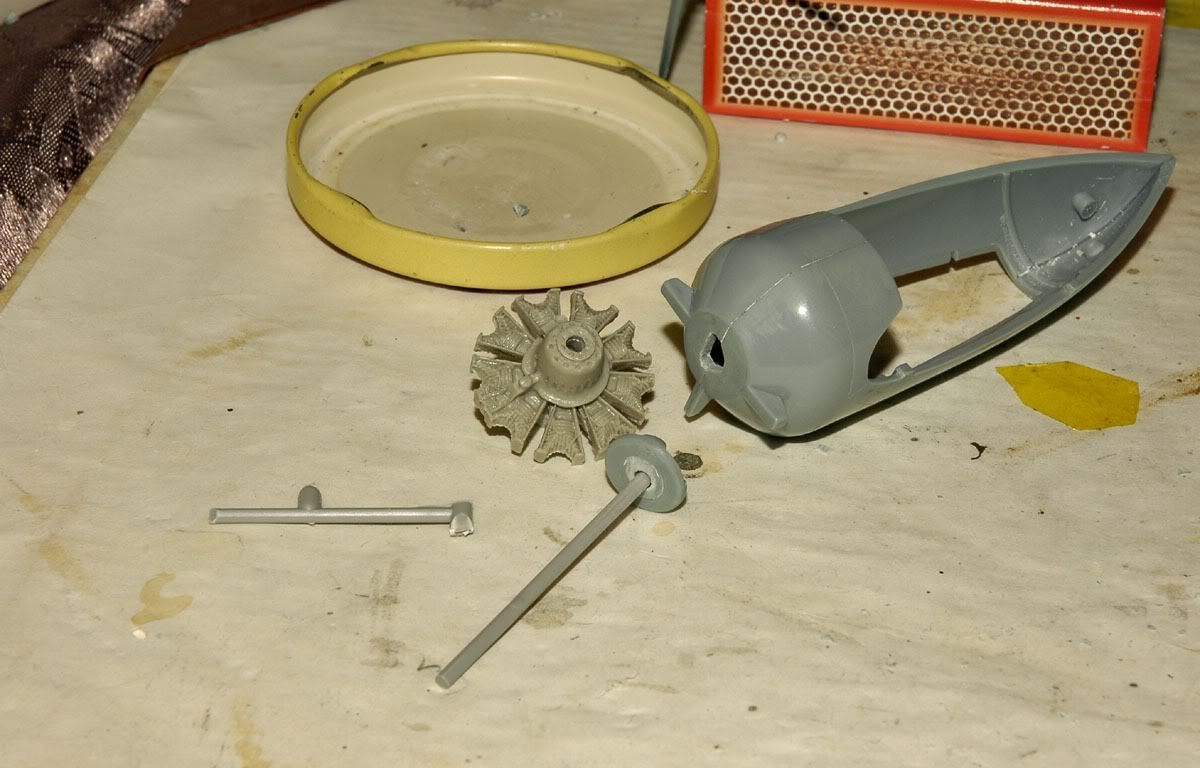
one section I've been working on is the props, they dont spin, the kit calls for the props to be glued onto the resin engines, so....
using this piece of scrap I made up two prop shaft ''donuts'' , there's a few of these
made two prop shafts out of another piece of sprue, drilled through the resin engine
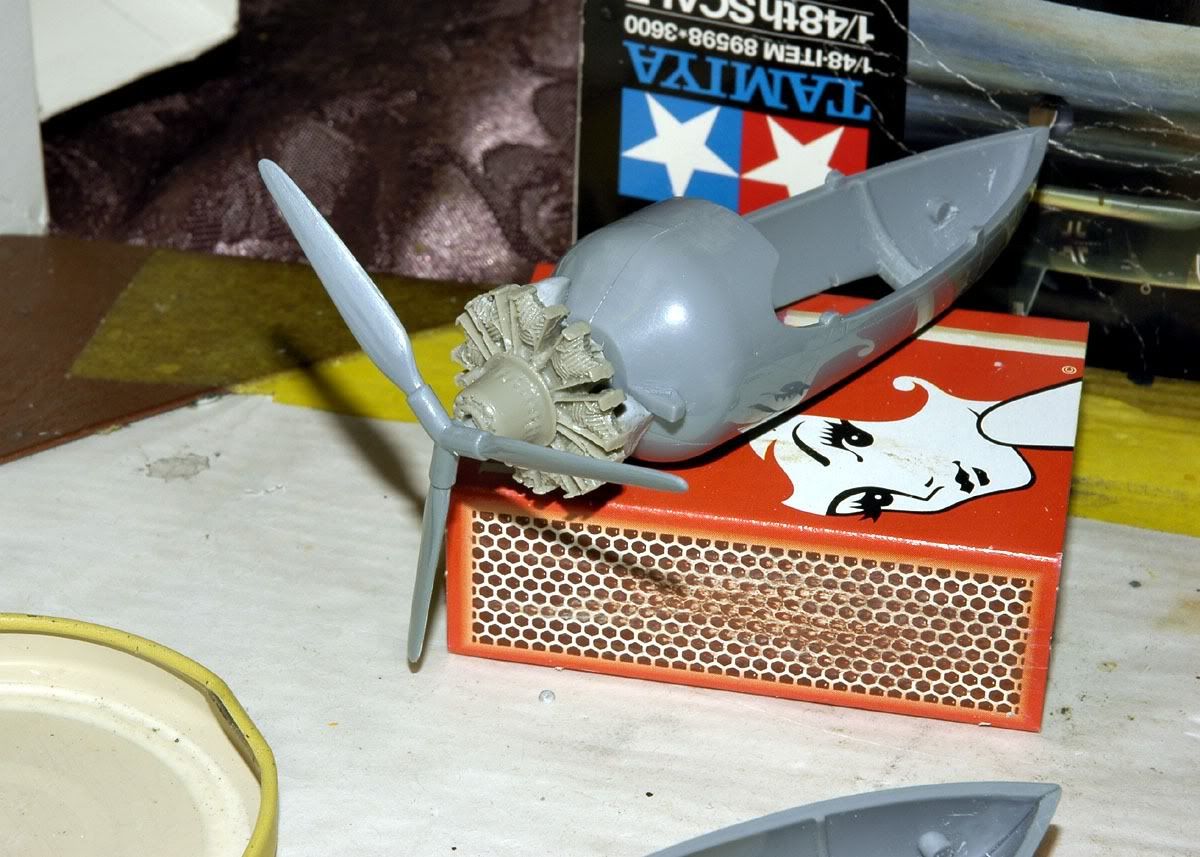
the donut holds the shaft nice and snug inside the nacelle
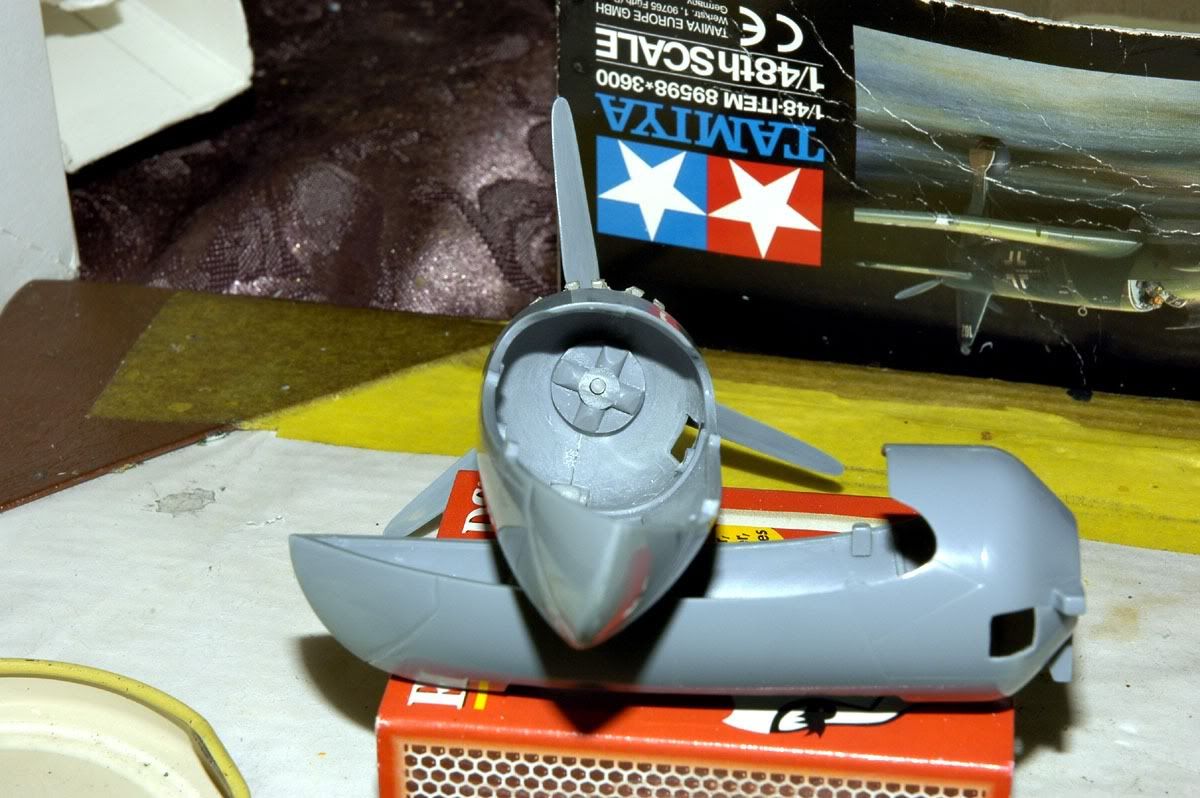
and it all comes together to give a free rotating prop.
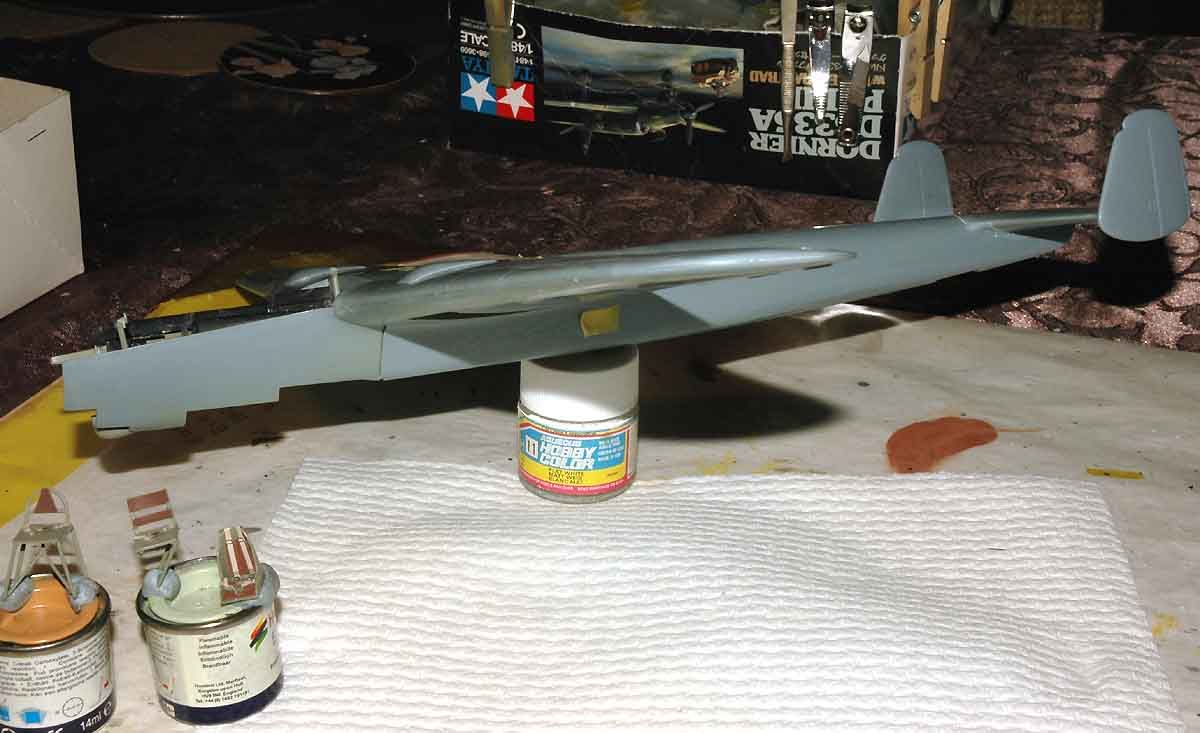
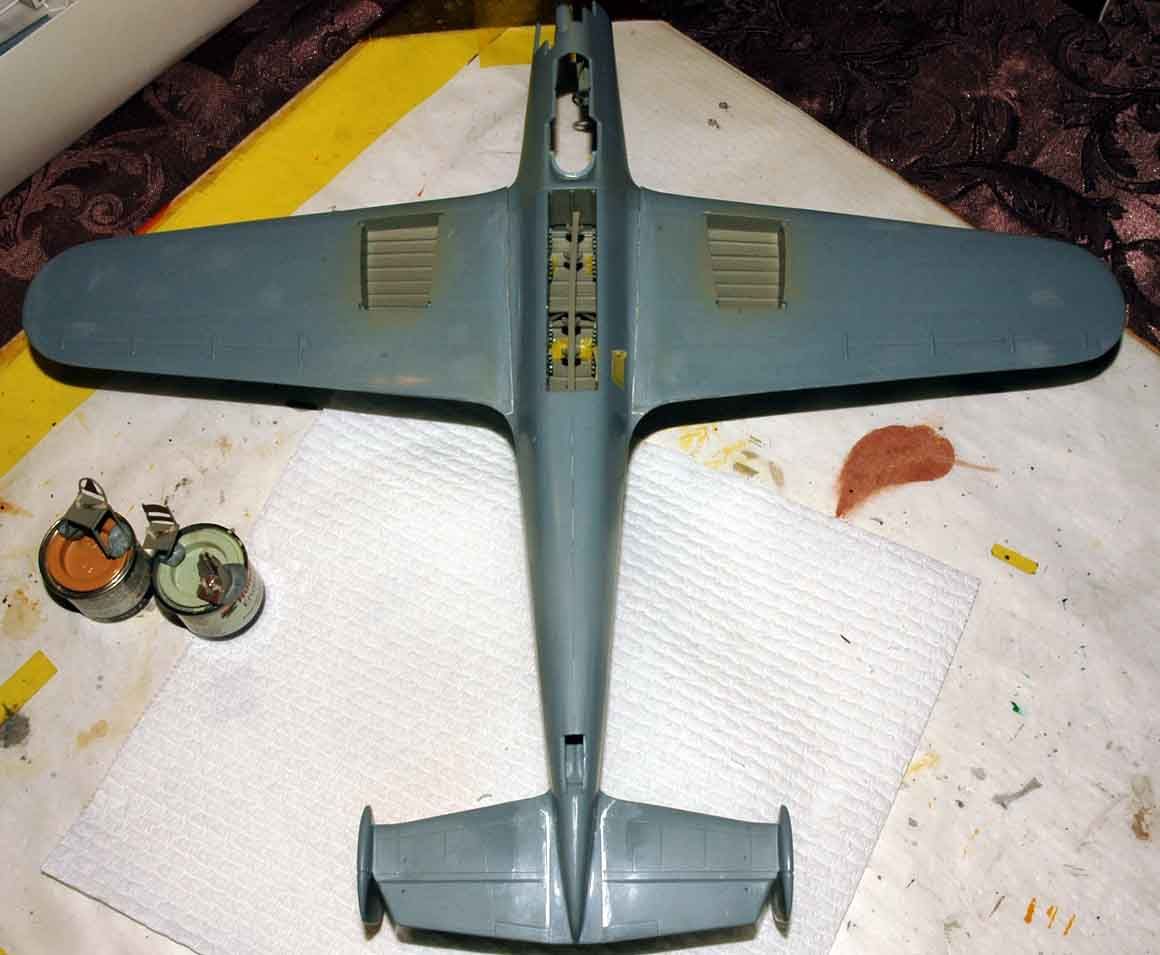
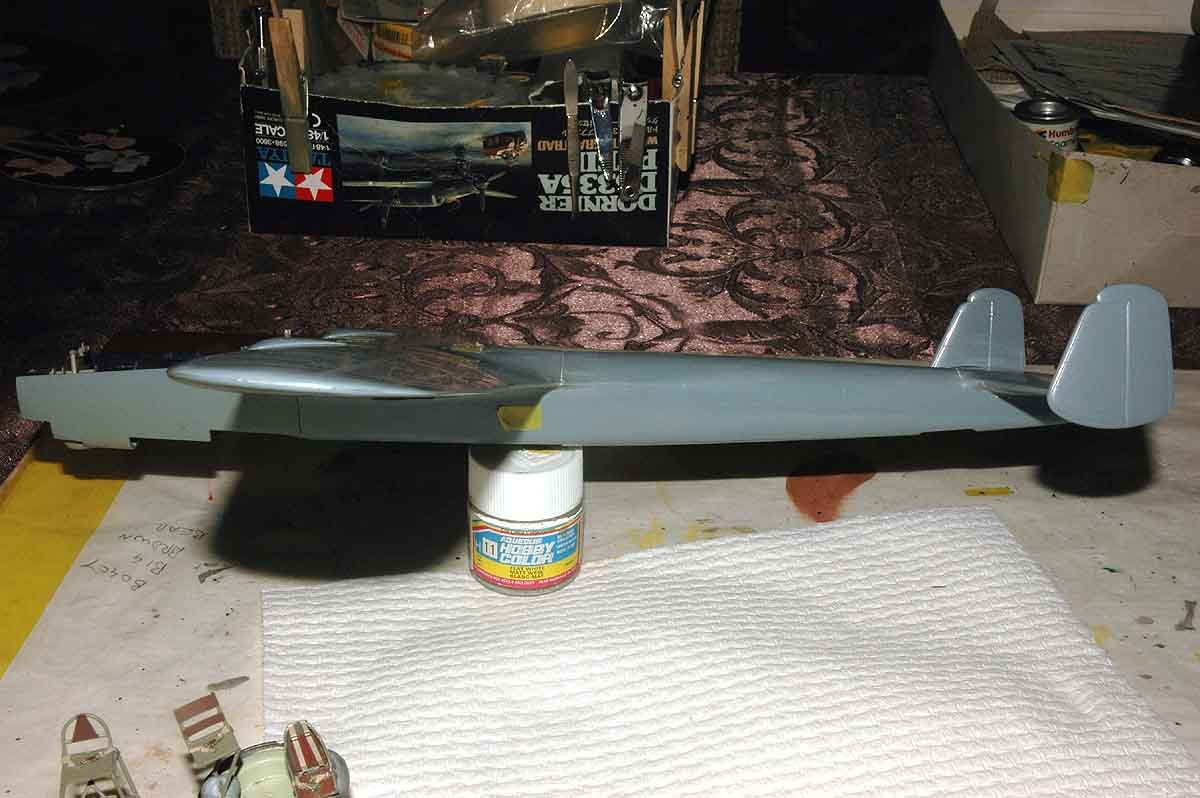
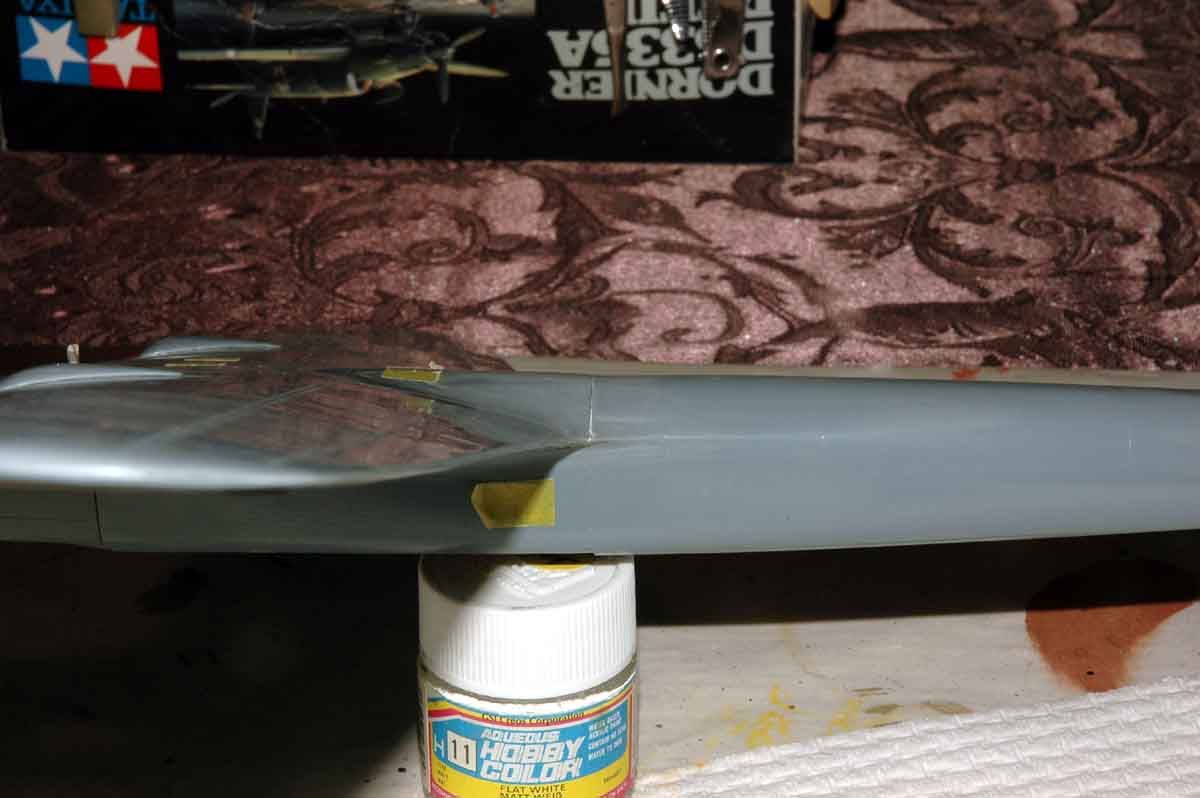
parts sprayed with RLM 02 now almost ready to take the step and do some building.

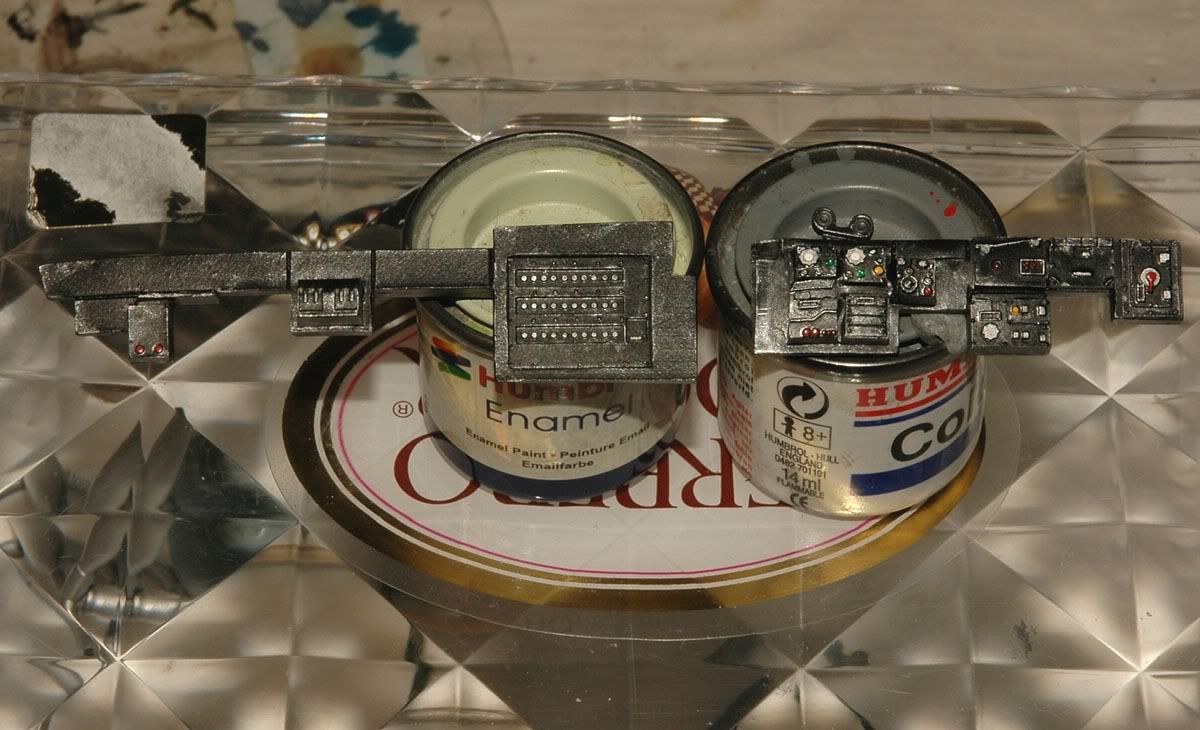
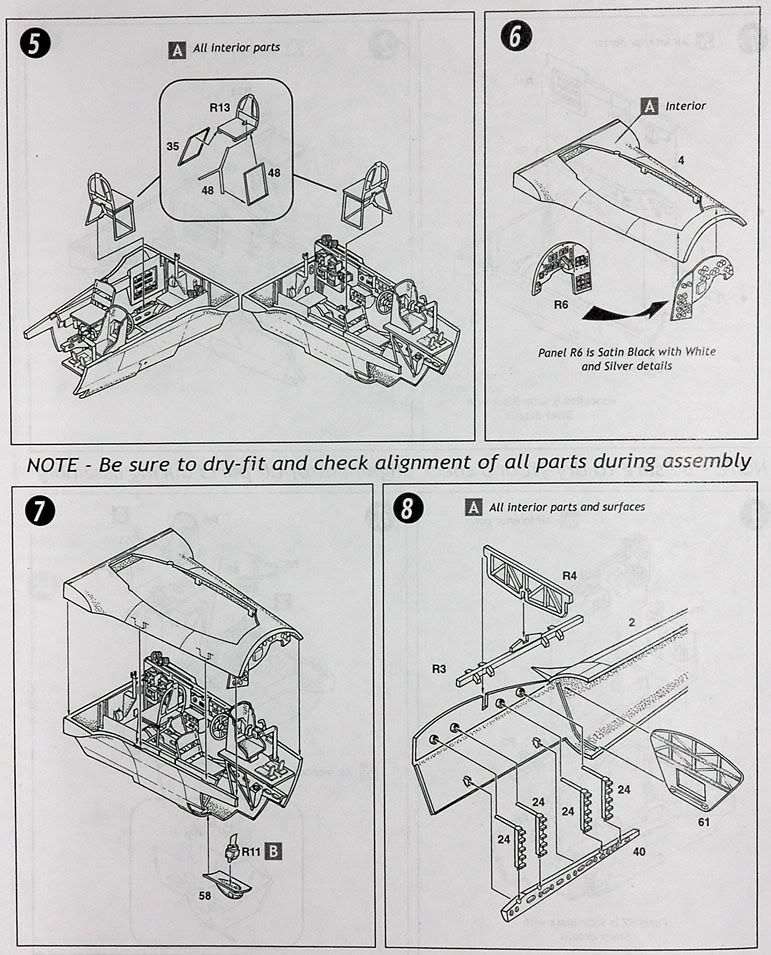
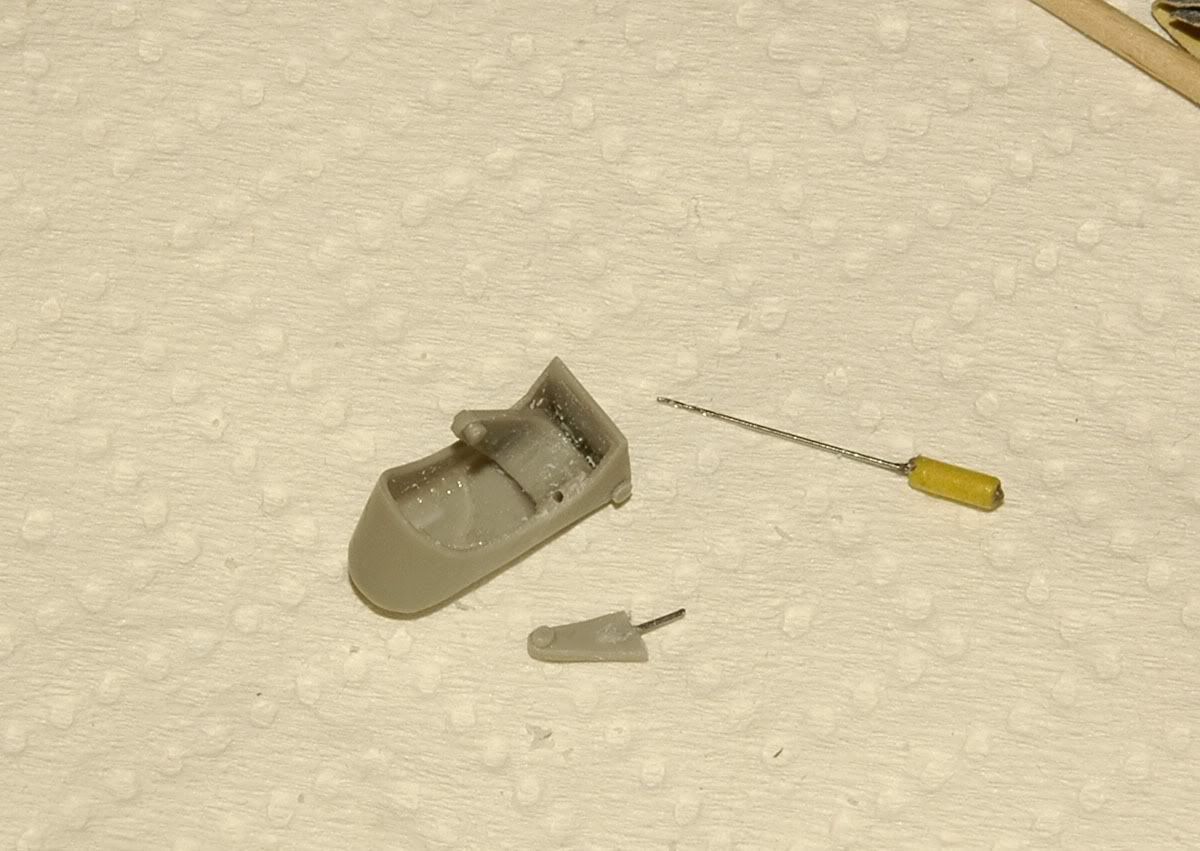
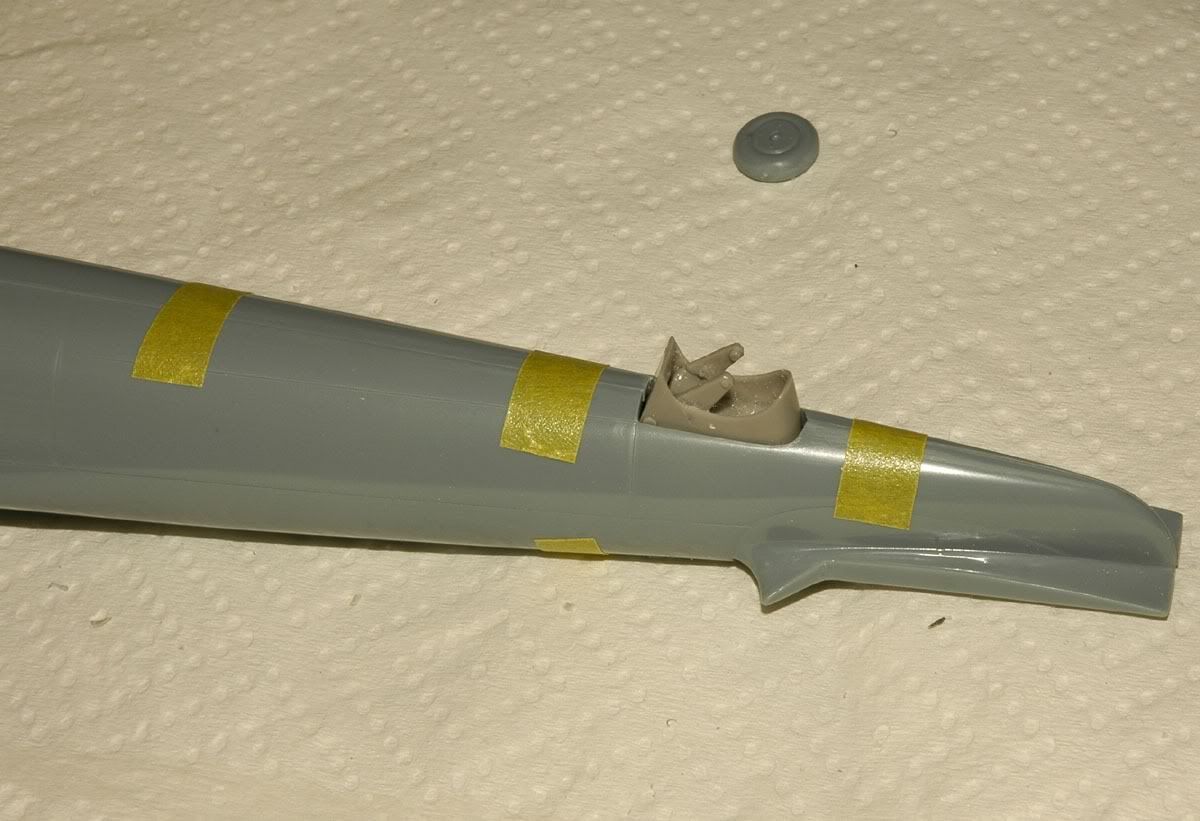
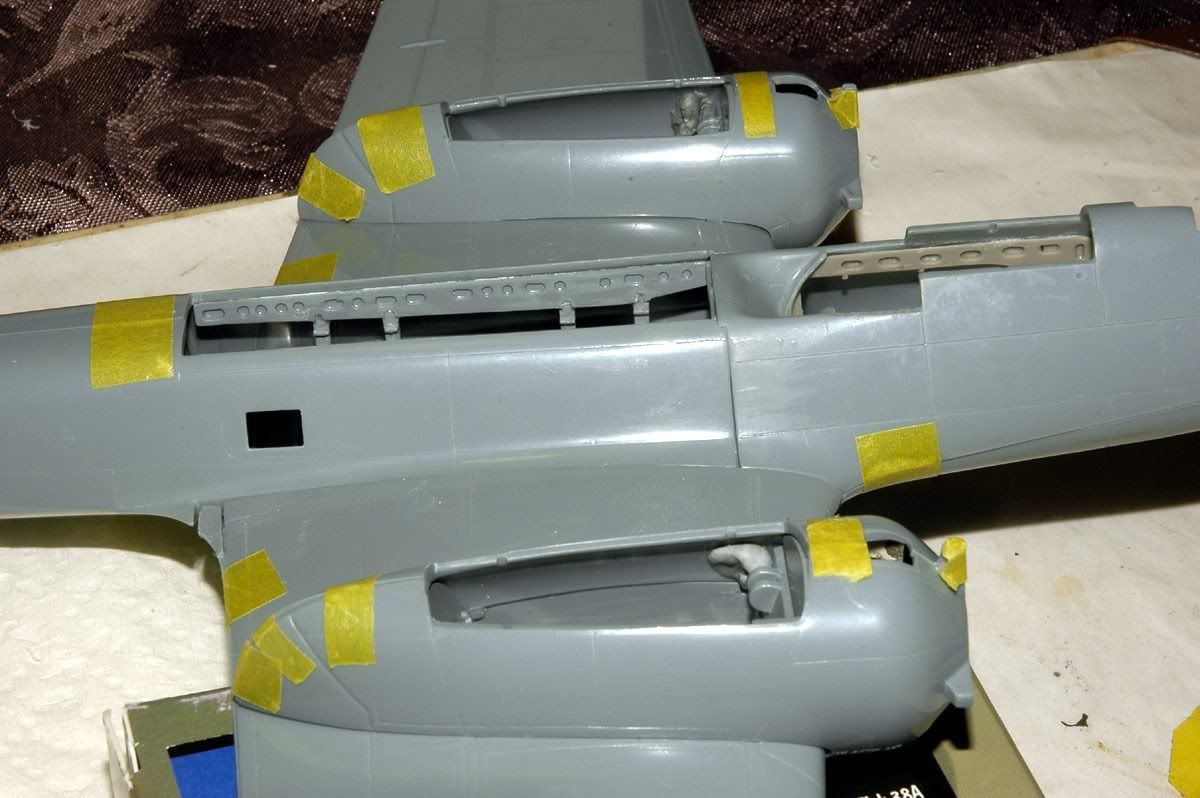
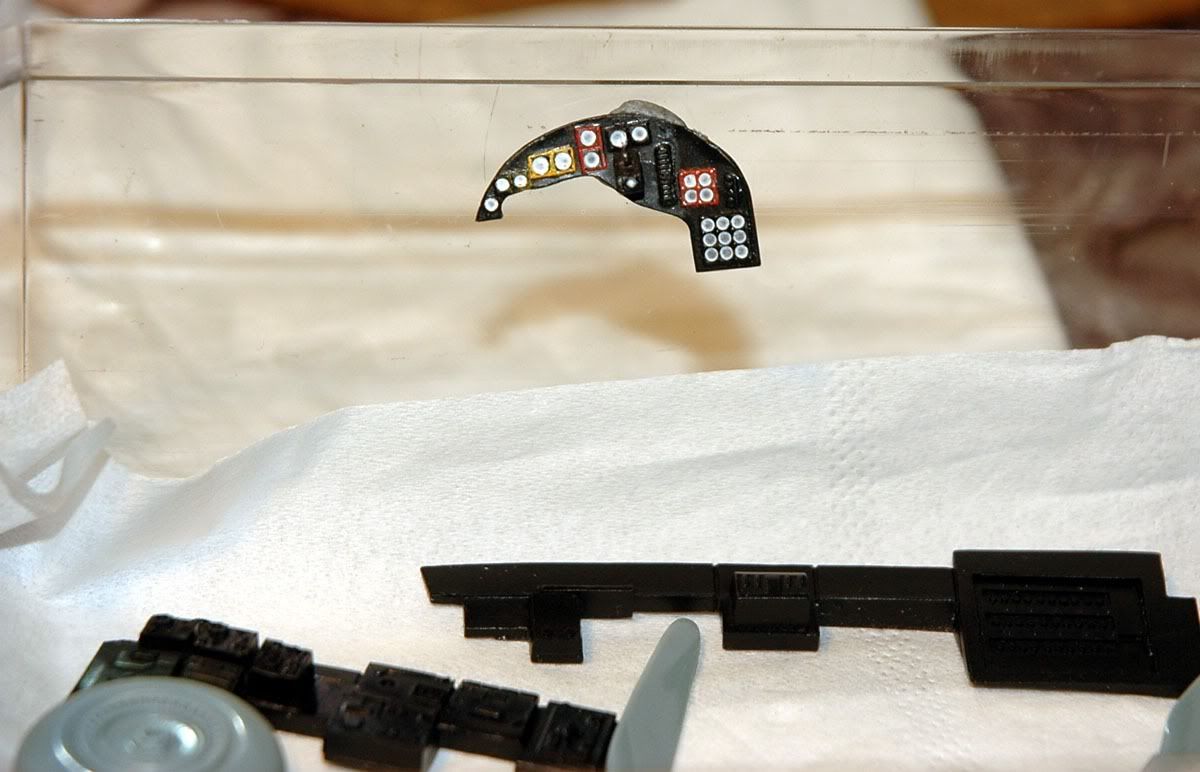
kit IP is pretty basic, here's what I've done with it, I figure you won't see much of it closed up so I think it's good enough.
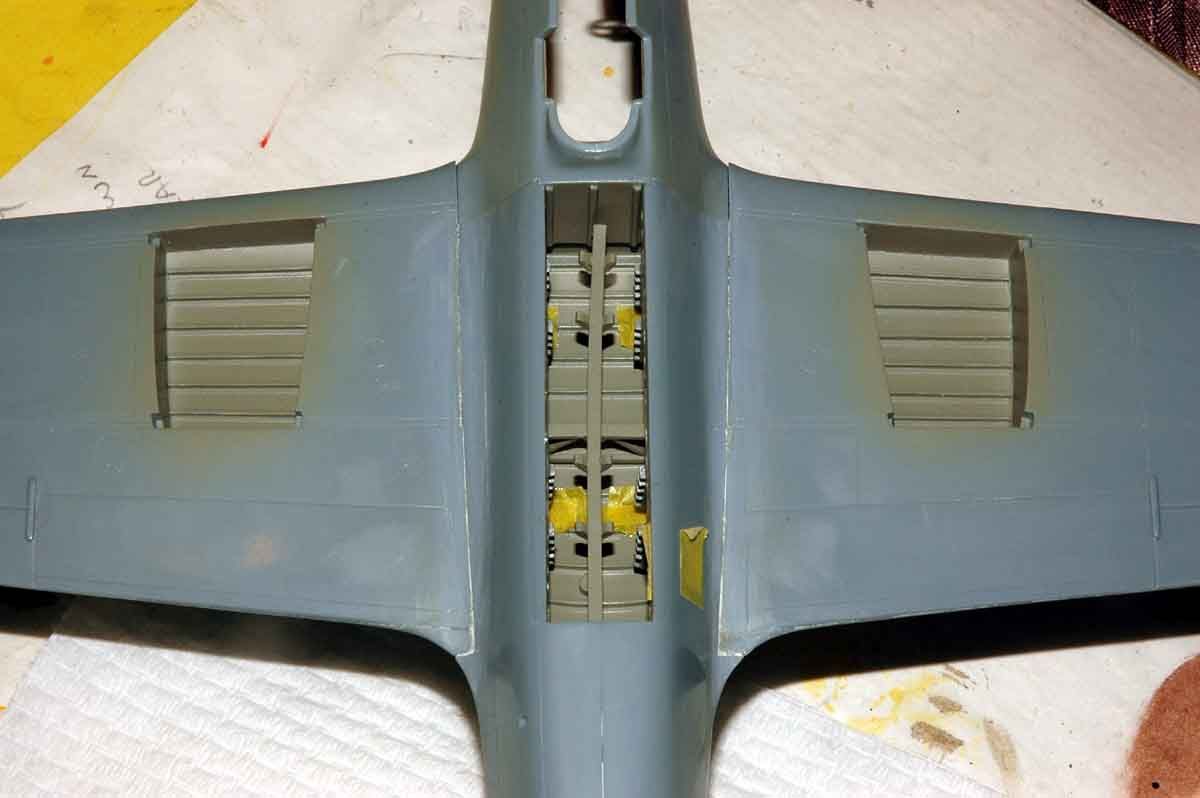
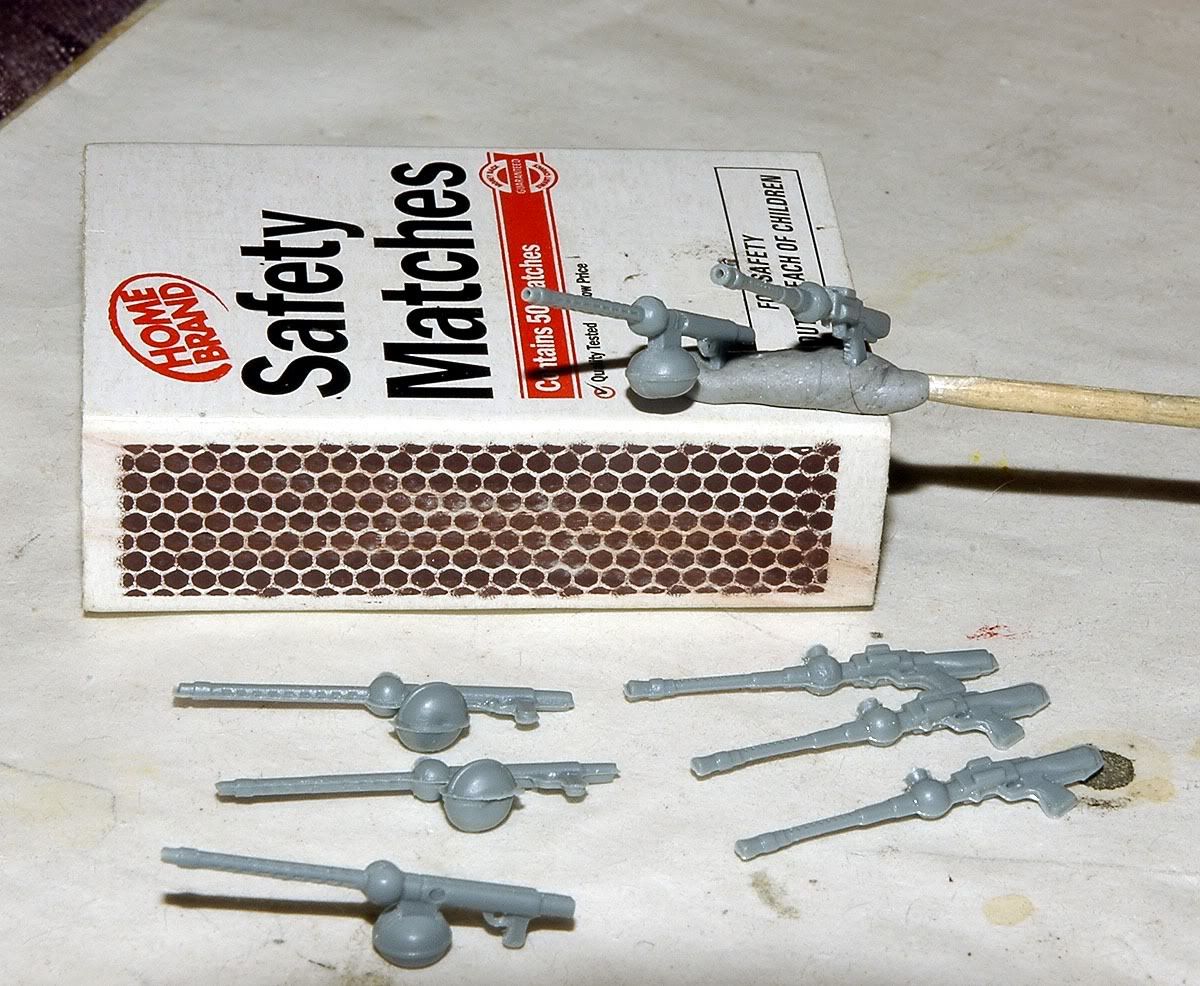
The kit guns painted, and I'm adding Pe sights and posts, some will need to be fitted after they go through the greenhouse gun holes.
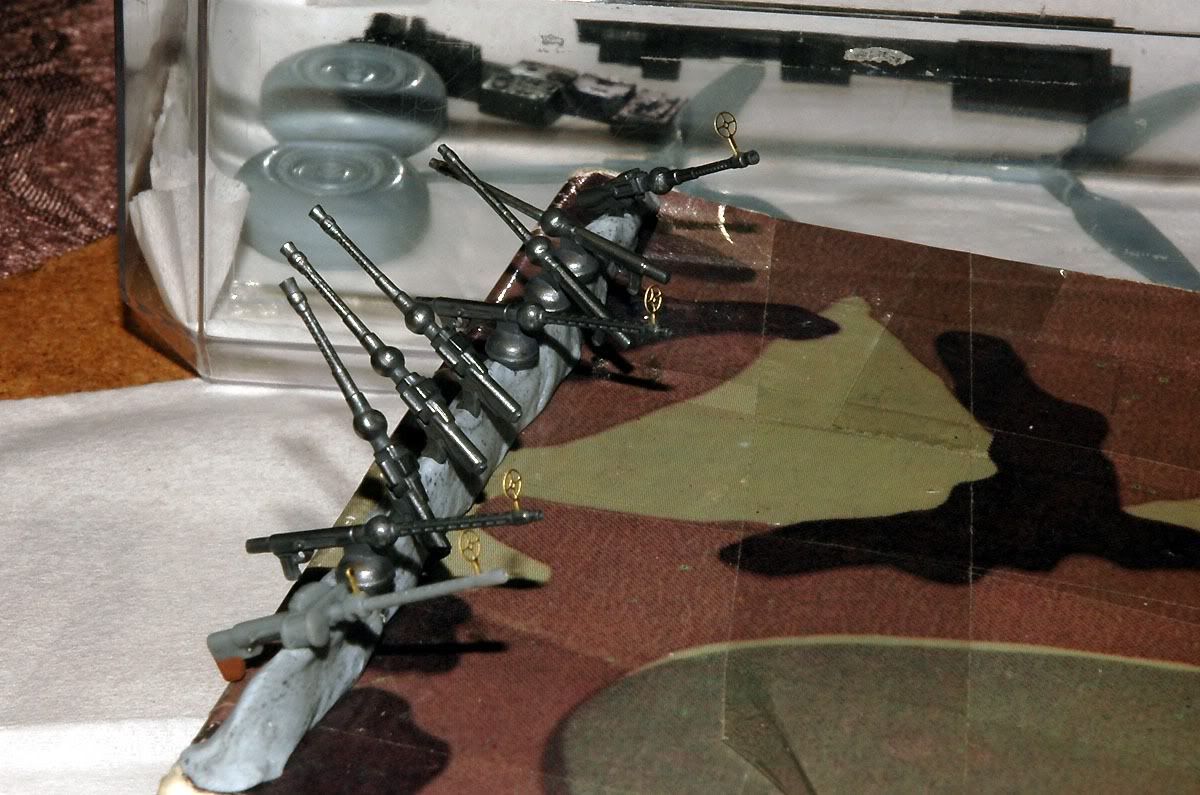
(first Mg is from another kit - Eduard ground crew #8501)
I've been working on it slowly for a while, here is the build progress
resin
kit gives camo for Finnish aircraft
not liking that I got this sheet
There's quite a bit of cleaning up of parts - but I don't care cause I just love the Classic Airframes kits.
after breaking one of the rear wheel axle forks I had a nice time trying to re glue the resin bit - ended up using a very thin wire brace into drilled holes which worked fine
some early clean up on the resin bits which came off the casting blocks very easy - except for that tail wheel part....
kit Mg's - all look like the two on the bluetac now
The secret of doing a Classic Airframes kit - plenty of cleanup and dry fitting!
Preliminary dry fit test after some solid clean up work
I do believe the engines nacelles fit better than an Eduard 110C kit!!!!!!! :yipee
this one needs lots of test fitting and fine sanding/scrapping to make things fit nicer, the initial fit is quite good but this one is getting plenty of TLC!
one section I've been working on is the props, they dont spin, the kit calls for the props to be glued onto the resin engines, so....
using this piece of scrap I made up two prop shaft ''donuts'' , there's a few of these
made two prop shafts out of another piece of sprue, drilled through the resin engine
the donut holds the shaft nice and snug inside the nacelle
and it all comes together to give a free rotating prop.
parts sprayed with RLM 02 now almost ready to take the step and do some building.
kit IP is pretty basic, here's what I've done with it, I figure you won't see much of it closed up so I think it's good enough.
The kit guns painted, and I'm adding Pe sights and posts, some will need to be fitted after they go through the greenhouse gun holes.
(first Mg is from another kit - Eduard ground crew #8501)


 is going
  now
now