• Modelers Alliance has updated the forum software on our website. We have migrated all post, content and user accounts but we could not migrate the passwords.
    This requires that you manually reset your password.
    Please click here, http://modelersalliance.org/forums/login to go to logon page and use the "Forgot your Password" option.

42nd Highland Infantry Regiment "Black Watch" at the Battle of Quatre Bras, June, 1815

Git'er done indeed.
I do wish you'd put a edge on that blade, at least the cut would be a bit cleaner? :doh:
 
Thanks, MP. The resin might break, otherwise I would, lol. The Officer's sword was bit thick, I must say.
 
"HiYA-Kabotch!" no. "Hassan CHOP!" still not quite Scottish enough. :hmm:
I wonder what he is saying as he rushes in to cleave French troopers?
"Stop hettin' me with that blooody cheese, ya Froggie poof!"?
:bm:
 
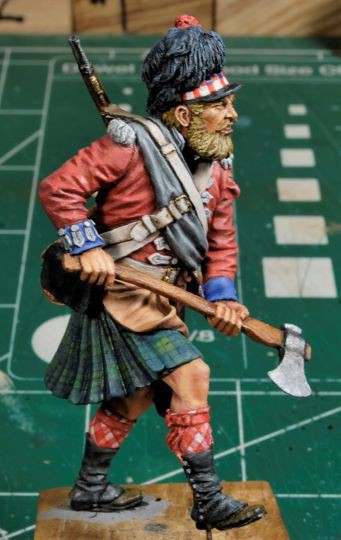
Battle of the Tartans, Part 2

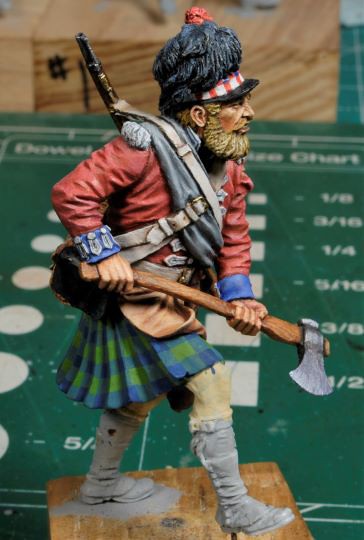
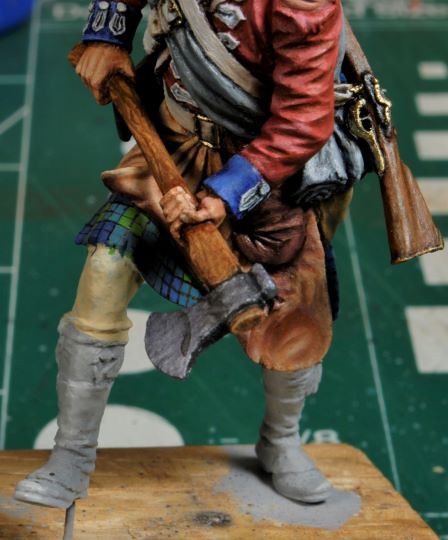
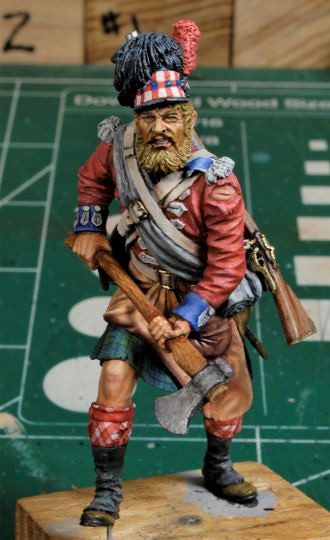
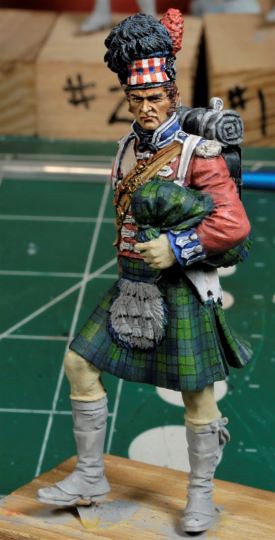
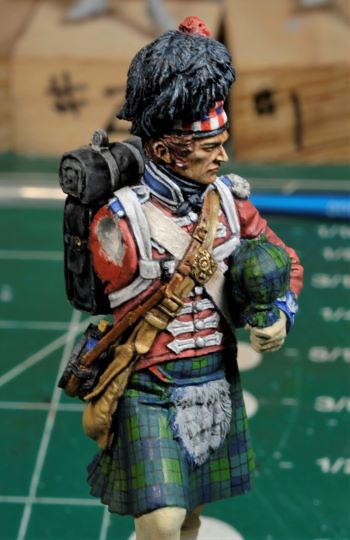
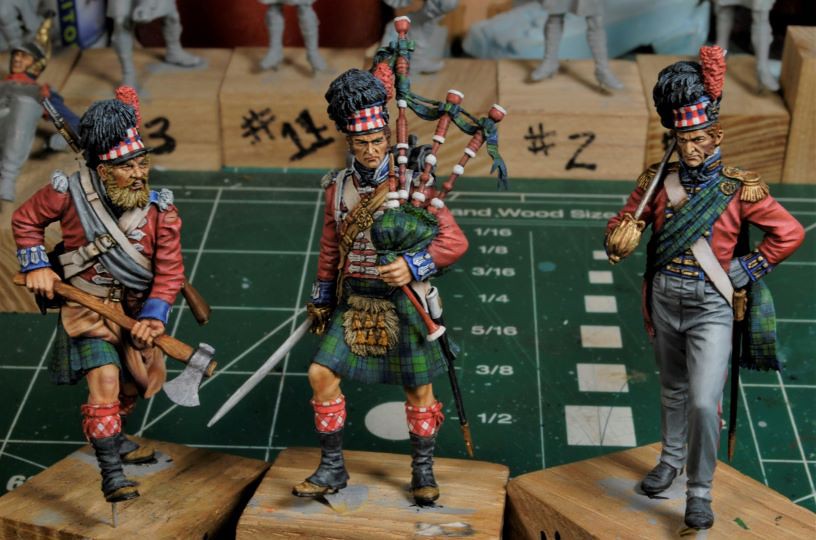
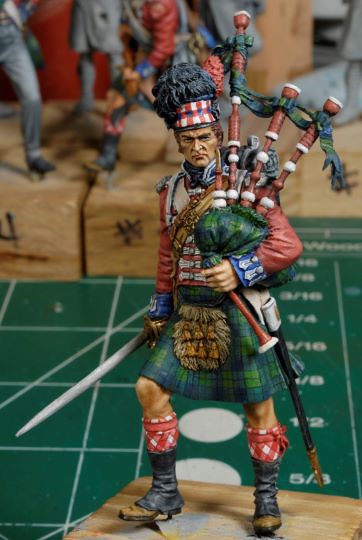
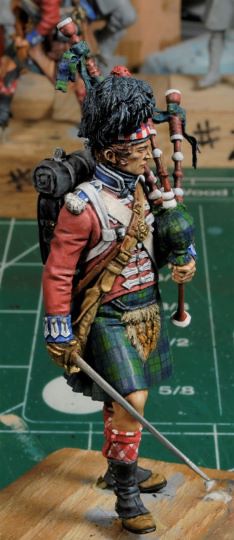
After wrapping my head around the correct pattern, the Battle of the Tartans was well underway. The Officer figure has a checker board pattern which is incorrect whereas this pattern on Hatchet man is more correct. I’m no expert by any means when it comes to this portion of the process and had to have my pretty little woman, my wife, get my head straight on what I was looking at. She recognized it right off, but oh no, not me, HA! She’s a keeper!

_DSC0559b-vi.jpg


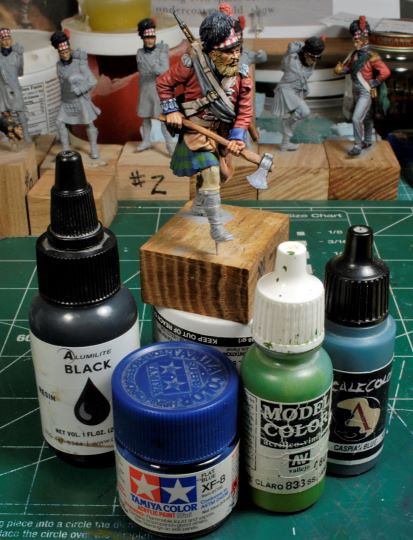
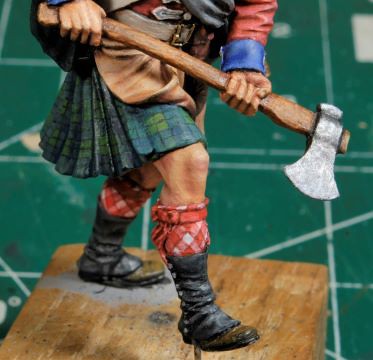
The colors used are pictured above, all acrylics. All of the black acrylics I have would not cooperate with the thin line process so I dug up my black resin dye and proceeded. I thinned it with water using small amounts on the brush to avoid “blob” lines. It was a long painful process to get the lines in place and, as you can see, it ain’t pretty. I went back with each color to fix some of the line “blobs” wherever possible, but the thickness of some of the lines are glaring me in the face.

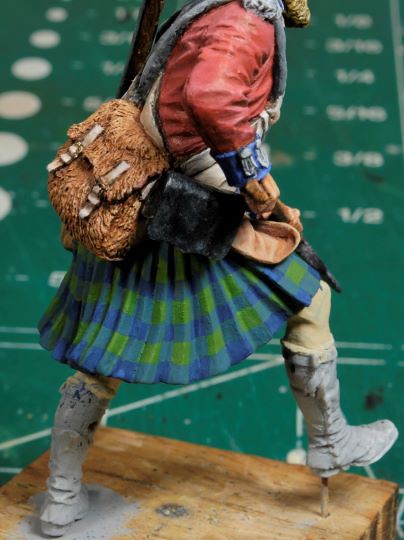
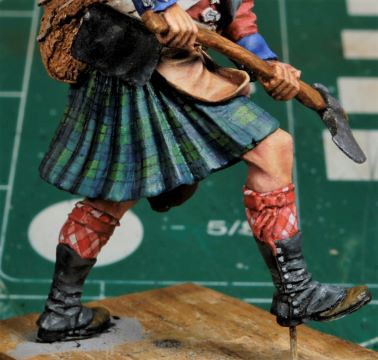
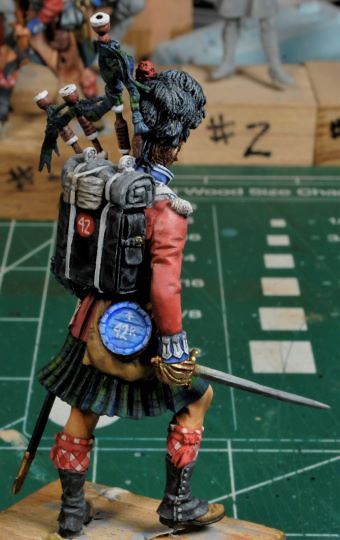
These pleats are nothing but a nightmare, for me anyway, just sayin. This is a frustrating process, but it turned out acceptable enough, especially when later I’ll give the tartan a few tonal washes so most of my boofs will not be easily visible. Like a good carpenter, ya gotta know how to hide your mistakes, right?

It sure would have been really swell to leave the tartan without the lines, but that would not be correct.

_DSC0561b-vi.jpg
_DSC0562b-vi.jpg
_DSC0564b-vi.jpg


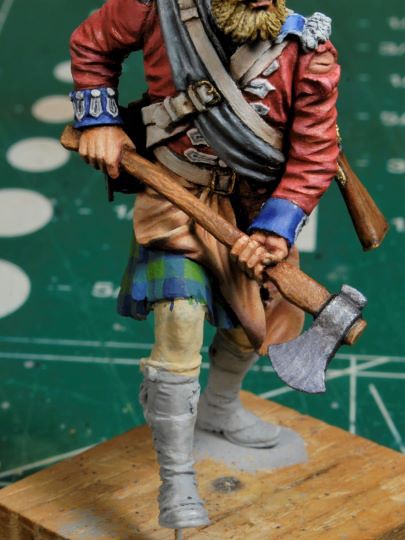
Being self-critical, as I often am, I was not exactly pleased with the outcome of the lines. I recon after the last figure I will have perfected some process or technique that will make these tartans look real, but not yet, lol. Even using a 0000 brush doesn’t seem to help me with these lines. I’ve seen several examples of 54mm tartans painted, all different patterns, but they seem to have the patterns larger than they should be. I really didn’t want to over exaggerate the size of the pattern and therefore I made the job much harder than it could have been. Oh well, I carry on.

_DSC0566b-vi.jpg
_DSC0569b-vi.jpg


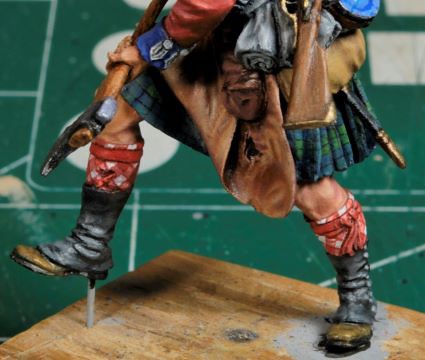
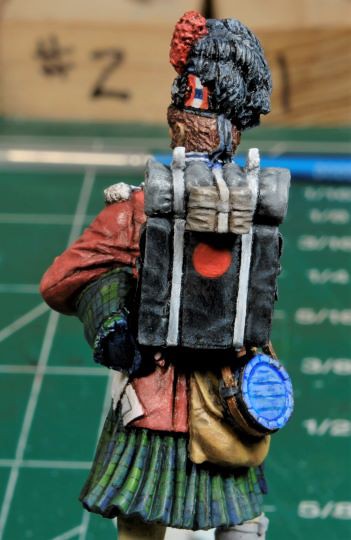
I will keep working my way down to the boots and set Hatchet Man aside to dry within the next few days. More to follow and thanks for watching.


Cheers, Ski.
 
Hatchet Man Reporting for Duty

This fine chap is ready for battle. It’s kinda funny, after 17 years of working mid-night shift I still occasionally wake up around midnight and can’t get back to sleep, and I’ve been retired for over three years, sheesh! Rather than lay there tossing and turning for hours it only makes sense to get back into the bunker and “sniff some paint”, and that I did.

I was really tempted to redo the tartan, but after a light and dark wash I was told by my wise council to carry on. I’m glad I did, because I really wasn’t in the mood to do this twice. So, this morning I started working the socks and come to find out it wasn’t as difficult as I had imagined. Ya never know till ya take that dive and it becomes real apparent right quick, wouldn’t ya say?

Working my way down the figure I painted the flesh tones of the legs in standard fashion. Whenever I get this far on a figure, I like to close out anything above so I won’t inadvertently rub off any oils or damage anything done prior. Usually, the nose paint gets rubbed off during handling and gets a touch up, but not much else. That canteen may need attention as well since I’m not exactly sure what markings are appropriate. Hopefully someone will know the answer to that question, because I’m not finding anything concrete that is clearly visible in reference photos.

_DSC0577b-vi.jpg
_DSC0580b-vi.jpg
_DSC0582b-vi.jpg
_DSC0584b-vi.jpg


I used thinned Tamyia XF-7 Flat Red and began to draw out the stripes around the sock keeping in mind that there is a seam in the back. Actually, that was a big help in that I did not have to try to keep the symmetry in mind and the pattern could end naturally at that seam. It’s not really noticeable, but it is there. Then, each diamond shape that does not over-lap was given a light touch of Titanium White oils and then washed out so the pattern looks like a true stitch pattern as seen in the reference photos. I reemphasized the outline of the pattern with a super thin line at the edges of each stripe. Now why couldn’t the tartan stripes be this easy?

Next, I used a mix of Ultra Marine Blue and Cadmium Red oils to create the shadows and a mix of Titanium White and Cadmium Red for the highlights. Lastly the boots and leggings were done in the standard fashion and will receive more attention when the final weathering takes place to mate these figures to the base.

_DSC0571b-vi.jpg
_DSC0573b-vi.jpg
_DSC0576b-vi.jpg


Hatchet Man will now take a side step for the next figure and off we go. If you see anything I may have miss, sing out, I’ll get er done.


Thanks for watching. Cheers, Ski.
 
Bag Piper

Just a quick update for now. As you can see the process has been unchanged on the Piper from Hatchet Man. It’s moving along much smoother now. The right arm has been painted but will remain detached until the final paint down to the boot. That sword is too delicate to take the chance of snapping.

The tartan pattern took quite less time this go round, but the lines were very time consuming. There is essentially two tartans to paint on the Piper, the pipe bag being the second pattern to place. The usual dark wash and light filter was applied as before.

_DSC0587b-vi.jpg
_DSC0588b-vi.jpg
_DSC0591b-vi.jpg


I’ve got a few more days of rain coming, so I’ll try to finish this one by the middle of the week.


Thanks for watching, all comments welcome. Cheers, Ski.
 
Three’s a Charm. Piper Finished.

Here’s the line up so far with the piper finished this morning. Nothing has changed in the process other than the fact that I had to fabricate the mouth piece twice. Yes, twice! I couldn’t tell yah were the original went, but my first fabricated mouth piece made a distinct ”ping” sound as it flew from my tweezers right at about the time I was installing it, HA! The carpet monster refused to fess up with it, so I had to make another one. So goes life in the bunker.

_DSC0592b-vi.jpg


The piper will set aside with the rest of the growing crew as I begin working the Flag Bearer.

_DSC0595b-vi.jpg
_DSC0597b-vi.jpg
_DSC0598b-vi.jpg
_DSC0601b-vi.jpg


If you see anything I may have missed, sing out, I’ll get after it right away. Thanks for watching.


Cheers, Ski.
 
I was gonna comment on the dour expression on the 'Piper's face, until it occurred to me how they all have very distinct expressions and what a fine bit of modeling it is that they all look so life-like! I am standing here beside myself! Absolutely Outstanding Ski! :tens:
 
Thanks, Gents, for the kind remarks and encouragement, it's greatly appreciated.

I agree, these guys are one grumpy bunch, minus the stunned drummer boy. HA! Unfortunately, the meaner the scowl, the tougher it is to paint. Chiseled facial features are a royal pain in the tuckus, to say the least. You'll remember the Lad taking down the French Cuirassier, very tough to get a smoother finish on him. Well, I'm a third of the way there, yehaaaaaaa!
 
Back
Top