Steve Ski
Well-known member
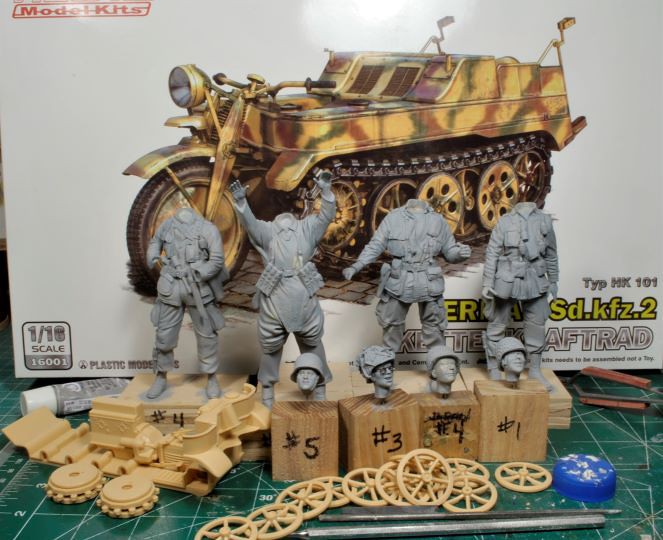
120mm Figures Sculpted by Maurice Corry, offered by Mitches Military Models.
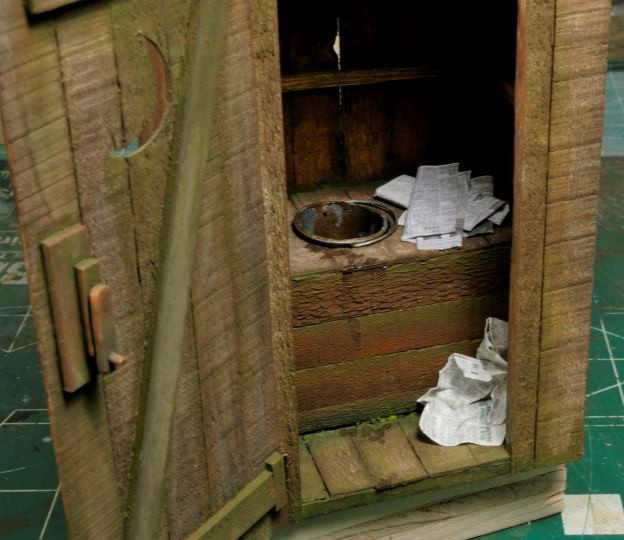
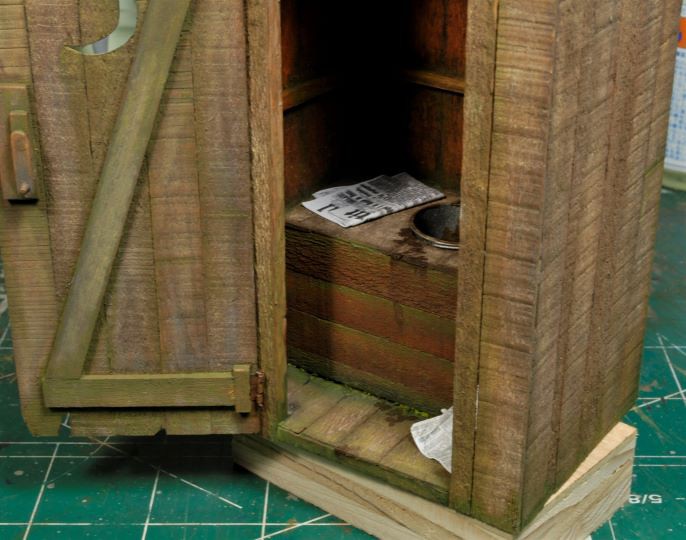
Back in the warm waters of Olive Drab and Khaki tones, after the “Battle of the Tartans”, I pulled from my stash a really great couple of figures that have been itching to be worked. Initially there would have been a total of eight figures in this dio, but I scaled it back for lack of space when completed. My curio cabinet is getting full.
In this build there will be four 120 mm, Maurice Corry figures and a Freedom Model Kits 1/16th German Sd.kfz.2 Kettenkraftrad Typ HK 101. Starting off with some really great poses from Maurice Corry’s Airborne figure sets I couldn’t pass up this pair representing the iconic photo of the 101st AB in Normandy holding the Nazi flag. There are two represented from that famous photo and two others, A GI holding a German prisoner at bayonet point.
The initial set from that iconic photo doesn’t appear to be available anymore, but the second set is still shown on the second page as available, 120mm Us Airborne Private with German POW.
https://www.mitchesmilitarymodels.co.uk/120mm-models?page=2
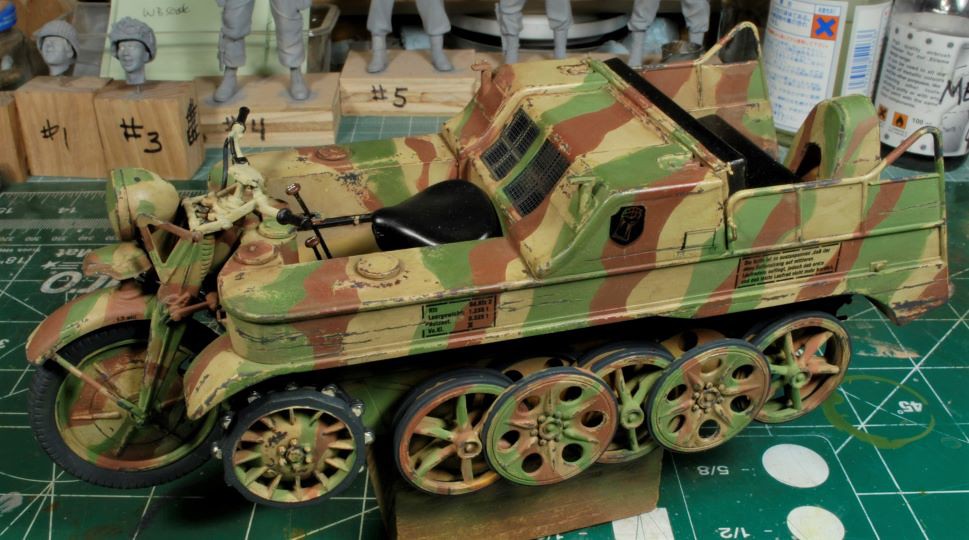
The Freedom Model Kits 1/16th German Sd.kfz.2 Kettenkraftrad Typ HK 101 is still available and is reasonably priced for this kit, IHMO. It even comes with a driver, not bad.
Now I know some of you are going to mention that 120mm and 1/16th scales don’t mix. True, but it’s all in the presentation, right? So, I will work with a little optical illusion when placing that Sd.kfz.2. I haven’t quite figured out the scenario just yet, but there will be some small structure and lots of rubble within the scene. Point being, I need to keep my figure work going and these figures were in the cue.
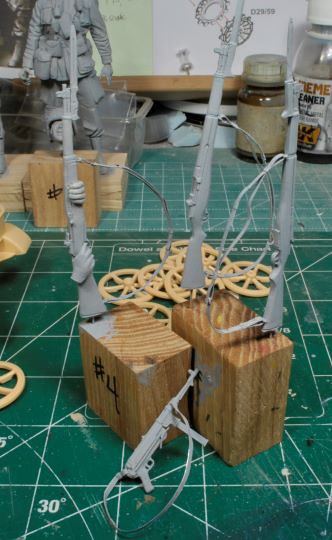
These four resin figures themselves have some really great usable poses which makes for so many possibilities in dio placement. Clean-up was pretty much as per usual, nothing too far out of the ordinary, the casting was good. I did have to make a few minor alterations, some of the parts weren’t fitting as well as they should have, but nothing drastic.
The rifle straps were made from sheet pewter and some copper wire for the lugs, and a few other parts. I also made a pair of glasses for the GI with the flag. They appear a bit on the thick side, so I may scour for a bit thinner wire, but that will be towards the end of the build. Lastly, the figures were given a primer coat of Floquil Primer, oil based, to help identify any areas missed and prep for the base tone color application.
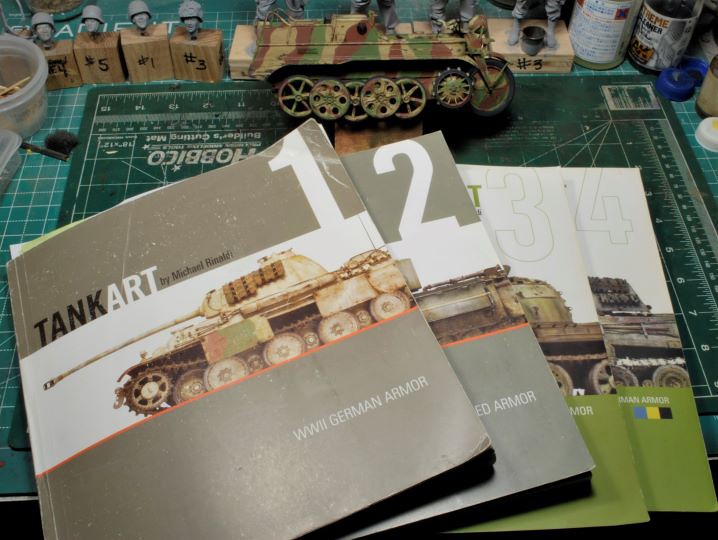
Freedom Model Kits 1/16th German Sd.kfz.2 Kettenkraftrad Typ HK 101 is now in production and is available from several vendors. This is a decent kit so far and it appears to be going together nicely. This blog will not feature the Sd.kfz.2 build, per se, but is mainly about the Airborne figures and painting them. I will update the progress, but not with any SBS on this rig.
More to follow soon, the Sd has to be done before the figure work begins at full speed. Thanks for watching.
Cheers, Ski.
Back in the warm waters of Olive Drab and Khaki tones, after the “Battle of the Tartans”, I pulled from my stash a really great couple of figures that have been itching to be worked. Initially there would have been a total of eight figures in this dio, but I scaled it back for lack of space when completed. My curio cabinet is getting full.
In this build there will be four 120 mm, Maurice Corry figures and a Freedom Model Kits 1/16th German Sd.kfz.2 Kettenkraftrad Typ HK 101. Starting off with some really great poses from Maurice Corry’s Airborne figure sets I couldn’t pass up this pair representing the iconic photo of the 101st AB in Normandy holding the Nazi flag. There are two represented from that famous photo and two others, A GI holding a German prisoner at bayonet point.
The initial set from that iconic photo doesn’t appear to be available anymore, but the second set is still shown on the second page as available, 120mm Us Airborne Private with German POW.
https://www.mitchesmilitarymodels.co.uk/120mm-models?page=2
The Freedom Model Kits 1/16th German Sd.kfz.2 Kettenkraftrad Typ HK 101 is still available and is reasonably priced for this kit, IHMO. It even comes with a driver, not bad.
Now I know some of you are going to mention that 120mm and 1/16th scales don’t mix. True, but it’s all in the presentation, right? So, I will work with a little optical illusion when placing that Sd.kfz.2. I haven’t quite figured out the scenario just yet, but there will be some small structure and lots of rubble within the scene. Point being, I need to keep my figure work going and these figures were in the cue.
These four resin figures themselves have some really great usable poses which makes for so many possibilities in dio placement. Clean-up was pretty much as per usual, nothing too far out of the ordinary, the casting was good. I did have to make a few minor alterations, some of the parts weren’t fitting as well as they should have, but nothing drastic.
The rifle straps were made from sheet pewter and some copper wire for the lugs, and a few other parts. I also made a pair of glasses for the GI with the flag. They appear a bit on the thick side, so I may scour for a bit thinner wire, but that will be towards the end of the build. Lastly, the figures were given a primer coat of Floquil Primer, oil based, to help identify any areas missed and prep for the base tone color application.
Freedom Model Kits 1/16th German Sd.kfz.2 Kettenkraftrad Typ HK 101 is now in production and is available from several vendors. This is a decent kit so far and it appears to be going together nicely. This blog will not feature the Sd.kfz.2 build, per se, but is mainly about the Airborne figures and painting them. I will update the progress, but not with any SBS on this rig.
More to follow soon, the Sd has to be done before the figure work begins at full speed. Thanks for watching.
Cheers, Ski.

 watching happily!