• Modelers Alliance has updated the forum software on our website. We have migrated all post, content and user accounts but we could not migrate the passwords.
    This requires that you manually reset your password.
    Please click here, http://modelersalliance.org/forums/login to go to logon page and use the "Forgot your Password" option.

120mm 82nd Airborne Soldier (Update 4/19/15)

Adam Baker

Active member
I figured since I was already working on some figures, I'd throw this one into the mix as well.

The figures for the vignette I'm working on are almost ready to start being painted, but I'm still a bit gunshy about working on them. So I figured I'd give something a bit larger, and hopefully a bit more forgiving, that I can use to practice and hopefully feel more confidant about working on figures.

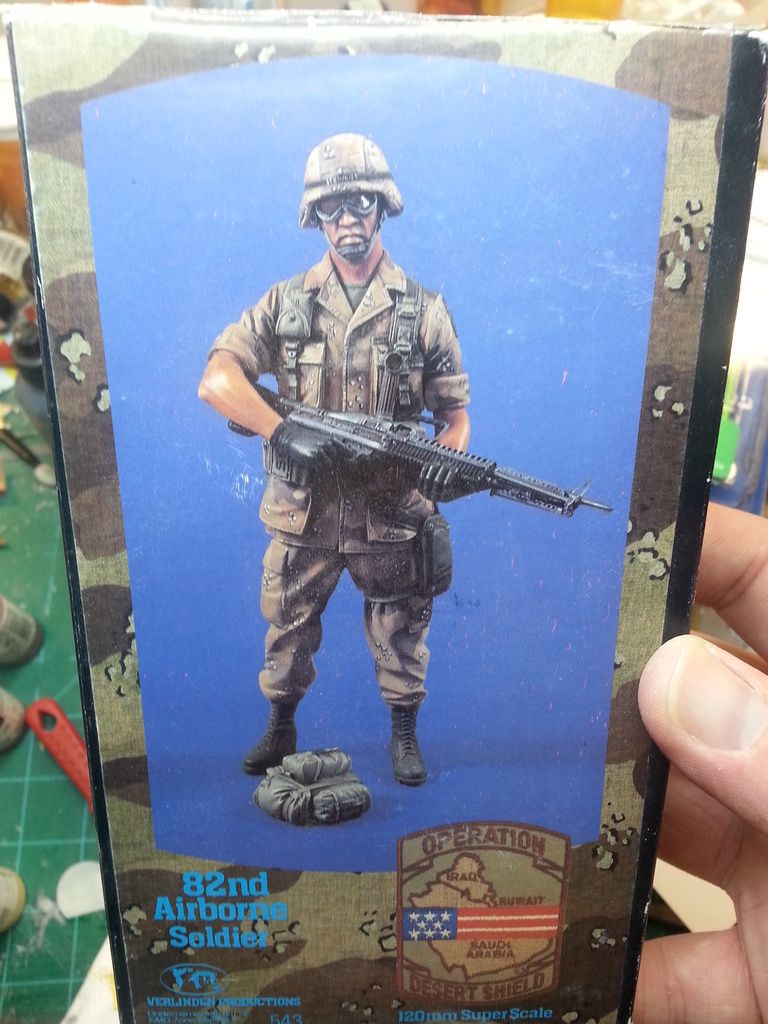
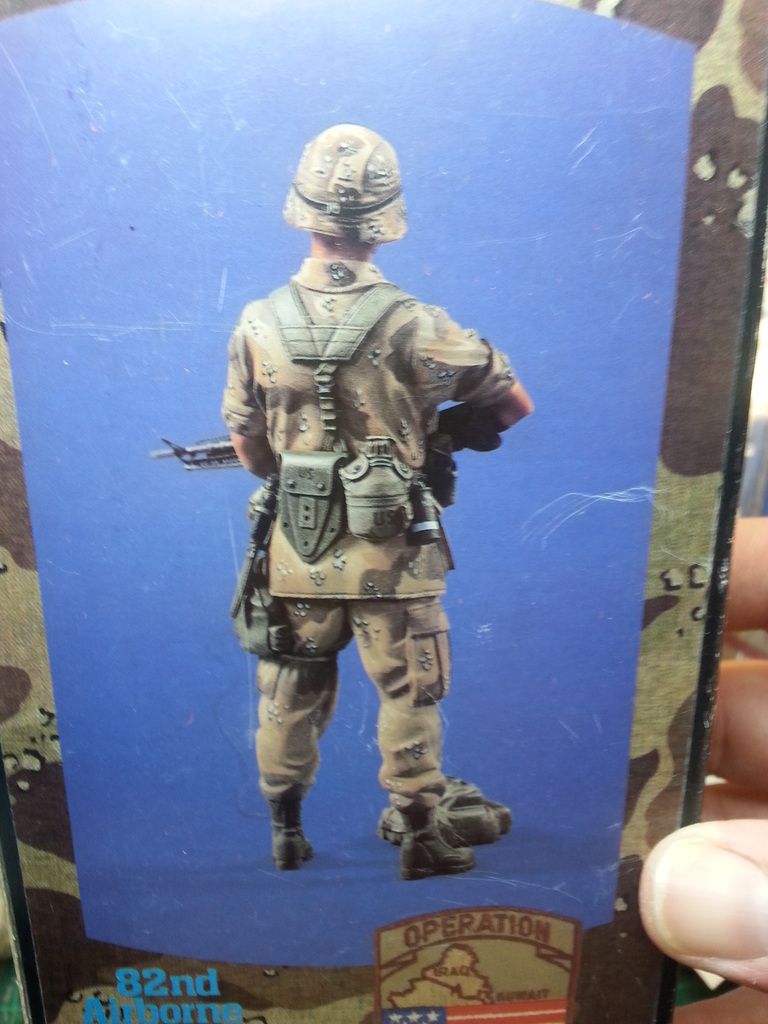
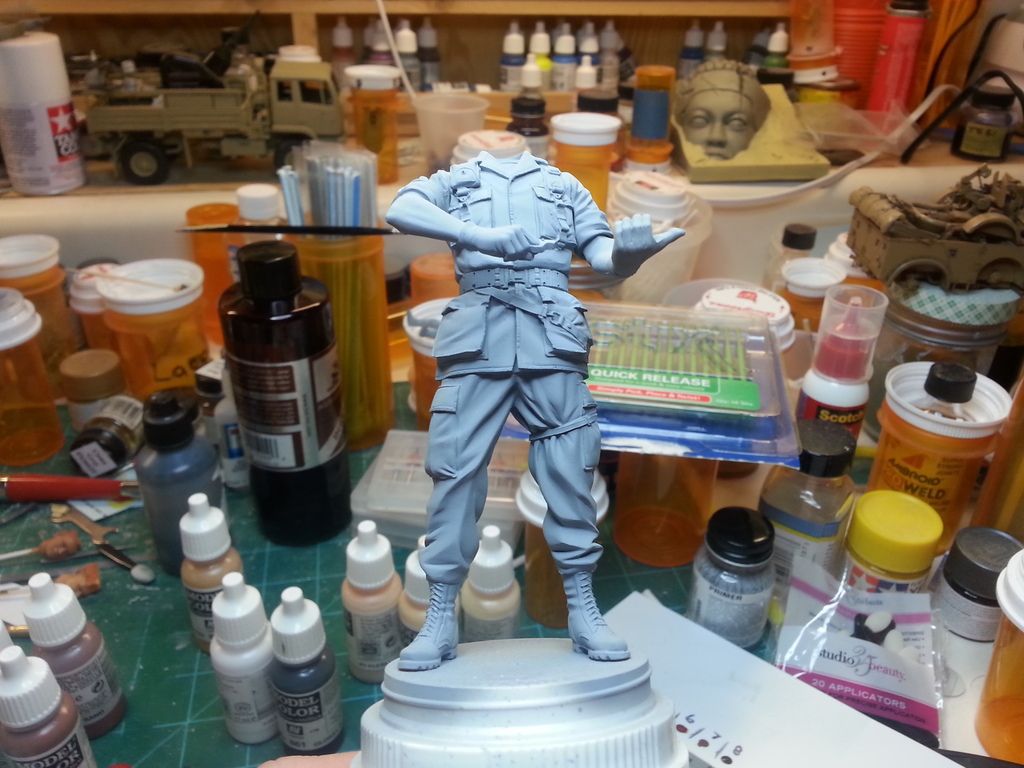
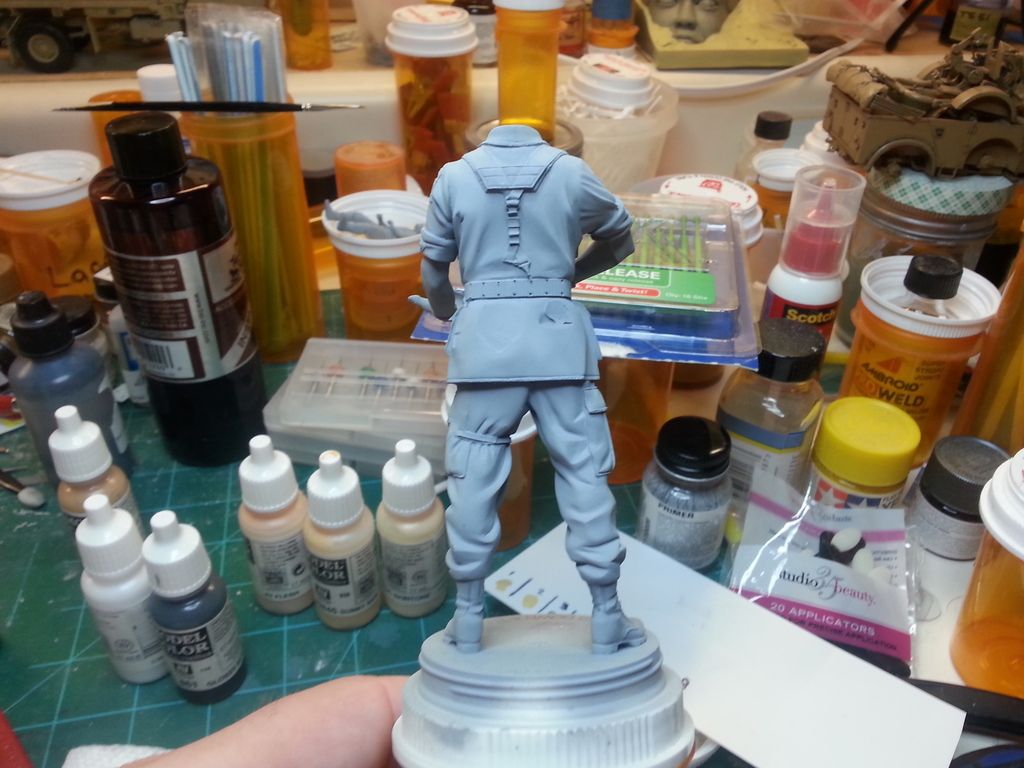
Kit is Verlinden's 82nd Airborne Soldier, with an M249 SAW. My plan is to paint it to basically match the box art, with the figure wearing the US Army 6 color "Chocolate Chip" camouflage.
Airborne_Soldier_01.jpg

Airborne_Soldier_02.jpg


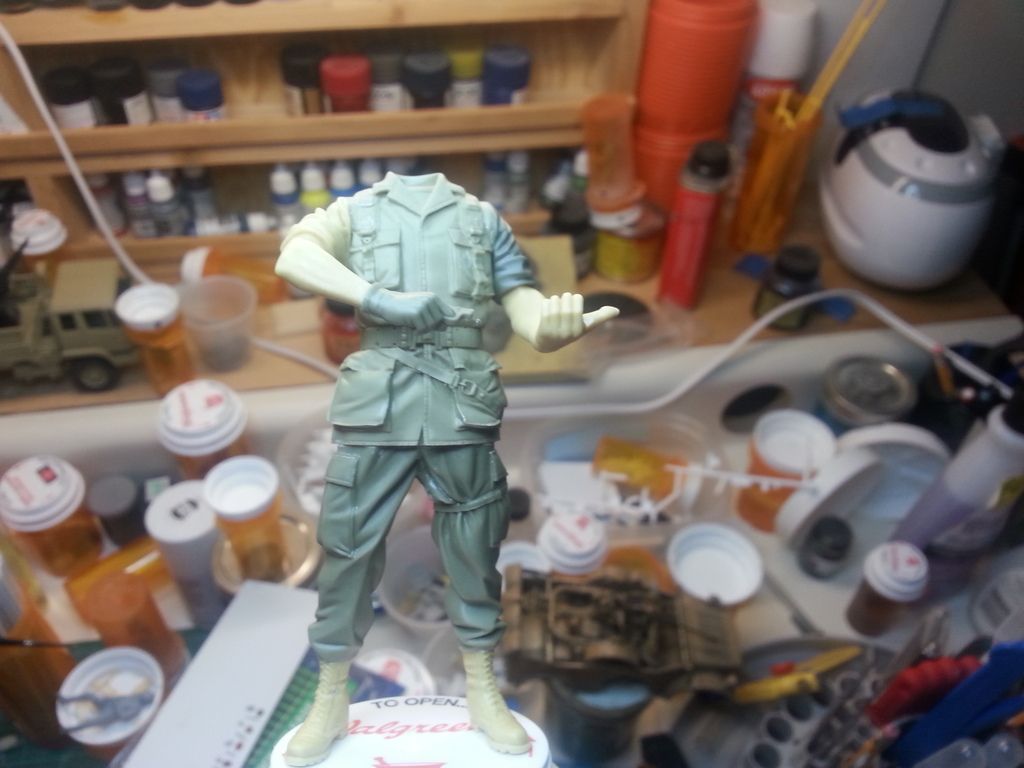
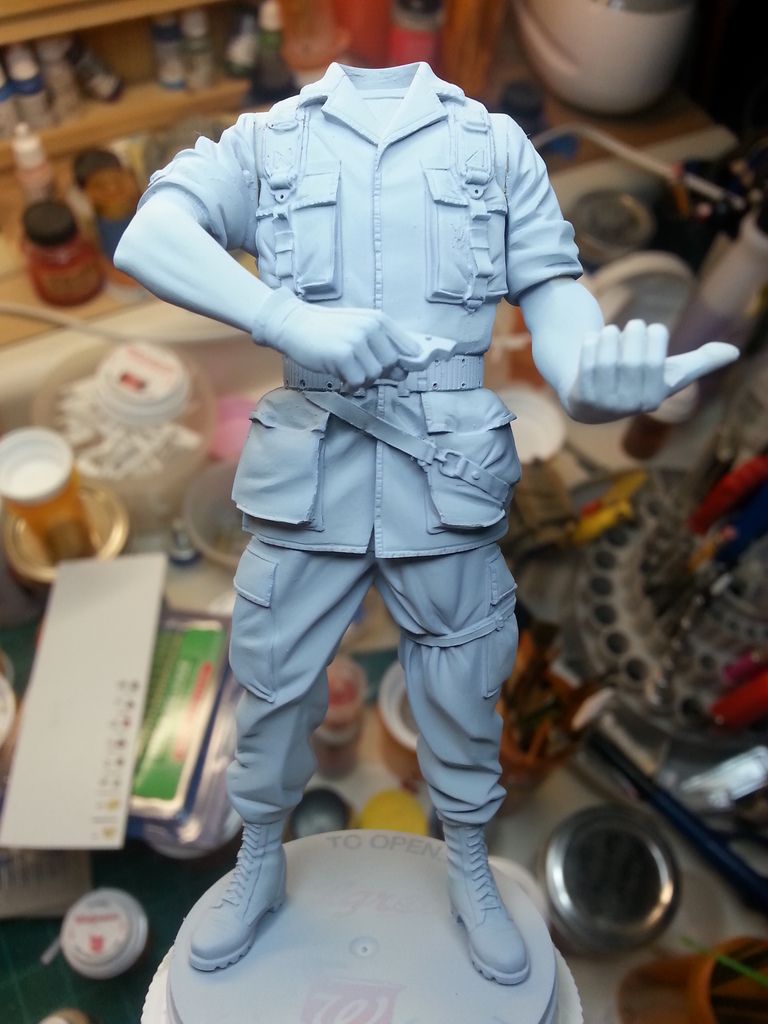
This is how the figure has been sitting for at least 2 years. I got him assembled and primed a long time ago, and then chickened out when it came time to actually start painting it.
Airborne_Soldier_04.jpg


Airborne_Soldier_05.jpg


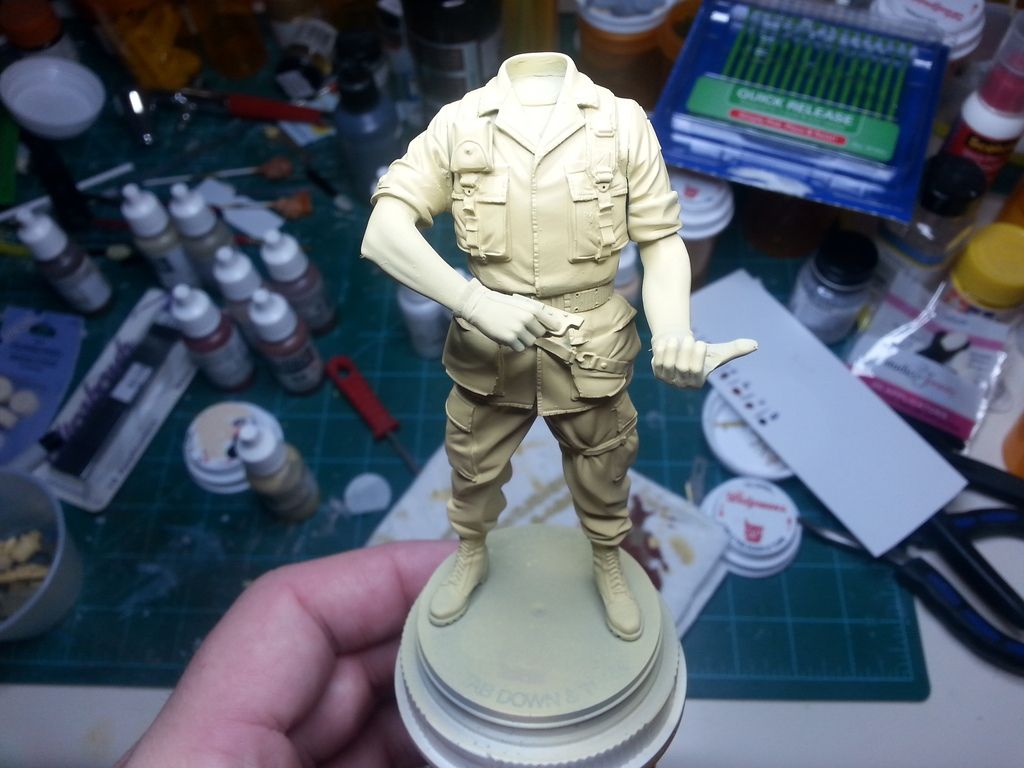
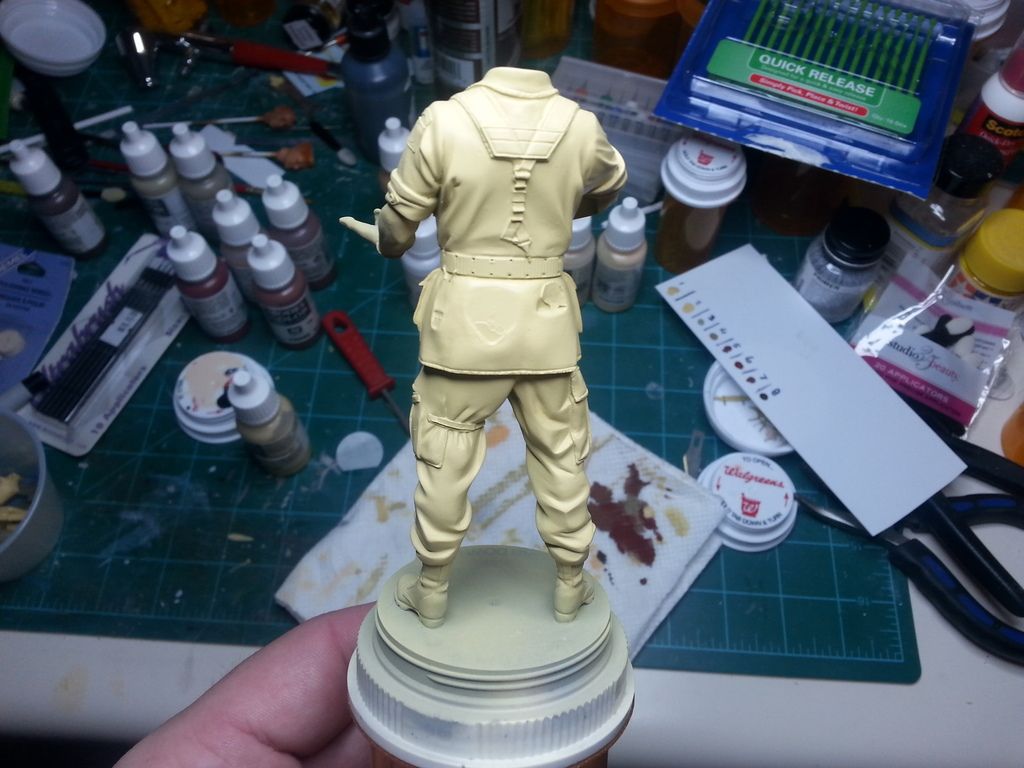
This evening I managed to get the first color down of the camo. I went with Vallejo Model Color Beige for the lightest tan color. The next color will be VMC Dark Sand.
Airborne_Soldier_06.jpg


Airborne_Soldier_07.jpg


I spent quite a bit of time this evening Google searching how to paint this scheme, and managed to come across a site that I think will help me quite a bit in how to paint it. The site mentioned the best way to paint this is in the same order the actual camo is printed, so start w/ the lighter of the 2 tans, then the darker, then there are 2 shades of brown (which I didnt know, I thought it was just a single shade). Then after that, paint black dots followed by the white fill.

My hope is to get the 2nd color down tomorrow, but I had to bring home quite a bit of work to do this weekend, w/ a promise that I'd have a good portion of it completed before Monday morning, and unfortunately it means the figure plays second fiddle this weekend to the stuff that helps pay the bills.
 
Verlinden 120mm 82nd Airborne Soldier

Adam,..painting camo can be a complete pain in the bottom region :pinch:

Heres a quick tip and thats copy the camo from a pic on the web then prime up some spare plastic sheet and then practice that pattern with the pic directly along side,...you get to paint the pattern much better and plus any start off mistakes take place on the plastic and not on the figure itself.

I have a question for you,...what did you prime the figure with as it looks super smooth ?
 
Verlinden 120mm 82nd Airborne Soldier

Let's see how many times Adams figures on painting on the figure on Andy's Figure Forum? :rotf

:popcorn
 
Verlinden 120mm 82nd Airborne Soldier

Thanks Andy, I think I'll try that today. Thankfully between acrylics and my dehydrator, I could probably get several coats down in a single day.

Just a guess, since its been such a long time, but I'm pretty sure its Floquil Grey Primer that I put down w/ my airbrush. I remember priming several figures in a group a couple years ago, and this was one of them.


Adam,..painting camo can be a complete pain in the bottom region :pinch:

Heres a quick tip and thats copy the camo from a pic on the web then prime up some spare plastic sheet and then practice that pattern with the pic directly along side,...you get to paint the pattern much better and plus any start off mistakes take place on the plastic and not on the figure itself.

I have a question for you,...what did you prime the figure with as it looks super smooth ?


Haha, too many, haha. Every time I think I'm gonna do it, I chicken out and don't do it, haha. Hopefully this time it's different, haha, but we'll see. I've already made more progress on this one than I have w/ all my other figures, haha, by just getting the base color for the clothing down.


Let's see how many times Adams figures on painting on the figure on Andy's Figure Forum? :rotf

:popcorn
 
Verlinden 120mm 82nd Airborne Soldier

Back to the drawing board. After I painted the base color for the Chocolate chip camo, I started tinkering w/ the 2nd color, and I just didn't like how the colors looked. My selection of Vallejo paints is pretty limited, so I was working w/ what I had available, and I just decided after I had the first color down that I didn't like it. So I made the decision to strip the paint. My hope had been to strip the Vallejo but leave the grey primer under it alone. Unfortunately it didn't work out that way. I used Windex to strip the Vallejo, but it also affected the primer, so I made the decision to just dunk the whole thing in Purple Power and take it all back down to bare resin and start over. Did about a 24 hr soak in the PP, and all the paint came off nicely w/ just a little bit of scrubbing w/ a tooth brush and hot water from the faucet.

Airborne_Soldier_09.jpg


Once it was all dry, I reprimed the figure using Floquil Grey Primer. I really like using the Floquil Grey in general, and it seems to work very nicely when doing figures. It lays down very nicely w/ a very smooth finish (as long as I don't fat finger the trigger on my airbrush).

Airborne_Soldier_11.jpg


After doing some reading on the net, and going through my stash of paints, I've decided to go w/ Model Master US Army/Marine Sand. I like this color a lot better than the Vallejo Beige I was originally going to go w/. The Beige just looked too yellow to me. Havent decided yet on the 2nd color. From the articles I've read, most people seem to take what ever color is used for the base, and then add a slight green tint to it, so I'll have to go through my collection of paints to see what I've got that I might be able to go this route.
 
Verlinden 120mm 82nd Airborne Soldier

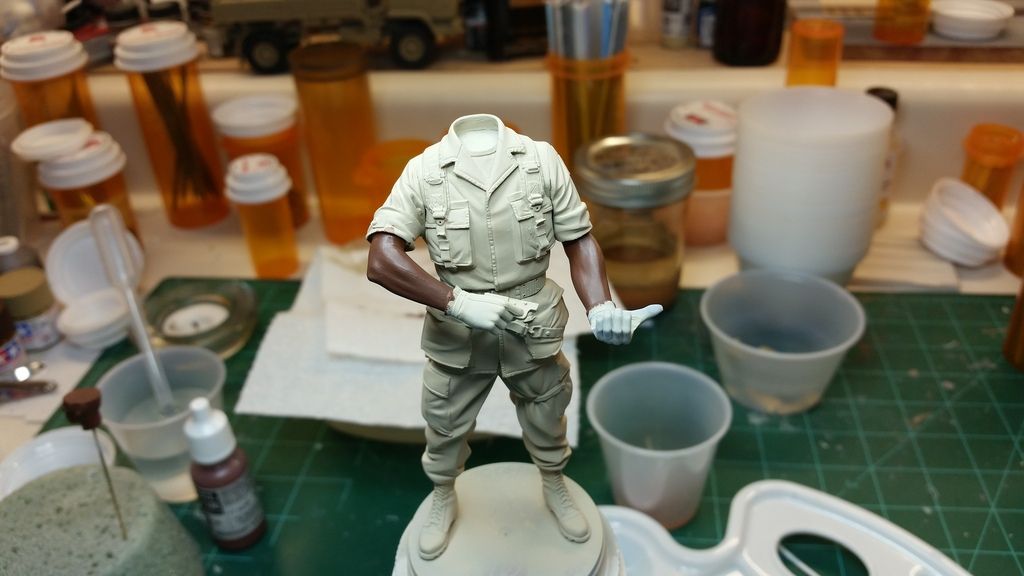
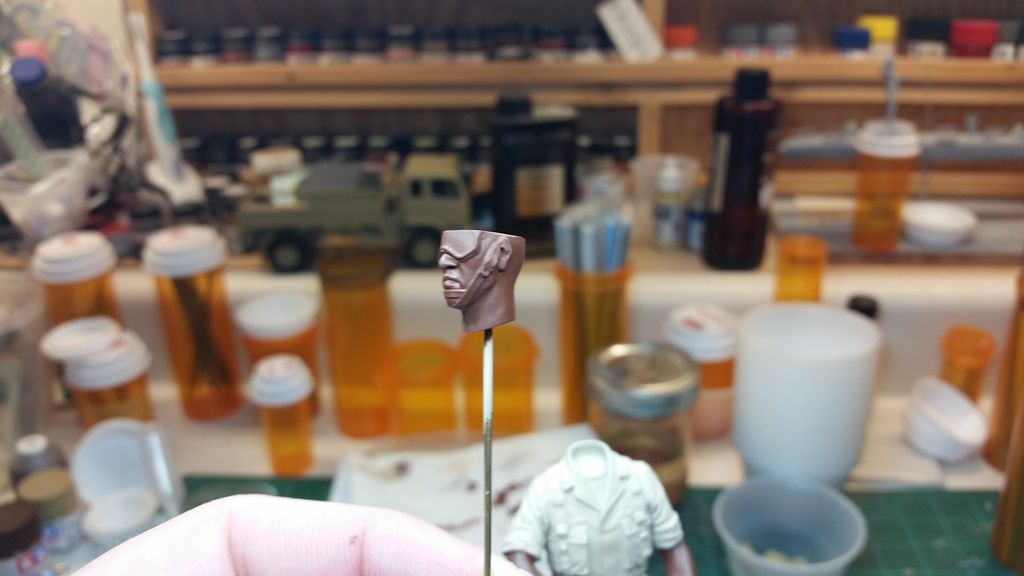
Well, after seeing this thing on my bench every time I sat down for months, today I finally pulled the trigger on the next step and got the base color for the skin tone down, and I have to say I'm extremely happy with what I got.

Looking at my previous post, it appears I never posted after repainting the base color. I had posted I was going to go w/ MM Army/Marine Sand, but I ended up going w/ MM Sand instead. I think the intention w/ the Sand is it's a bit lighter, and should hopefully lend itself a bit better to pulling of a faded uniform, which I think would have been a bit harder going w/ the Army/Marine Sand.

My biggest problem when trying to start figures is figuring out what colors to start with, and it just goes downhill from there. But today I did some Googling, looking at suggestions for skin tones, and then when I didn't have the colors for the suggested mixes, I took a couple colors that were close, mixed them and just went with it.

Ended up going with a 1:1 mix of Vallejo Chocolate Brown & Mahogany Sand. Then added 2 drops of the Vallejo retarder and then thinned all of it w/ 5 drops of water.

Here are the results.

Airborne_Soldier_13.jpg


Airborne_Soldier_15.jpg


Now I have to figure out my high lights & shadows. I know the shadows will be darker, so wondering about maybe going w/ straight Chocolate Brown, since the Mahogany Sand was a fair bit lighter, but I don't think it'll be dark enough. And then I've thought about maybe the Mahogany Sand w/ a touch of red for the highlight, but I don't know.
 
Verlinden 120mm 82nd Airborne Soldier

Easy answer to that Adam if you have the base as a 1:1 ratio then go 1:2 and 1:3 in favour of the sand bring out the highlights as you go

I wouldnt go as far as using just the plain sand until the very last highlight.

Shadows go the other way the very darkest you could use a black/brown shade but i do like the idea of adding a dash of red to warm the colours especially around the cheeks etc
 
Verlinden 120mm 82nd Airborne Soldier

Those forearms are real. There's a translucency to them that is amazing. :notworthy
 
Verlinden 120mm 82nd Airborne Soldier

Andy, when I do the highlights, am I going to end up more dry brushing, or is it possible to blend the paints? I've blended oil's before when attempting figures, but I've never done it using acrylics.

And I'm guessing for the shadows I'll end up doing more of a pin wash?
 
Verlinden 120mm 82nd Airborne Soldier

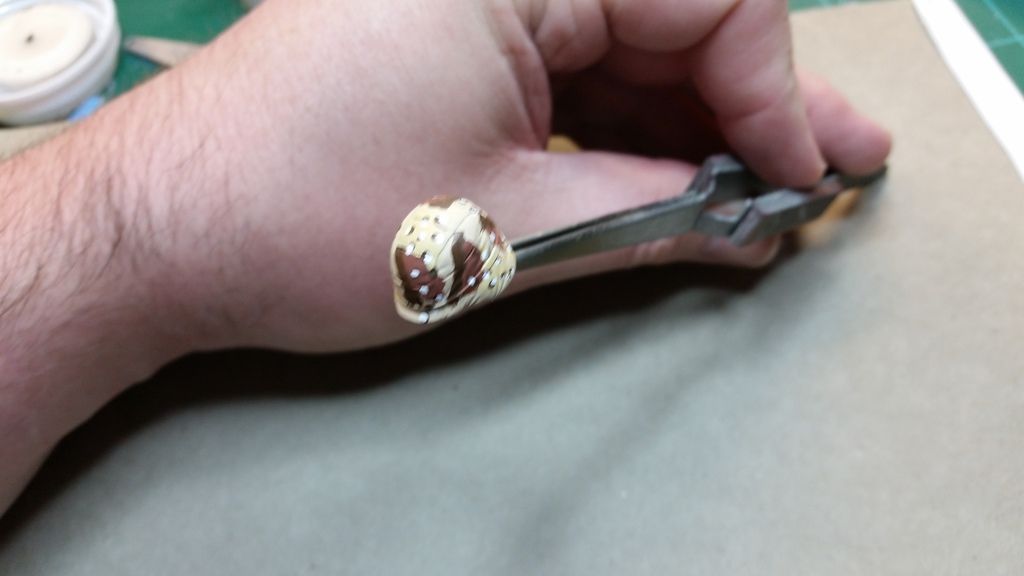
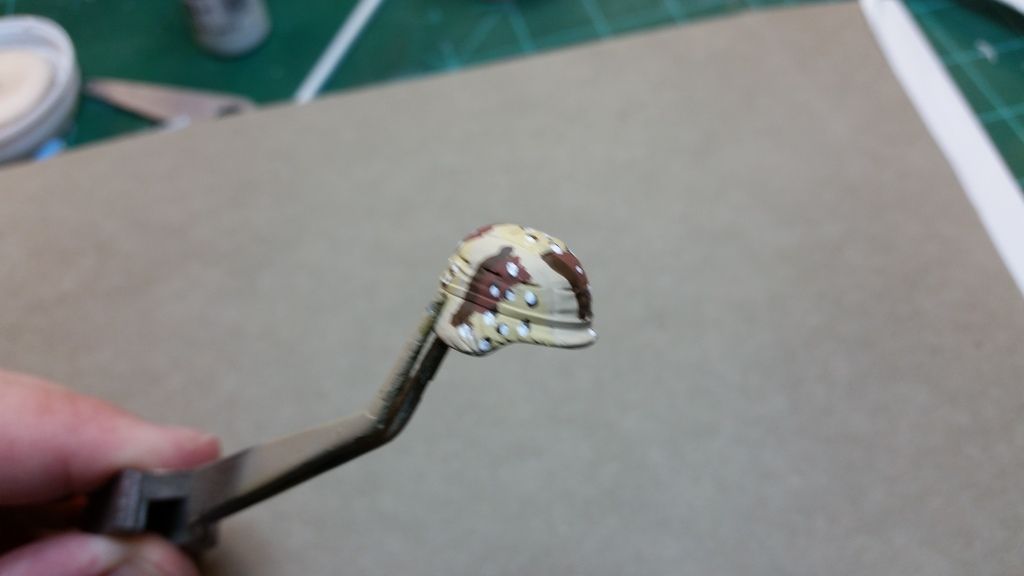
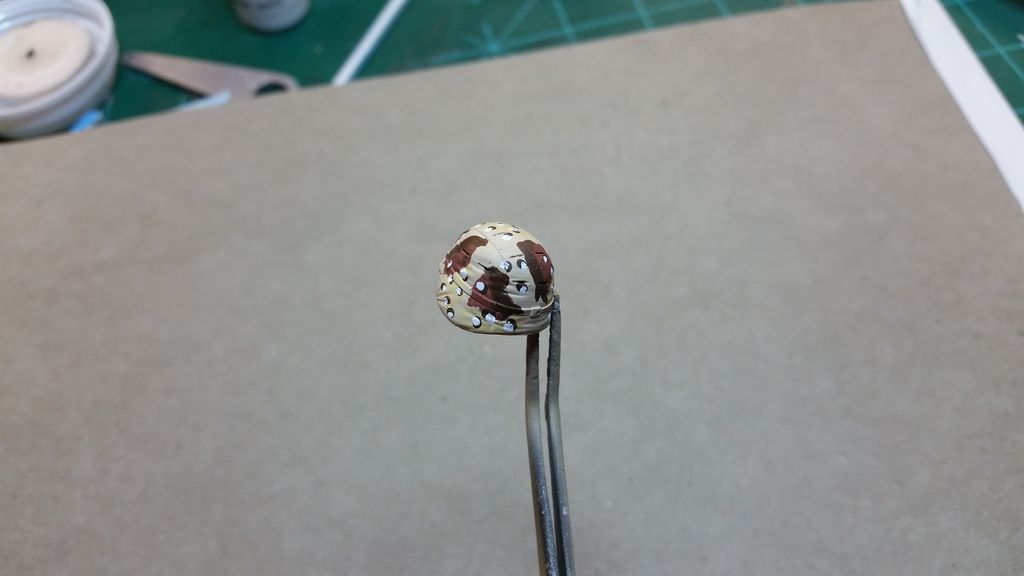
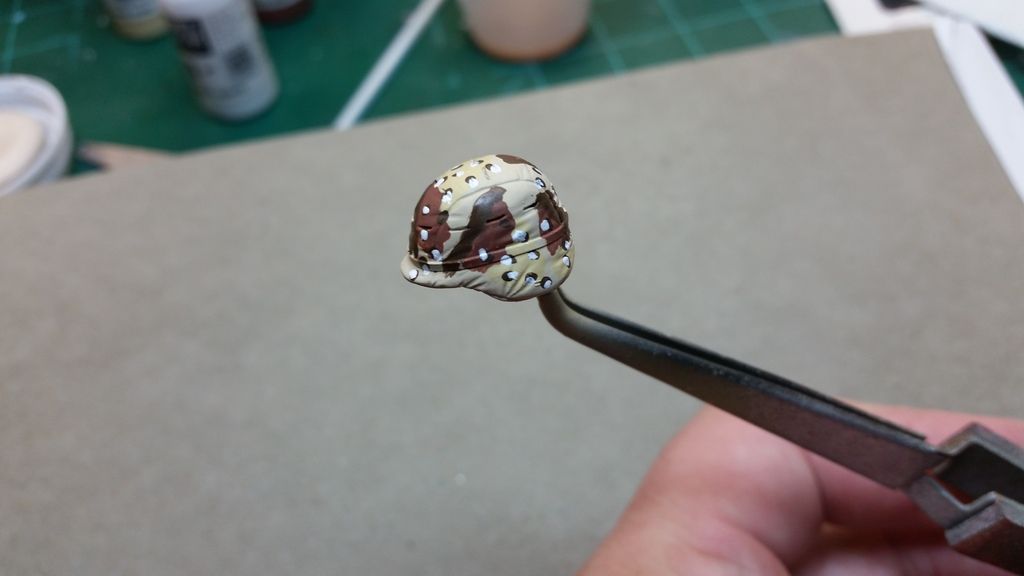
Well, made my first attempt tonight on the desert camo. I've got kind of mixed feelings on the results.

I'm happy with what I have, but on the flip side it doesnt match very well to all of the references I've got for this style of camo. The camo seems to run more in streaks vs separate area's like how I've got it. It also feels like it's a lot heavier/bigger than it should be, in proportion to the figure. I think I'm gonna redo it, but wanted to share it first.

So I figured I'd post it up and get some input from people and see what they think of what I've got. I started w/ the helmet, I figured that this is the smallest part, so if I screw it up, it's a lot easier to strip & repaint this, than it would be to strip & repaint the body.

Airborne_Soldier_20.jpg


Airborne_Soldier_21.jpg


Airborne_Soldier_22.jpg


Airborne_Soldier_23.jpg
 
Verlinden 120mm 82nd Airborne Soldier

Andy, when I do the highlights, am I going to end up more dry brushing, or is it possible to blend the paints? I've blended oil's before when attempting figures, but I've never done it using acrylics.

And I'm guessing for the shadows I'll end up doing more of a pin wash?


Adam.

To make shadows and highlights with acrylics,please have a look on my last figure work that was showed in my thread : Grenadier Pomerania 1945 ( Call To Arms Campaign II ).

https://www.modelersalliance.com/forum/call-to-arms-ii/149793-luiz-s-cta2-pomerania-1945-just-finished?start=60

Good lucky!

Luiz
 
120mm 82nd Airborne Soldier (Update 4/09/15)

Thanks guys. I guess I'll work on the camo on the figure, and see how that comes out, and whether what I have on the helmet matches at all, before making the decision to repaint it.

Thanks for the info Luiz, I'll take a look at it.
 
120mm 82nd Airborne Soldier (Update 4/09/15)

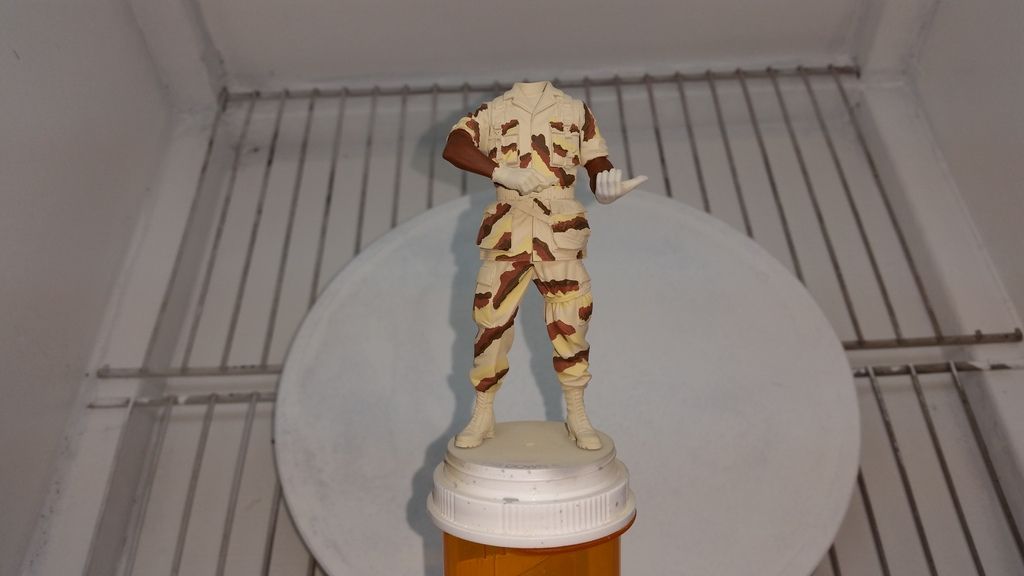
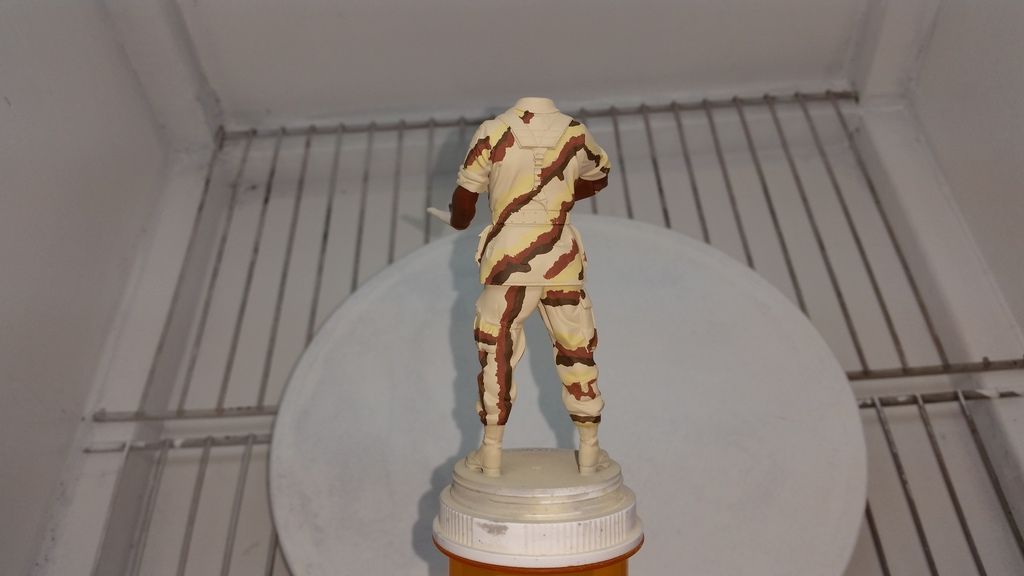
Worked on this figure some last week, and been stewing the last few days, trying to figure out what to do.

Got the first 3 colors down for the camo on the body, and I just don't know that I like it, and there's one area I definitely don't like, the back of the left leg.

I was trying to take into account the different fabric panels, and how the pattern wouldn't run continuously across the seams, and along with that, that the pattern wouldn't run in the same direction as well. So when I was painting the body, I tried to make sure to vary the pattern, but I think w/ the back of the left leg, I got carried away. It might be possible for that to happen, but I just don't like how it looks. I also kind of feel like the pattern as a whole is too large & heavy. I think what I'll do is continue on w/ the rest of the colors and see how it comes out in the end. When I was doing the helmet, I really wasn't liking it, but once I got all the colors down, it all kinda pulled together, and looked good. I just need to figure out how to do the left leg. Probably try masking & airbrushing the base color on it.

So now my decision is to figure out whether to try painting over the back of the left leg and leave everything else, or strip the whole thing and start over. Unfortunately I am going to have to repaint one of the arms, when I was painting the 2nd brown for the camo, I got some on one of the arms but didn't catch it till the paint was completely dry. I attempted to remove the paint, and ended up removing some of the skin tone. Probably gonna try sanding that area down a bit, and try blending it all together.

Airborne_Soldier_25.jpg


Airborne_Soldier_27.jpg
 
120mm 82nd Airborne Soldier (Update 4/09/15)

Andy I usually paint the highs and lows and not very often use a wash
 
Back
Top