Thank you! ")
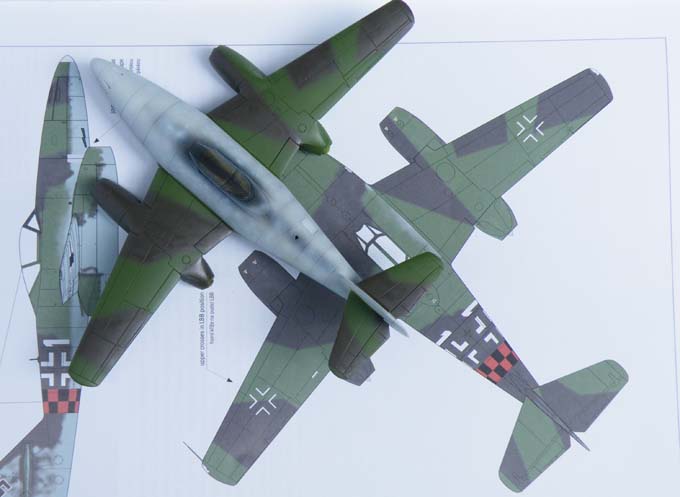
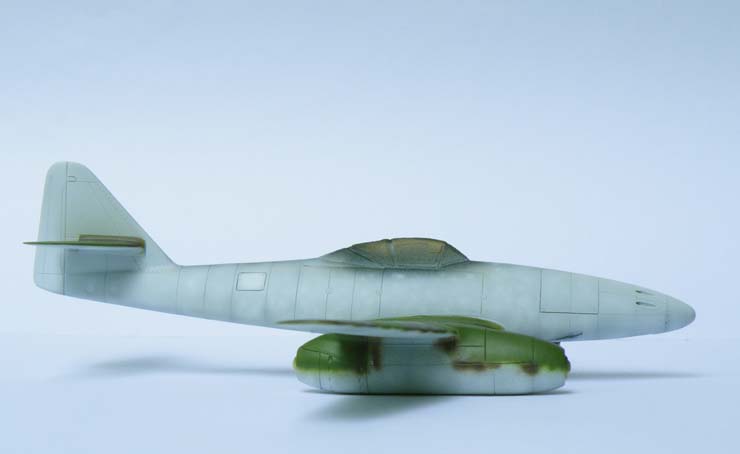
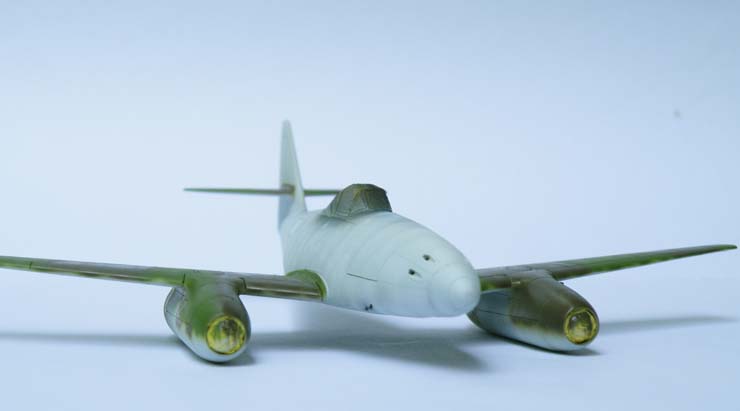
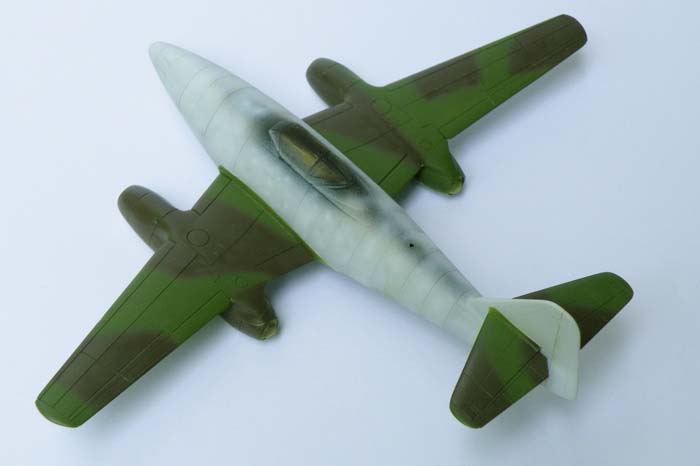
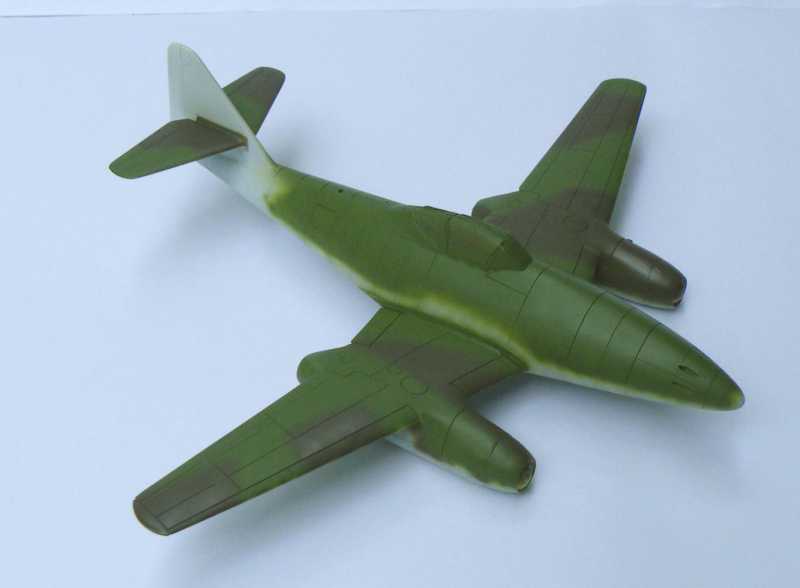
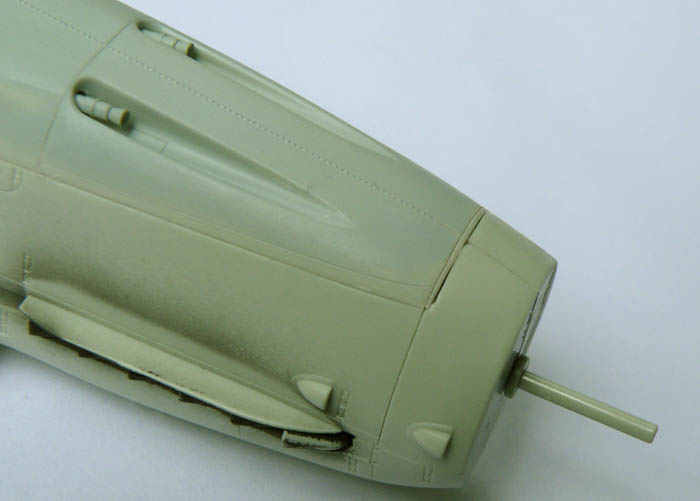
Just moments ago I sprayed RLM 82 on the fuselage of the Me 262 and after that sets for a short while I will spray on the RLM 81 to complete the camouflage pattern.
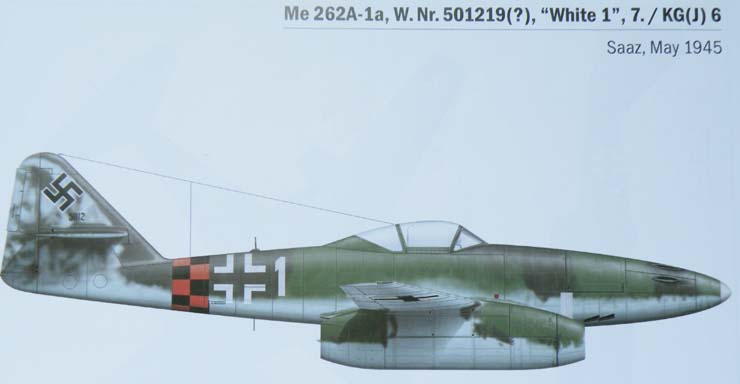
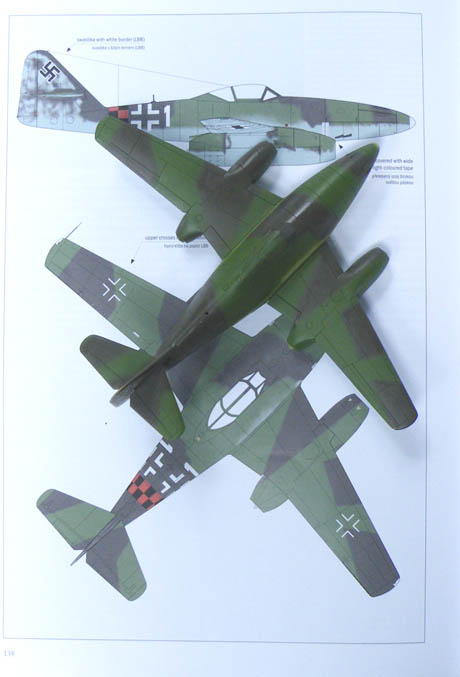
The photograph of 'white 1' only shows the right hand side of the fuselage so I used photograph's of the well known 'yellow 5' to help guide me with painting the left side of the fuselage...both 'white 1' and 'yellow 5' were operated by KG(j)6 and they wore similar camouflage patterns. They were also built by Messerschmitt at Regensburg and had the same W.Nr. block so I feel good about the chances of my model being painted correctly.
I hope to post some pictures of the model later today.
Matrixone
Just moments ago I sprayed RLM 82 on the fuselage of the Me 262 and after that sets for a short while I will spray on the RLM 81 to complete the camouflage pattern.
The photograph of 'white 1' only shows the right hand side of the fuselage so I used photograph's of the well known 'yellow 5' to help guide me with painting the left side of the fuselage...both 'white 1' and 'yellow 5' were operated by KG(j)6 and they wore similar camouflage patterns. They were also built by Messerschmitt at Regensburg and had the same W.Nr. block so I feel good about the chances of my model being painted correctly.
I hope to post some pictures of the model later today.
Matrixone