Re: Something really different Update October 6, 2010
I was going to post an update and I began thinking about the tools I have bought, made, converted or acquired over all these years. Many of these I have had for 20 to 40 years. Many of them most modelers could go a lifetime and never have a need. However, maybe some of you can possibly find a use. So, I'll start this post with weird tools that I use!
This is one I couldn't live without. It is a miniature radius cutter. It is a little like a simple compass except it is tiny and one tip that normally has a pencil lead holder, has a sharp blade. I believe I bought this in an art store in London, and have used it in every single project I have ever built. Sometimes for the holes, sometimes for the discs. I use it similar to a punch and die set, except for discs and holes larger than possible with a punch and die set.
These aren't a tool, but they have served me well for many, many projects. Japanese toothpicks. Think toothpicks turned on a lathe. Beautifully sculpted, I have used them in many railings from wooden ones to concrete or marble spindles. I have had this bundle since 1984, when I used them for twin balconies on the Hotel Metropole in Legacies.

I have about 50 boxes of these. They are microscope slips. Not slides. Slips are micro thin, real glass, and that little tube with a diamond phonograph needle attached at one end, will score the glass and you can then break it into any square or rectangular size you wish. For buildings, vehicles or any other project that requires sheet glass. You can make the windows, affix them in place, then shatter them exactly like the real thing for a shattered appearance. If you look closely, you can see a pane leaning against the center box. I also use these in every softskin I make. They are truly scale glass and far superior to the thick plastic "glass" that comes with the kits.
Lots of drafting compasses and dividers for measuring and dividing.
I stay friends with my dentist as he gives me his old, (And sometimes new), dental tools. They are great for sculpting figures as well as filling and leveling putty and epoxies.
These things have come in handy many times. Brass tubing is nearly impossible to bend without kinks. These little tools fit snugly over the brass tubing, then you can slowly bend it to many different shapes. No kinks!
I use a lot of spatulas to apply plaster, putty, artist's paste, and so on. Here are two.
I always keep a large supply of chisels to shape and carve plaster, epoxy putty, green stuff, etc.
Testor's markets these little things that are excellent for mixing colors of paint, applying some adhesives, etc.
I always have a syringe to inject paints, glues and other liquids into hard to get places.
Here is a weird one that gets plenty of use at my place. Pinking shears. You can take either very thin styrene or even paper, cut a length across, it will leave two parts with a sawtooth cut. Then take a normal scissors or a ruler and exacto, cut the sharp tips away and then draw vertical lines in between each cut, leaving a really realistic row of shingles. Glue them to your roof surface, then directly above add another row staggered like brick work and you have a realistic roof surface. Note the ones I have both cut and scored on the large sheet.
I use tiny wood screws a lot, so I made this countersinking tool with a pin vise and can countersink all those tiny screws so they don't show on the veneered surface laid on top.
I always keep two levels in both my workshops to check buildings, components, even larger vehicles when scratch-building.
I probably have a thousand clips, all the way from the little electrical ones, (Alligators) all the way up to bag clips and even the heavy duty clamps which I use for holding the larger building parts together while the adhesive dries. These are the ones I use the most.
As I wrote this, I thought of many more tools that would have been appropriate here. Maybe later.
OK, I had two round mirrors that go over the vanity in the bathroom. Here is one.
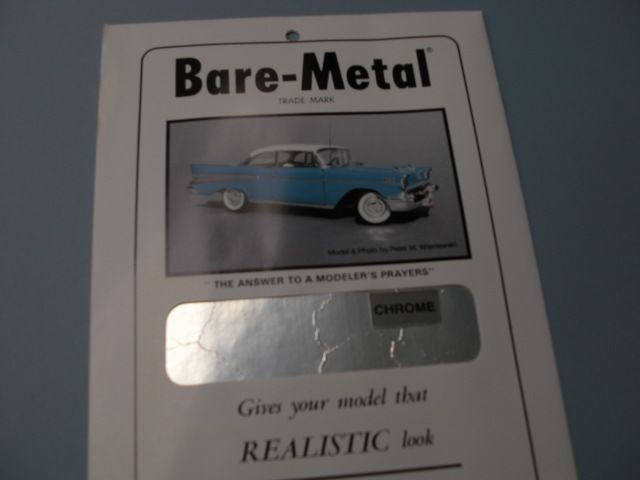
For mirrors, I use a plastic disc cut with the aforementioned radius cutter, then using Chrome Bare metal foil, give it the mirrored finish. Then affix to the center of the gold frames and, Viola!
Then, the opposite two walls are veneered with the marble, the framed mirrors glued in place. See, I really do use those great clamps! All three windows have yet to be framed.
I cut to shape some clear plastic, thick, but flexible and carefully using superglue, attached it to the rear of the shower frame, then glued the frame in place in the corner. BTW, you can see the room with the toilet and the roll of paper. Everything you see here is now glued in place. The next step is permanently gluing the module into the building component. I have decided to put large skylights in the roof areas where the highly detailed rooms are, making it easier to view.
Till next time!
Bob


