Finally some progress made!
")
Had to take a break on this for a bit. I added the front and rear windscreens and was using Bare Metal Foil for masking, but was not happy with the result, the last straw being popping the rear windscreen off. Ordered a set of Eduard masks, went to apply those and discovered that I had ordered the wrong ones :vmad Waited for the modeling budget to catch up, and ordered the correct set. Went to apply those, and the front windscreen came loose :vmad Thought I would fix that and hit it with some regular cement, yeah, got part of the canopy as well :vmad :vmad :vmad :vmad Polished that out, re-attached the canopy and got it masked. Masking the rear windscreen, yep...popped off agin :vmad :vmad :vmad Re-attached and masked :fencing It was a fight, but I got it in the end. All was not lost though with the wrong canopy mask....as I plan to have the canopy open, in a stroke of genius (for me anyway)
I used the canopy masks from the wrong set to mask the inside of the canopy so when it is laying open, the frames will be painted on the inside as well
.
Pre-shaded with Tamyia semi-gloss black.
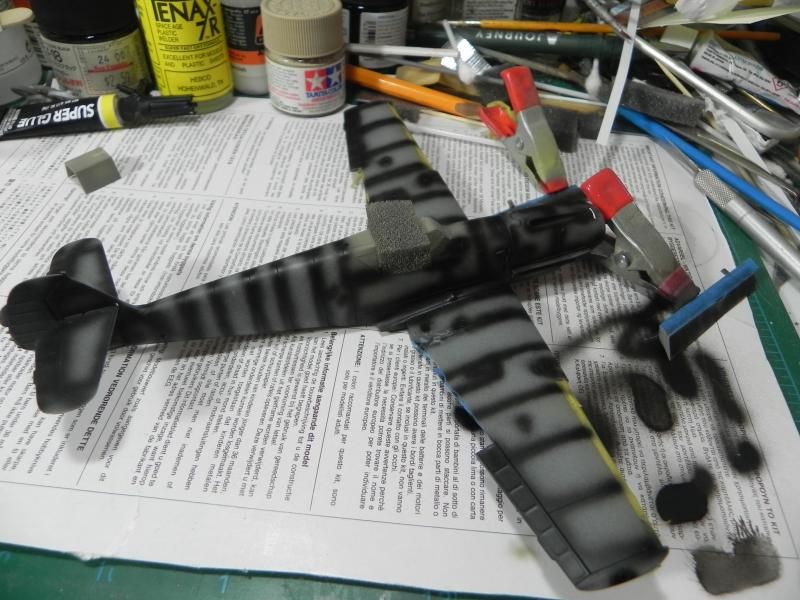
I used Vallajo for the overall color, but it was not my day to spray Vallejo, and was not happy with the result, so after a little back and forth with Tamyia gloss and semi-gloss black, and a darkened mix of German Grey, I got to a point where I was happy enough to leave it alone

After a coat of gloss, the decals started going on
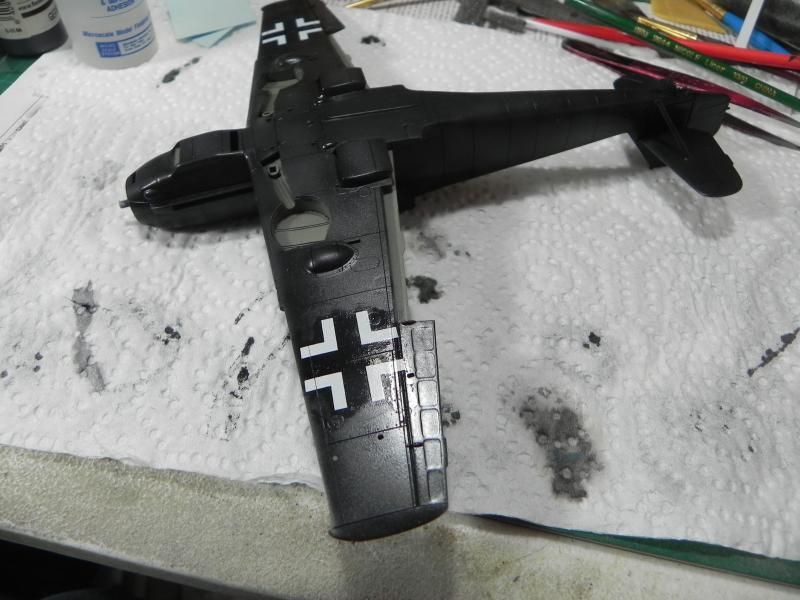
The Owl Decals are very nice, but react quickly to decal solutions as I learned on the first cross I applied. I have since just been using water to position them, letting them settle a bit and then applying the Micro Scale setting solutions, and they are working out very well. So, hopefully this will move along rather quickly now as there are not a lot of decals on this one!
Ernie


