I am not sure if you want to do this as it adds lots of time, but I find it very worthwhile.

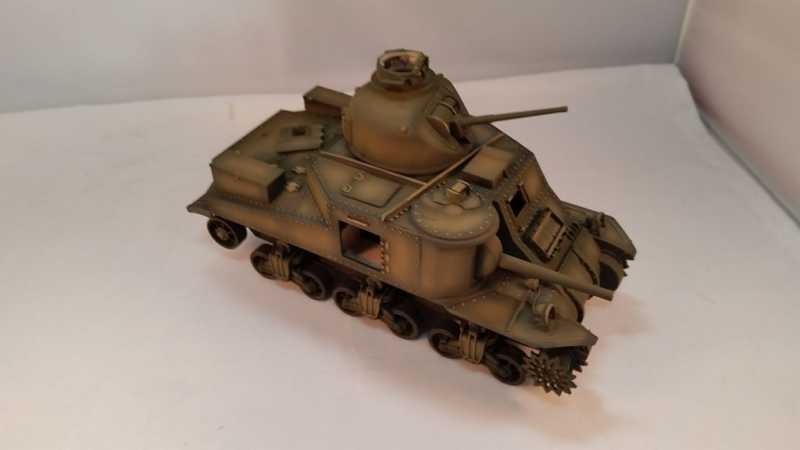
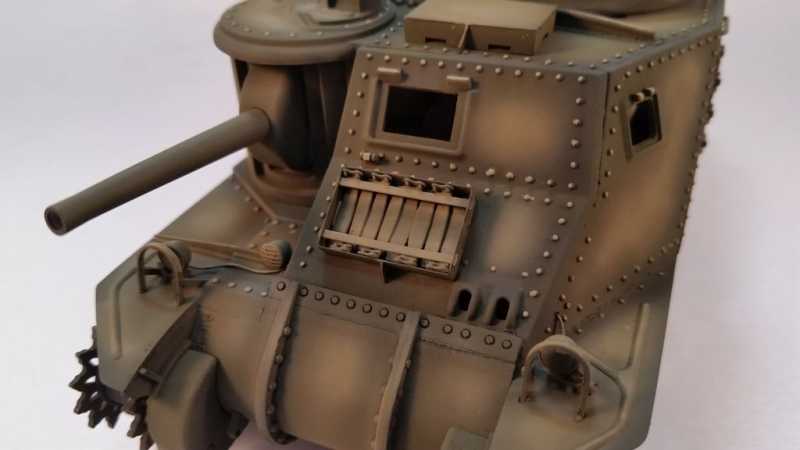
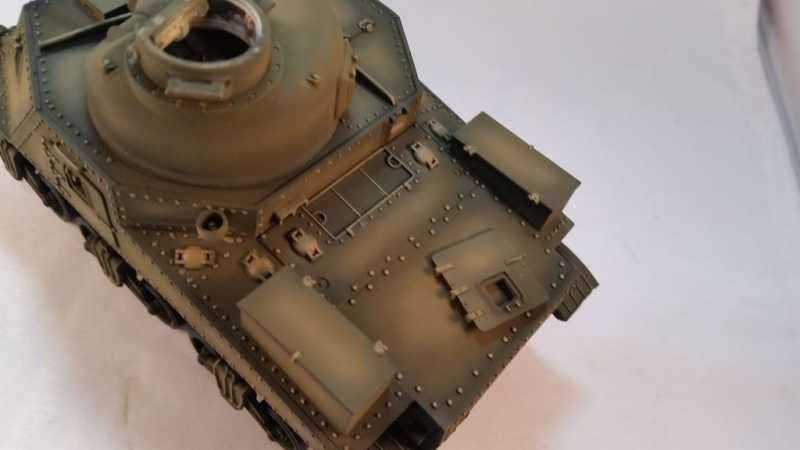
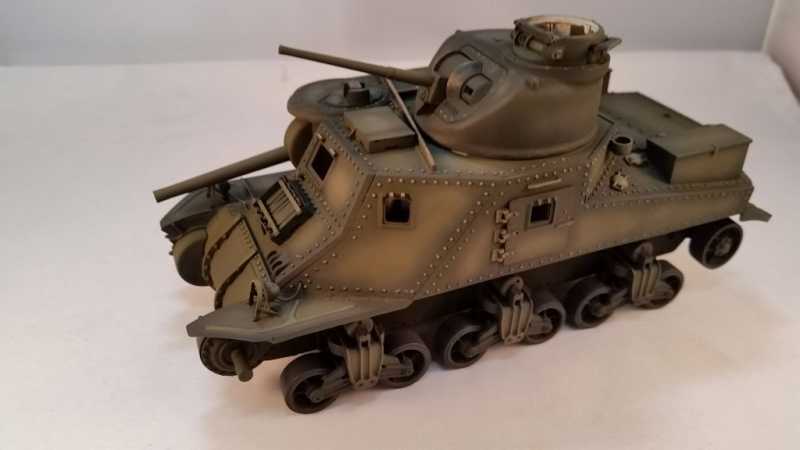
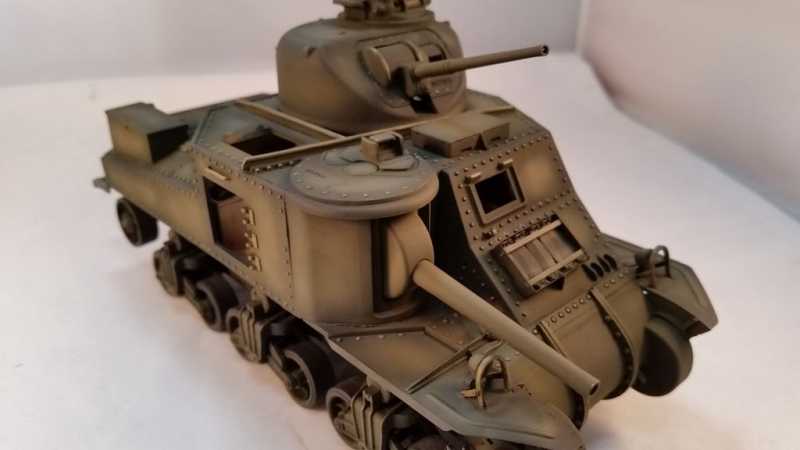
Take your highlight color and add more buff. Mask off the higher raised, larger details (#1) (Spray them with the lighter color. Smaller area's with #1 can be brush painted - Use your discretion. Then lighten the color again, and hit the areas with #2. Do this to the whole model. When this is done you are ready for a filter to tie it all together, ie blend it. Then gloss coat and decals.
HTH
Yep!
")