HI to all, here is the final pictures of the painting job on the tiger build
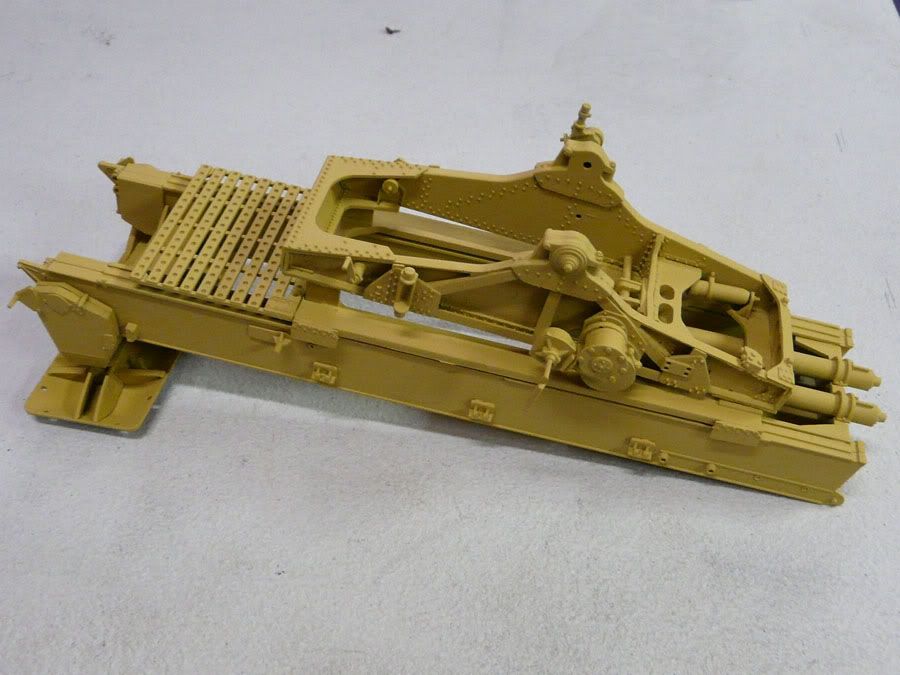
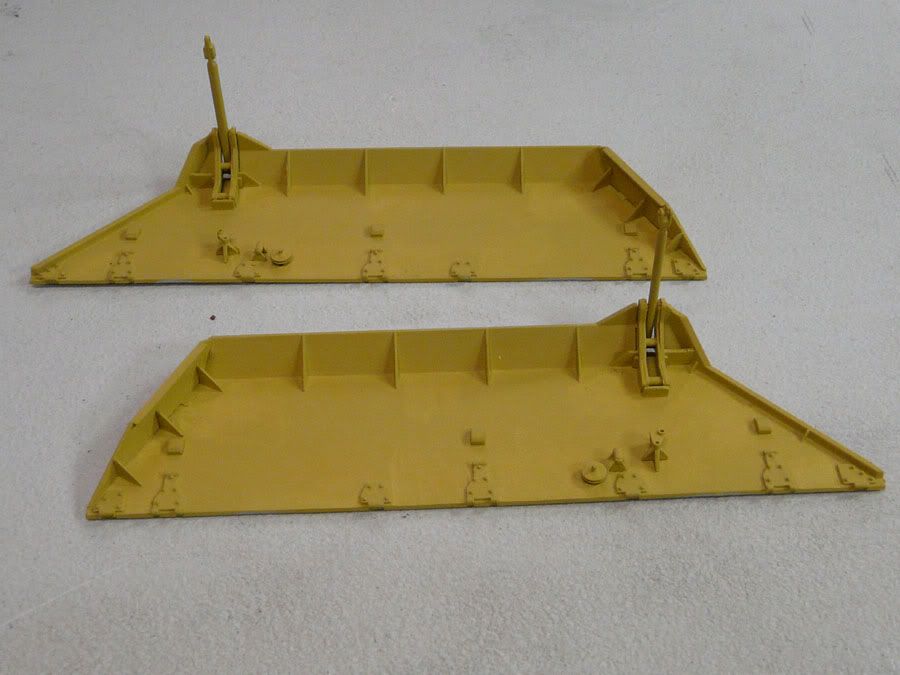
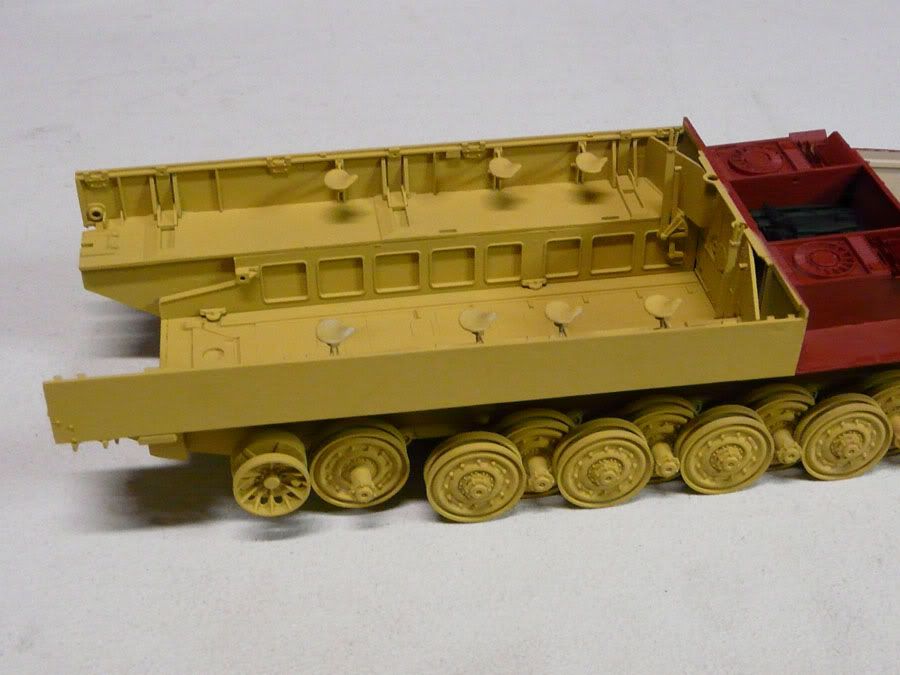
Here the basic yellow color is applied to the gun, gun cradle, side shields, chassis etc.
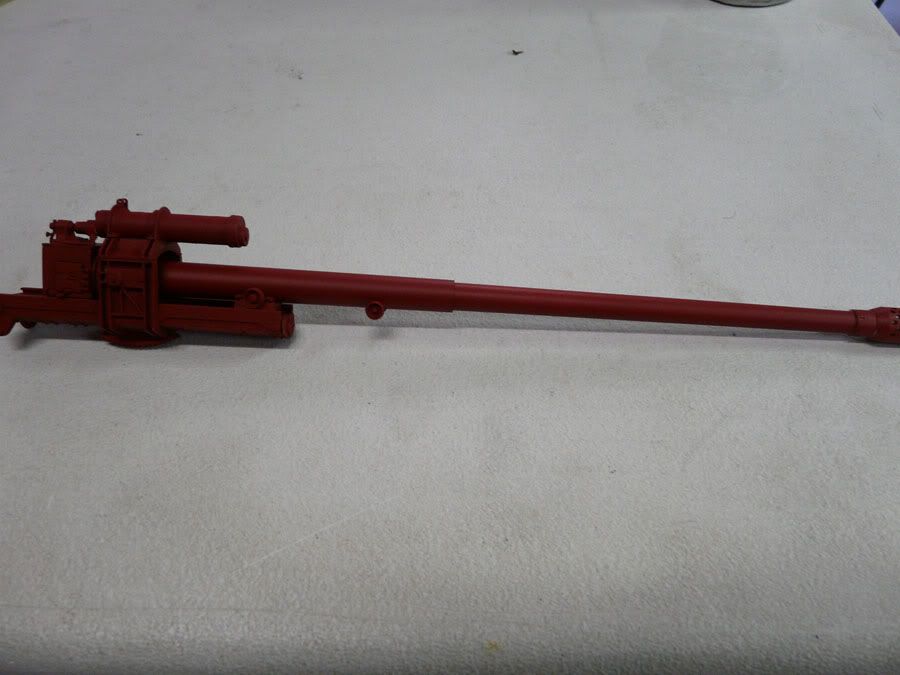
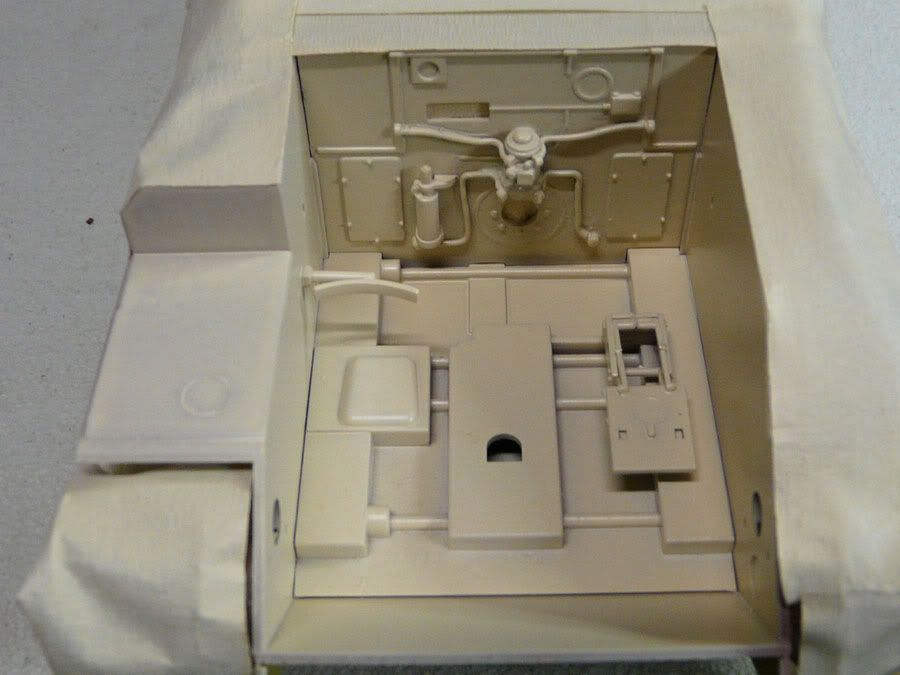
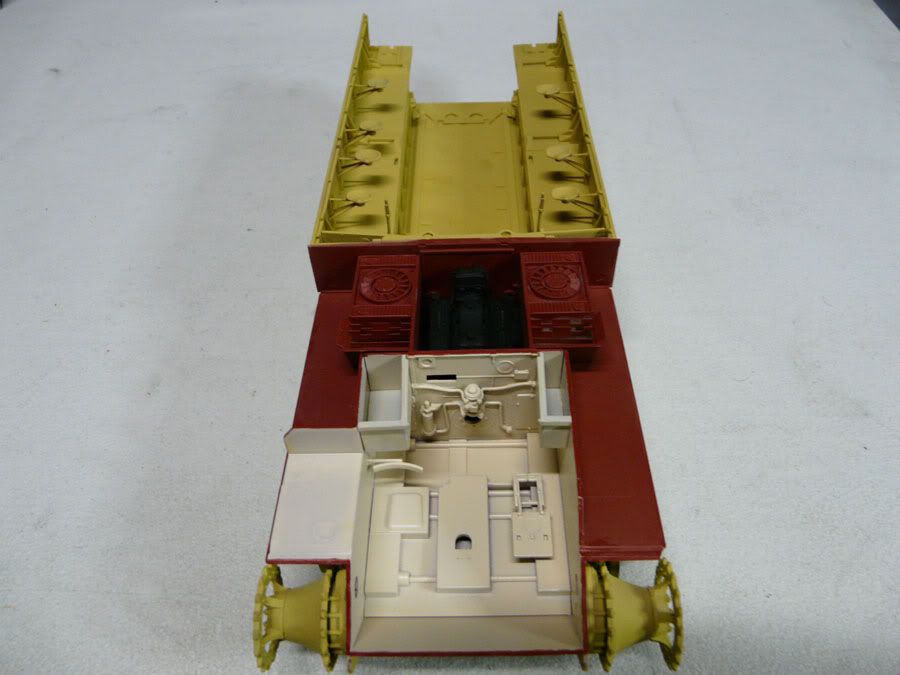
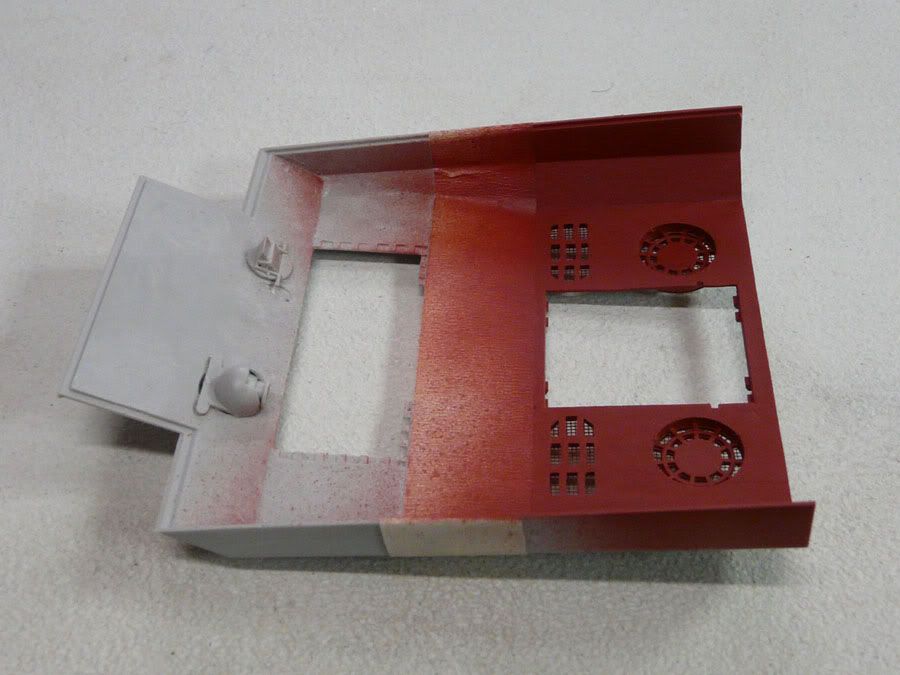
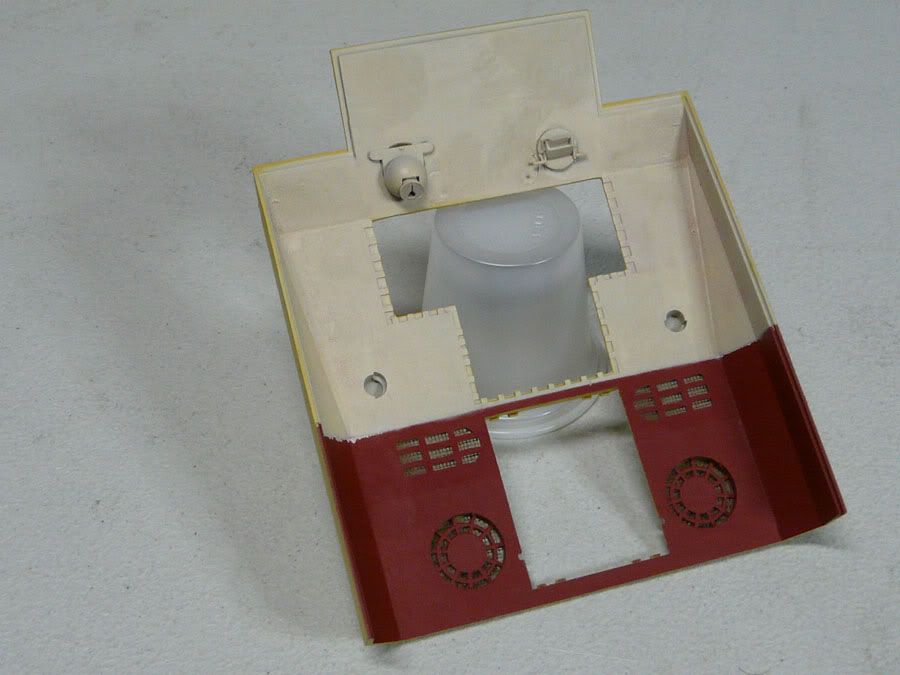
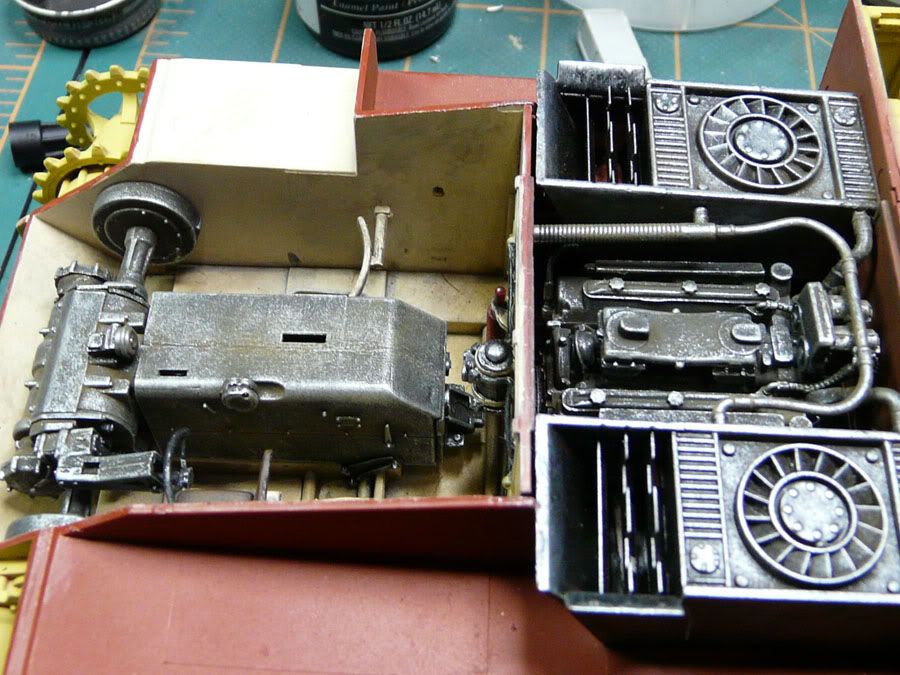
The driving compartment receives a coat of interior ivory and the engine compartment red primer also replaced the molded on pipes on the engine wall with solder wire
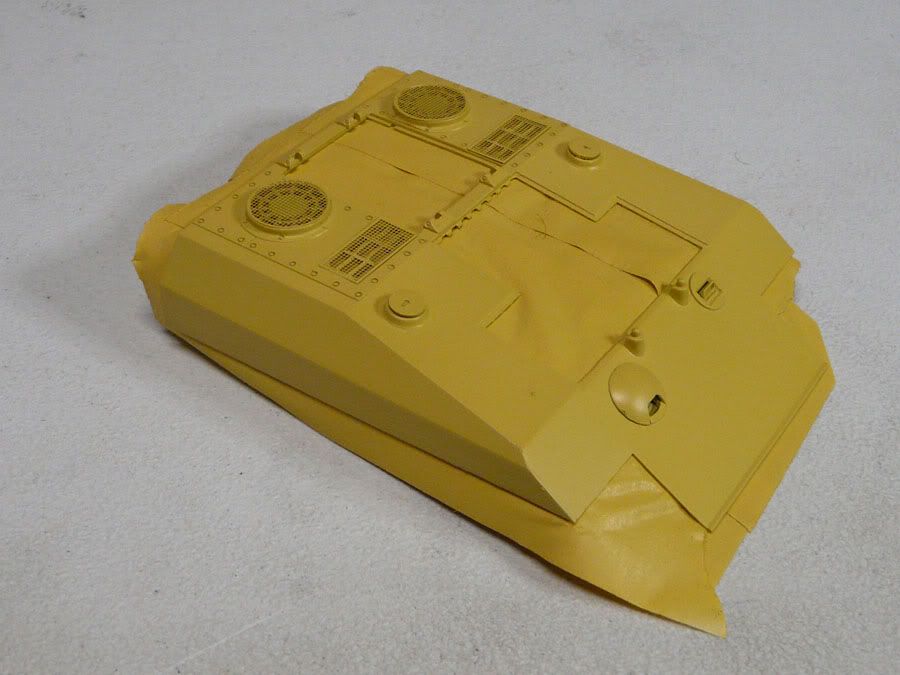
The roof of the engine/driver compartment is painted in two tones on the inside to match each compartment color
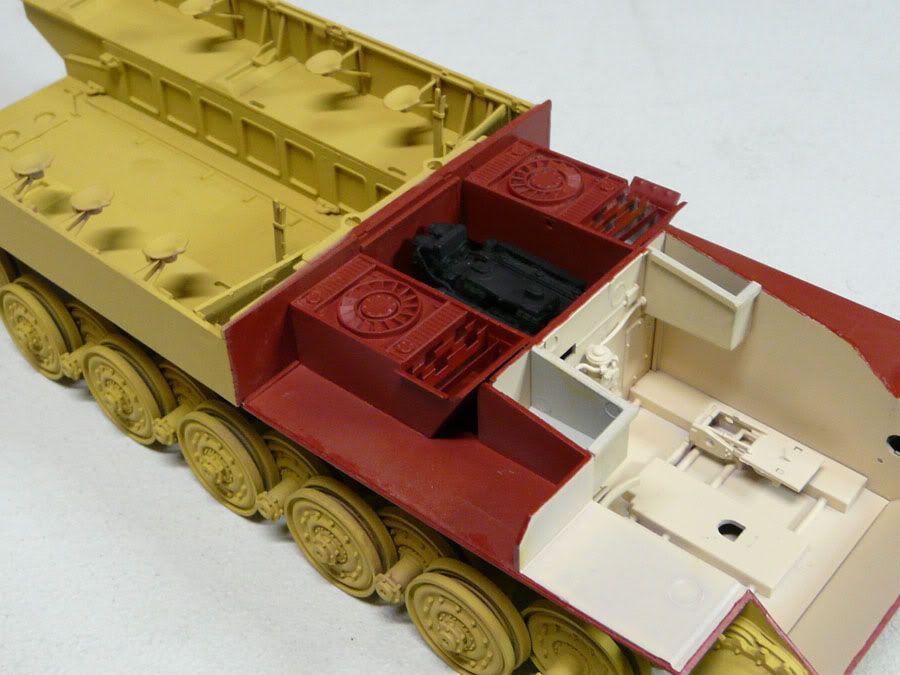
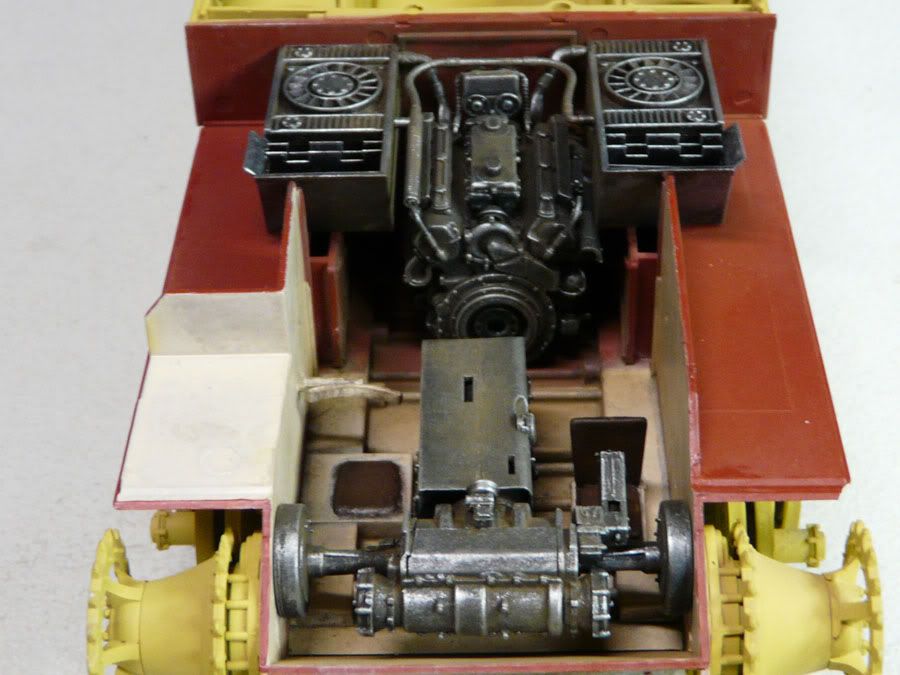
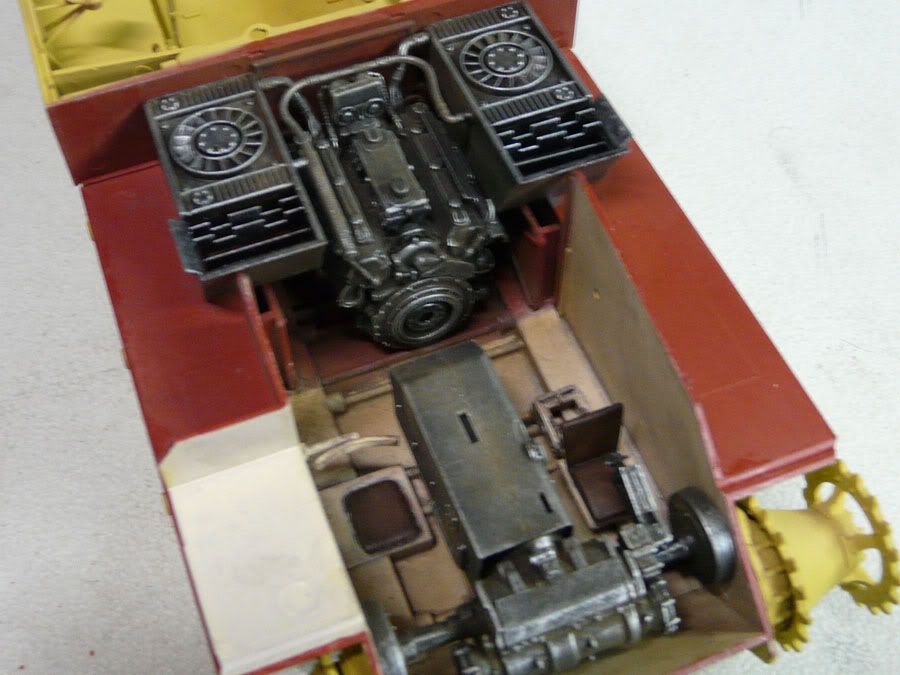
Next the engine and transmission received a coat of flat black followed by dry brushing with soiled steel
And then the whole compartment was dirtied using powders
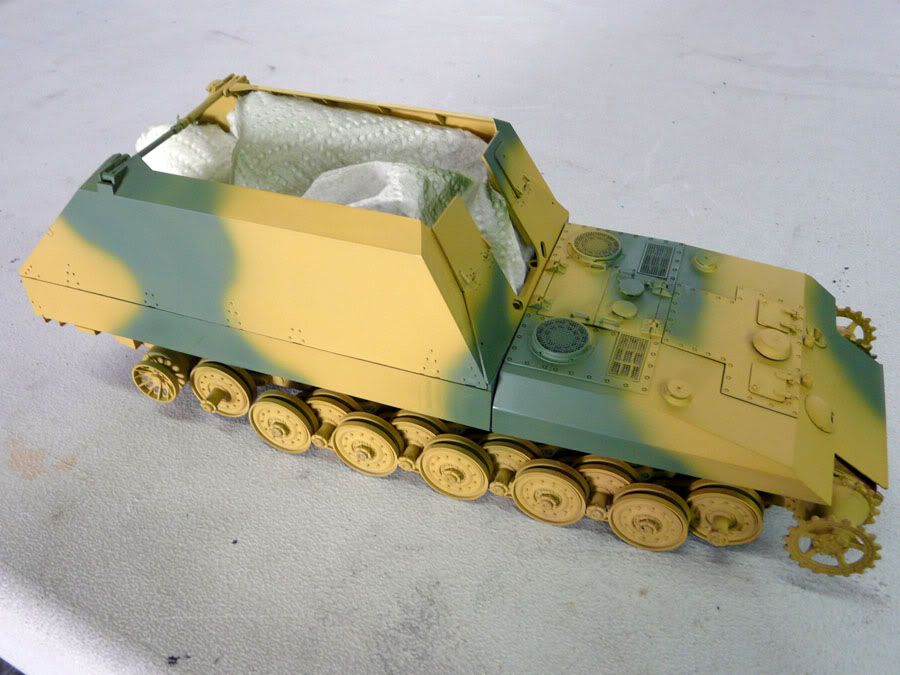
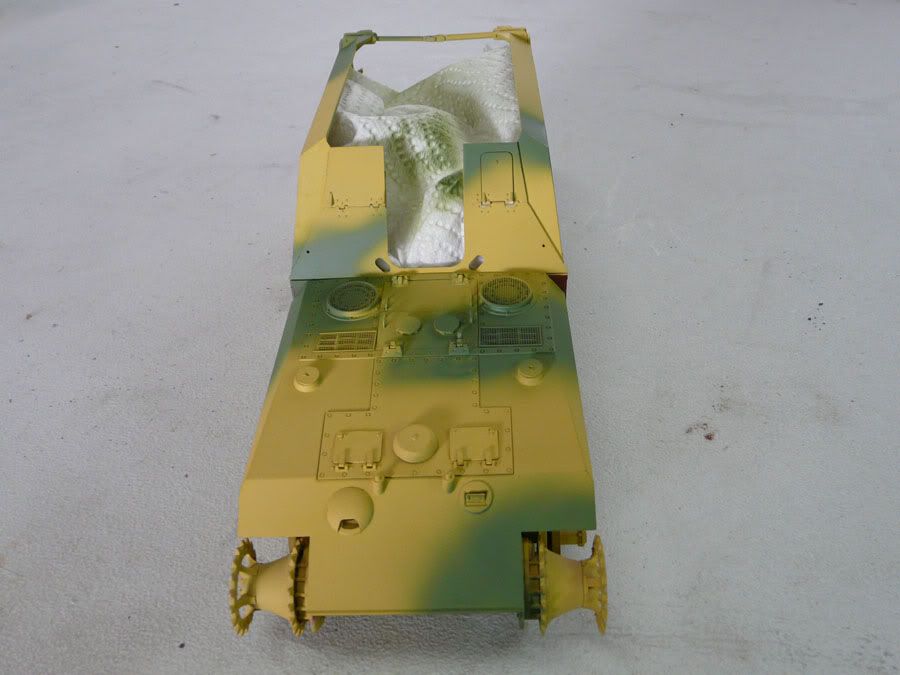
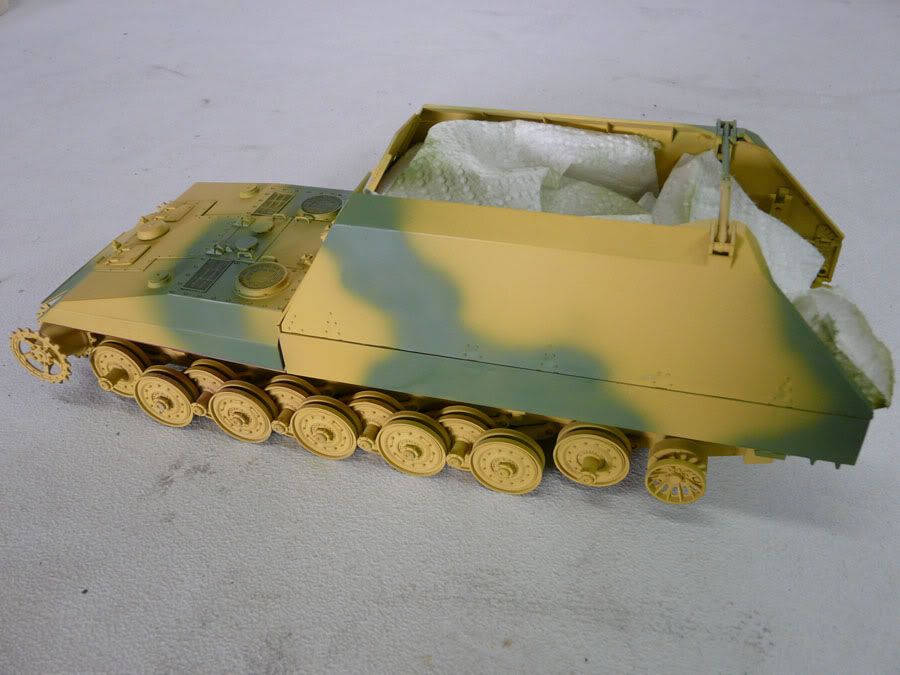
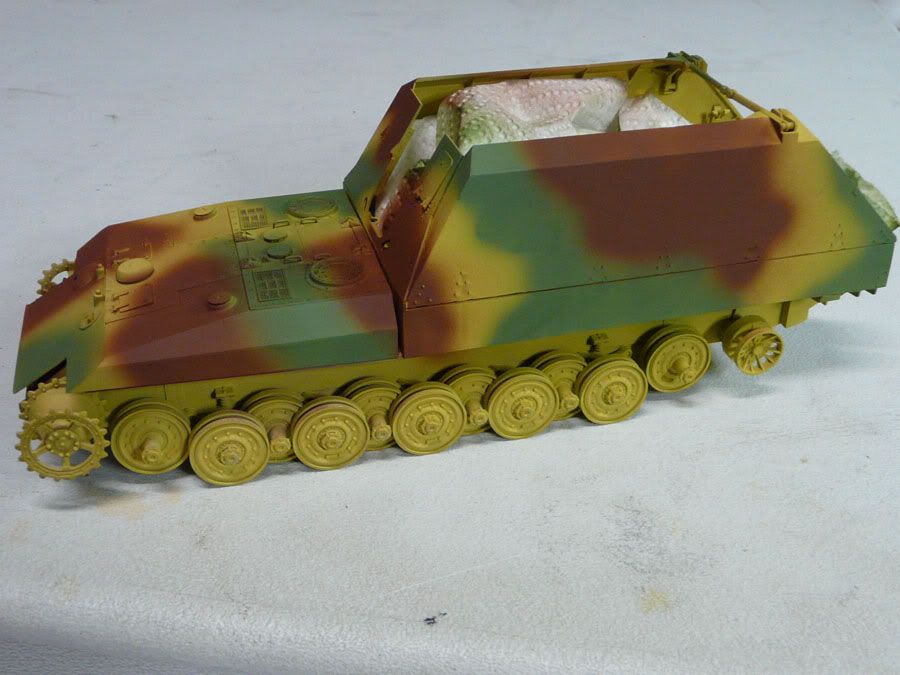
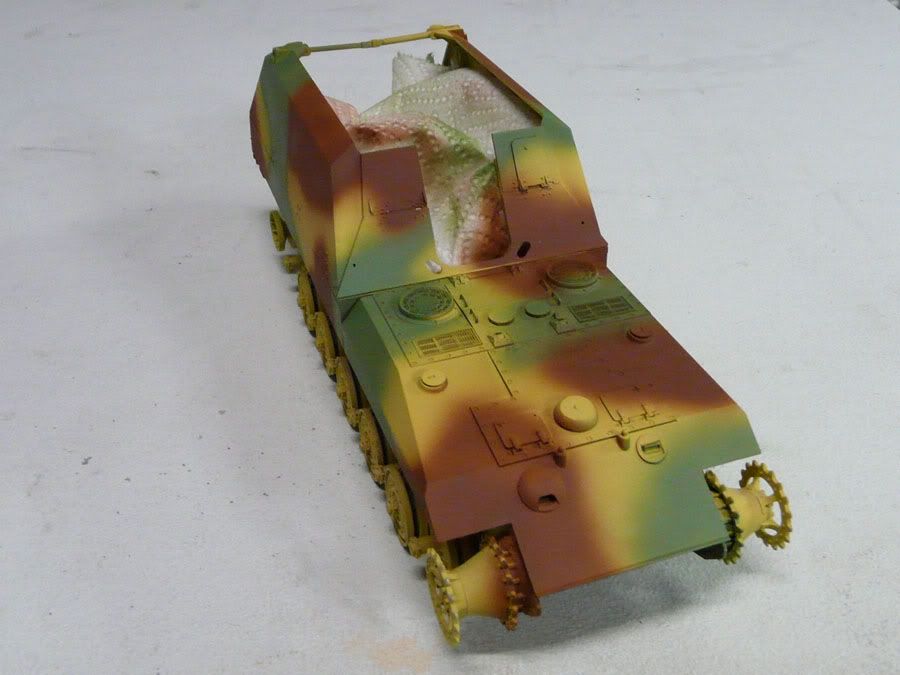
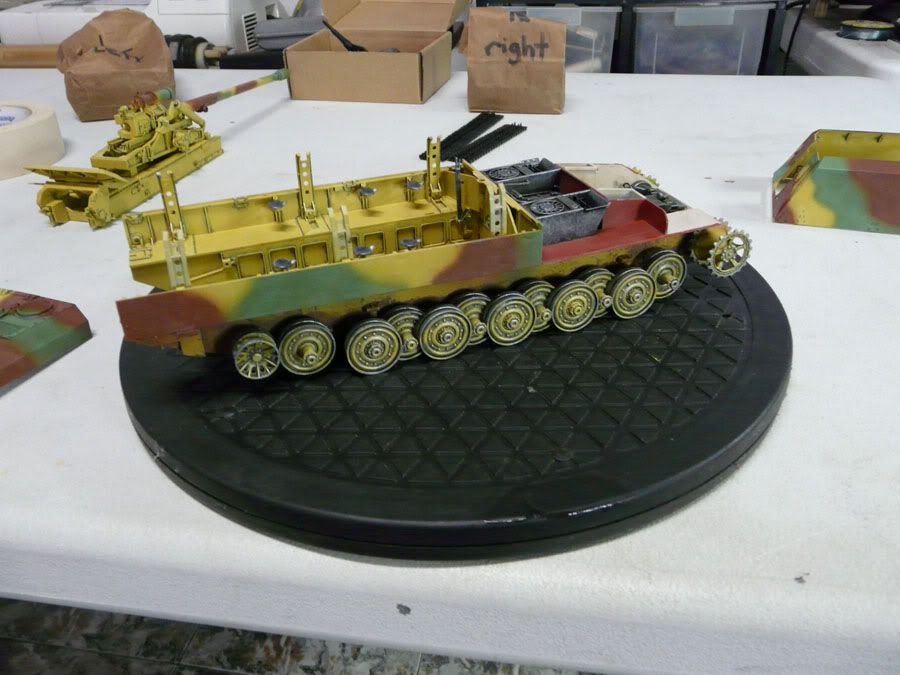
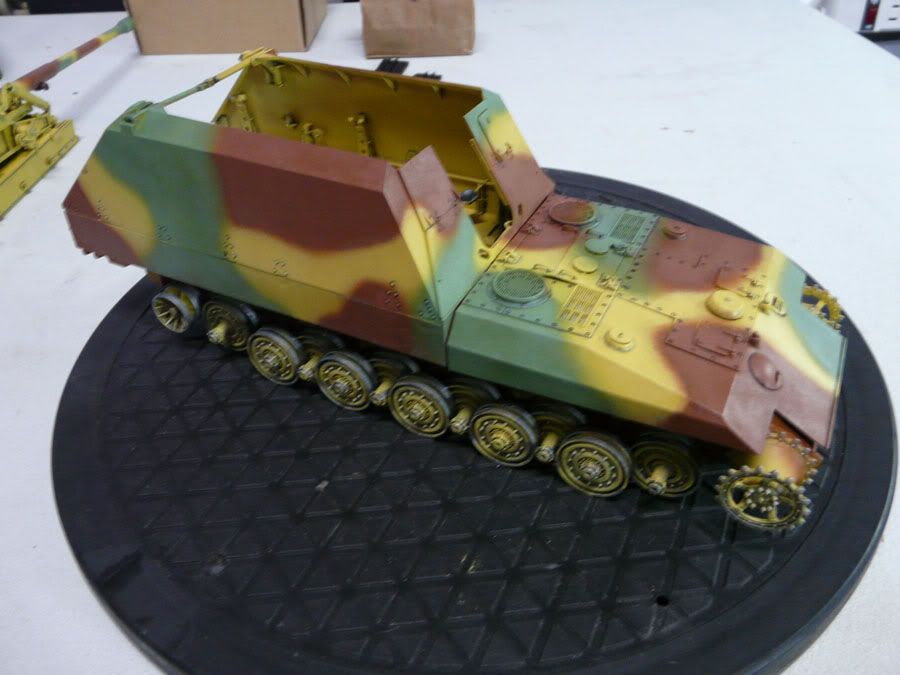
Now time to move to the outside colors, with the base yellow finished I started with the green camo patches
Now I added the red camo color
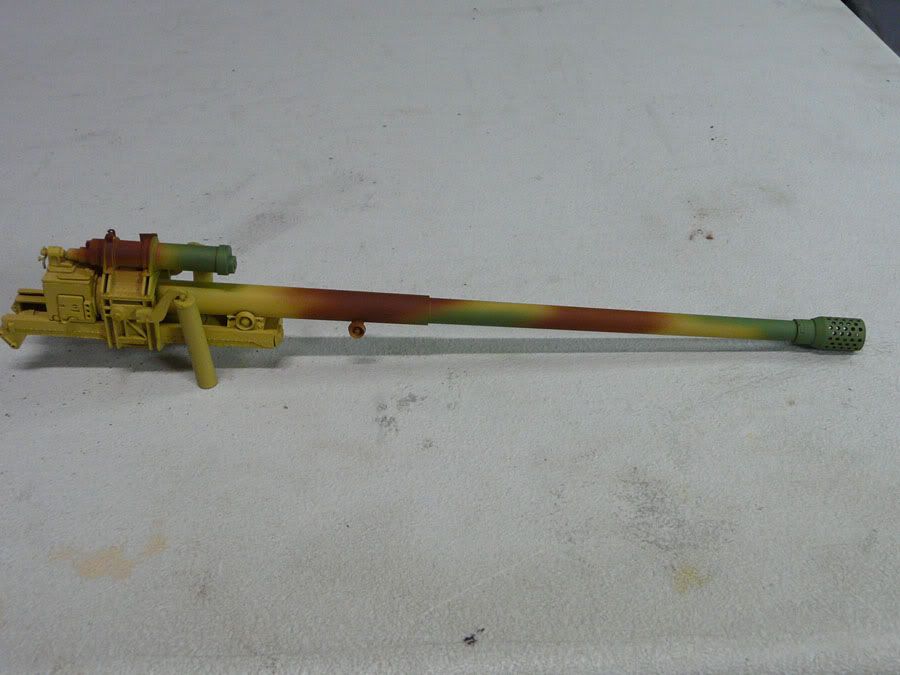
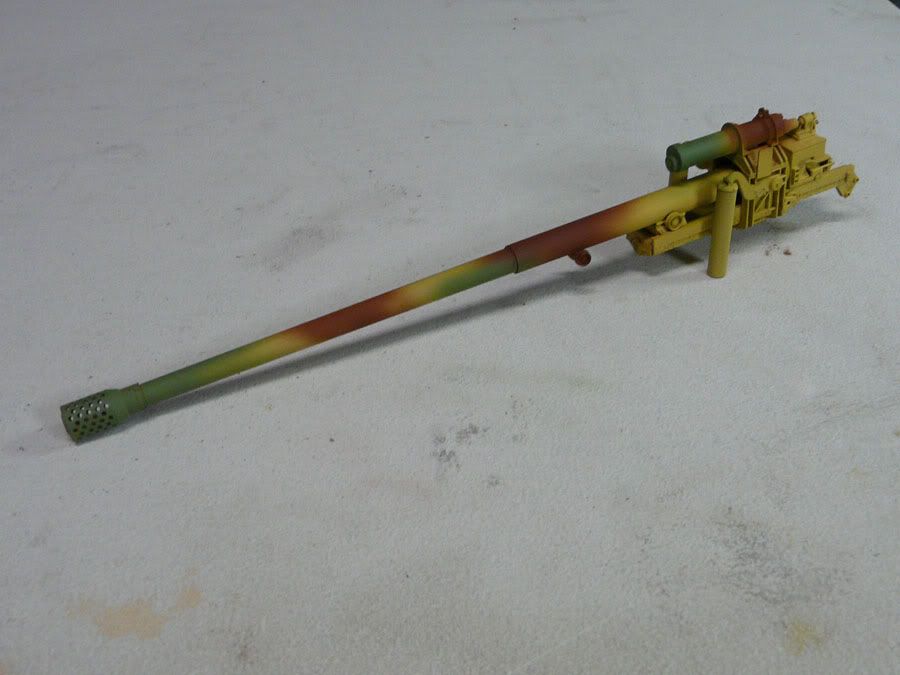
Same for the gun barrel
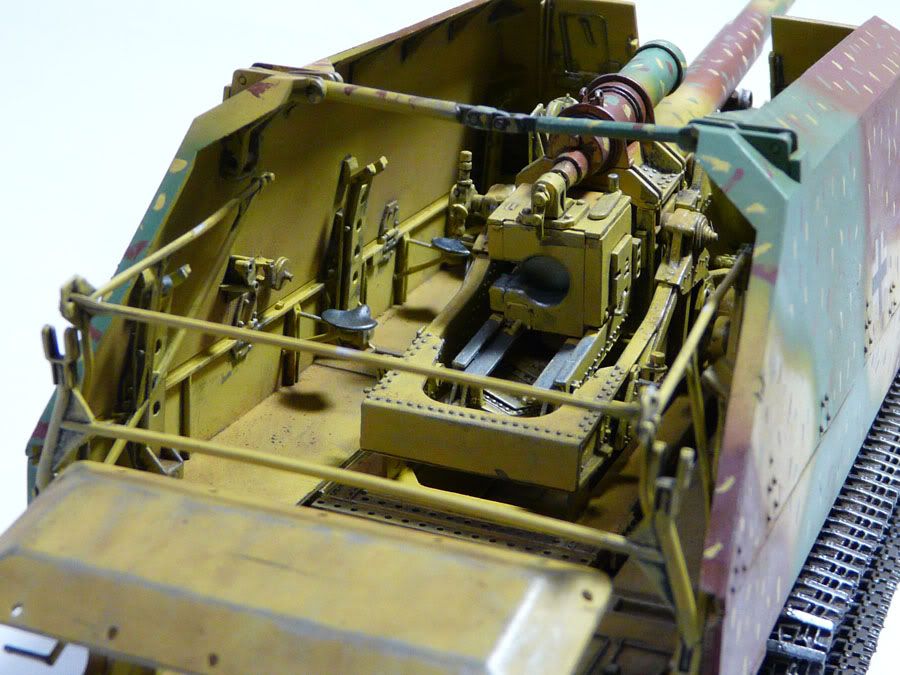
The interior received a pin wash and detail painting, also the road wheels
I applied a pin wash to the exterior and gun
]
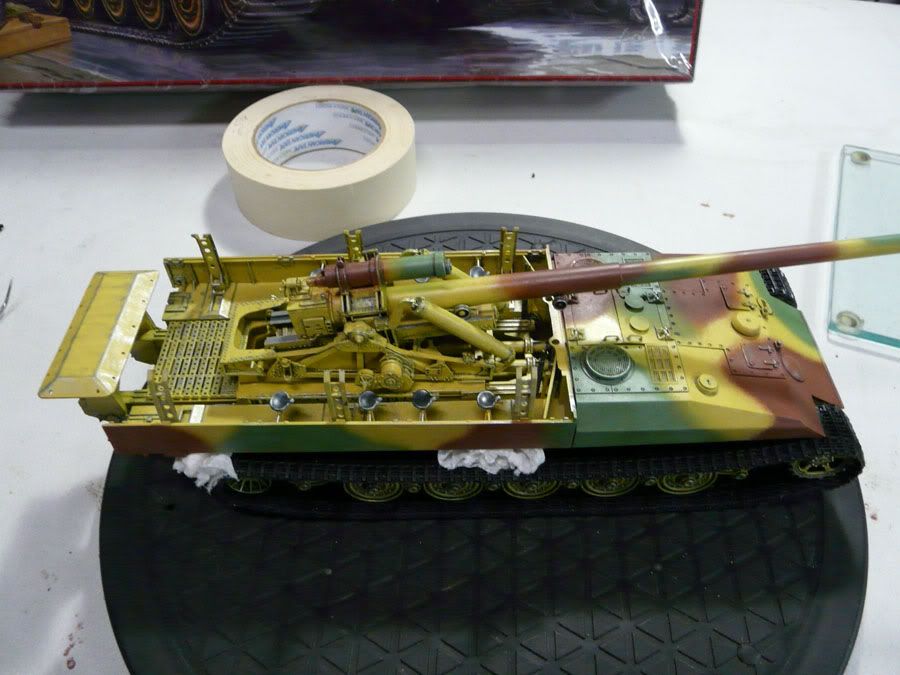
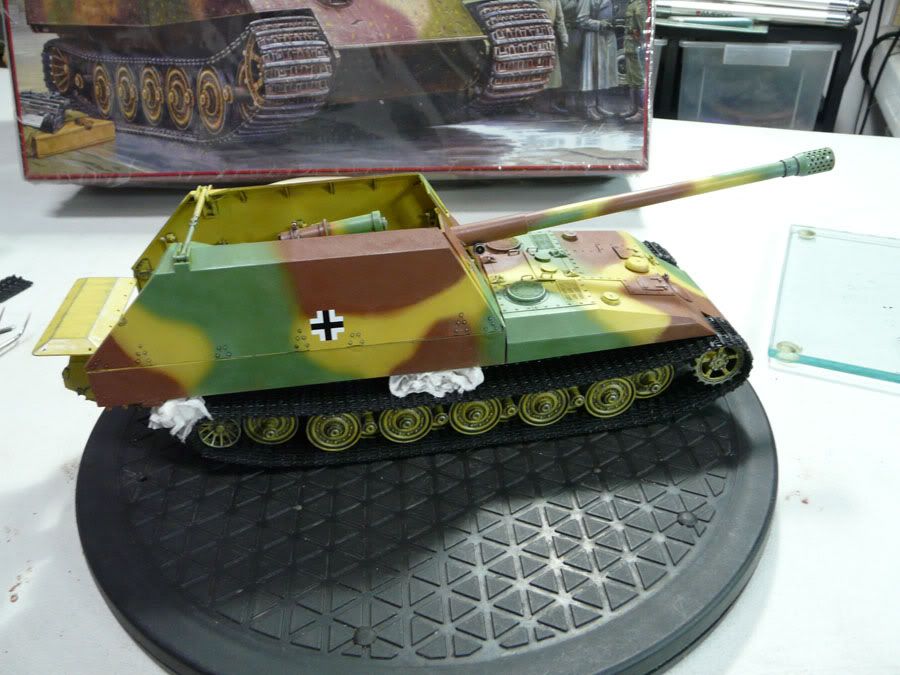
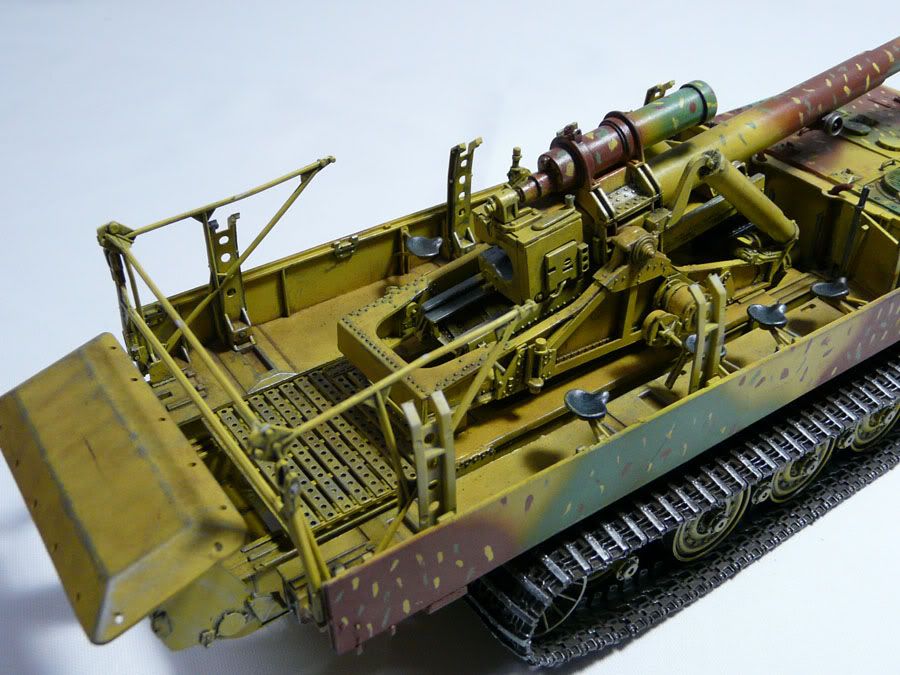
A look of the gun mounted on the chassis, it must have look impressive if finished in real life, the tracks are finished and installed. I used tissue to help maintain the sagging till it dried hard, this will be painted later
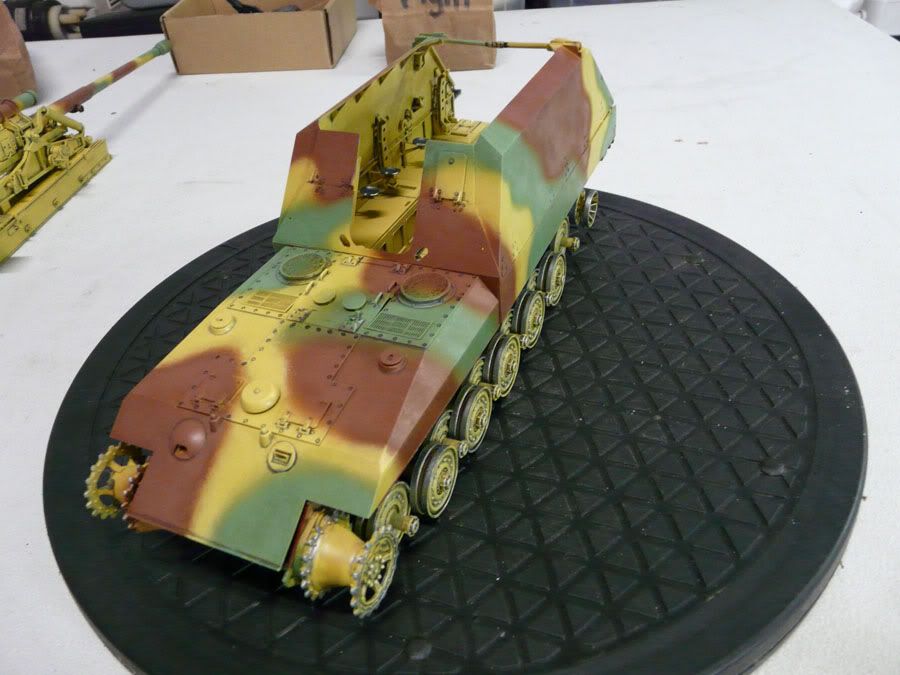
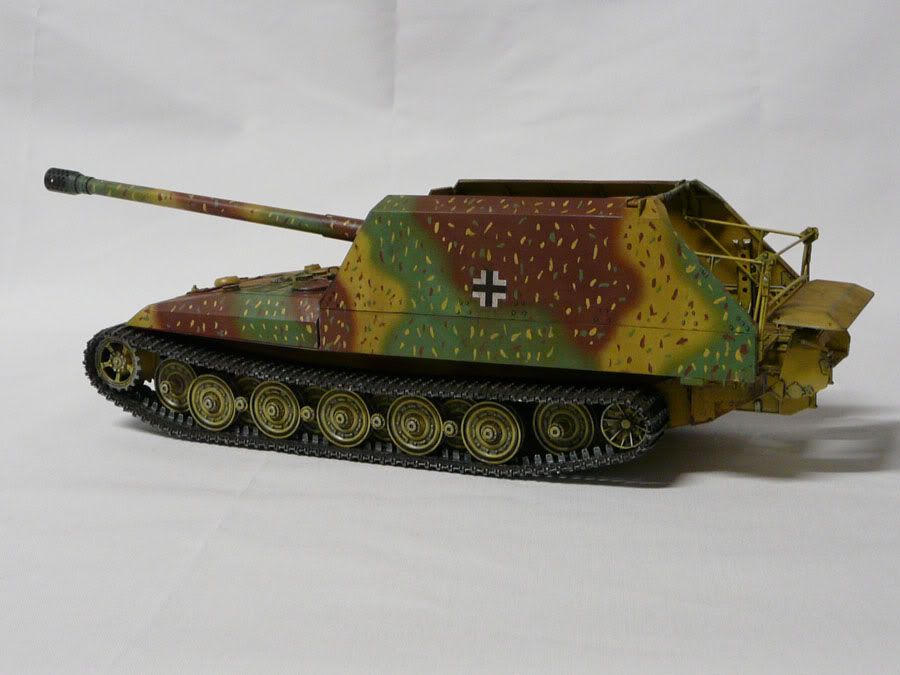
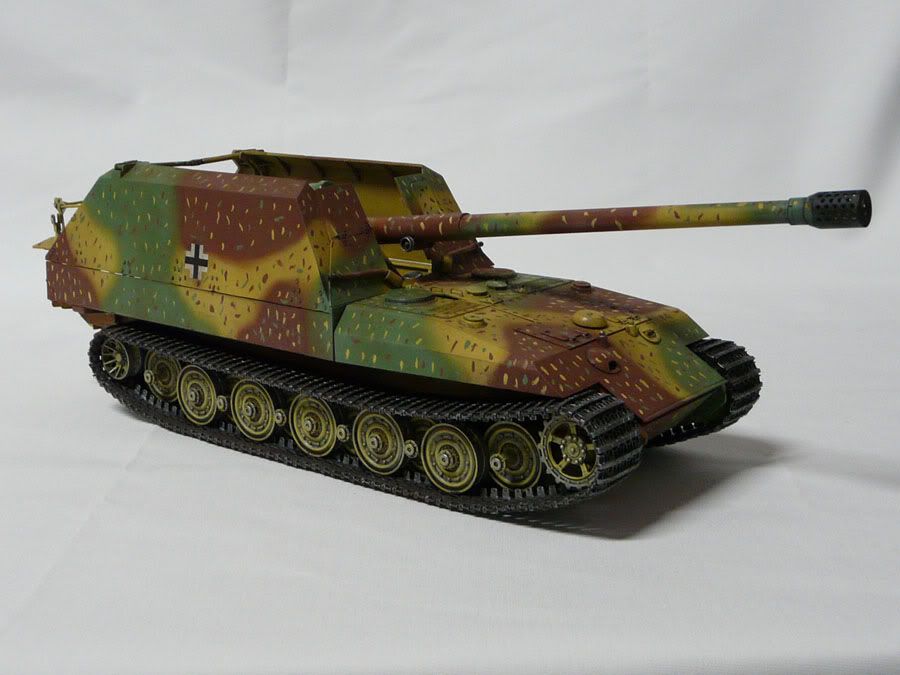
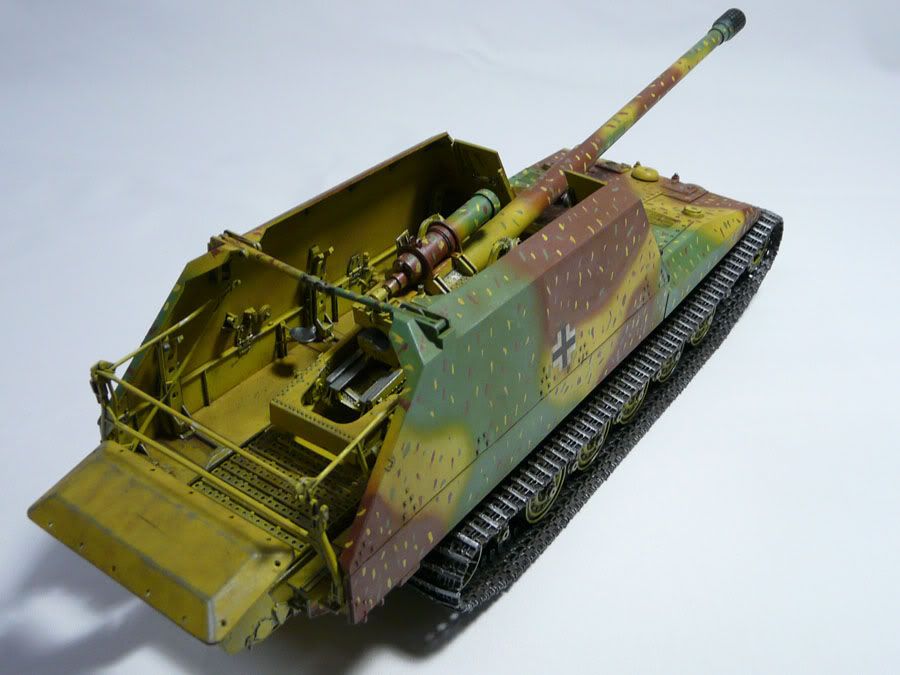
Finally I dry brushed the camo and exterior paint to tone down the colors, the crosses where applied at this time. The ambush dots are painted around the exterior, followed by a coat of matte varnish and more powders to make it look dirty and used.
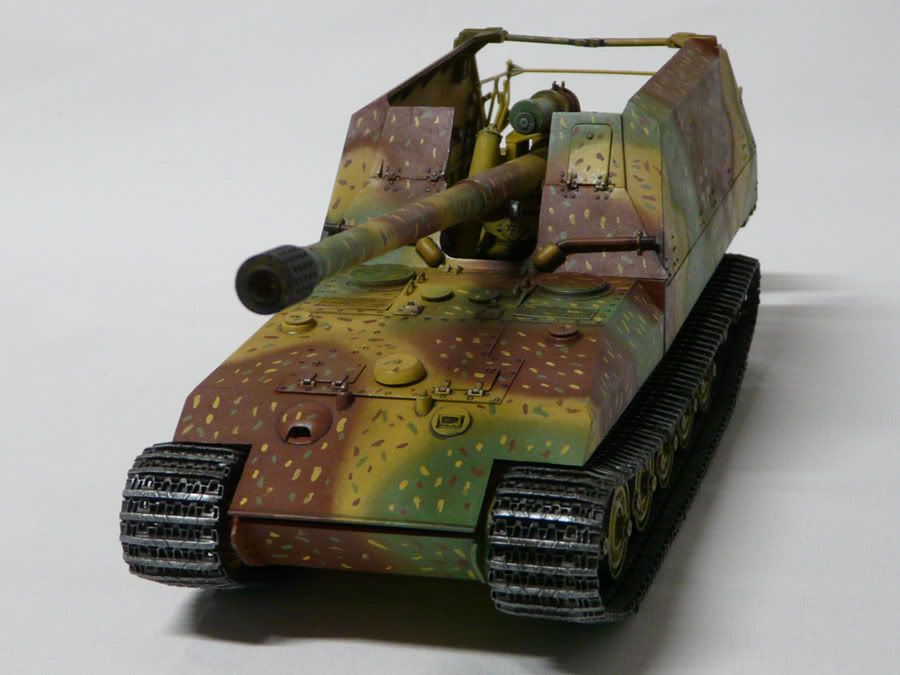
And this is the final result of all this work, this was a fun project to build hope you like it as much as I do
Thanks for watching
Abdin


")