• Modelers Alliance has updated the forum software on our website. We have migrated all post, content and user accounts but we could not migrate the passwords.
    This requires that you manually reset your password.
    Please click here, http://modelersalliance.org/forums/login to go to logon page and use the "Forgot your Password" option.

1/48 scale Bf 109's x 2

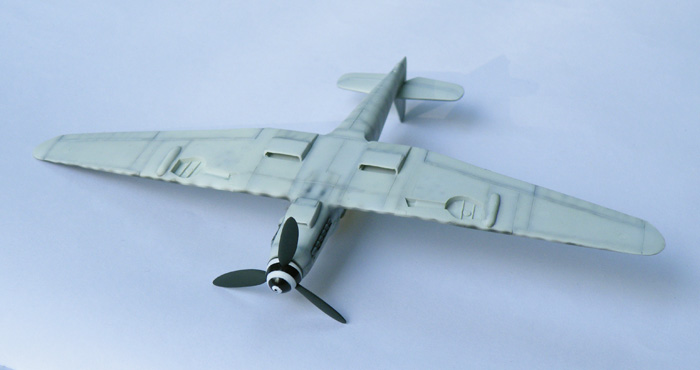
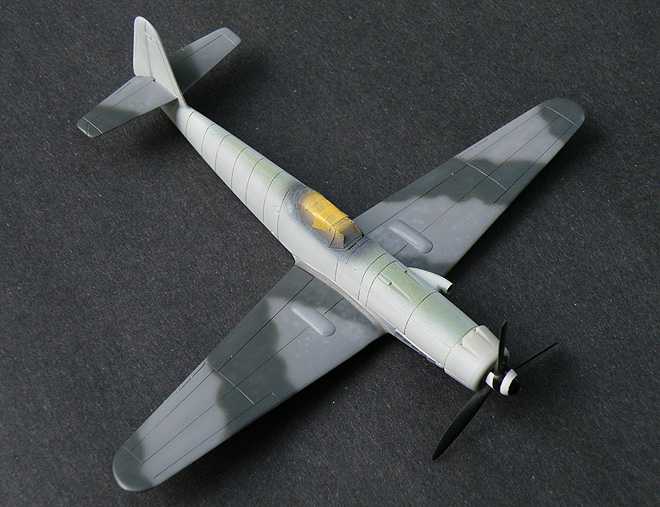
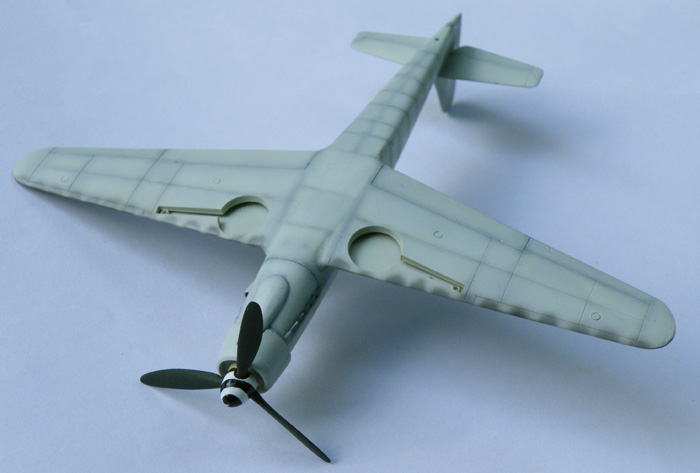
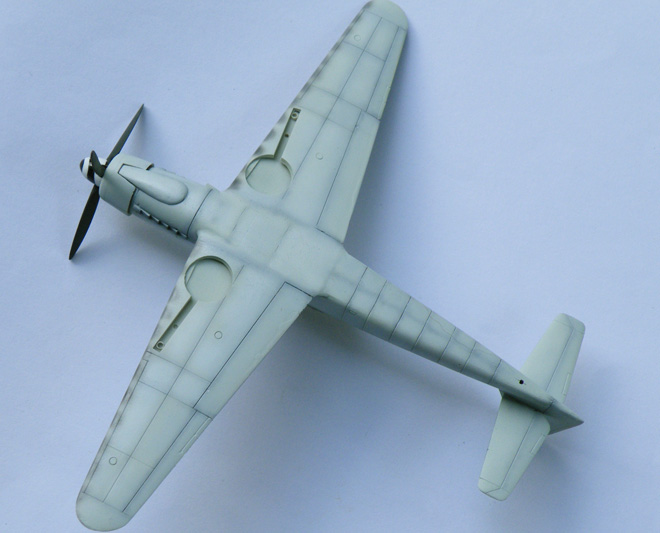
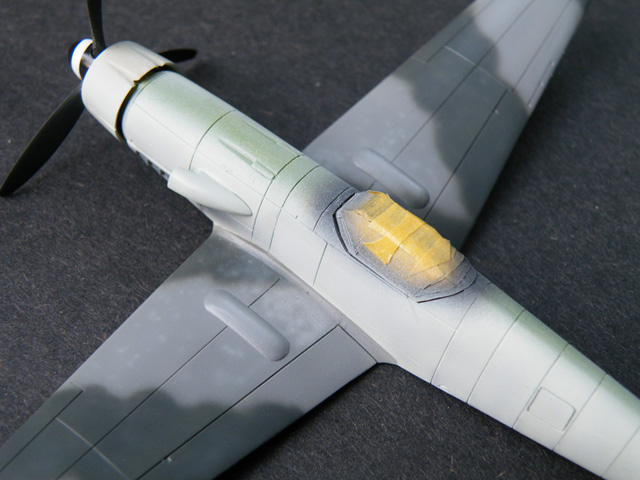
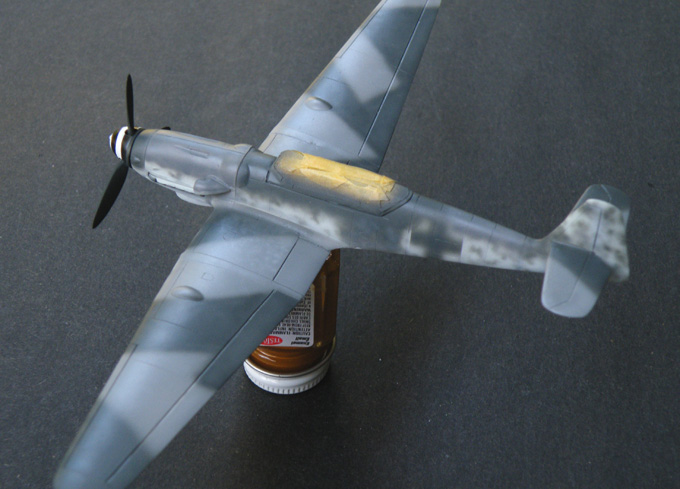
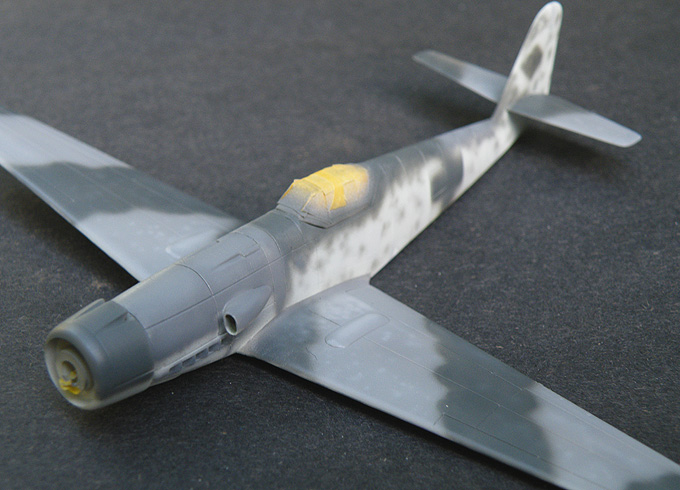
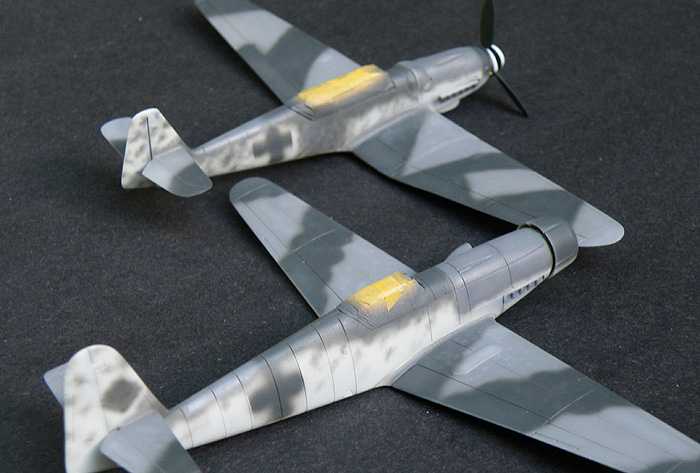
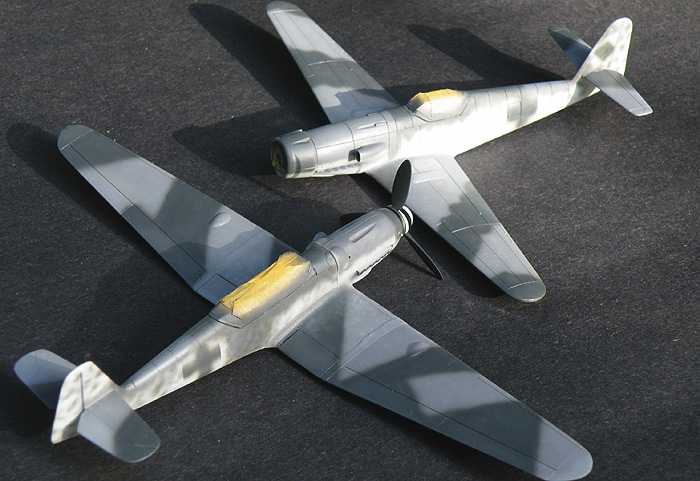
Hobby Craft? How do I love thee? Let me count the ways... it is a short list... a very short list.

I keep a rubber mallet near the table for such kits... after totally frustrating myself I perform "therapy," clean up the mess and continue to the next project.

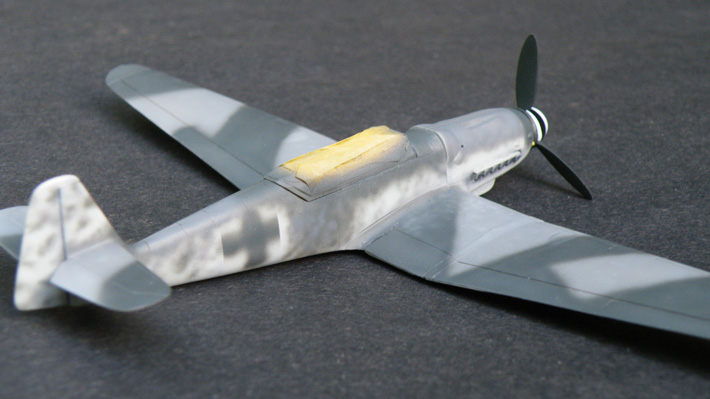
13 hours of school left
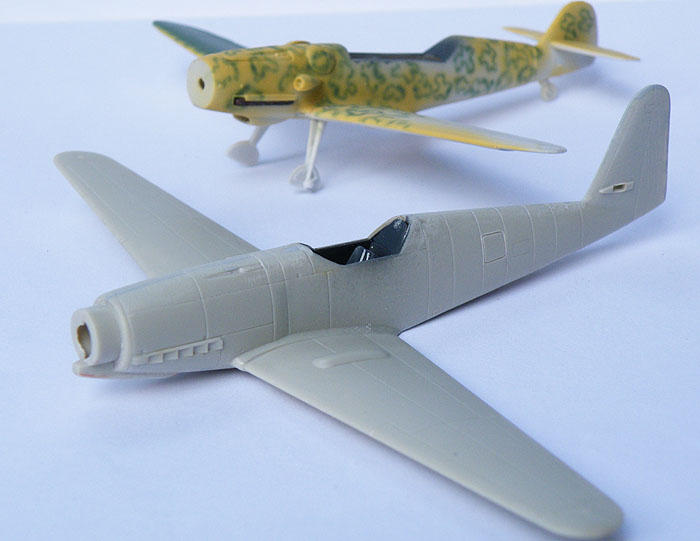
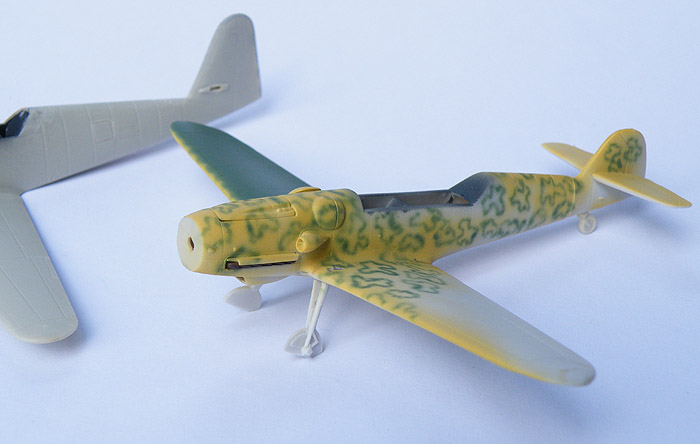
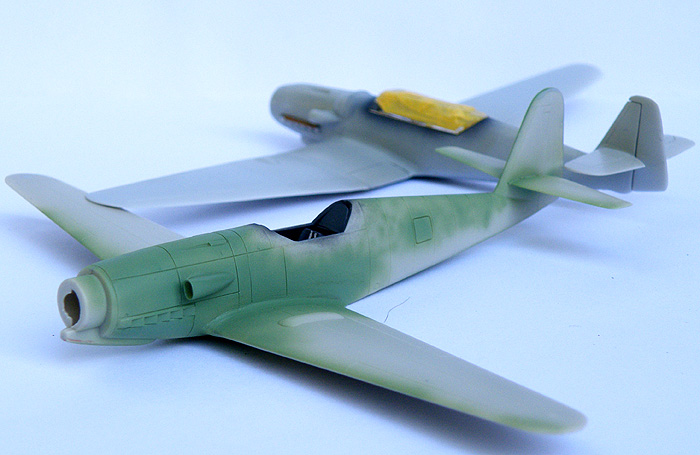
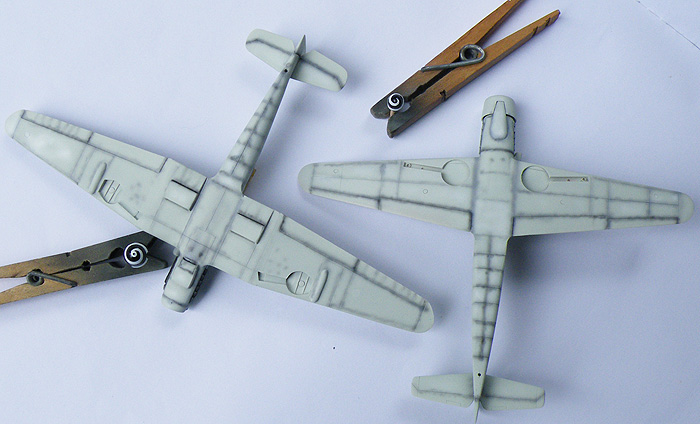
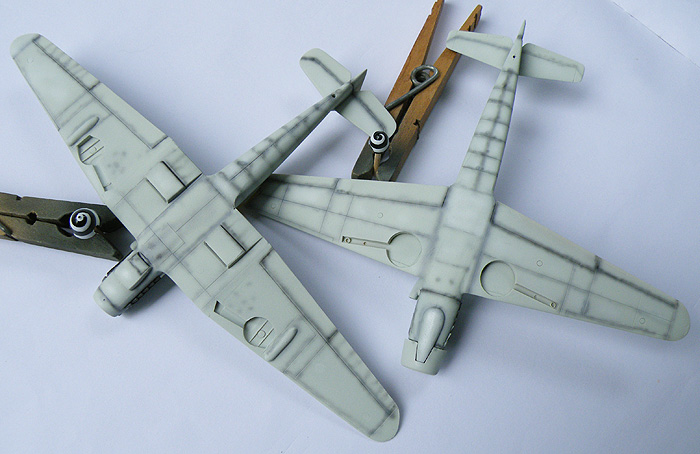
 
Sounds like good therapy to me ! :rotf

I once suggested that the AF. donate one of their old bird to the crew chiefs .....X number of $ for a few of minutes with a ball peen hammer .

Could have been a good fund raiser and priceless therapy . (y)

Of course their sense of humor was lacking. As usual. :idonno

Cheers, Christian B)
 
The crap Hobbycraft Bf 109G-12 kit is really an Intech product in Hobbycraft boxing, why Hobbycraft did this is beyond me because this low quality kit must have given them a bad rep. Earlier this year I built a couple 1/48 scale Bf 109's from Hobbycraft and they were not that bad, some of the parts were a little clunky and the windscreen was way too narrow but considering the vintage of those two kits they were fun to build.

I have only seen one Intech/Hobbycraft Bf 109G-12 built and that one used a bunch of parts from other 109 kits.


Matrixone
 
Not much has been done on these models for a few days, the fuselage seam line on the Bf 209K-4 has been filled and smoothed out and the wings have been attached, the wing roots have some gaps that will need to be filled and sanded but nothing I have not done many times before.

h7168f5a.JPG


And here is the Hobbycraft Bf 109G-12 that is now being used as a paint mule, instead of dumping any leftover paint in the airbrush after doing some painting I use that paint for airbrush practice and having a paint mule within reach makes things easier. I think its very important to do all your airbrush practice on things that resemble the shapes that you normally airbrush...airbrush practice on plastic milk jugs or a sheet of paper is not that much help and you will learn more by practicing on an old model or model parts.
I have been wanting to build a model with the Italian smoke ring camouflage pattern on it so that's why I did some practice painting on the paint mule of this pattern...better to work out the problems here than on the good model. ;)

hfa2aa22.JPG


Matrixone
 
Almost ready for paint!

The Bf 209K-4 has had its airframe finished and I will be adding the canopy soon so painting can begin. Sharp eyed readers will notice the enlarged supercharger intake and the relocated radio hatch on the fuselage which are hallmarks of the K-4 version of the Bf 209.

h957dbf3.JPG


And here are both Messerschmitts...the Bf 109H-12 has had the exhaust stubs and PE exhaust shields added as well as the canopy, this model is now ready for paint. The canopy is only tacked on for now, after the camouflage is painted on the canopy will be popped off and I will hand paint the canopy frame lines.

h0148f65.JPG


h5af8288.JPG


Matrixone
 
Outstanding progress man Way to go! using a paint mule like that is a brilliant idea. I have a couple models I use for that as well. I'm thrilled to be seeing these unique aircraft being done.
 
B) B)
That thing looks like a power glider :coolio

Were any actually built ? I have never seen any references for this one.

Cheers, Christian B)
 
Thanks Duke and Christian!

No, the Bf 109H-12 and Bf 209K were not actually built, the Bf 109H-12 is pure what-if but the Bf 209K-4 was in the early design stages until the entire Bf 209 series was cancelled by the RLM in favor of the Ta 152 series. Without doubt if the Bf 109H had gone into full production a two seat trainer version would have appeared, the Luftwaffe did this with many of their fighter aircraft.


Matrixone
 
I know I have seen prototype pictures of the 209 but I'm wondering how they got from a V series to a k model :frantic

I had no idea they got that far before cancellation .

Cheers, Christian B)
 
These two models have set long enough, I will get them finished sooner rather than later so I can get started on my Mighty Messerschmitt GB entries.


The usual base coat and pre-shading has been done on the under surfaces and the spinners were given their black and white spirals, the spirals were hand painted...no way I was going to fiddle around and mask them! :lol:

h0979efd.JPG


he111100.JPG


Tuesday I will spray over much of the pre-shading with some thinned RLM 76, I believe pre-shading should just barely be seen on most models.

Matrixone
 
Thanks Luiz and James!

More painting done on the Bf 109H-12 and Bf 209K-4, the pre-shading was toned down and the upper surface camouflage of RLM 74 and RLM 75 was sprayed on free handed.
I usually paint the wings and fuselages separately when applying the camouflage colors so I have an easier time handling the model and reduce the risk of leaving fingerprints in wet paint.
Tomorrow I will finish off the painting of the camouflage pattern on the fuselages.

h4229c16.JPG


h0508c45.JPG


h856c50f.JPG


heed40db.JPG


hbf6b1bf.JPG


hdaf92ad.JPG

This last pic shows how I used some lighter versions of the 74 and 75 and sprayed them on in tight lines and mottles to represent some wear and tear of the wing roots.

h8d02ce9.JPG


Matrixone
 
Thanks Luiz and Duke!

I won't complete the weathering on the wing roots until the wing walk markings are added, I like to have the decals match the same level of weathering the paint job has, that way they don't look like an afterthought.


Matrixone
 
Like that idea for fading-out the wing roots. Filing that away in my 'mind palace' for the future.

Ian.
 
Thank you Ian!
Another thing that can be done to add some weathering to wing roots is to spray the clear flat coat on a bit heavier on the wing root than the rest of the model, if done right (in combination with other weathering techniques) the paint will look quite distressed and worn away. Try this on an old model first before a new build to get some experience but its easy to do.

The rest of the camouflage has been sprayed on these tiny Messerschmitts, the Bf 109H-12 is nearly ready for its clear gloss coat while the Bf 209K-4 still needs its KG(j) checkered band painted on the rear fuselage.

This Bf 109H-12 looks a bit of a mess but I looked at photographs of a number of Bf 109G-12 trainers to get an idea how the H-12 would have looked like and most of the G-12's looked like a lot of field applied camouflage over painting had been done on them so I painted the model to match the 'neatly messy' style seen on the G-12's.

hdc9fc8a.JPG


haa39529.JPG


h1dd0d9a.JPG


hdbaf8d7.JPG


The Bf 209K-4 has been painted in the early style K-4 pattern which had a high demarcation line between the upper and lower surface colors on the fuselage around the cross.
Also the swastika on the fin was applied in a dark background and was the thin white outline style of swastika.

h351892f.JPG


ha067fe9.JPG


hb5656dc.JPG


hf89efc2.JPG


Both Messerschmitts

h1956f04.JPG


h36a6039.JPG


Matrixone
 
Back
Top