
-
Modelers Alliance has updated the forum software on our website. We have migrated all post, content and user accounts but we could not migrate the passwords.
This requires that you manually reset your password.
Please click here, http://modelersalliance.org/forums/login to go to logon page and use the "Forgot your Password" option.
You are using an out of date browser. It may not display this or other websites correctly.
You should upgrade or use an alternative browser.
You should upgrade or use an alternative browser.
1/48 scale Bf 109's x 2
- Thread starter matrixone
- Start date
Agree 110%That K is looking just great, Les.
Ian

Who signed off, Accounting Department
Bob,
No doubt you are correct on this, the way I see it the cost would be the same to do it right as it would to get it wrong, my guess is the mistake on the exhaust stacks was done on a Monday morning, very early on a Monday morning.
Thanks Terry,
Even old kits like this Academy 109E deserve to be built.
I found another big mistake on the Academy kit, the ailerons and flaps are molded as one single piece. It reminds me of a sport RC plane that has the ailerons on the entire trailing edge of the wing.
This will be fixable, I just need to scribe a line to separate the flaps from the ailerons.
Matrixone

Thank you Dusan!
More work done on the little Academy Me 109E.
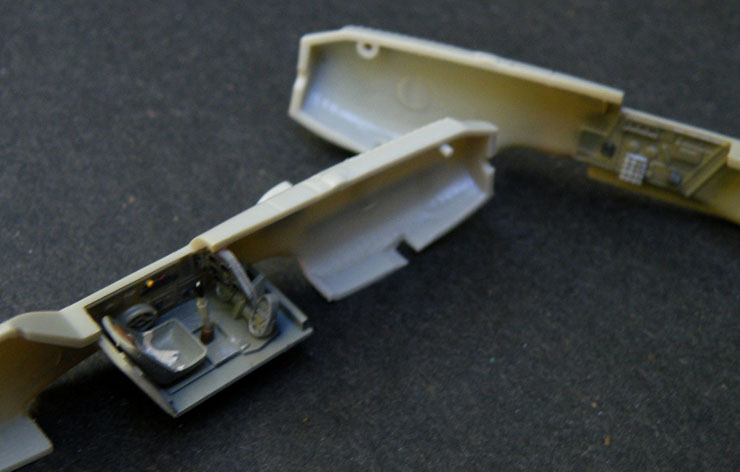
I did some painting on the cockpit area, the base color of RLM was sprayed followed by some black for the pre-shading that was also done. For such a tiny kit there is some nicely molded in detail on it, such detail deserves to get some proper painting done on it.
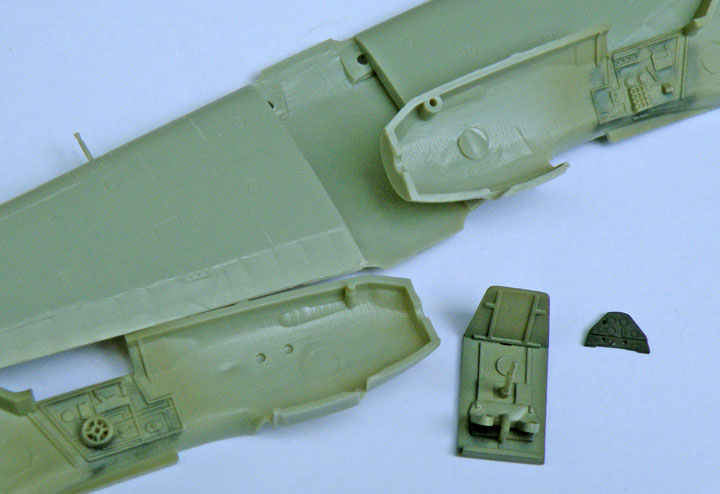
The seat is not yet glued in, I need to do some detail painting on it first, the seat belts are molded into the seat and are pretty well detailed.

Here is a picture of the wing and the 'flaperon', Academy failed to have any separation of the aileron and flaps. The red arrow points to where the separation should be, its strange Academy missed such an obvious feature. :idonno But at least this an easy fix unlike the backwards exhaust stacks.
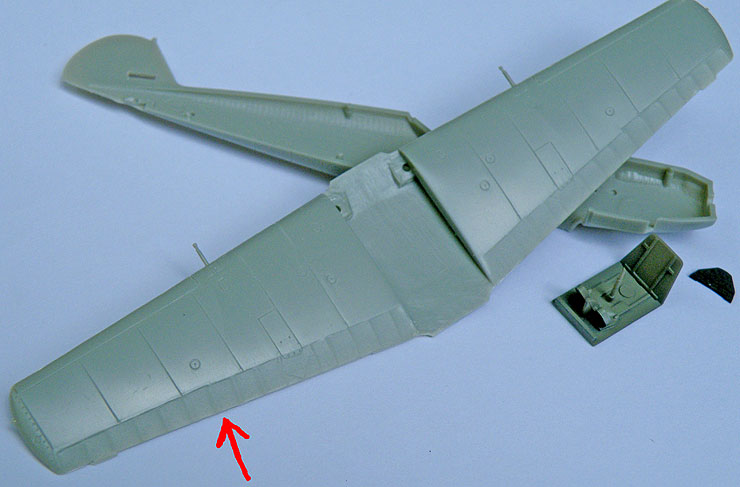
Matrixone
More work done on the little Academy Me 109E.
I did some painting on the cockpit area, the base color of RLM was sprayed followed by some black for the pre-shading that was also done. For such a tiny kit there is some nicely molded in detail on it, such detail deserves to get some proper painting done on it.
The seat is not yet glued in, I need to do some detail painting on it first, the seat belts are molded into the seat and are pretty well detailed.
Here is a picture of the wing and the 'flaperon', Academy failed to have any separation of the aileron and flaps. The red arrow points to where the separation should be, its strange Academy missed such an obvious feature. :idonno But at least this an easy fix unlike the backwards exhaust stacks.
Matrixone
Looks like it's primed or are you just building that clean?

Thanks Bob,
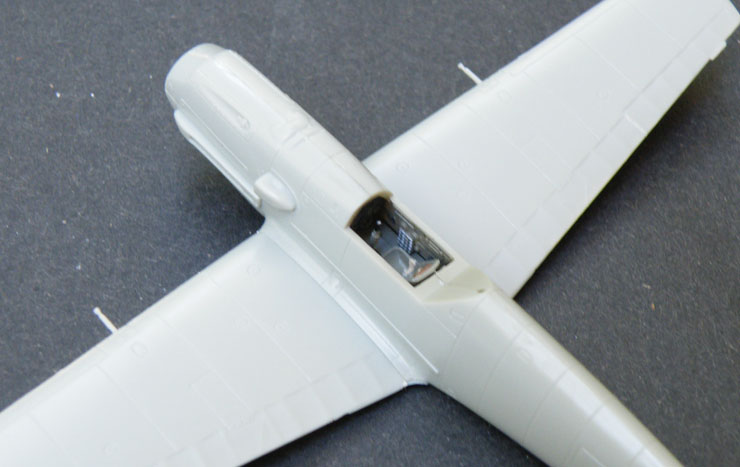
No primer on this model, that's the color of the plastic. At the wing root a spot of red can be seen and that's the spot putty I used to fill a small gap. On most of the seam lines on the fuselage and leading edges of the wings I painted on Mr. Surfacer and ended up sanding 99% of it off, the fit of this model is good enough to where hardly any filler is needed.
Matrixone
Ha, I see it now, couldn't see it on the laptop display, clean building, that's cool!

Thanks Dave and Luiz!
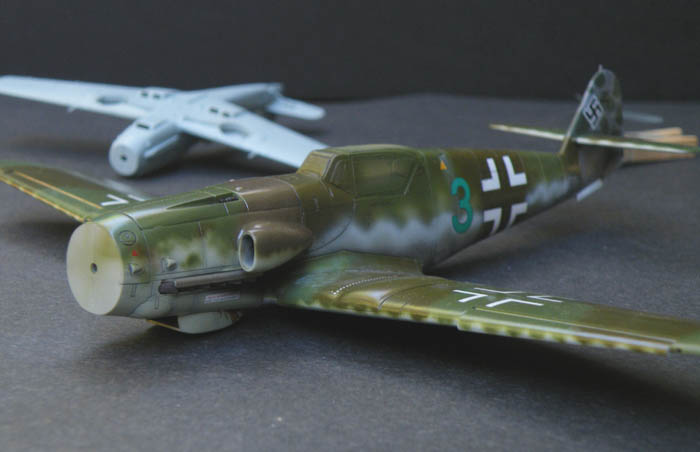
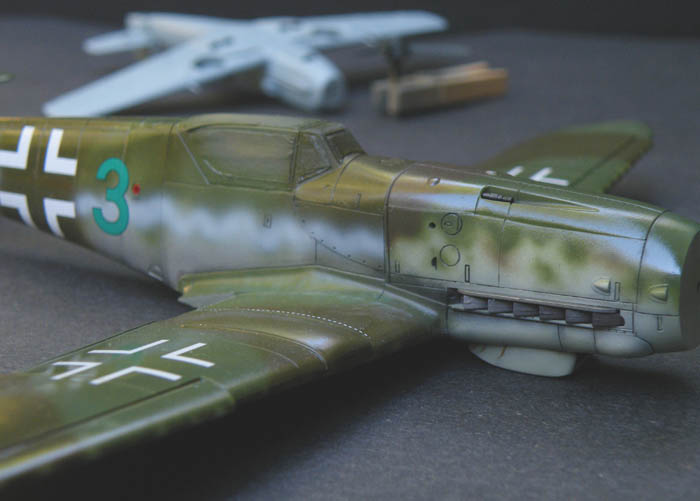
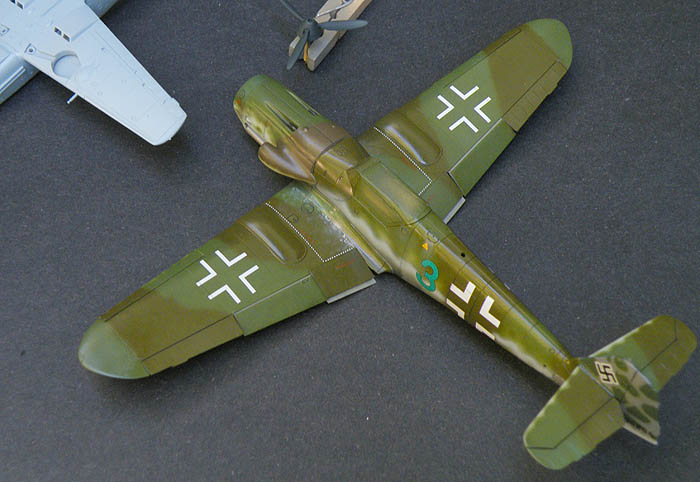
Its been a while since much was done on these models, so here is an update.
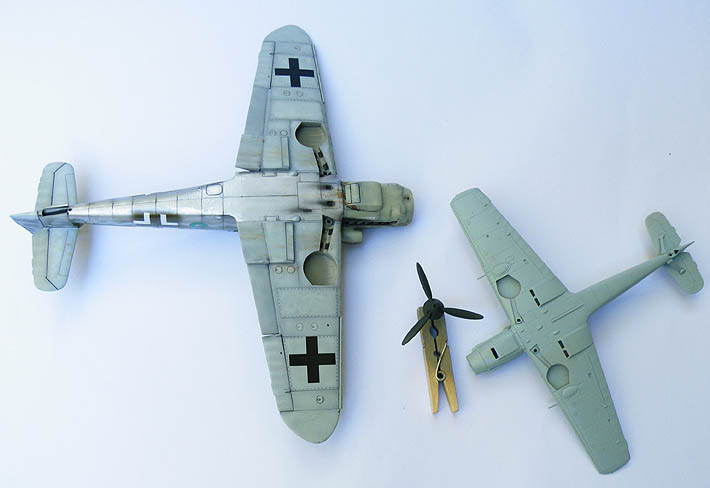
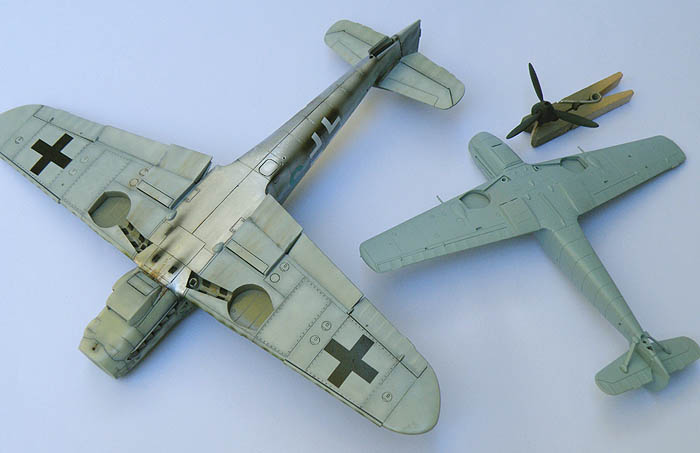
The K-4 had had some work done with oil paints, most of the work centered on the undersurfaces by enhancing the panel lines and adding some dirt stains to the undersides of the wings. The upper surfaces also had some weathering done with oil paints by adding some staining near the fuel filler hatch, wear marks on the wing roots, and enhancing the panel lines on the engine cowls and control surfaces.
The exhaust shields and exhaust stubs were glued in, after the flat clear coat is sprayed on I will spray on a little more exhaust staining to complete the weathering effect in that area.
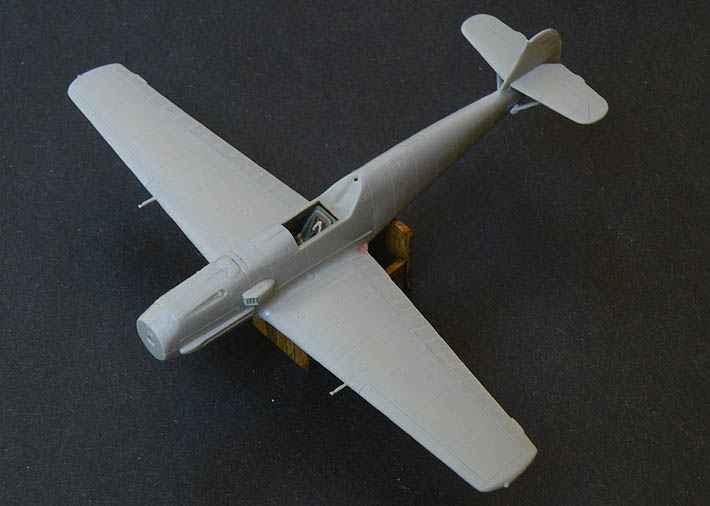
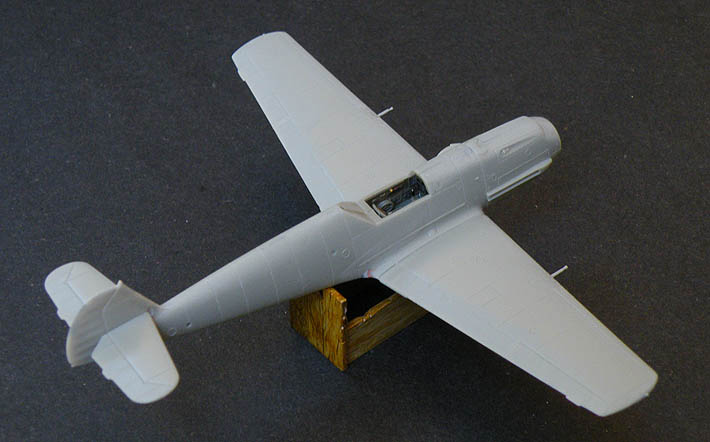
The little Academy Me 109E has been given its base coat of RLM 65, when the paint is 100% dry I will do the usual highlighting and pre-shading.
Matrixone
Its been a while since much was done on these models, so here is an update.
The K-4 had had some work done with oil paints, most of the work centered on the undersurfaces by enhancing the panel lines and adding some dirt stains to the undersides of the wings. The upper surfaces also had some weathering done with oil paints by adding some staining near the fuel filler hatch, wear marks on the wing roots, and enhancing the panel lines on the engine cowls and control surfaces.
The exhaust shields and exhaust stubs were glued in, after the flat clear coat is sprayed on I will spray on a little more exhaust staining to complete the weathering effect in that area.
The little Academy Me 109E has been given its base coat of RLM 65, when the paint is 100% dry I will do the usual highlighting and pre-shading.
Matrixone

Similar threads
- Replies
- 104
- Views
- 22K