THE BUILD:
First, Let talk about flaws. A project of this size and complexity must have a few flaws, and my kit is no exception. Not many of you are customers of mine so far, so this may seem odd to you. I prefer to document short-comings of the model, so if any of these flaws are a deal-breaker, my customers will know before they purchase.
Main Hull:
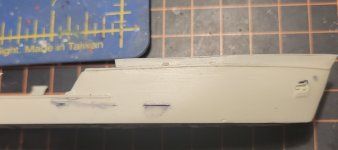
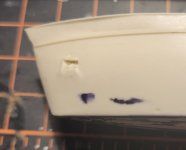
You can see the small flaws along the bow where my filling and sanding of the Master was not quite perfect.
Starboard bow:
See the top of the scupper, the little divot in the point of the bow and along the hull as she runs aft? what you see here is the repaired flaws.
Port bow:
Again, the filled and sanded imperfections.
Superstructure:
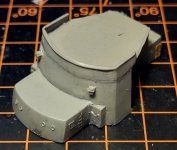
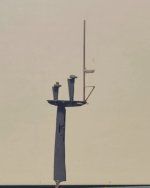
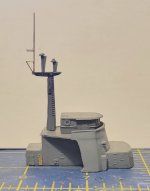
I intentionally put the mold seam in a place where it would be easier to manicure. Small amounts of c/a glue dabbed in the seam, and wet-sand until smooth and nice! For this job I cut a Flex-i-File strip in half to fit in between the bridge rail and antenna mounts.
Lower hull:
I don't do bottoms. Some ship modelers like a bottom. I prefer waterline models on a base.
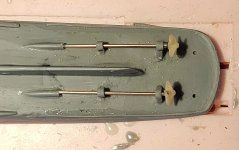
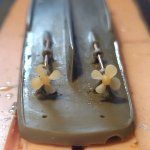
A few tiny flaws in the underside, and the skeg (the big structural part between the shafts, struts and screws) could use a little sanding and smoothing. See the void in the top of the stern? To write the instructions, I use the kit parts that I won't sell to you.
.032 copper rod makes up the prop shafts. 3D printed propellers (screws/wheels) are drilled to fit the shafts. They are HARD. Drill with diligence! The screws are handed and in their proper propeller propulsion positions! Rudders go in the obvious rudder holes, see?!
Even though the lower hull won't be included in this build, it is easy to see how these few parts come together.
Flightdeck:
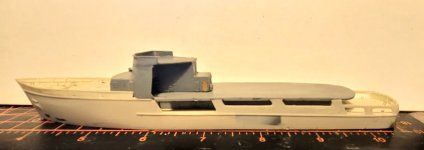
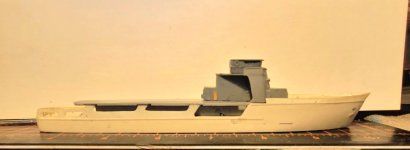
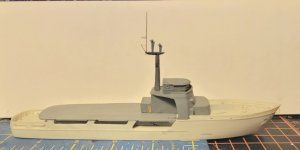
The portside flight deck joints fit very nicely, indeed! As you can see, the starboard side flight deck joints could have benefitted from more "fitting" before it went to mold. I'll confess to getting really excited about making the final mold for this model kit.
"Chris, this main hull is white rather than you're usual gray. Is that a flaw too?"
No, my friend, when mixing the necessary larger quantity of LPP, I missed the pigment step on a few items. This hull assembly was one of them.
I might have made set of rare, albino Cap-Holder-O-Matic too. Very valuable indeed!
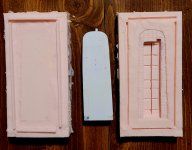
"Could protrusions in the mold be removed to get rid of the flaws?"
Maybe. Imprecise removal of the little sliver of RTV that produces the crack/flaw could result in the creation of a bulge. Sanding off a big, ugly bulge seems less attractive to me than filling a few dinky indentations.
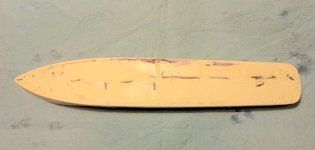
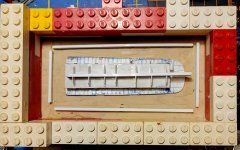
Marking between the pour stubs with black Sharpie and gently wet-sanding the bottom of the main hull on 240 wet or dry sandpaper sheet on a flat surface yields a nice flat waterline underside. When the Sharpie goes mostly away, stop sanding.
What you can't see is that all the mooring bitts have been installed.
This model will be WMEC-618, USCGC Active. The "Little Tough Guy".
This 2023 fit. OTH boats, 25mm gun and round platform, original bridge with smokestack upgrade.
Thanks again for looking in!

