• Modelers Alliance has updated the forum software on our website. We have migrated all post, content and user accounts but we could not migrate the passwords.
    This requires that you manually reset your password.
    Please click here, http://modelersalliance.org/forums/login to go to logon page and use the "Forgot your Password" option.

TTomcat's Tomcats

16131751039_23c2722c93_b.jpg


Not the best pic to show the wash...

16130562510_4fb8e82909_b.jpg


engines with some Tamiya weathering on it. Blue!

16316179141_cc1557e5c9_b.jpg


16130584490_88c0084862_b.jpg


Confetti used for the engines-- shiny!

16316196631_aeb2e6342c_b.jpg


Engines, fins, and stabs attached.

15695580944_2e960b2202_b.jpg


I like it!

15695572104_24dfd8dd15_b.jpg


I used a pen to outline the pink, after the gloss coat. I wanted to do a kind of comic book style on a model someday, and it turns out with this model fighting me every step, this would be my first little experiment with the concept style. Here is a great of demonstration of Comic books style IRL:

c92b9df05e5d62c2b8415eb54d5d4b94.jpg


So a long ways to go, and I'm not going to push it with this model especially!! but I'm happy with the outlines.

16316191341_d3af24a50f_b.jpg


I used some color shifting nail polish to create a "window" on the made to fit windscreen from a seperate (revellogram) Tomcat kit (lost the original Fujimi windscreen -- did I mention this kit has fought me every step? LOL) tried to pick a creative shape!

16317112552_b31bb8c382_b.jpg


16317118412_bd12d7232a_b.jpg


The big picture!
 
Thanks, Moon!

16488594936_11a9b798ac_b.jpg


I painted the windscreen to make it a little more defined, I like this a lot better. This one is basically done, I am tempted to do some decals on it, but I think that would be asking for trouble the way this one has gone. Everything Darren says about the Fujimi kit holds true, Its not a perfect kit by any stretch but I think most of the problems were the fault of the builder and not the model! :bandhead2:

I may do a few "finished shots" soon but in the mean time

15894407263_a685524cee_b.jpg


More to come!
 
Monogram F-14

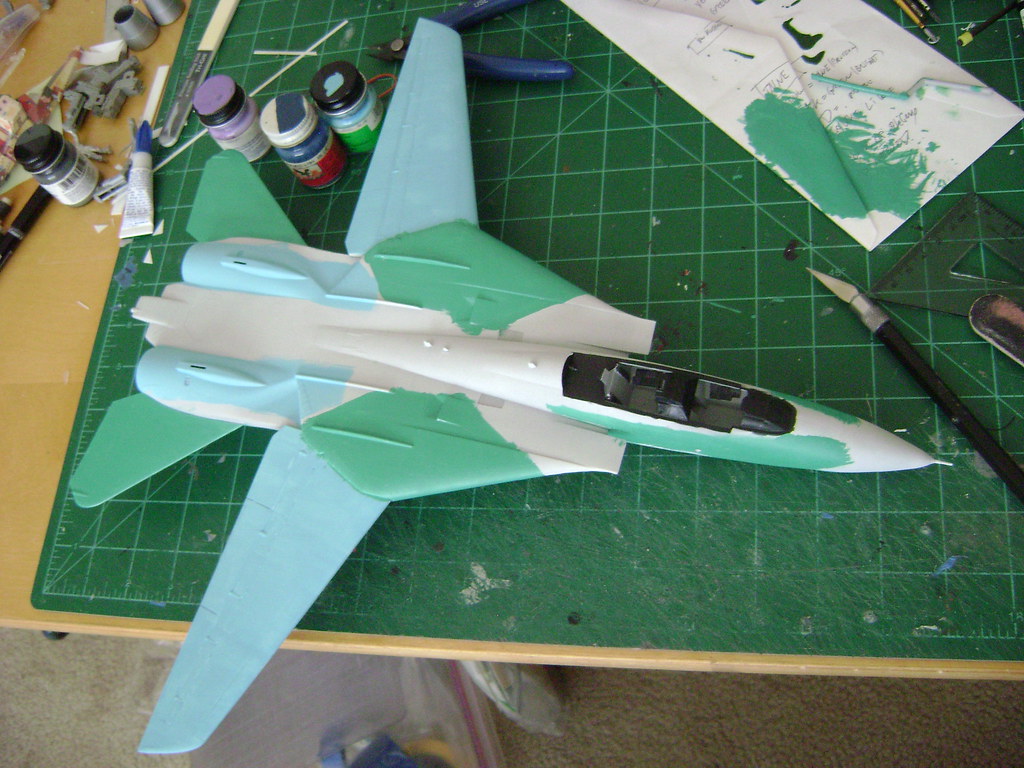
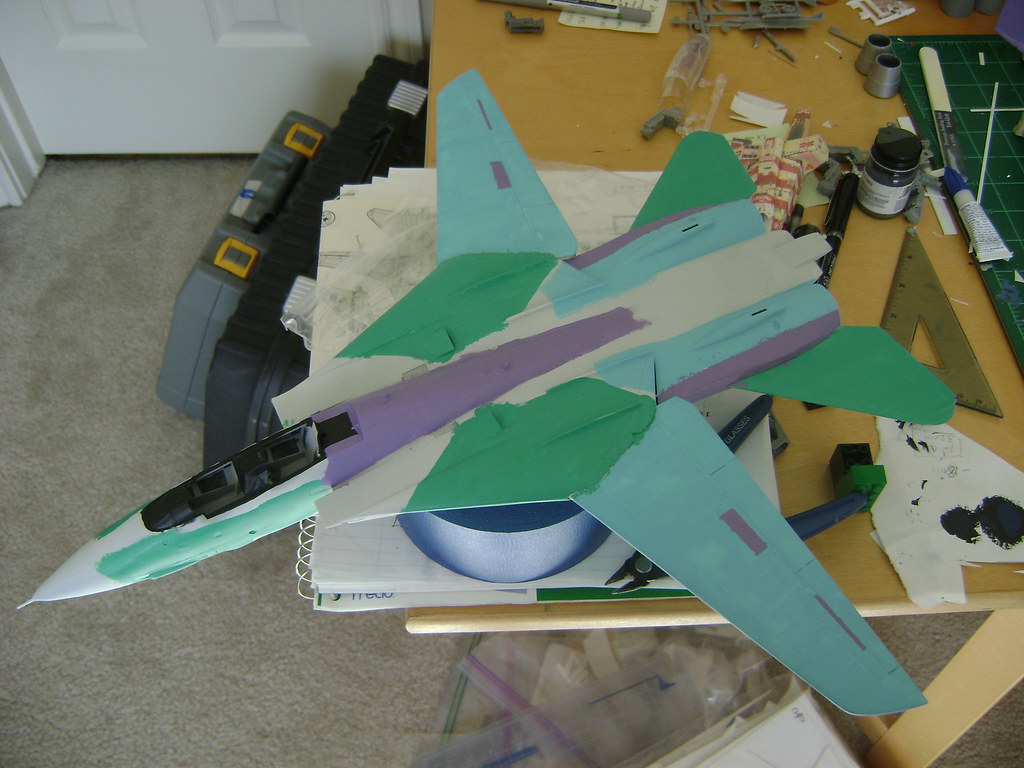
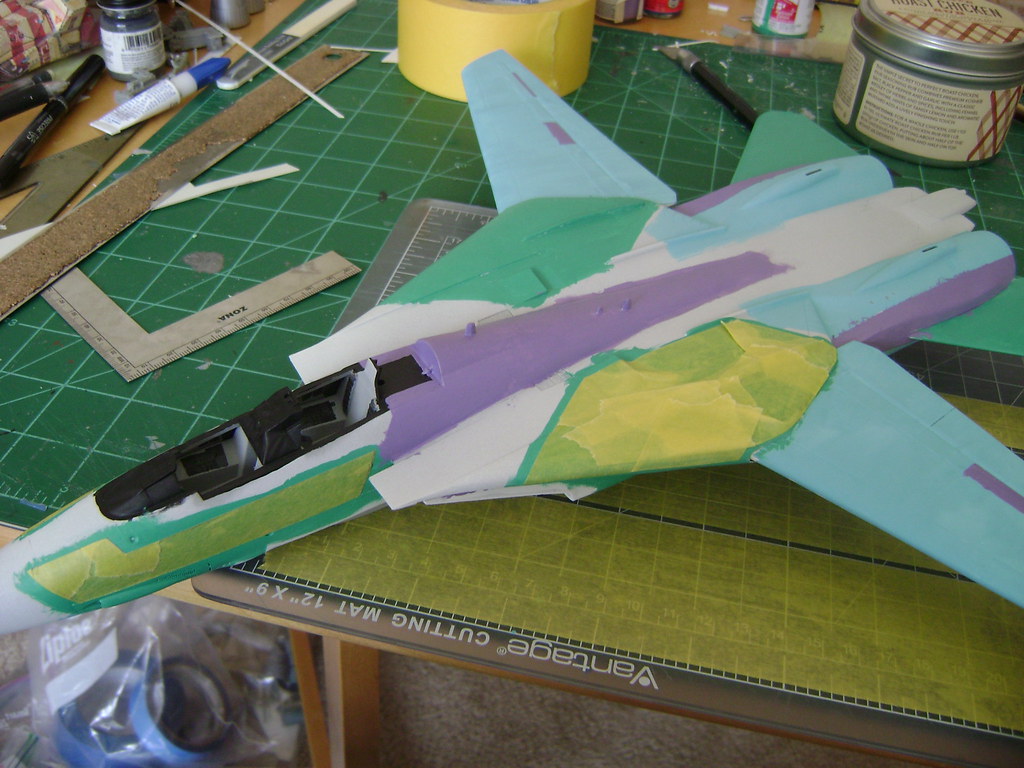
When this kit came out in the 1980’s, it was a quantum leap over any other Tomcat on the market. The detail was outstanding in an injection molded kit. This kit has been much-maligned in recent years, but comparing to modern moldings is unfair. This is one of my favorite kits, and I’ve built over 50 of them in my modeling years.

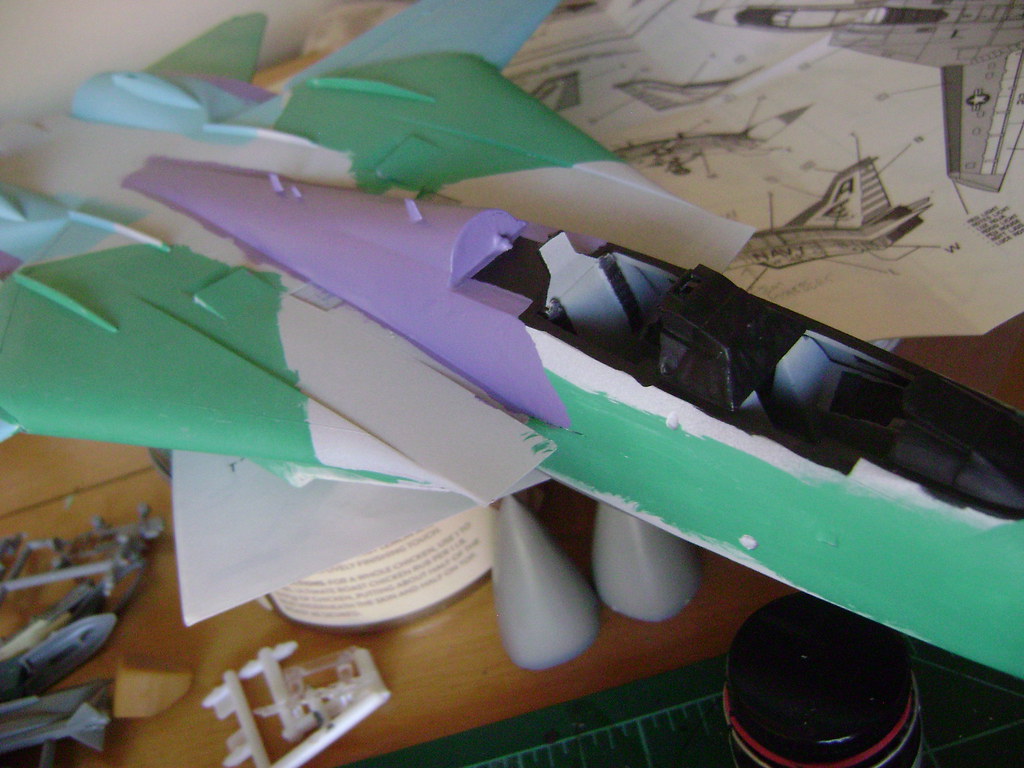
Cockpit (A-): The cockpit is extremely well executed. While not perfect, it stool looks great after some painting and dry-brushing. At the very least, it looks “busy”. The GRU-7 seats were better than any other kit seat on the market, and they still look decent even by today’s standards.

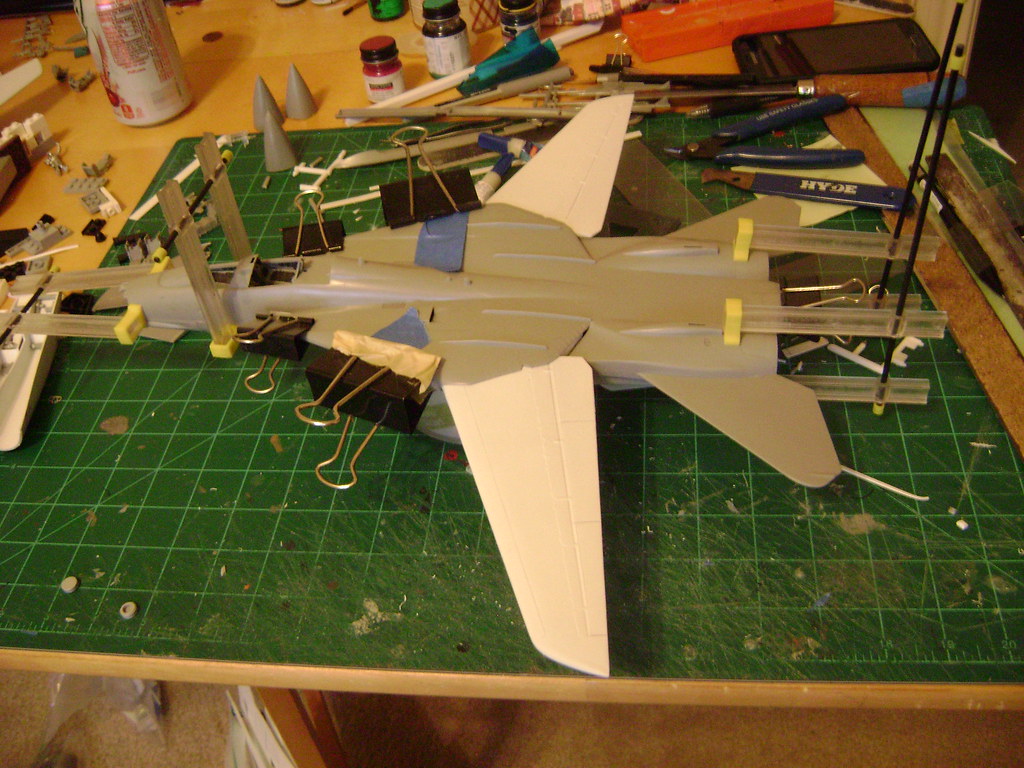
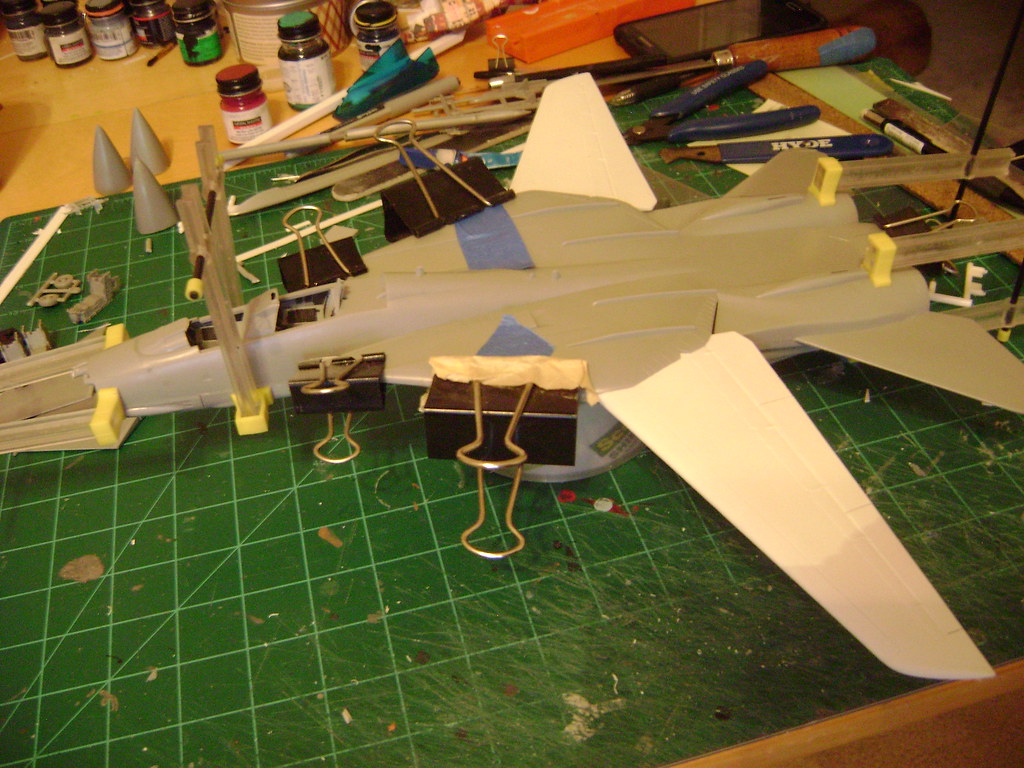
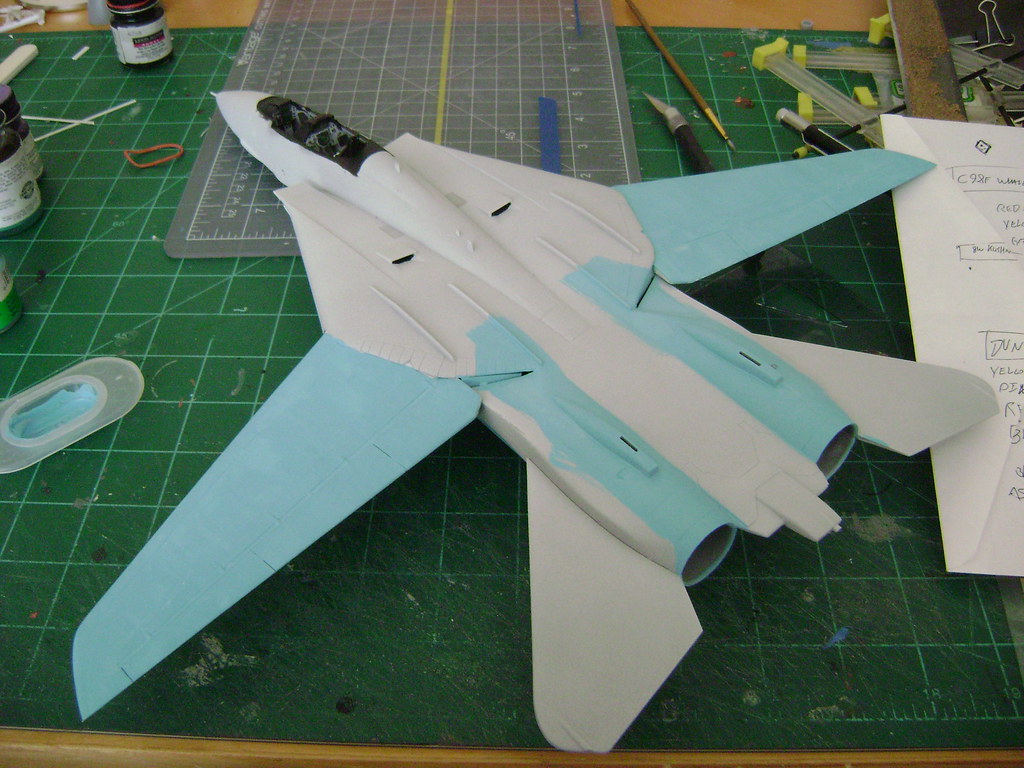
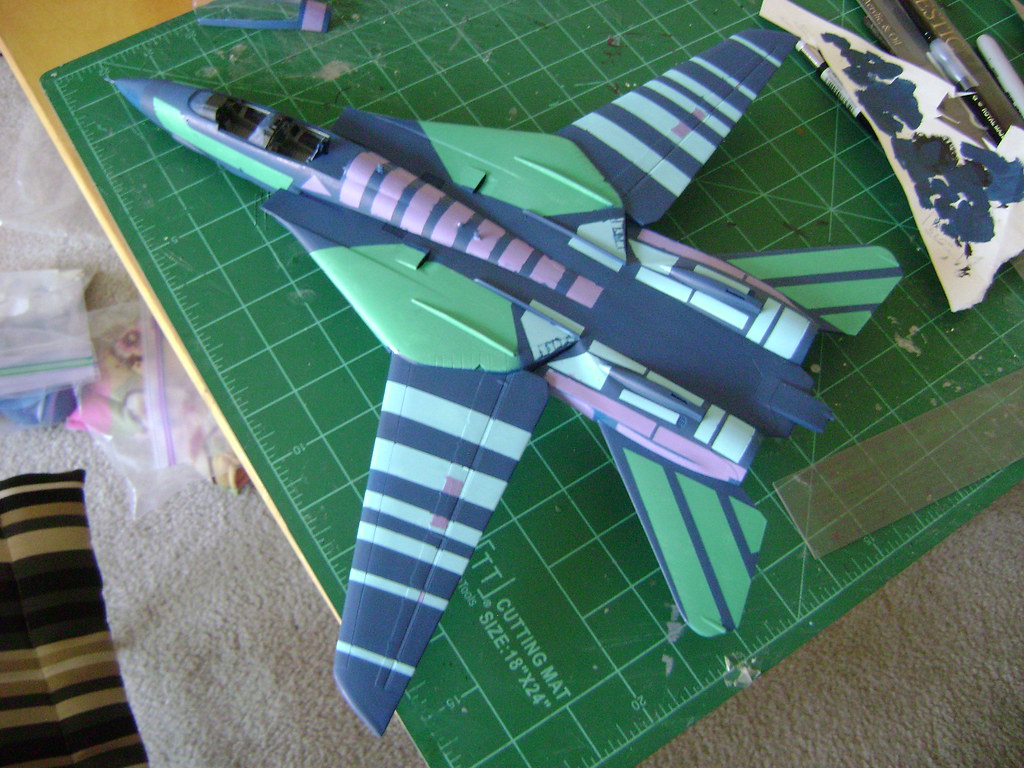
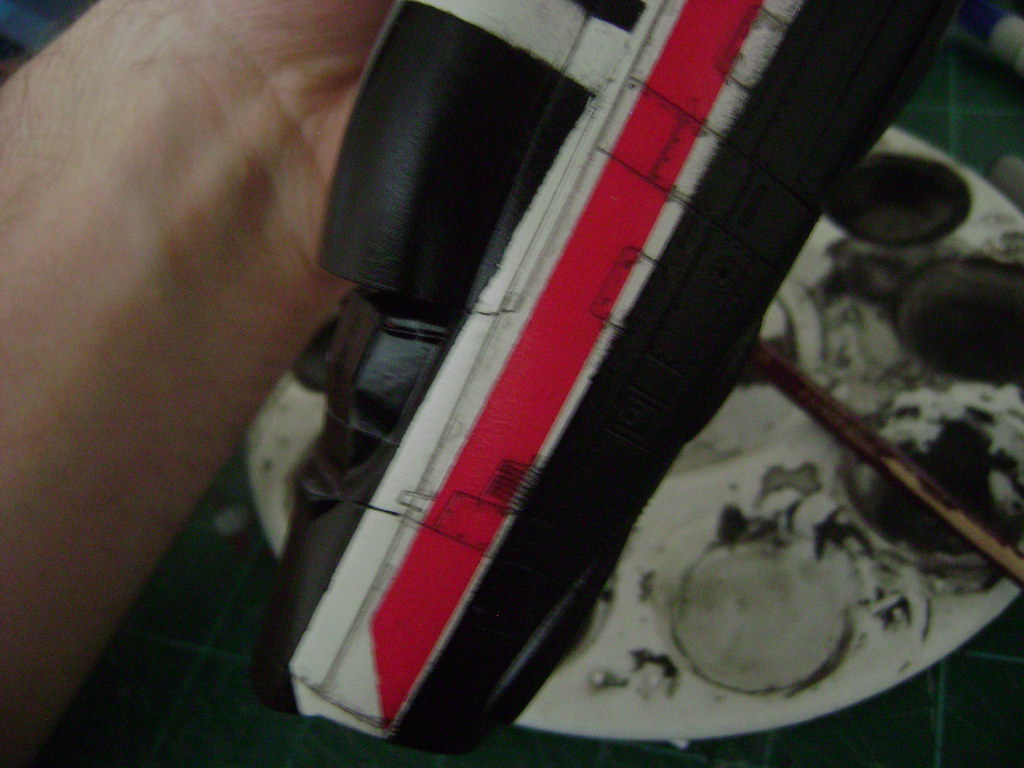
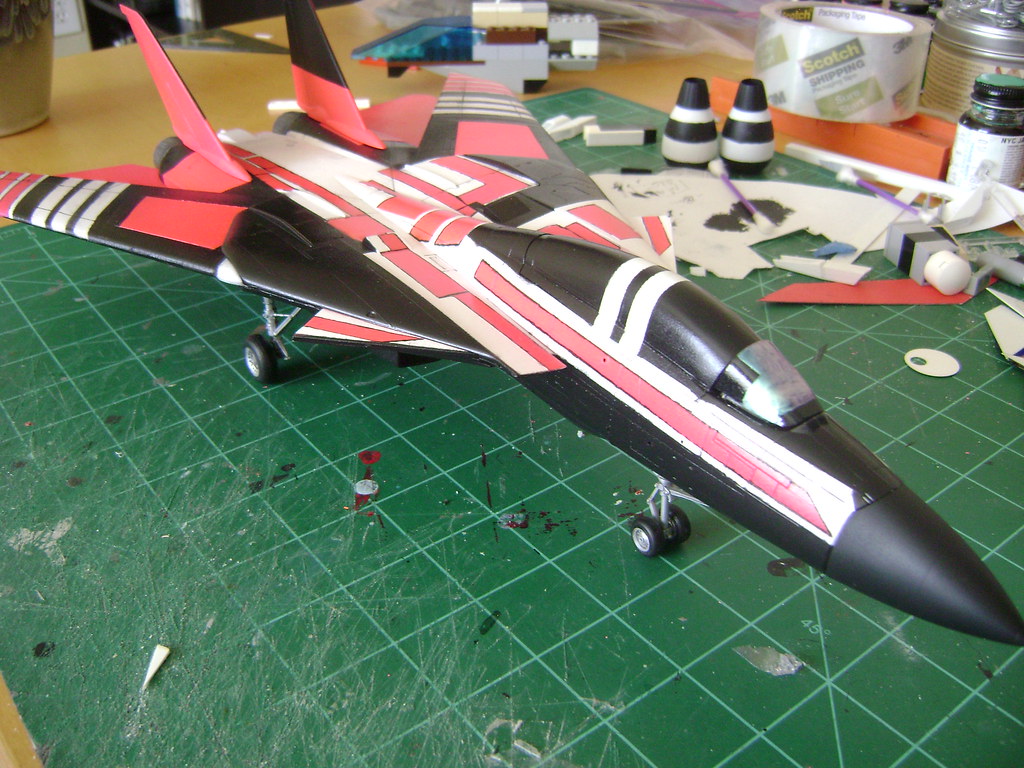
Shape (A-): The Monogram kit, like most from this company, captures the lines and look of the Tomcat very nicely. The nose on recent reissues has shown it’s age and taken on a Coke-bottle look, but 5 minutes with a sanding stick and it’s taken care of.

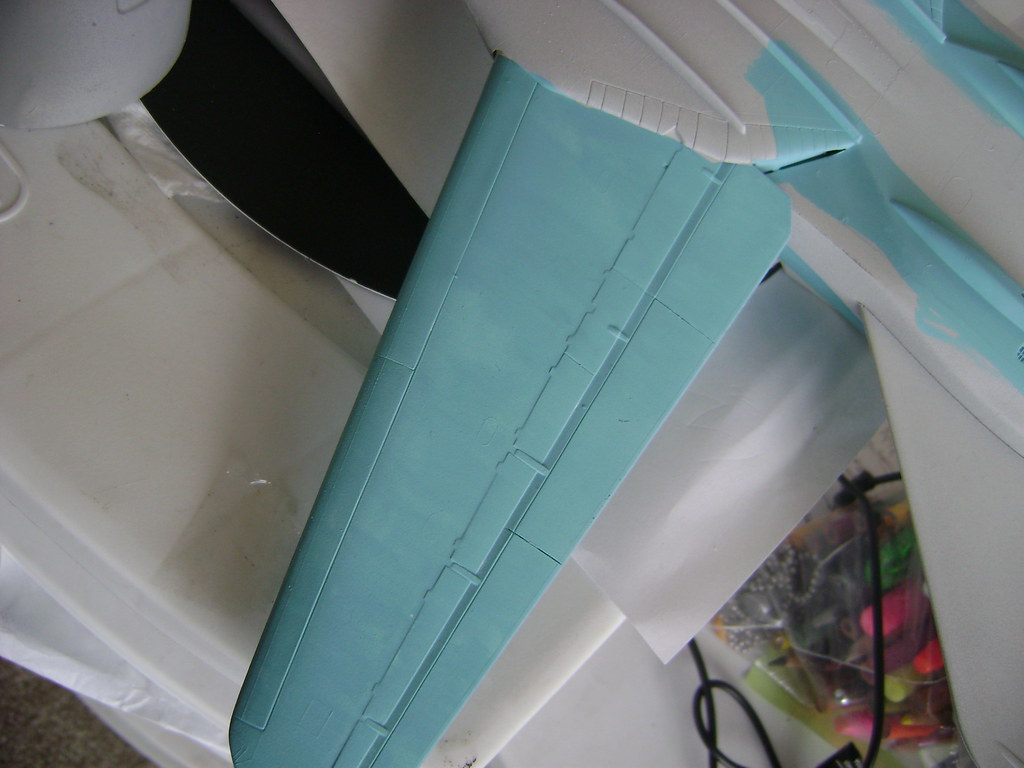
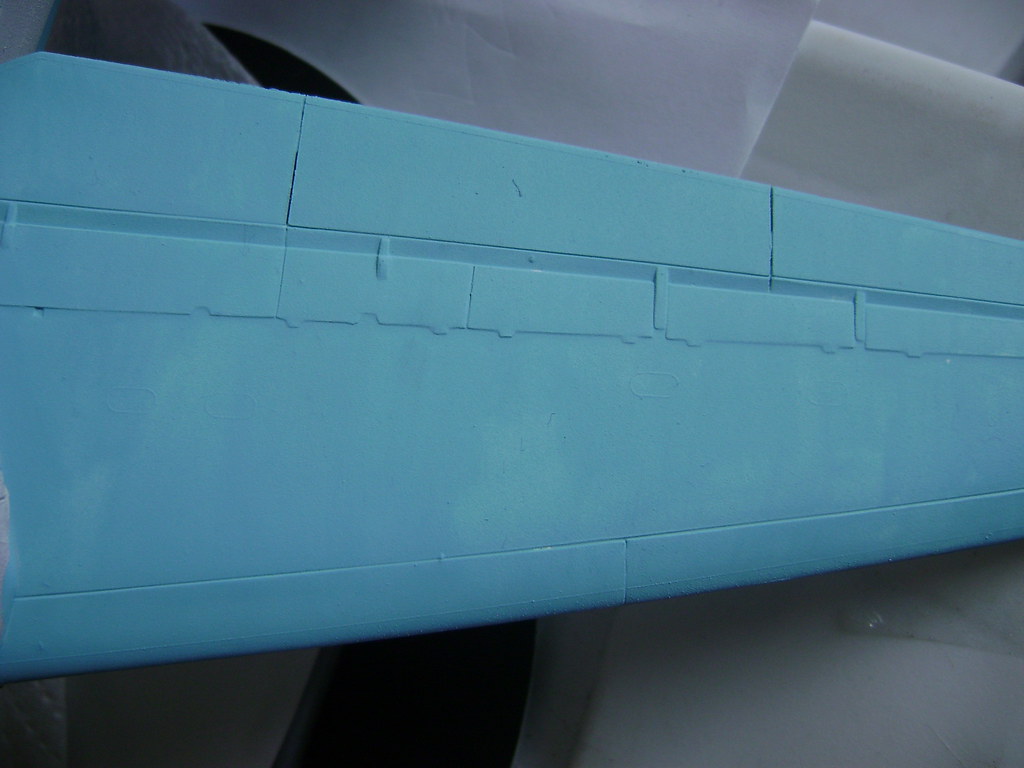
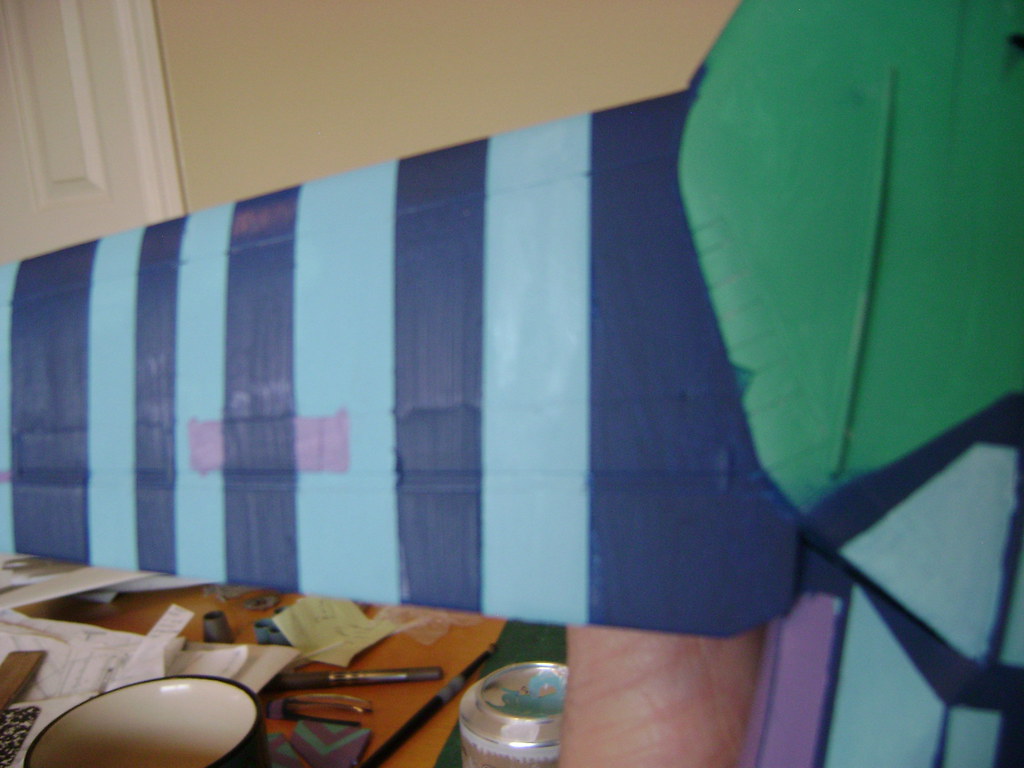
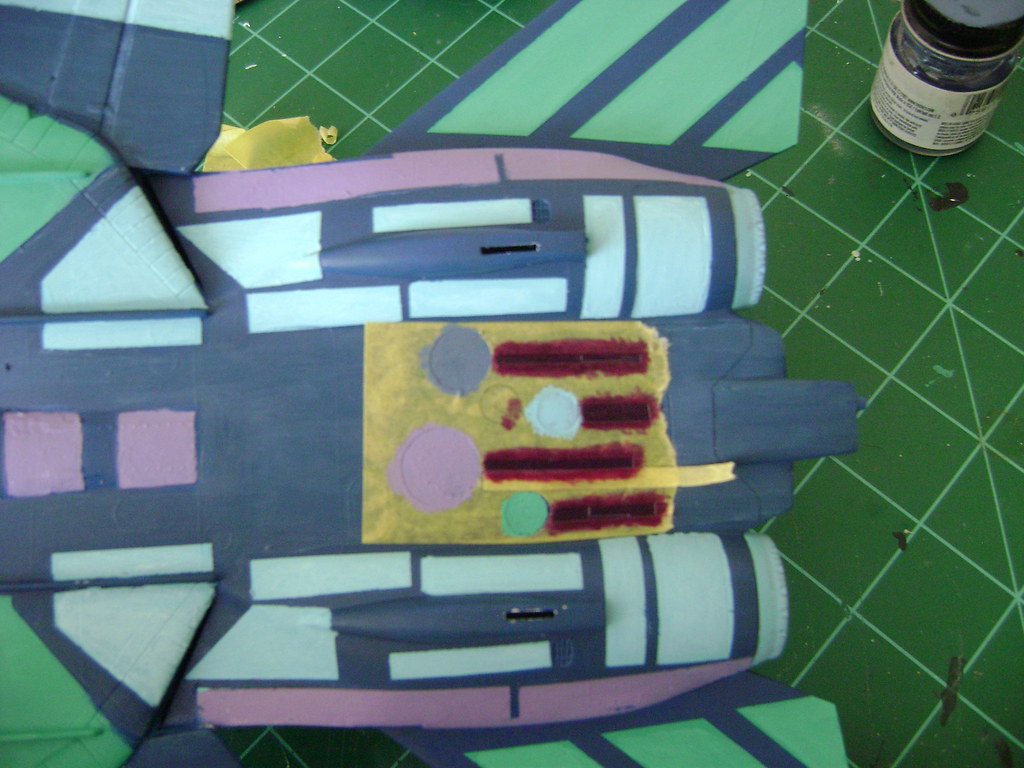
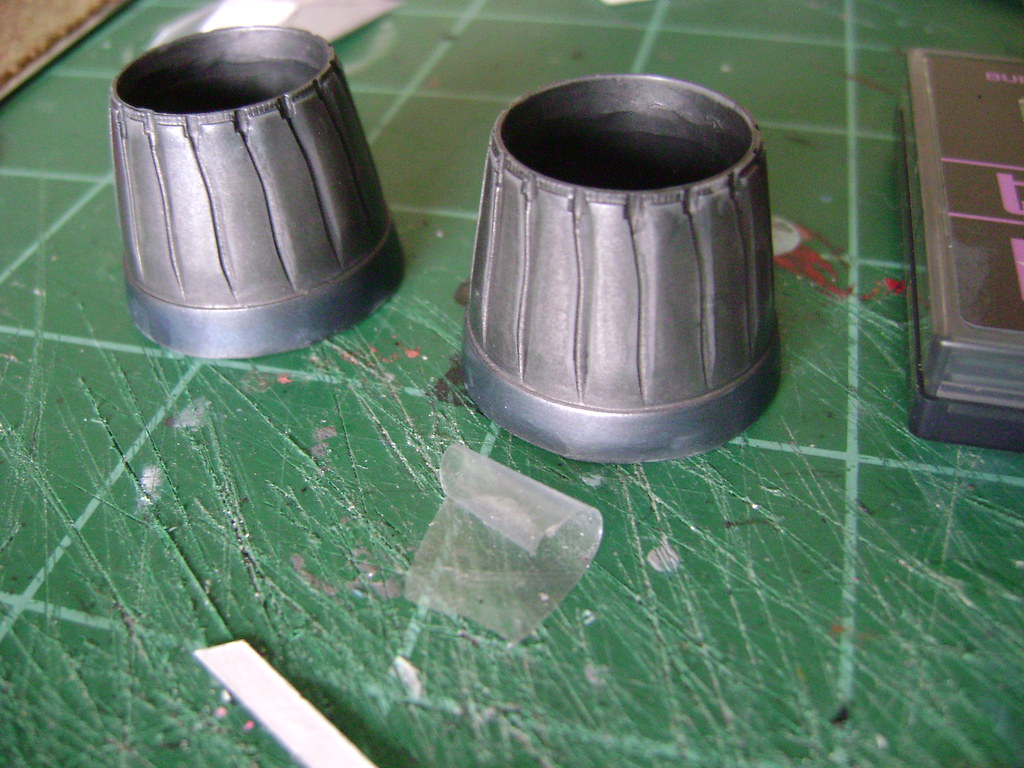
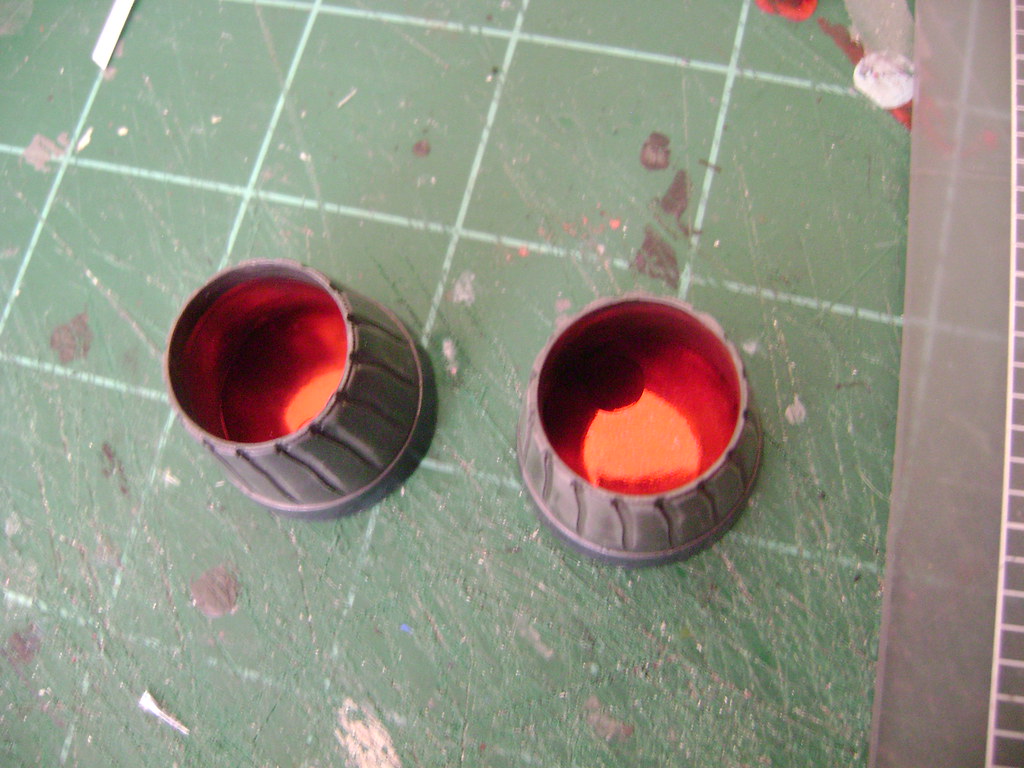
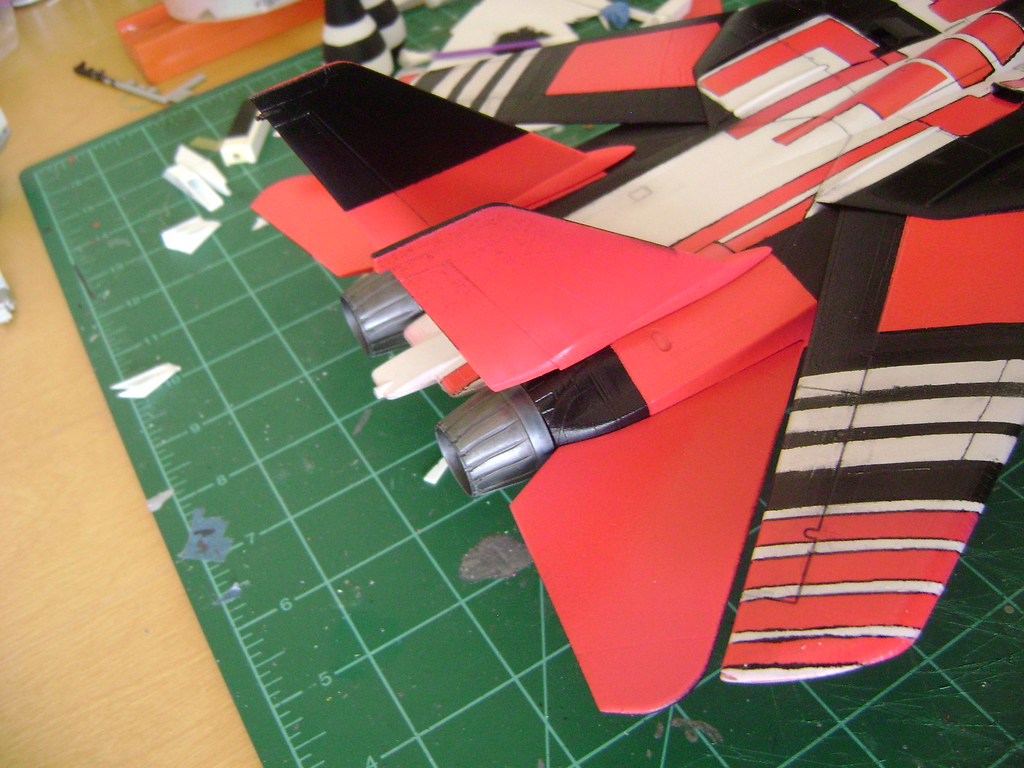
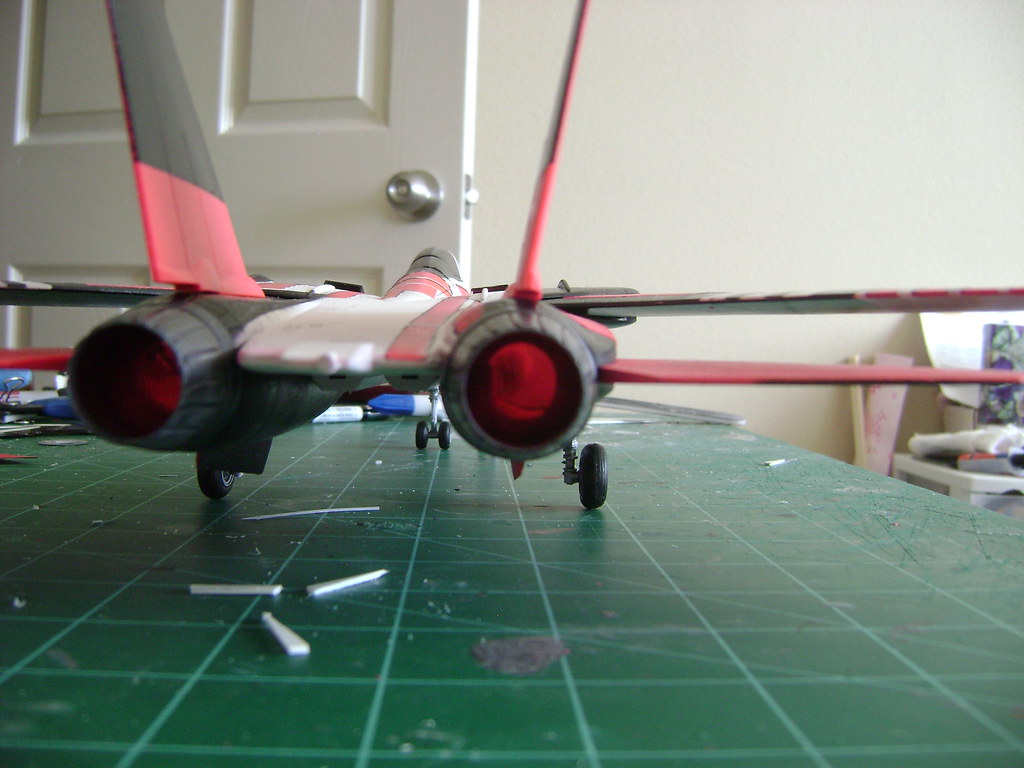
Surface Detail (B+): The raised lines are excellent and mostly correct. The nozzles are decent, although the burner cans are a bit shallow and narrow. The only thing that could make the surface detail better would be if the lines were engraved.

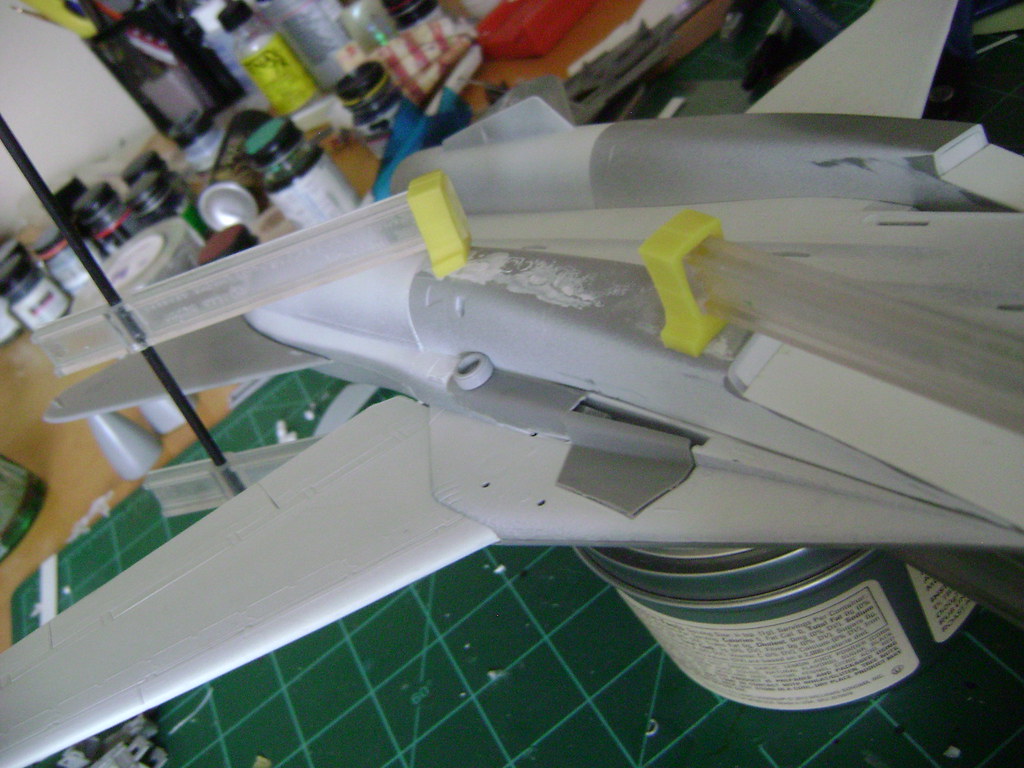
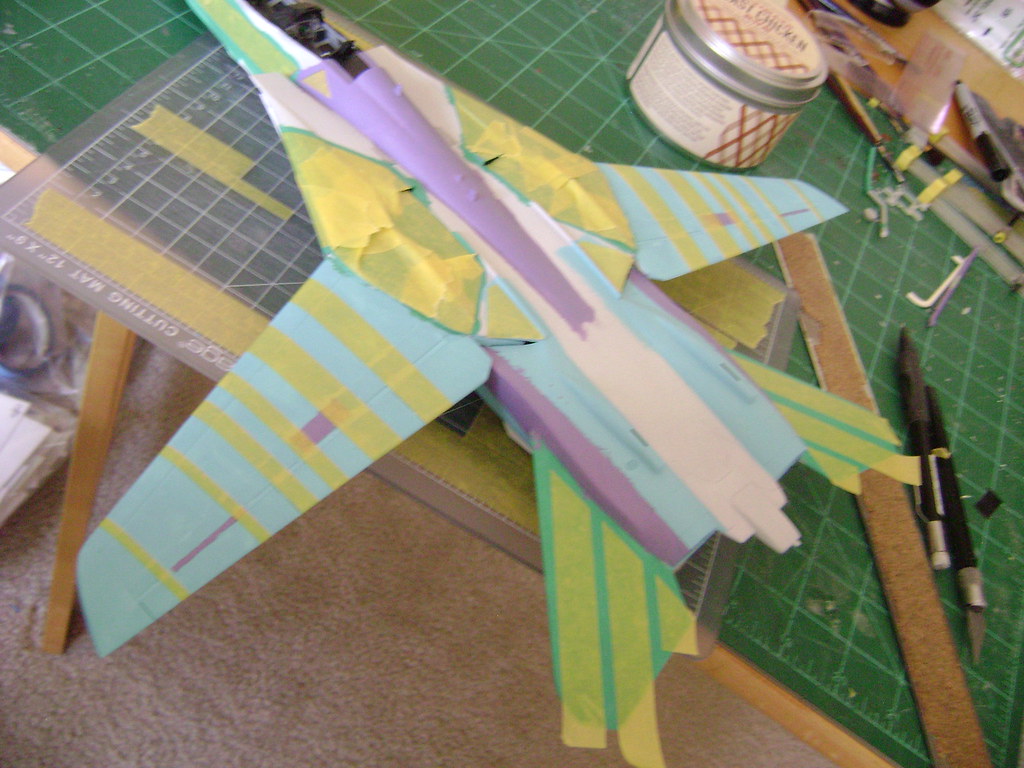
Fit (C): One thing Monogram is not known for is great fit. The Tomcat is no exception. The parts break-down leaves one scratching their head, wondering just what the kit designers were thinking. The intake/fuselage fit needs copious amounts of filler, and the engine tunnel/lower fuselage fit leaves a sizeable step, needing lots of filling and sanding. Some short-cuts can be taken that help these areas, though, and the fit is not insurmountable.

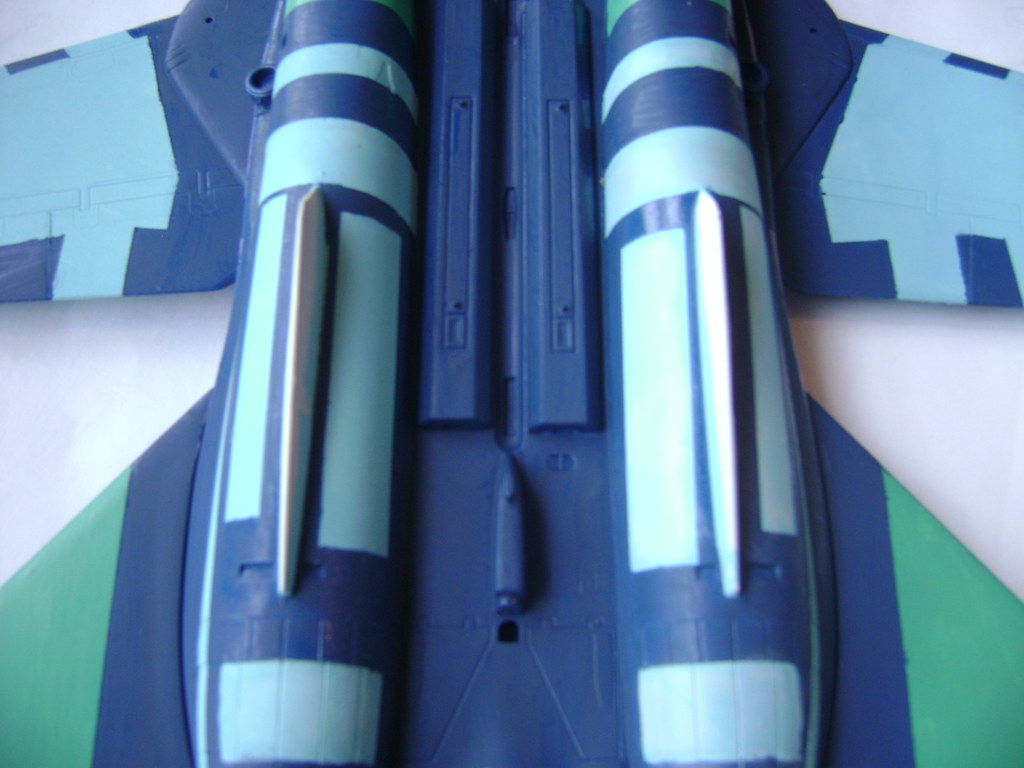
Ordnance (A-): This kit contains some of the best, if not the best, AIM-9’s on the market. They are outstanding. The AIM-7’s are attached to the pylon, which makes painting hard. There are also no external fuel tanks. Overall it’s a very good set of ordnance.

Pros: Great detail, low price, outstanding ordnance.

Cons: No fuel tanks, wheels aren’t correct, no ECM blisters for Block 135, fit is tough.

Overall Score: 7.5/10

From Darren's review

http://www.finescale.com/~/media/import/files/pdf/1/5/a/fsm-tc1106.pdf

Here is the PDF by the same author with excellent build tips that I incorporated (for the most part) entirely in construction

I originally wanted to go from "worst to first" and that worked for the first two Tomcats in this thread. But I hit a snag. I have the Italeri Kit, but I don't really have a plan for it yet. I don't possess the Academy Tomcat either (soon). So that meant it was time for Monogram (Now Revell, AKA "revellogram") Tomcat.

The other reason I skipped ahead is I wanted to do a certain style on this that would mean brush painting. Having built a few Revellogram Tomcats before, I knew that a lot of the sanding was going to demolish surface detail forward of the intakes. So I decided that hand painting this one would be best as big globs of paint couldn't eliminate fine surface detail! So the scheme is stylized. I want it to look like a painting specifically like the Star Wars Clone Wars series on CN:

BTL-B_Y-wing_fighter.jpg


AhsokaR2Ywing.jpg


The idea on the show is it looks like the Original Star Wars concept art paintings from way back in the 1970s by Ralph McQuarrie.

Lastly I have a few unfinished Revellogram Tomcats and I was able to "Frankenstein" 3 of them in various states of construction to create one and get started faster: That still meant lots of clamping and cursing


16328708797_d74f6c6403_b.jpg


16327156390_d1c4d07937_b.jpg


16488614606_f3ba7f0eb7_b.jpg


16488617776_1e2228a641_b.jpg


Affixing intakes (blanked with Sheet Styrene)

16488620226_7869e6f81b_b.jpg


And a primer Coat and we are ready for paint!
 
Neat work, nice job hobbling everything together. I'm interested in those clamps you're using. What are they?
 
Neat work, nice job hobbling everything together. I'm interested in those clamps you're using. What are they?

They are made by Zona and are called Berna Clamps. They can be a bit finicky but once they are in the right spot they are really solid. :D

Thanks for the Comments guys
 
[quote name='falcon20driver' timestamp='1424567455' post='2691232']
Awesome work!
[/quote]

Thanks!

Update!

(be warned there are a lot of images)

16570725212_86cbe07951_b.jpg


16570732262_7e14c06057_b.jpg


16570742912_79e6e8b3ed_b.jpg


USSR underside blue was the first color on. Remember, streaks and noticeable brush strokes in this case are a great thing!

15949307744_4961159dc3_b.jpg


16385587469_f9528f9e42_b.jpg


NYC Jade Green on

15951679233_ac19d1318e_b.jpg


15949326564_6b64f422e3_b.jpg


Napelonic Purple.

Now if at this point, you are looking at this and thinking "How do I tell him that looks terrible?" You are not the only one with those thoughts. I don't think I can recall a time when I did this much painting, took a step back and thought "That just looks awful" Its streaky, there are no straight lines, whole sections look missed, and overall it looks like a 5 year old did it! Normally when I build it takes me forever to make up my mind, but when its made the path is clear. I don't normally have second thoughts, but this is looking like a disaster.

:sick:
 
I sat down and started masking. I knew there was going to be a lot of it. What I didn't know was how to go about the next step. The tricky thing about brush painting (for me at least) is its not very friendly to masks. In my mind its like asking for paint to run under, and when it does it can really do a number depending on just how far it seeps under the mask. I knew I wanted the color to be Prussian Blue, but I knew I couldn't hand paint it, and I don't have an airbrush its been packed in anticipation of a move. It was going to have to be a rattle bomb. But what color? It was going to have to be darker for this method to work but the only blues I had were lighter than the Prussian blue I planned to use, so that meant black. Luckily after I masked it and checking the array of rattle bomb for a 3rd time I found a Dark Blue... but little did I know

16419128470_67b2c5d6d5_b.jpg


16604990931_3a9df720db_b.jpg


All told it was about 3-4 hours of masking for the whole model. Spray cans have terrible over spray so you have to be super thorough. I took a few breaks to stretch here and there. Considering how well my last masking project went I was getting tense.

I try to waste no time between masking and painting, and as I descended to the paint booth/garage I could actually feel my anxiety rising, and that does not usually happen to me.

vuRjkFP.gif


I started to spray the dark blue and in all my years of spray painting Ive never had a "runaway" can, but this one did. I took my finger off and it kept spraying! I pulled the nozzle off to stop it. My plan of course was multiple slow build coats, but now the can was spraying all or none. I kept with it, gave it time flipped it over and then did the other side. It was going to be a while before I knew how the masks had worked. The plan was to give it a coupld days to ensure the paint dried, then start stippling and brushing (almost dry brushing) the Prussian blue over it, and then removing all the masks. If I check before brushing it would mean I would have to remask to hand brush the Prussian Blue. So once again I had to do another step before I would know if it was even worth it.

16604997171_a6513cf76d_b.jpg


Finally after another hour of brush painting the moment of truth and I removed the masks:

15983984204_d792131505_b.jpg


16605539642_f1afd7791a_b.jpg


16606165935_a1ef886815_b.jpg


16606168745_d4e090d361_b.jpg


Anchorman.gif


Not perfect, but very very good. Here are some of the places it didn't go so great:

16605548682_7961979a81_b.jpg


15984002264_fa9a18d78b_b.jpg


Overall though, i think it looks excellent. It doesn't look like a 5 year old did it now! Better yet, the touch ups in this case don't have to be perfect, or seamless --in fact they only add to the style (not that I'm a huge fan of touch ups.)

:captain
 
16905764321_4ddcfcac06_b.jpg


16699446657_02452b2078_b.jpg


I did the top and the bottom of the model differently. On the bottom I put a small spot White Oil paint spot and then blended it into clouds. You can see this best in the picture above, the Nacelle at the top of the photo has been done, the one closer to the bottom is the "before"

16284410564_d409e6f2e1_b.jpg


A look at the Top of the wing. I took oil paint and mixed it with the original color. The Goal is a finish that looks like an oil painting.

16905790931_a8f8330ffb_b.jpg


contrasting before and after. The left side has the Lt Blue+ white oil paint applied, the left does not (Kind of hard to show this in pictures!) Much easier to see on the Tailfins:

16905747011_c4a11cd420_b.jpg


16906810845_ccd0ec597b_b.jpg


16905813301_8ea05c8ee8_b.jpg


Hopefully this shows it better (I need a newer, better Camera!)

16905817001_dd66feedee_b.jpg


Mask, paint, repeat. doing this with brush painting, so I don't have to mask nearly as much.

16905628652_74d46f4f1c_b.jpg


I added a small piece of blue confetti that reflects. I also sanded off all the framing on the Windscreen. Its just one solid piece now. You can also see the landing gear fitted. painted Euro I Dark Grey, with the bright blue hubs. Getting closer to the Finish line, and just in time!!
 
16309959193_acd6b5ef5f_b.jpg


16722675017_720dea6489_b.jpg


16928713852_e0471ffc89_b.jpg


Masking a sci-fi symbol. Planets in motion? Well 3 out of 4 anyway! The paint peeled off with the mask on one of them. But I am still happy with it.
 
Back
Top