• Modelers Alliance has updated the forum software on our website. We have migrated all post, content and user accounts but we could not migrate the passwords.
    This requires that you manually reset your password.
    Please click here, http://modelersalliance.org/forums/login to go to logon page and use the "Forgot your Password" option.

TTomcat's Tomcats

I'm not the first guy to tackle the many 1/48 Tomcats. Darren Roberts put together a handy guide (he even gave them grades!! You can tell he is a teacher :)/>

http://www.aircraftresourcecenter.com/Gal10/9301-9400/gal9392-F-14-Roberts/00.shtm

And Paul did a comparison build as well, you can find it here.

http://www.arcforums.com/forums/air/index.php?showtopic=142212&st=0&p=1276367&hl=tomcat%20project&fromsearch=1&#entry1276367

I have all the 1/48 scale Tomcats (except for the Academy, and new hobbyboss but that can be resolved later) And decided it was time to build them all, If only just to say I did it! So I had to come up with a plan first, how did I want to do this? I am a what-if/sci fi builder primarily, I tend to do models that take a long time and I can't remember the last time I finished an OOB build. Since Darren and Paul covered the comparisons, I really just want this to be a big series of in-progress builds, its not really about A vs B Vs C (they did a great job of that already). So I decided on a set of rules after my gray matter burned out.

^ It should be generally OOB. For speed purposes. trying to fix some of these kits would take way more time than they are worth!

^ The outer lines of the model should be preserved. so no adding new tail fins or anything. If the shadow was projected on a wall it would clearly be a good old fashioned Tomcat. Nothing different about the shape, silhouette will be consistent.

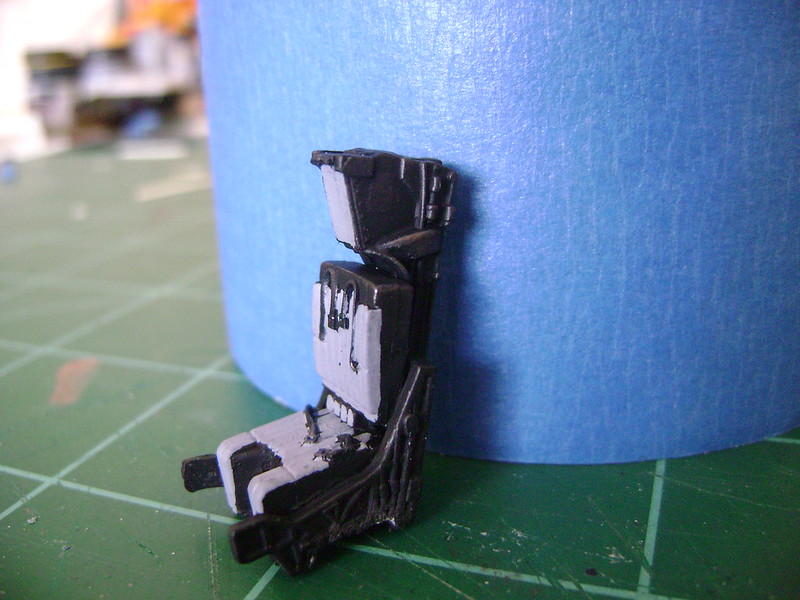
^ "5 minute fixes" are allowed. What is a 5 minute fix? Adding tape seatbelts or shaving down a landing gear tire to make it flat are excellent additions that are not major conversion work like rescribing lines, adding resin, or wiring. (If you can do that in five minutes however-- I salute you)

^ Replacement parts. For badly done parts, poorly shaped Phoenix pallets for example, replacements from another Tomcat kit that will help its shape are allowed. Basically Drop-in replacement.

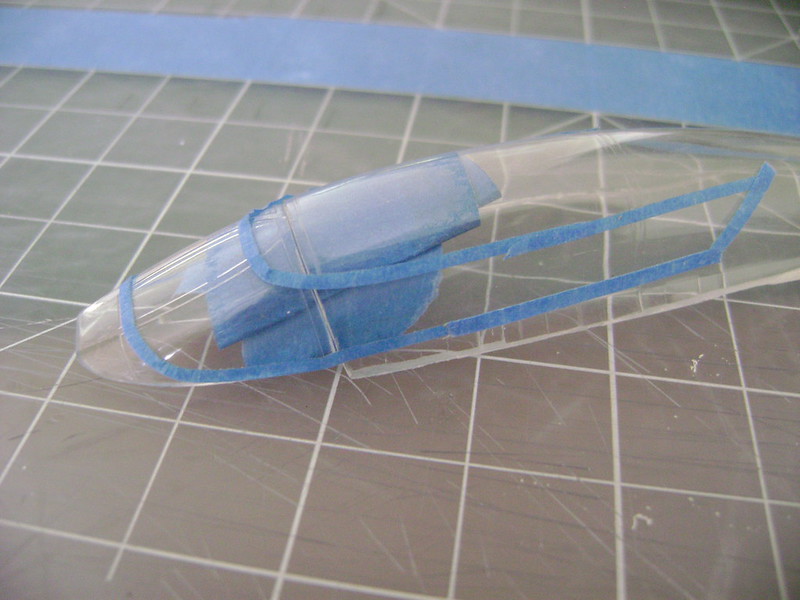
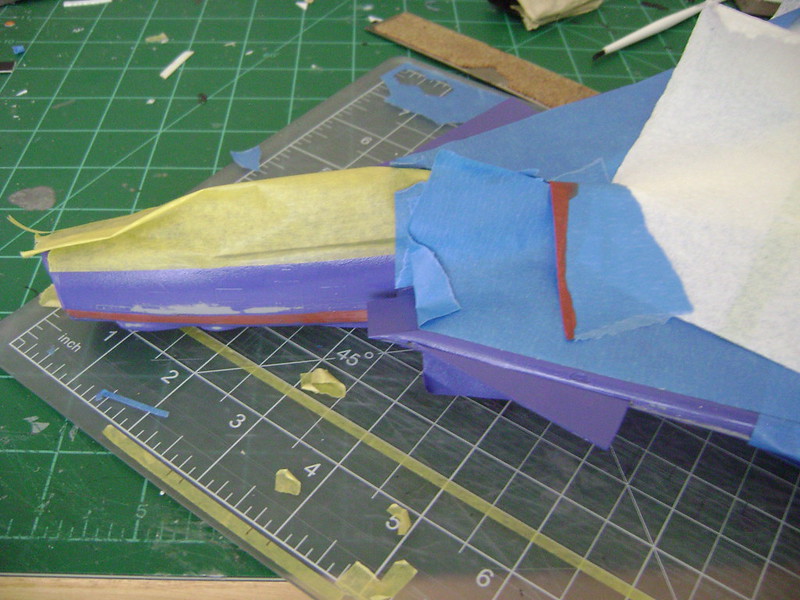
^The Tomcats should feature modeling skills I need to work on. Masking, adding texture, gloss coats, etc. I have made a to do list and hope to add little things here and there to improve my skills and experience.

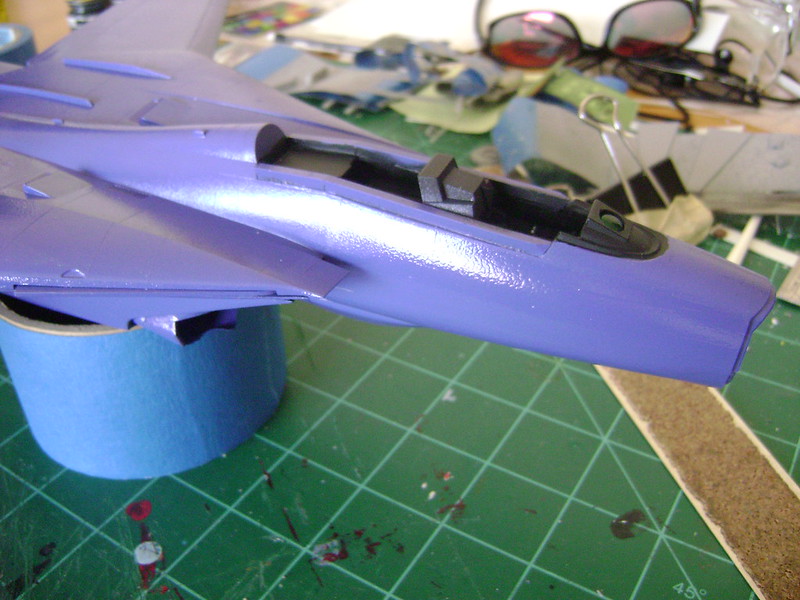
^Maintaining the original silhouette, and OOB nature does not mean conventional schemes :)


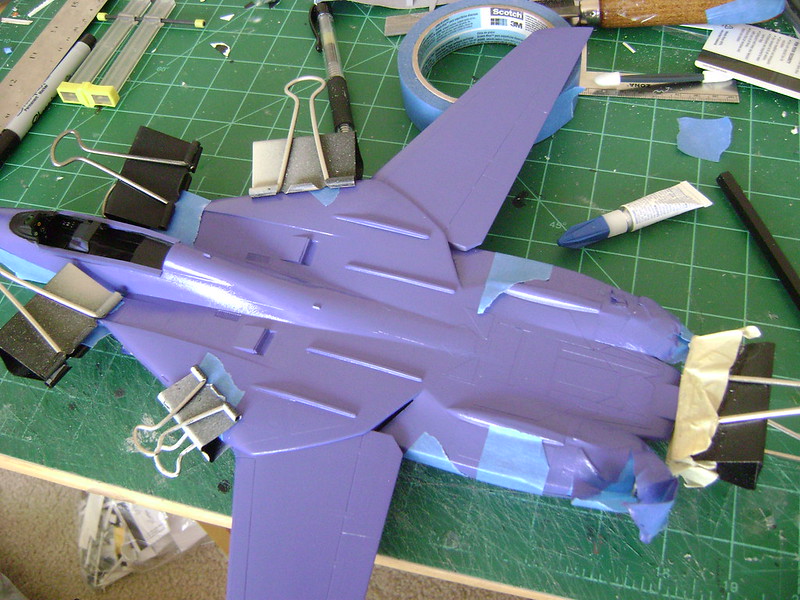
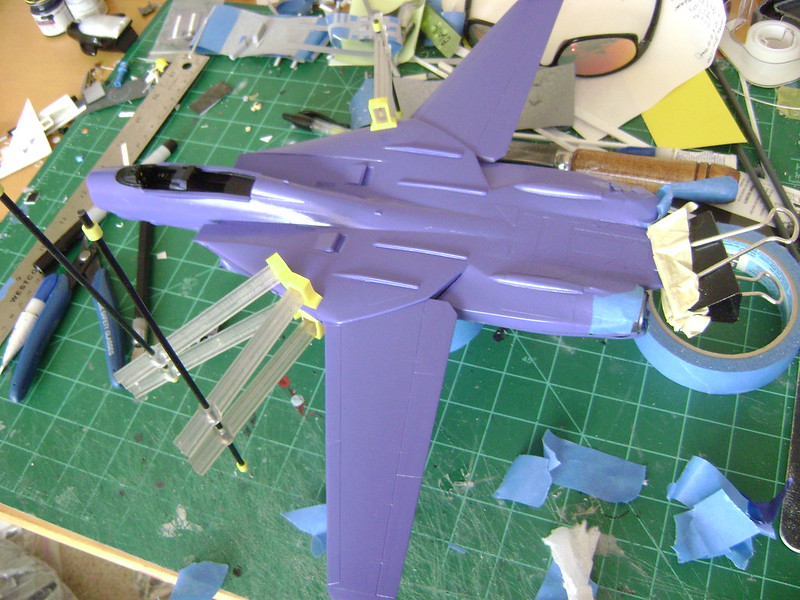
So starting with the worst!

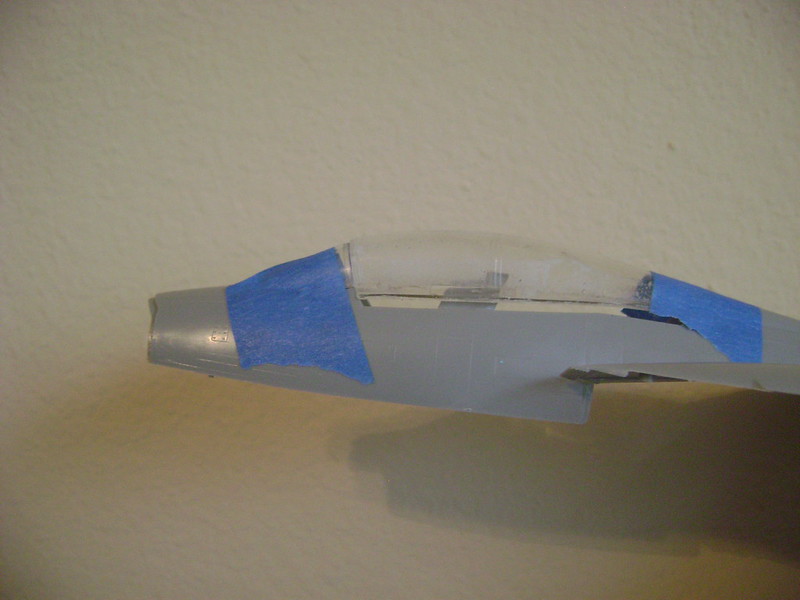
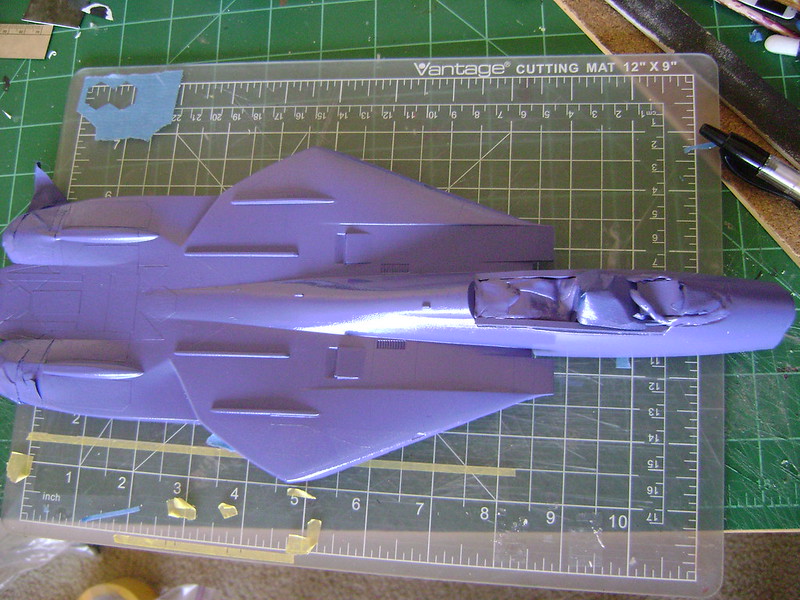
The original Revell kit:

11441110675_63e333b297_b.jpg


11441171426_fc3a89966b_c.jpg


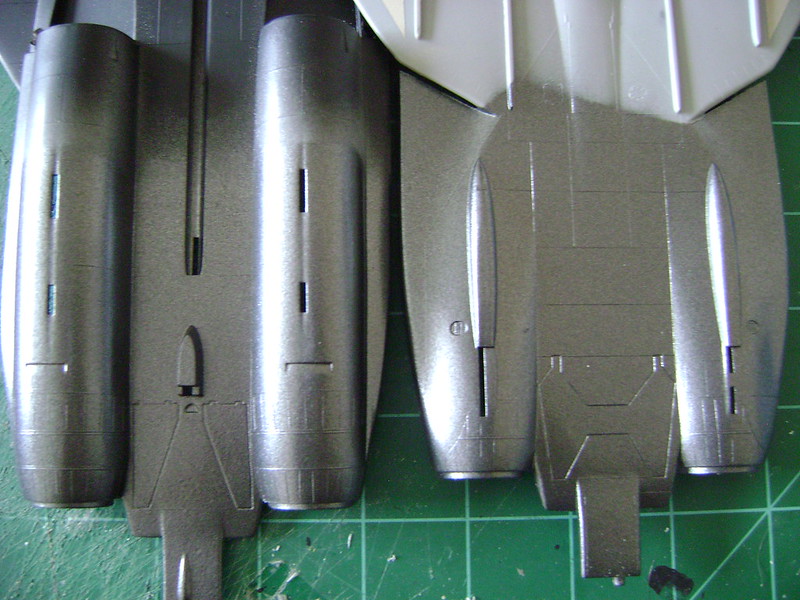
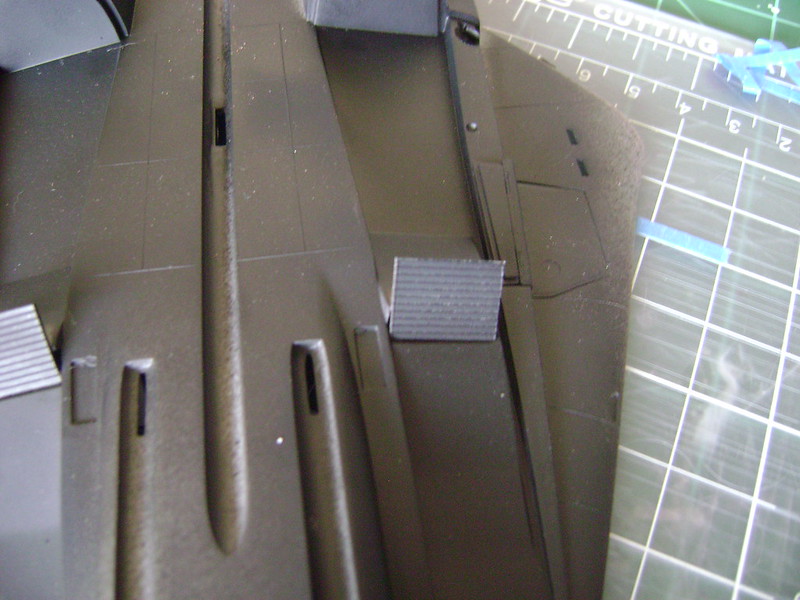
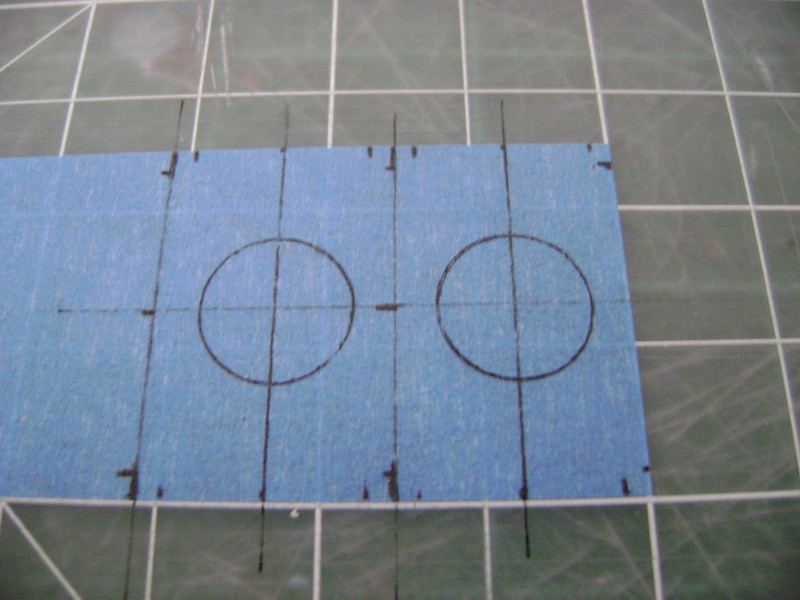
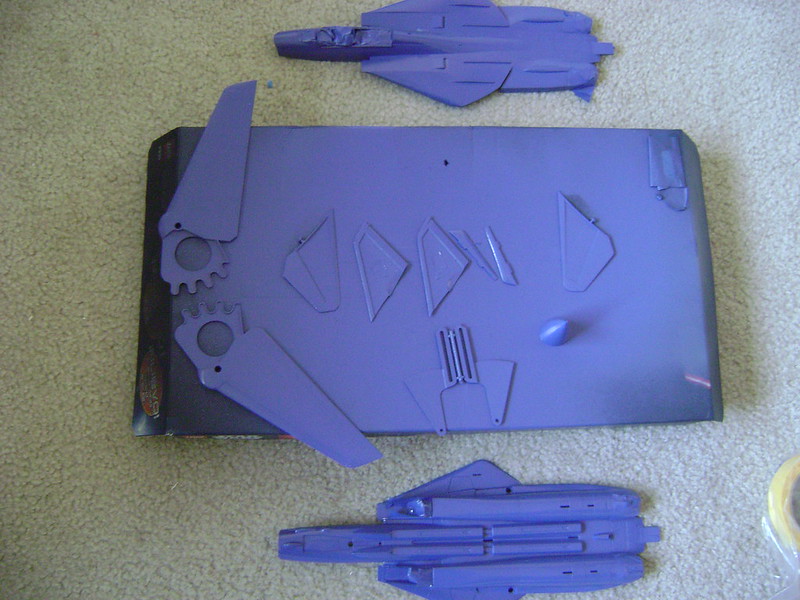
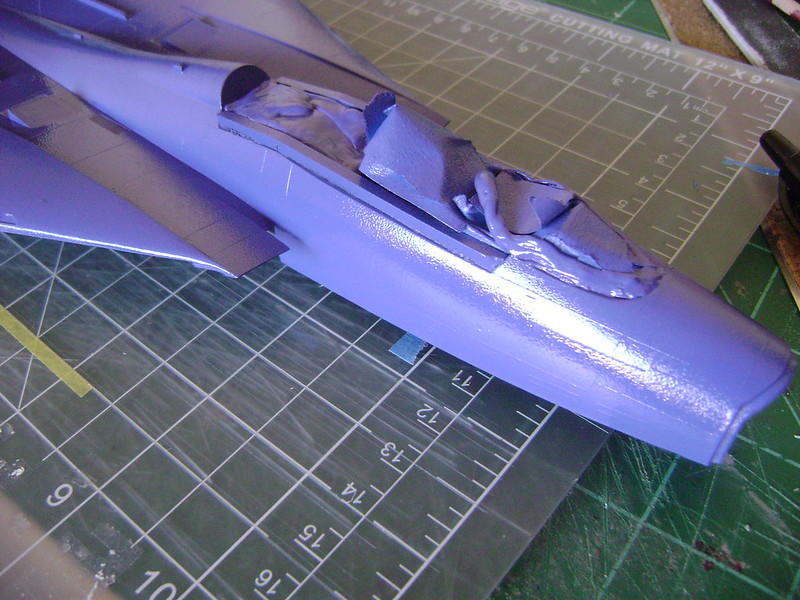
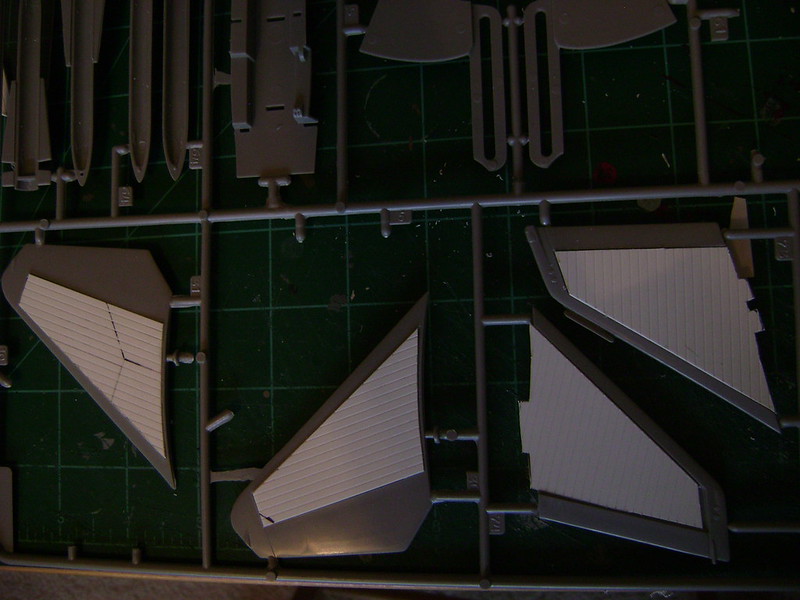
Some revell parts that are to be replaced by Revellogram Tomcat parts (tiny phoenix pallets are a no go)

11441042195_3b4e7d42af_c.jpg


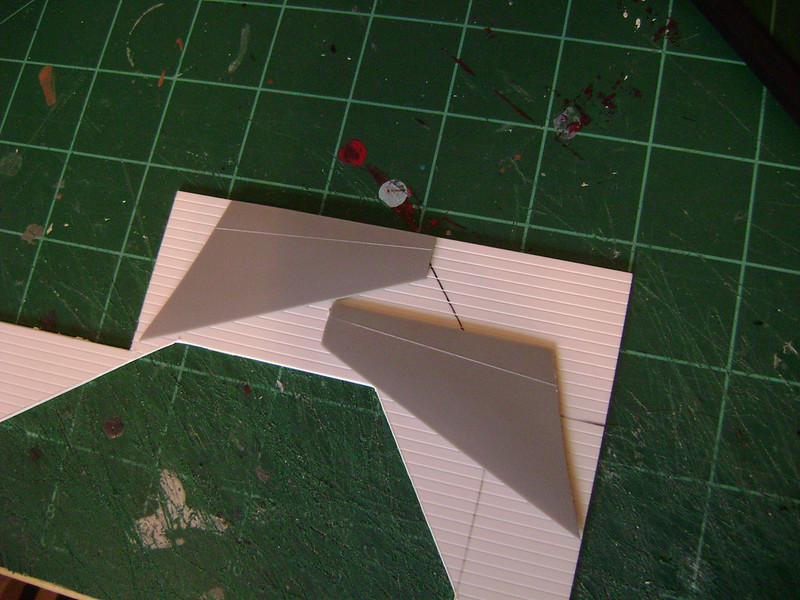
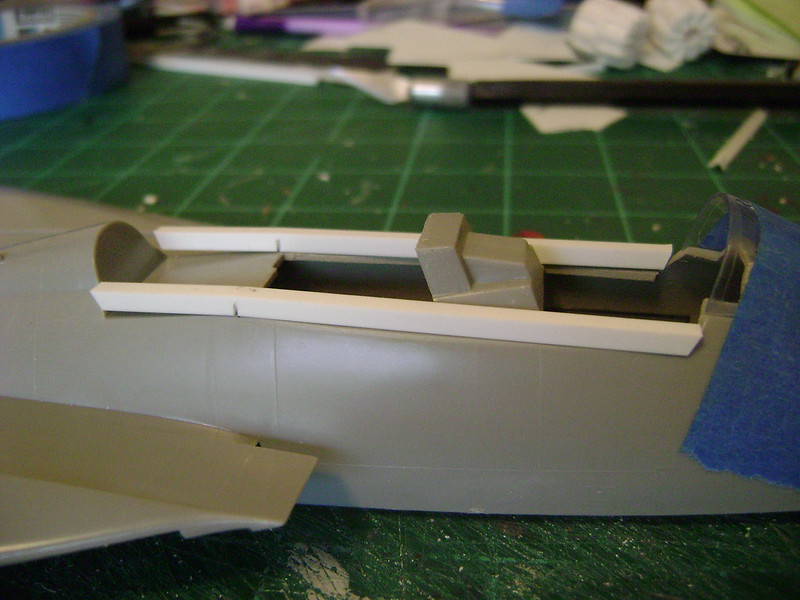
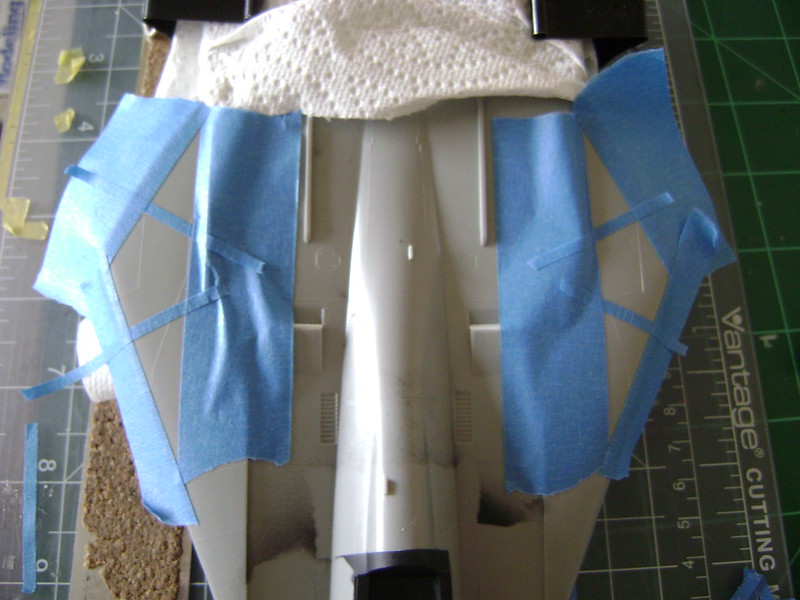
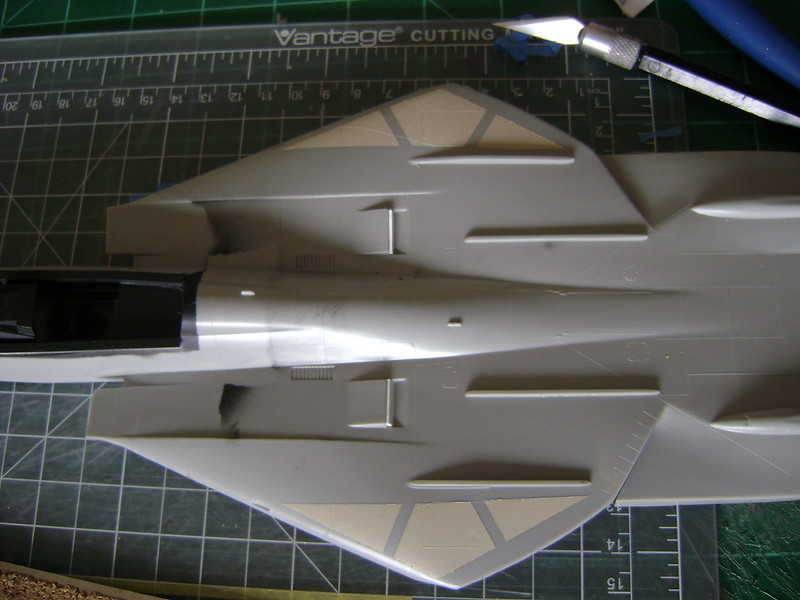
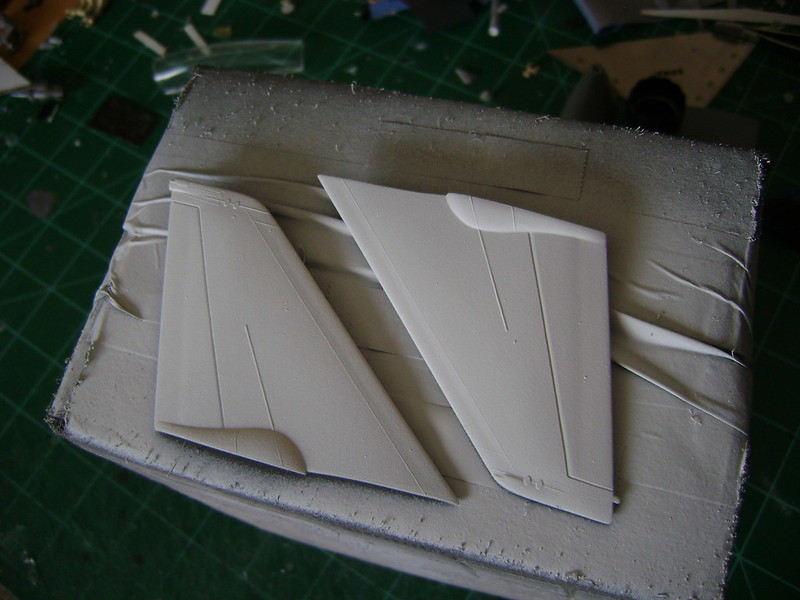
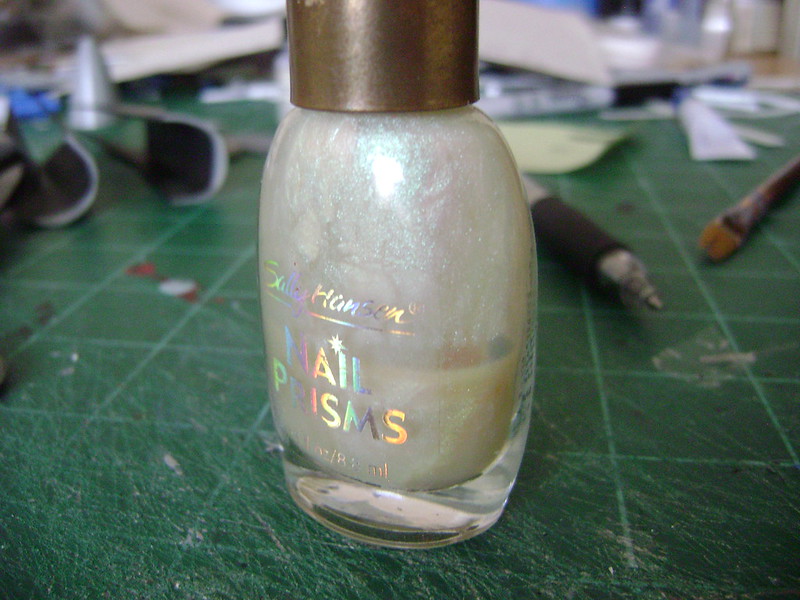
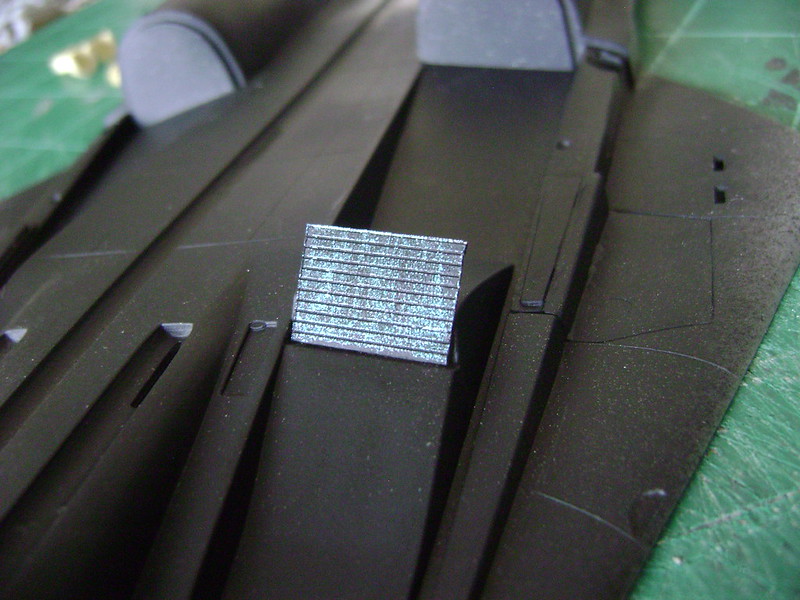
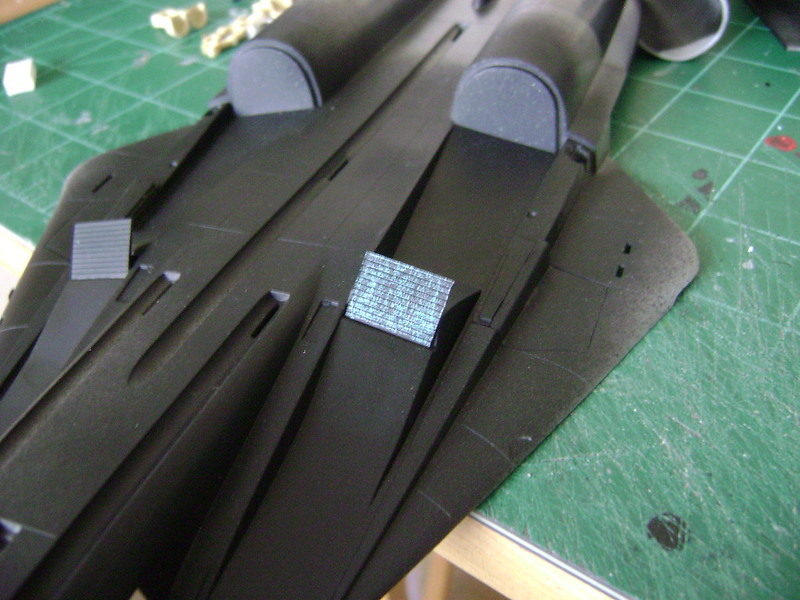
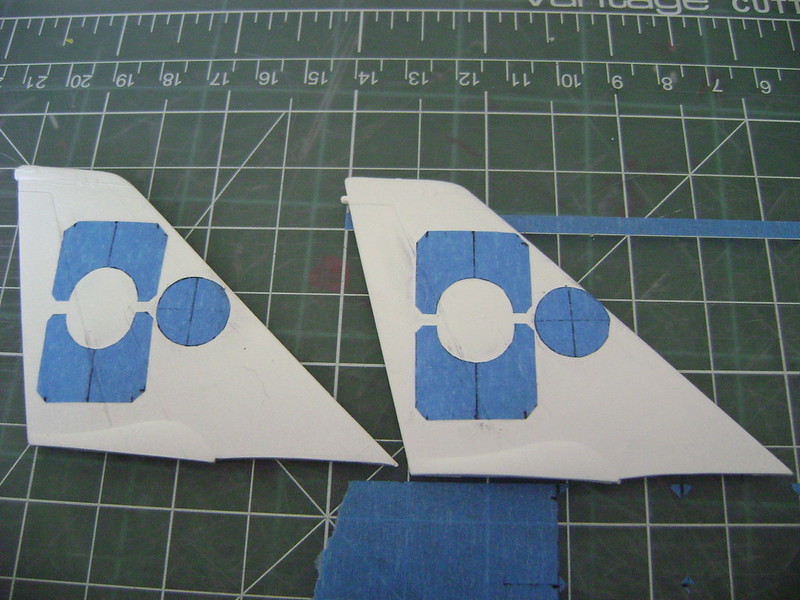
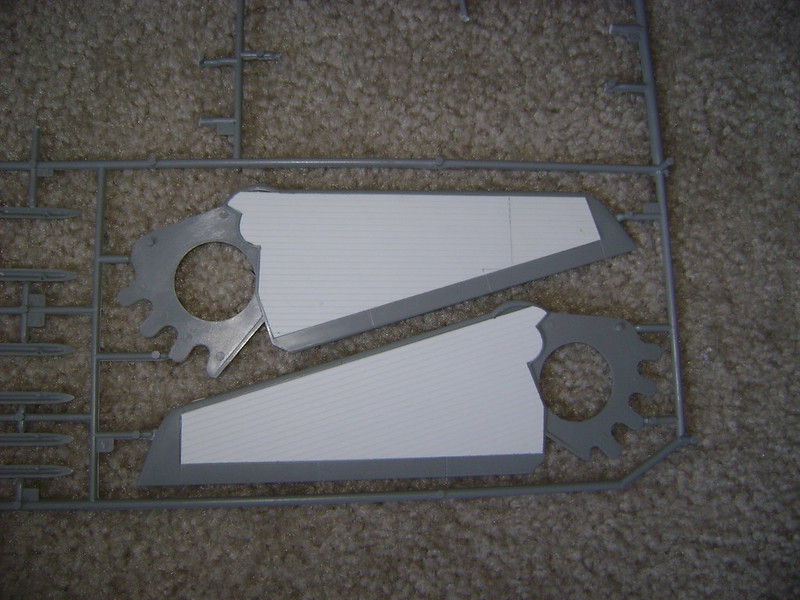
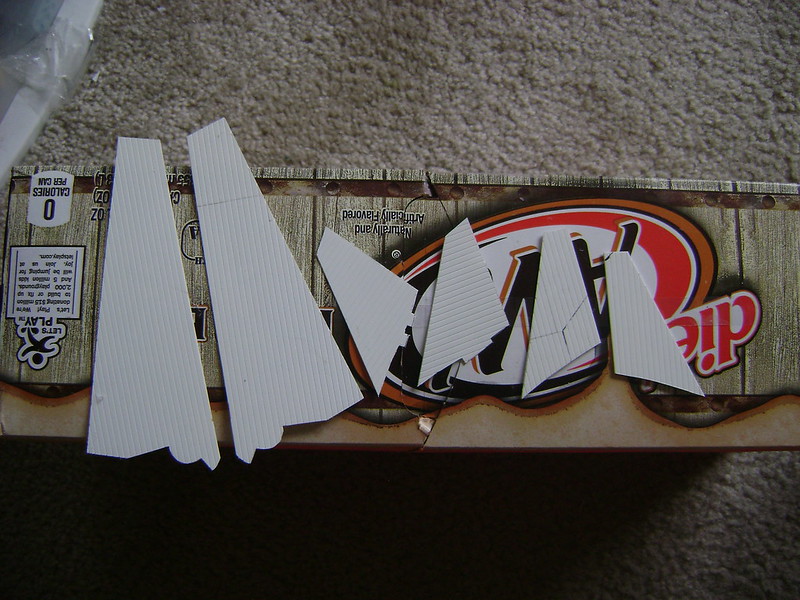
The Revell cat has a weird split style construction with smaller flat parts inside larger parts. I realized I could add some Science Fiction flare by tracing the parts onto patterned styrene and creating a solar panel look.

11441219613_8410cc67c9_c.jpg


11441111014_1c48f5f3de_c.jpg


14008113302_0ff5ff16ae_c.jpg


Will post more soon! Thanks for stopping by!

:drinks
 
Darren may be one of the foremost civilian F-14 model authorities. :pilot God Love the Boy, he built a Tomcat from every Squadron for the Nat's in Omaha. My cover is off to him. AND he's a genuine and affable guy to boot.
I'd bet the old "A" with the TF30 engine would have benefitted from solar panels!! fun! (y)
 
That's a h*ll of an undertaking, friend. Very best of luck, I'll be watching these (im)patiently from the sideline.


h47f4765.jpg


My favourite of the early F-14 liveries. I have the 1:72 Hobbyboss kit in these colours in the cabinet, the 'cat just looks so right in this scheme. One day (who am I kidding...), I'll buy/build a 1:48 F-14 again, I hope :idonno/

Ian
 
My curiosity is piqued... any sharkmouth schemes int he works?

Regards,

Thats actually a really good idea... may not be a conventional one though. :good: :good:

Darren may be one of the foremost civilian F-14 model authorities. :pilot God Love the Boy, he built a Tomcat from every Squadron for the Nat's in Omaha. My cover is off to him. AND he's a genuine and affable guy to boot.
I'd bet the old "A" with the TF30 engine would have benefitted from solar panels!! fun! (y)

Agree on all of the above! I just havn't met Darren yet, seems like a fine Gentleman in all my online interactions.

My favourite of the early F-14 liveries. I have the 1:72 Hobbyboss kit in these colours in the cabinet, the 'cat just looks so right in this scheme. One day (who am I kidding...), I'll buy/build a 1:48 F-14 again, I hope

That is a beauty! Sharp looking picture too. :woohoo:

So this is about exploring new techinques. I wanted to do a very exotic cockpit, So I saw this painting style called "Tuscan Finish" And wondered how I could scale that down and make it look good.


33801d1278528858-tuscan-faux-finish-faux-finish-tuscan-plaster.jpg


Tuscan Finish ^

11983525994_d17bc15d7b_c.jpg


Cut some old Decals to fit first.

11983457243_72d0395e41_c.jpg


11983542234_fb6f673efe_c.jpg


I used some Krylon Textured spray paint carefully masked. I then hit it with gray primer to make it gray.

11983467603_7b71fed794_c.jpg


I added some black drybrushing and then brush painted on some streaks to look like cracks.

11984008866_5f5f5d0e44_c.jpg


Lastly I globbed on Tamiya Smoke as the "glaze"

13983583190_b3ba9ec26f_c.jpg


Not what I had hoped for... I'm going to refine the technique... oh well live and learn. I added the decals but didn't take a picture

Next update soon!! :)
 
An unfortunate development! In all my travels I lost the Canopy for this 1/48 Tomcat. :doh: 
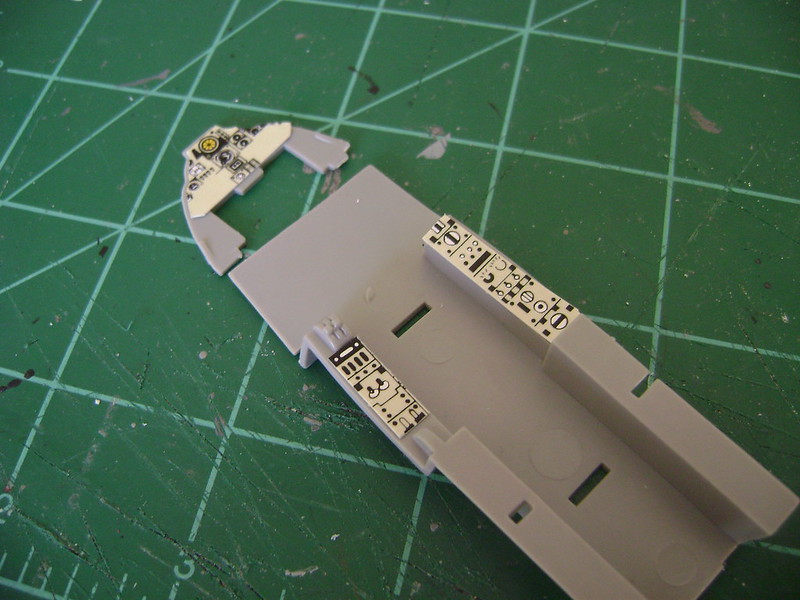
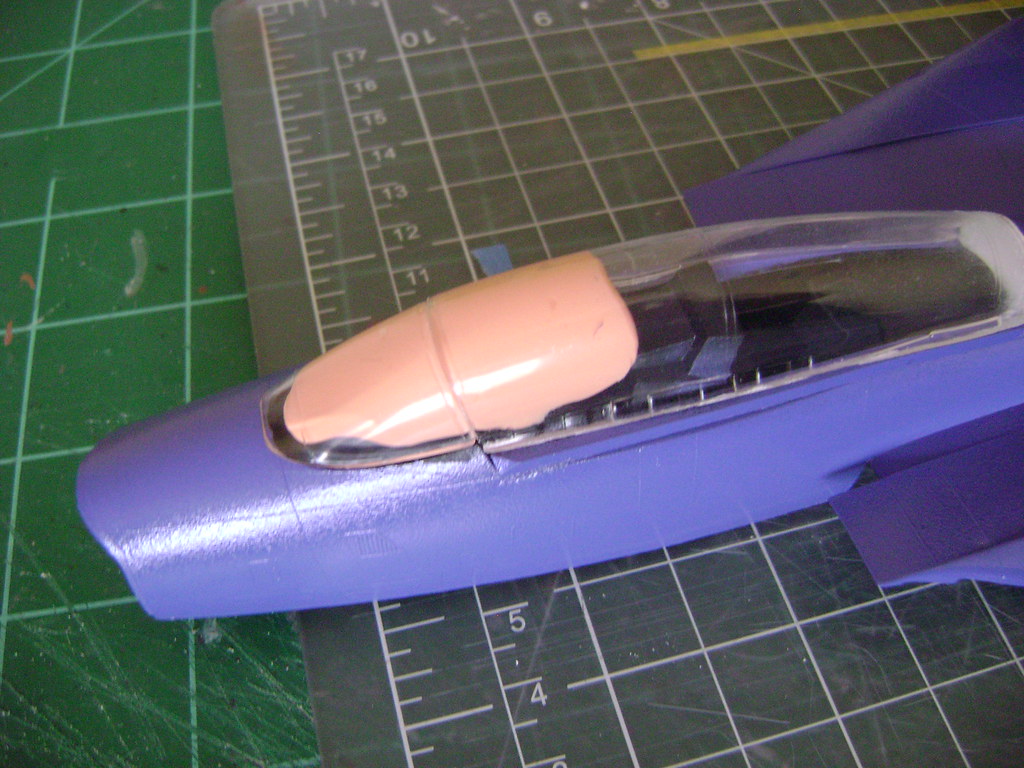
So I grabbed a set from the Revellogram kit and took a look at how close I could get it.

11983967846_d056cc7220_c.jpg


Hmmm

11983141165_b6a28e8a9d_c.jpg


I added styrene (about 2MM X 2MM) to cover the gap cut to shape. (good thing I am going for a sci-fi look, would hate to have to blend it in)

14008123642_6e4ded4594_c.jpg


The Styrene was too high though. I had to decide what I should cut down and decided on the Canopy. So I took some off-- the never ending cycle!! I think its good now though.

13988206056_3a943a6712_c.jpg


Painted black

11441160464_3a0b5180a7_c.jpg


A while ago I took a bunch of googly eyes of various sizes, Rattle bombed them silver and now I add Tamiya clear colors for lenses and screens and such.

13983565089_4854828383_c.jpg


Green on this one and then I just glued it into the hole I drilled when I started construction

13983596248_ee9f16e5f4_c.jpg


the decals on the cockpit. Cockpit is basically done, save for the seat to be put in later. Canopy is still a work in progress though

Thanks for the comments everyone :coolio
 
Update! Wanted to experiment with some texture:

13983591857_021757f138_c.jpg


14170232275_a305682dcf_c.jpg


I had to be really sure on the masking, its one thing to have over spray, its another to have textured over spray!

13983582249_ace18fd0d8_c.jpg


Happy with the results. I used Krylon textured paint. (same rattle can I used on the cockpit) I have used it a few times but this is the first with some actual masking.

14170297744_fc700a7a58_c.jpg


14166942191_af7095bd27_c.jpg


Just as on the Sukhoi Flanker, and F-15 Eagle I wanted to add exposed metallic portions. This is krylon "Hammered steel" And although it looks like a pretty standard metallic in the pictures (i couldn't get the camera to cooperate and show the textures no matter how hard I tried) up close it does have a certain pattern in it.

14167549342_1600a1e512_c.jpg


I painted the fins white to prep them for a masked emblem of some kind (I still haven't decided what exactly) On the Tomcat the fins are not "handed" So left side will have the "solar panels" and the other will have the emblems.

14170289474_c39d0e0679_c.jpg


Lastly, added some spare patterned styrene to the intake. I wanted to avoid looking down them and just seeing an overly cavernous intake with a fan of some sort way back there.
 

Thanks!

14296941391_05b3bd0123_c.jpg


"South sea pearl" nail polish. If you use it on light colors it looks like the bottle there, on dark colors it changes between blue and green. (Also Thanks hun!)

14300300695_7b749b30bc_c.jpg


14113661830_7e6561b7c5_c.jpg


I tried to drybrush it on there to not obscure the detail. I think it looks neat, don't know what the hell it does (power cell? Illudium Q-36 Explosive Space Modulator?) but it looks futuristic and the intake wont just be a black tunnel with a fan back there somewhere.

14113658078_5f4b2dcdaf_c.jpg


Clamped down! the white styrene is being used as a brace to keep the intake open while the glue sets (they were warped) and will be painted and glued deeper into the intake later on.

14113763497_813d5b9894_c.jpg


The emblems for the tails... this actually took a while LOL, longer than it should have.

14277181916_25c7e743c8_c.jpg


cut and applied. Don't know what it means or what it stands for, I just wanted a simple little design. I can add some decals to it later as well.

14300322495_b0b13c833d_c.jpg


14296971021_054620ff3b_c.jpg


Everyone's favorite part!I always try to shim with styrene, as I tend to sand too much and cause pits and other additional problems, that send me into a parallel universe of infinite sanding and filling.

14277191936_1a7a35e8c7_c.jpg


The nose after I glued the alpha probe. Like all expert modelers I glued the piece on and then scrambled to find a way to place it so it could dry! You can see my highly advanced jig above. I then added weight to avoid the tail sitting.

Moving along pretty well, Thanks for looking in, I appreciate the comments everyone. My mind is already starting to drift into plans for the next F-14...
 
Thanks guys! Finally got some pain on :yipee


Time for an update!!

14299763974_6b436f3105_c.jpg


Purple!! After adding the revellogram Aim-54 pallets I rattle bombed it with Testors bright light purple.

14296978841_da6ca2c771_c.jpg


masking with both silly putty and tape.

14296976141_e6fdbf9a43_c.jpg


If you look to the left you can see the masking that was applied over the engines. :)

14113770887_ba62b36ae2_c.jpg


My idea for the canopy, inspired by the B-2 Spirit. Remember that a big part of these builds is "coloring outside the lines" Taking an OOB model and making it look exotic and different with the finish.
 
Nice color...:popcorn

Why thank you :)


14360010103_a0106358b5_b.jpg


The Canopy, with front frames sanded off and then polished. The putty is to hold it in place while I affixed the masks.
The solar panels are glued on, my inability to get them glued in after the fuselages were joined forced me to paint, glue solar panels, and then put the halves on, with touch ups expected. Just the nature of the beast.

14153207060_9d425be2f0_b.jpg


^One of those modeling moments when you wish you had 8 arms! This is going to be "fun"

14338184462_53b82a3fd8_c.jpg


The fit was so bad I literally ran out of clamps.

14316693416_6cb30b352f_c.jpg


A lot of seams popped or didn't take to the gluing. For a while it was literally 2 seems fixed, while another popped and had to be redone. 2 forward, 1 back. What I should have done, was glued the mid section as it was the toughest with the wings, and then glue may way out from there forward and aft, but I went with the whole shabang at once...

14316693416_6cb30b352f_c.jpg


which didn't work all that great and I basically ended up going from the wing gloves out anyway! But at least this took longer and was more difficult, so there is always a silver lining


14153174958_3aa958a49f_c.jpg


Serious gluing needed for the front fuselage to make it hold. I masked, Puttied, and then very gently sanded. For once I was going to use "restraint" and get it right the first time.

14153177878_51a976a6ed_c.jpg


Masking for touch ups

14316704316_032c9d46af_c.jpg


I worked on the seat while the rattlebombing dried. Used graphite from a pencil to creat highlights. Yep just one seat for this bird.

14339837795_a7f1aa54a8_c.jpg


Yay! Well here comes the wild, time to add the camouflage... Thanks for stopping by!
 
Back
Top