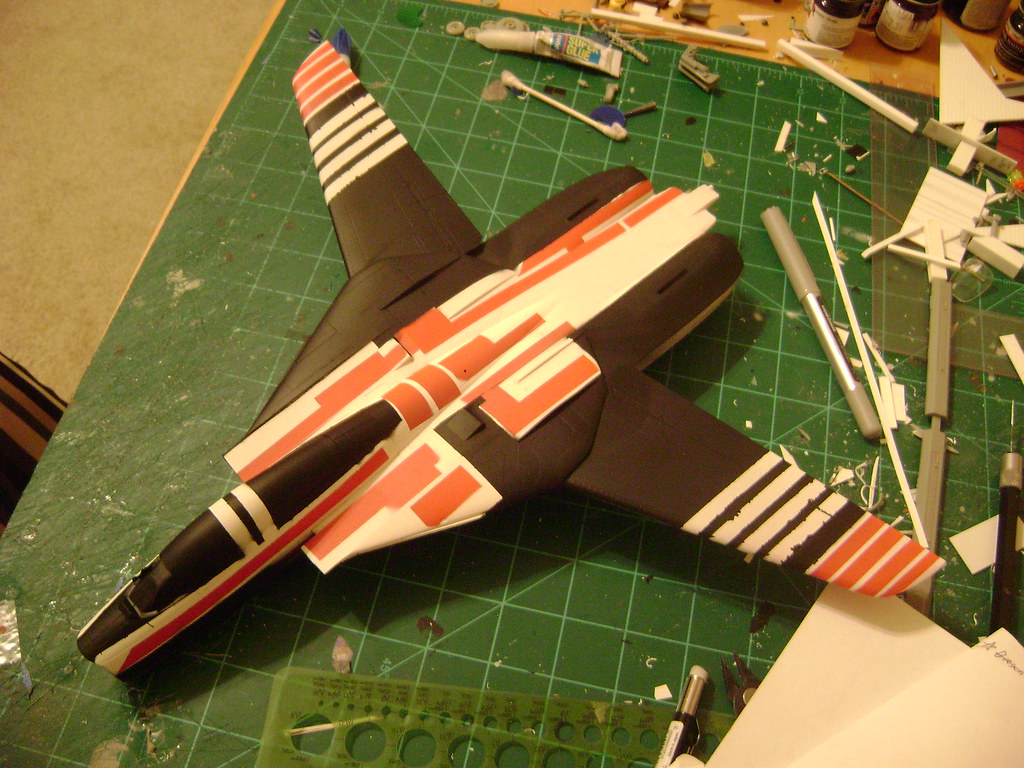
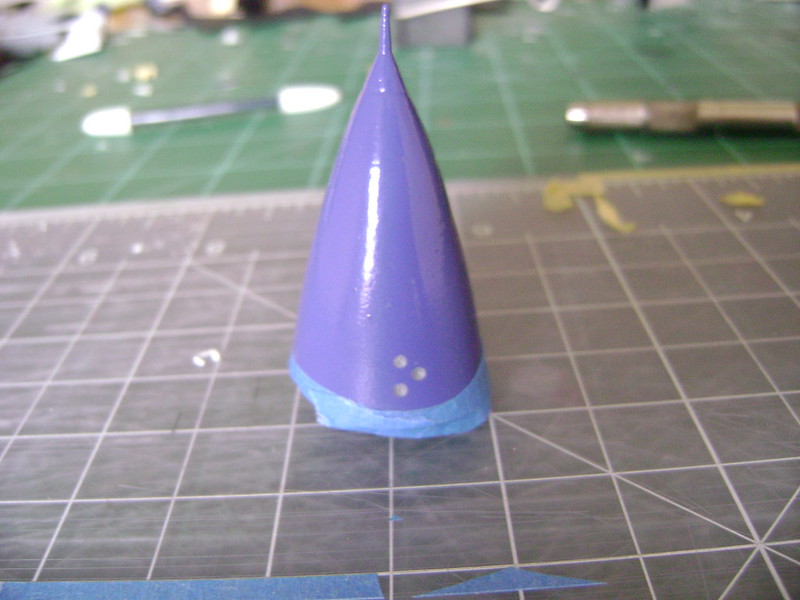
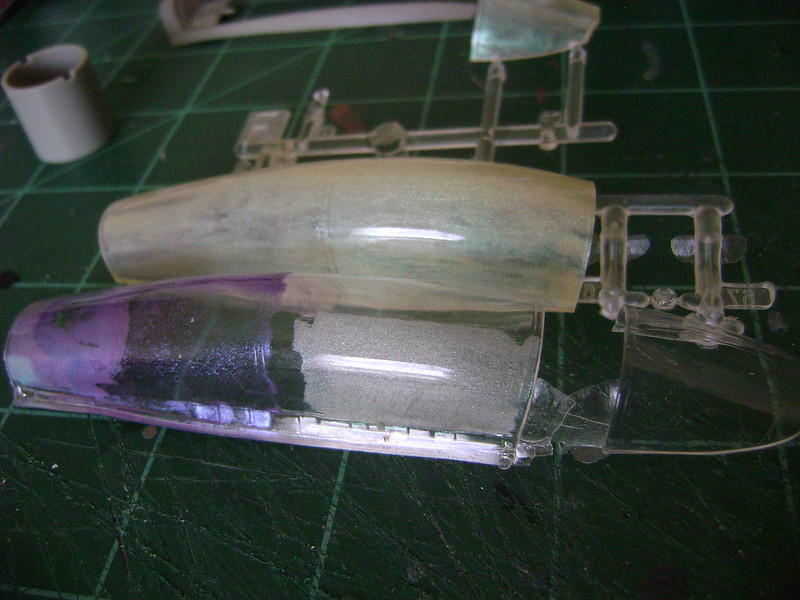
Is that more nail polish? I bet taht stuff is hard as nails when dry.


Modelers Alliance has updated the forum software on our website. We have migrated all post, content and user accounts but we could not migrate the passwords.
This requires that you manually reset your password.
Please click here, http://modelersalliance.org/forums/login to go to logon page and use the "Forgot your Password" option.


well one thing for sure, no one can call you on accuracy.


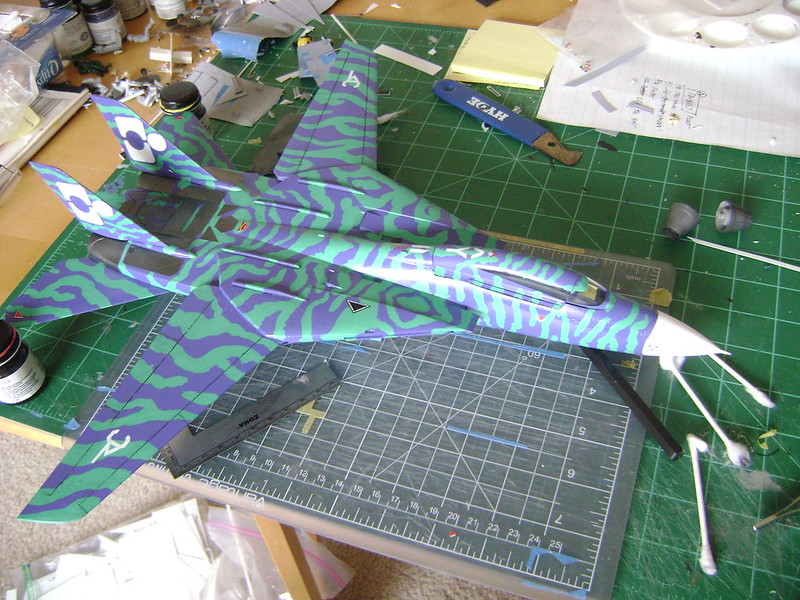
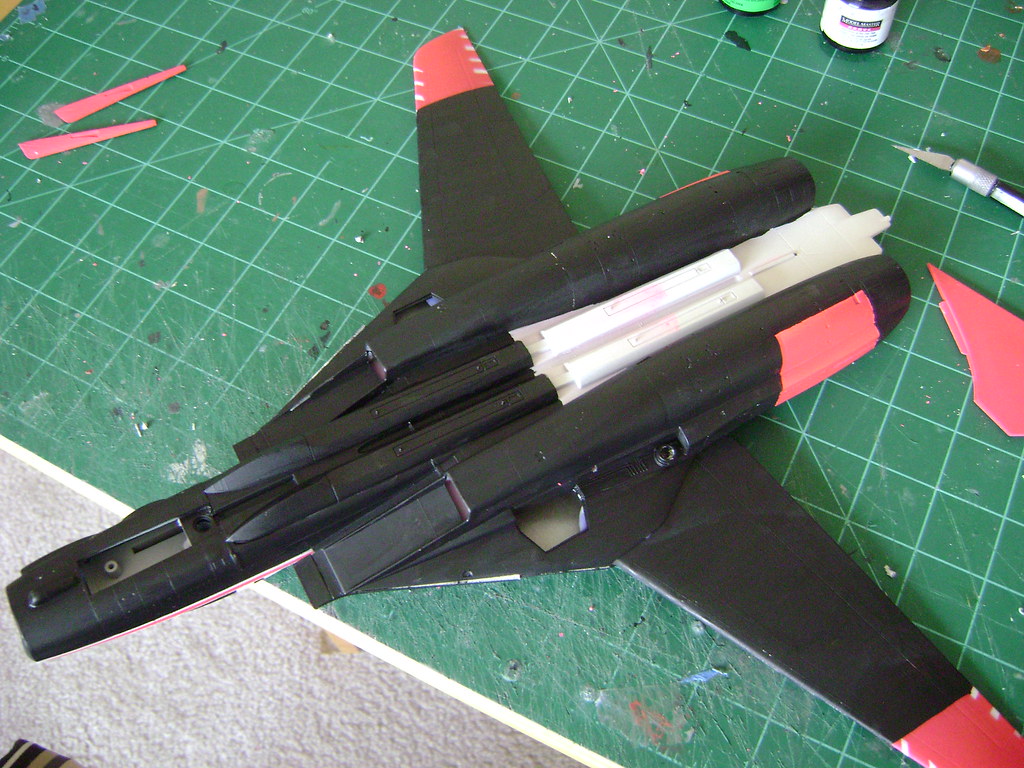
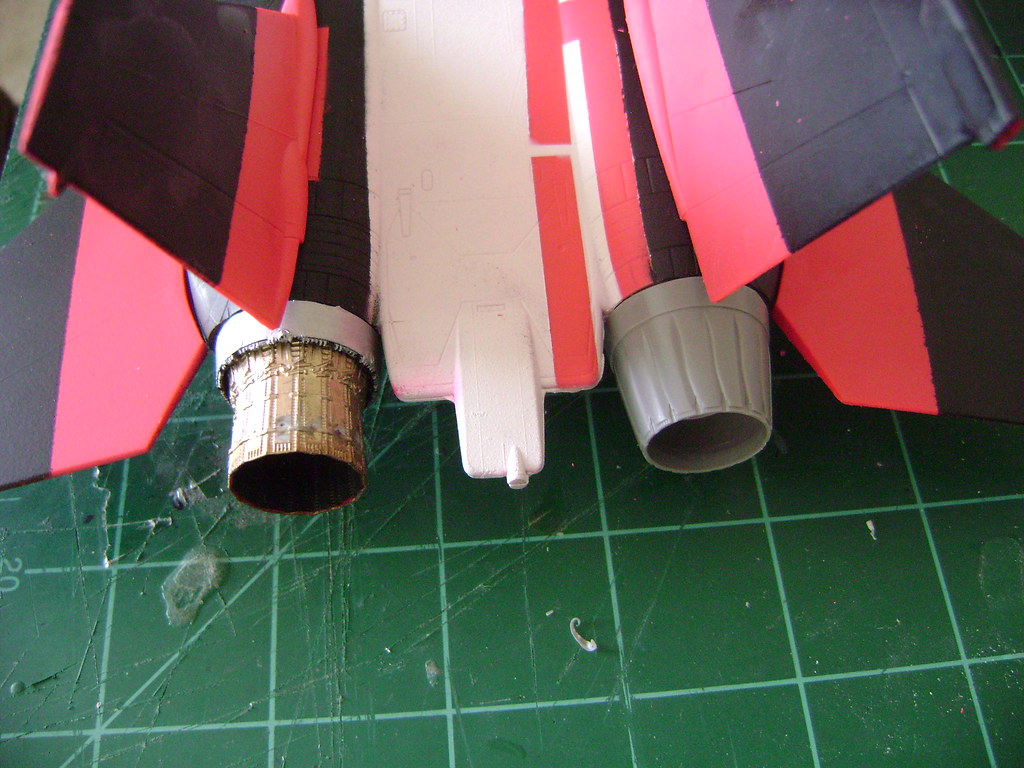
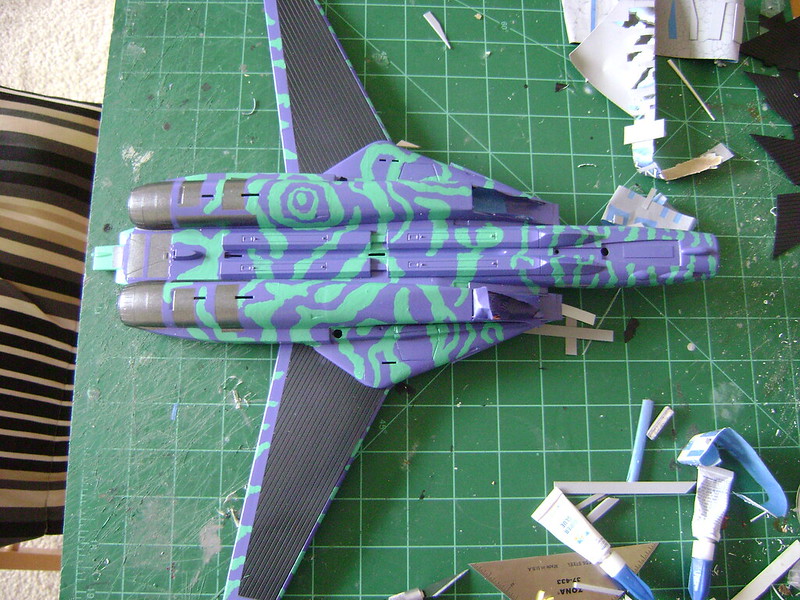
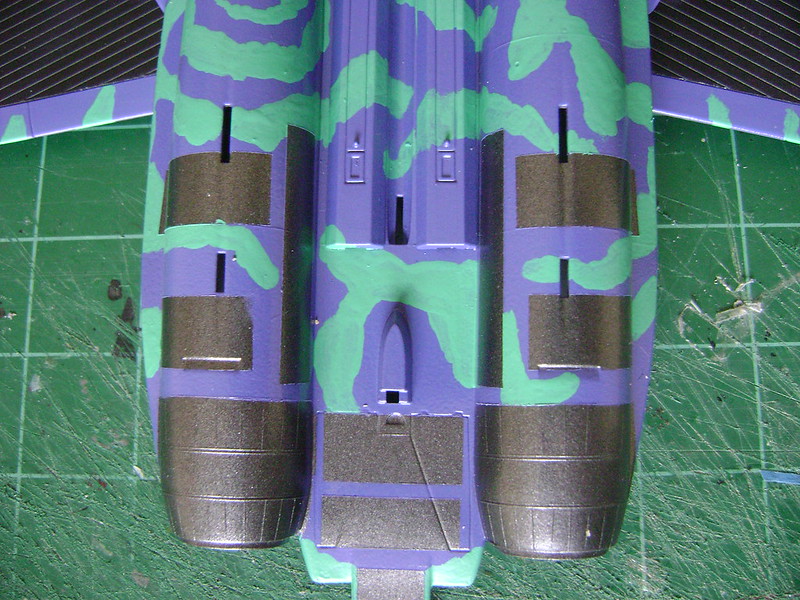
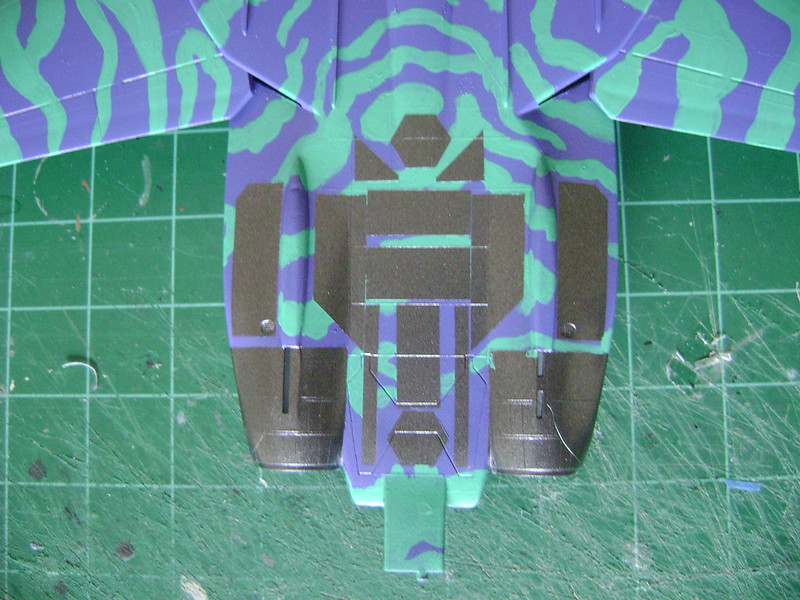
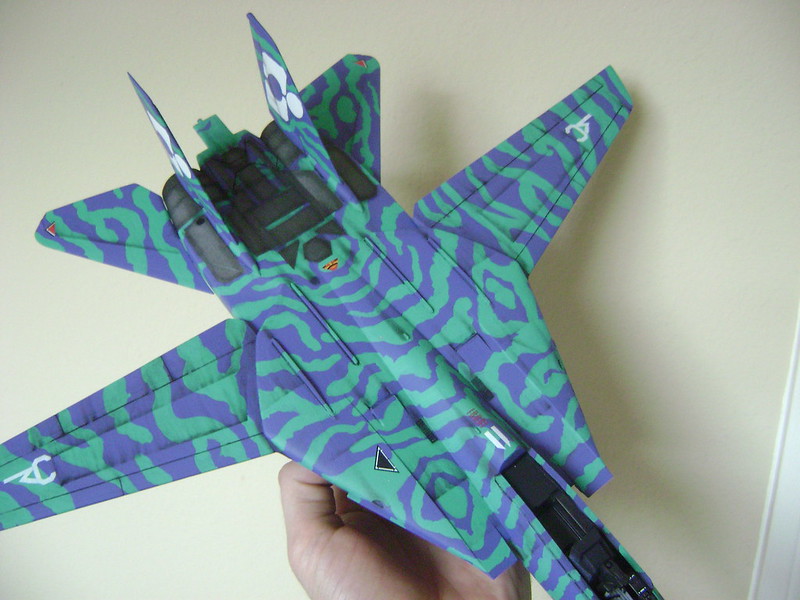
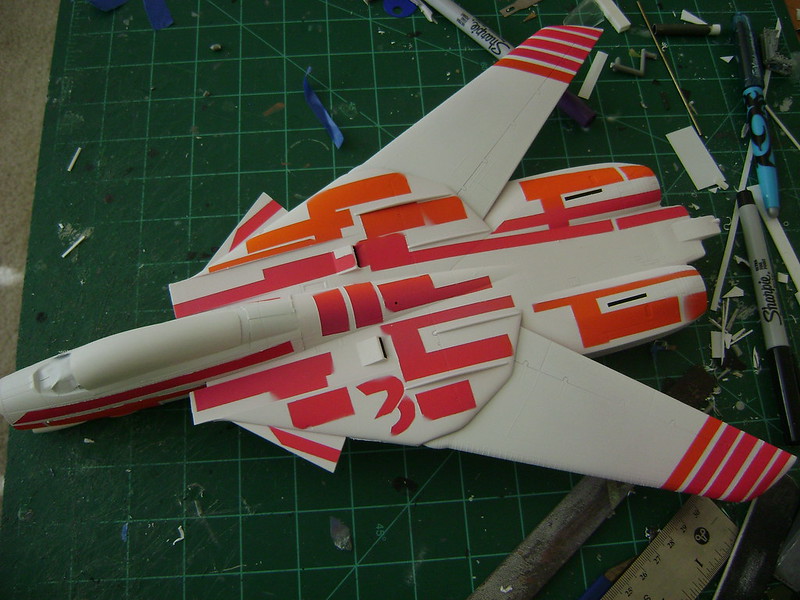
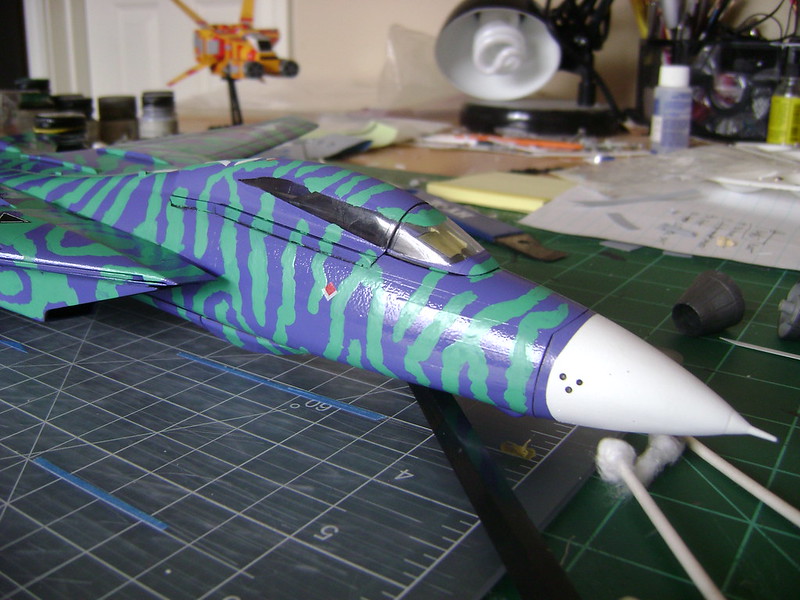 The stabs and fins are glued on in this pic. the canopy is fitted just to see how it all looks. Should be ready for the flat coat, and very close to the finish line.
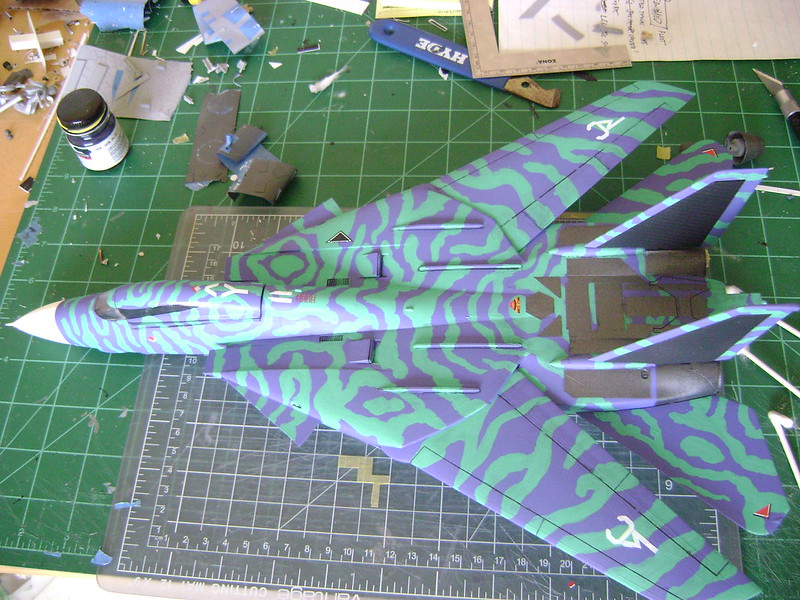


 :
:Fujimi F-14:
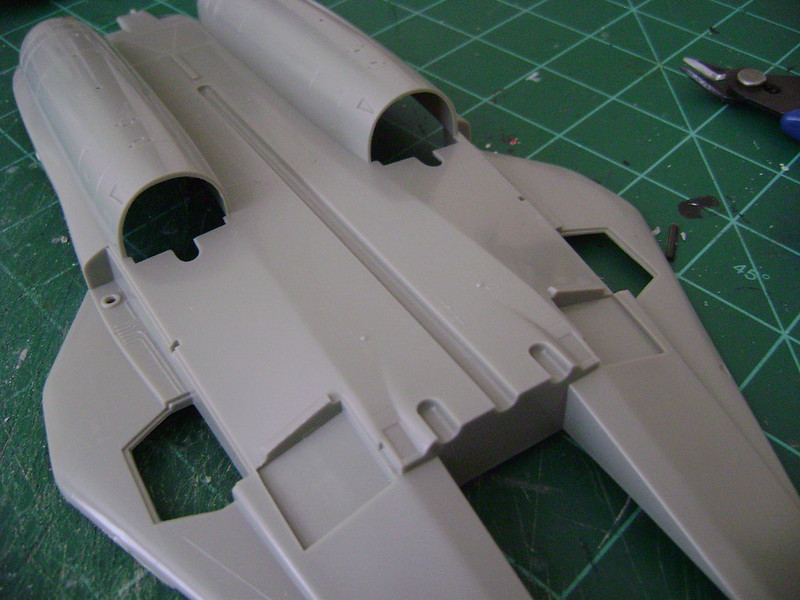
This kit is just slightly less hideous than the Revell kit. It has absolutely nothing in common with Fujimi’s excellent 1/72 scale offering. Why Fujimi hasn’t scaled up that kit to 1/48 scale is beyond me. My example has a production date of 1995 and has some improvements added to the original release, which was in the late 1970’s.early 1980’s. These changes include the newer tail stiffeners and an alpha probe on the radome. They should have kept going on the improvements!
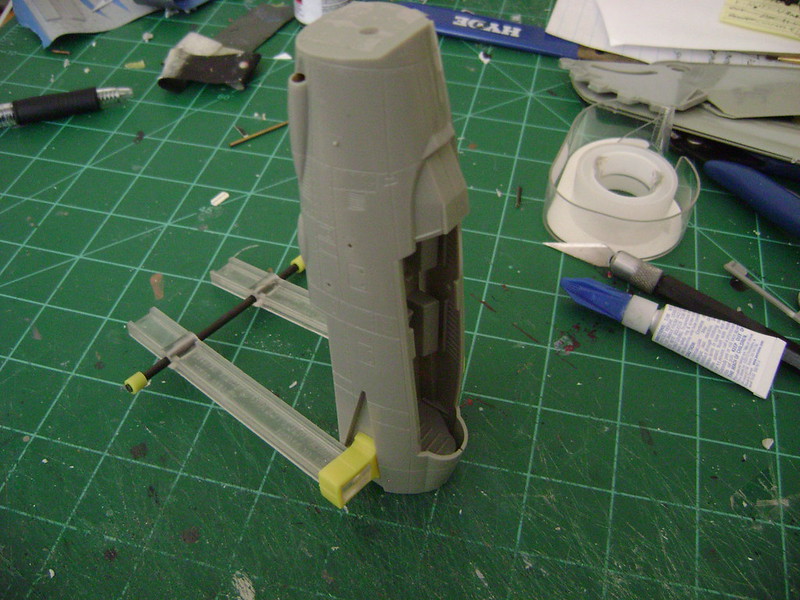
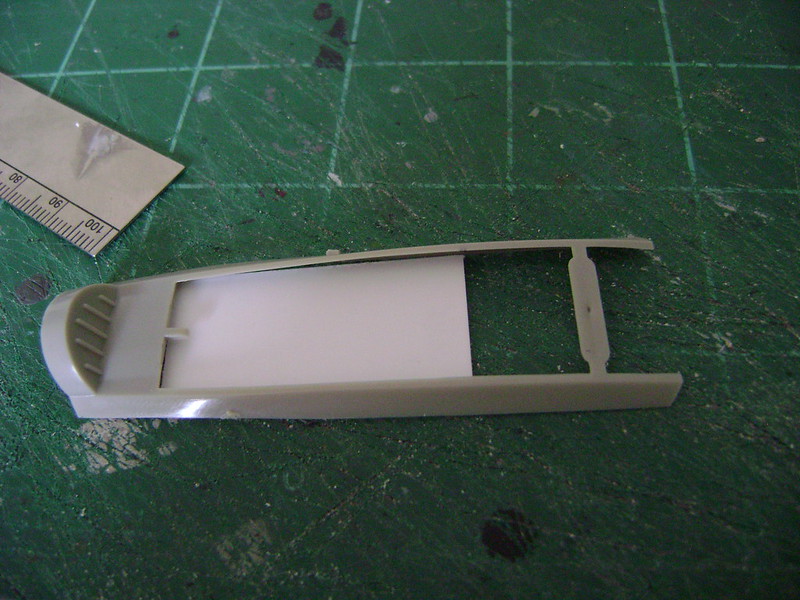
Cockpit (D-): The cockpit is extremely rudimentary and inaccurate. It consists of a floorboard with molded in side consoles. The instrument panels are flat and decals are provided for the instrumentation. At least it has a control stick! The seats don’t even resemble GRU-7’s, although they do have the face curtain pull handles. There is no rear decking behind the RIO, but instead has a set of “black boxes”. The only bright spot of the entire cockpit is a nicely done “sissy handle” on top of the RIO’s instrument coaming.
Shape (C): The Fujimi kit has always looked a little odd to me. I finally figured out why. A friend of mine sent me a book with early Tomcat cutaway drawings. The Fujimi shape matches these almost perfectly. The drawings even have the black boxes behind the RIO. Fujimi must have based this kit off of those drawings. The forward fuselage is too chunky in height and too narrow in profile, having almost a triangular shape when viewing it from head-on. The boat tail is too narrow between the engine nozzles, which are extremely simplistic and are only available in the closed position. The burner can is also very simple, with no detail on the interior of the can and a simply molded flame holder. The intakes are too small and shallow. The airflow doors inside the intakes are molded in the down position, leaving almost no opening. Wheel well detail in the main wheel bays is non-existent, and the detail in the front bay is completely fictitious.
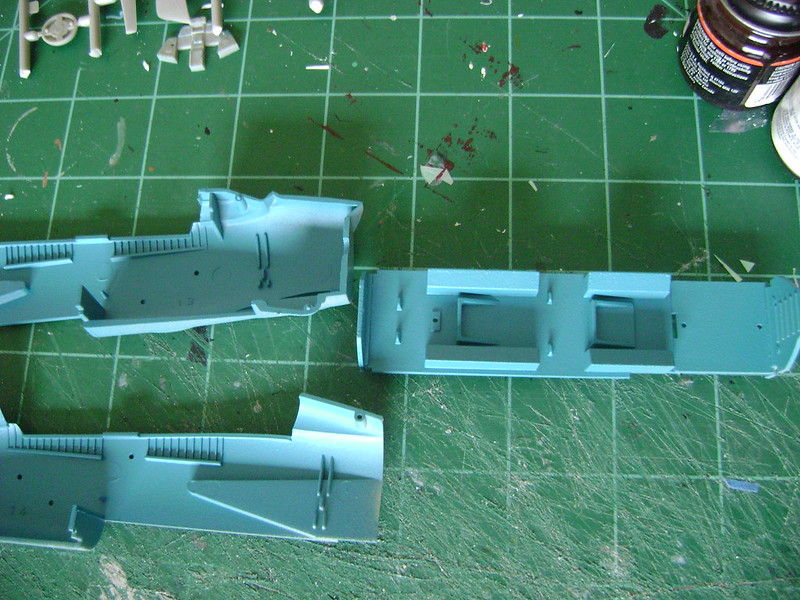
Surface Detail (C): The forward fuselage is very nicely engraved, although it is a bit deep. The rear fuselage and wings, however, are all raised lines, and not accurate at that. It’s a bizarre combination. The main wheel bays have zero detail, while the front bay has at least a little ribbing detail. The landing gear is thin and spindly, not nearly coming close to the Tomcat’s beefy-looking gear. The front gear doesn’t contain the two small catapult bar struts on either side of the oleo. The wheels are acceptable and are molded in halves. The chin pod is the “bullet” fairing and is molded onto the plastic. Fuel tanks are provided and are acceptable. Wing glove vanes are provided. The probes on the side of the fuselage are mediocre at best, and the one right below the canopy sill on the starboard side is completely the wrong shape.
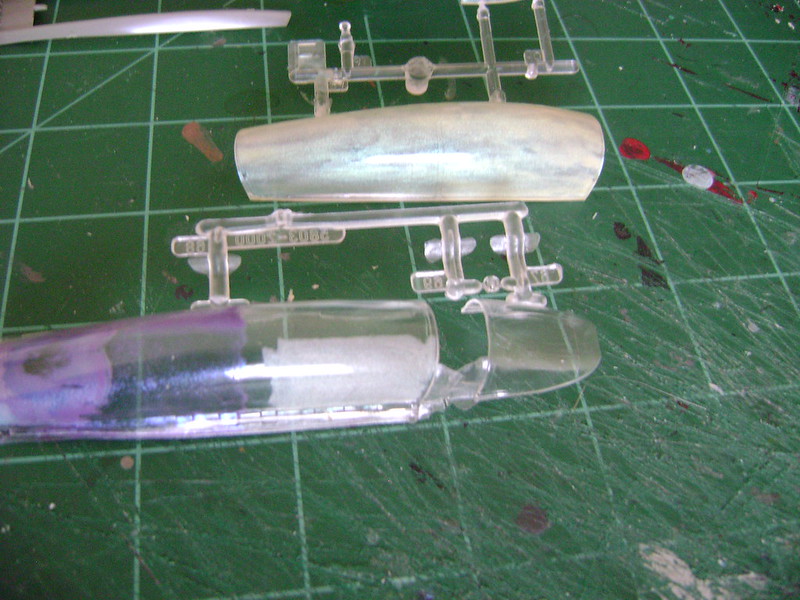
Fit (C-): Overall, the fit isn’t too bad. The two major problem areas are where the forward fuselage assembly meets the rear assembly, and where the clear parts meet the framing on the canopy along with the fit of the windscreen to the nose.
Ordnance (F): The missiles in this kit are horrible. They look like they were molded in the 1960’s! The Phoenix pylons are too short and rounded and look funny when put on. I left them off. The only shoulder pylon provided is for the Phoenix, so your choice of loadout is either 6 Phoenixes and 2 Sidewinders, or 4 Sparrows under the fuselage and a Sidewinder and Phoenix on each of the shoulder stations.
Pros: Good “sissy” handle on RIO’s coaming, radar unit that would make for a good base for scratchbuilding, separate stabilators, pilot figures, and …um…and….well…that’s about it.
Cons: Too many to list.
Overall Score: 3/10
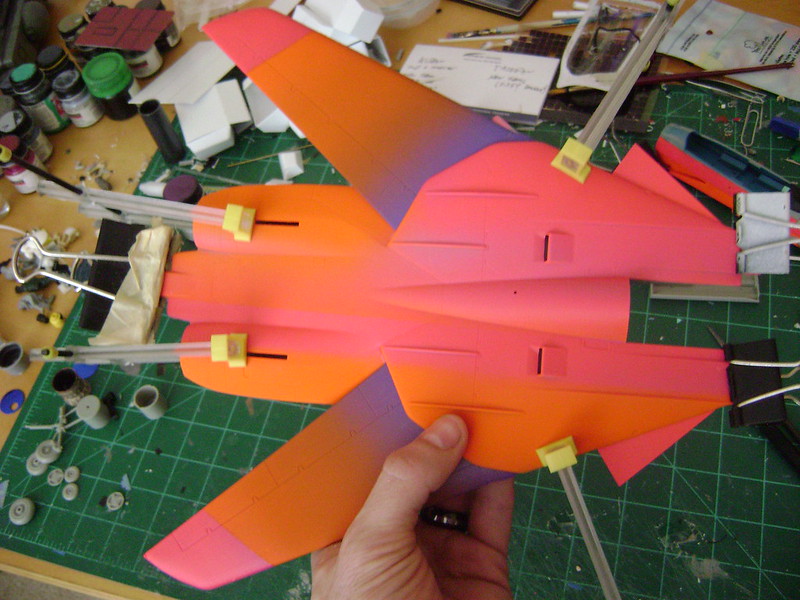


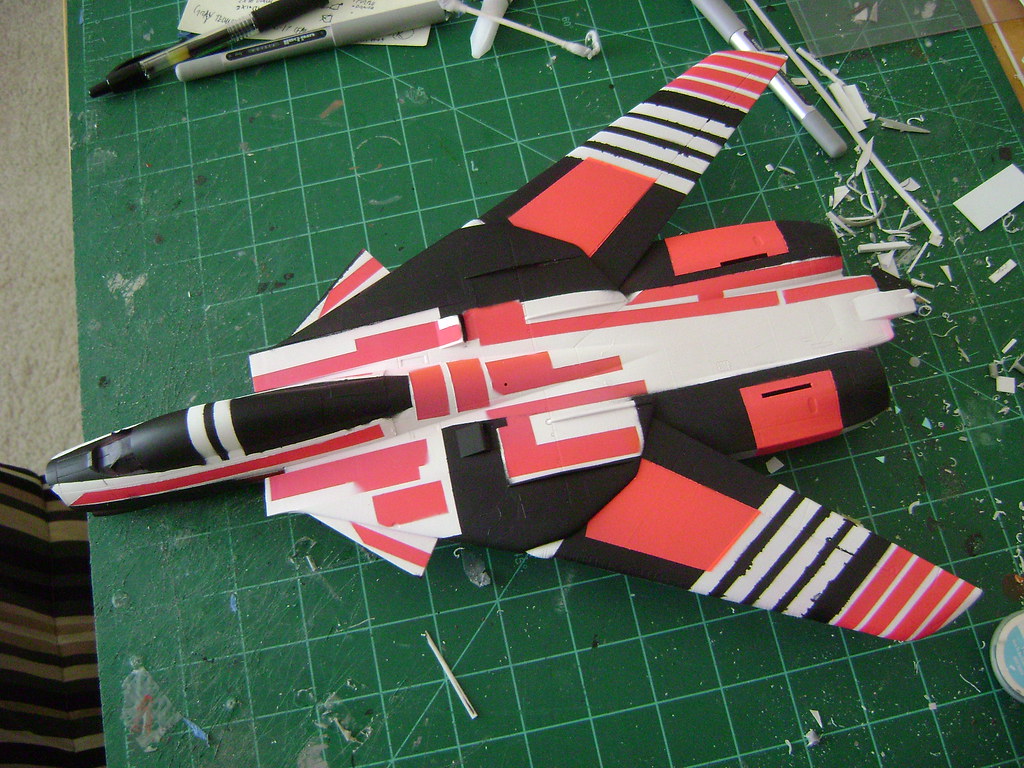
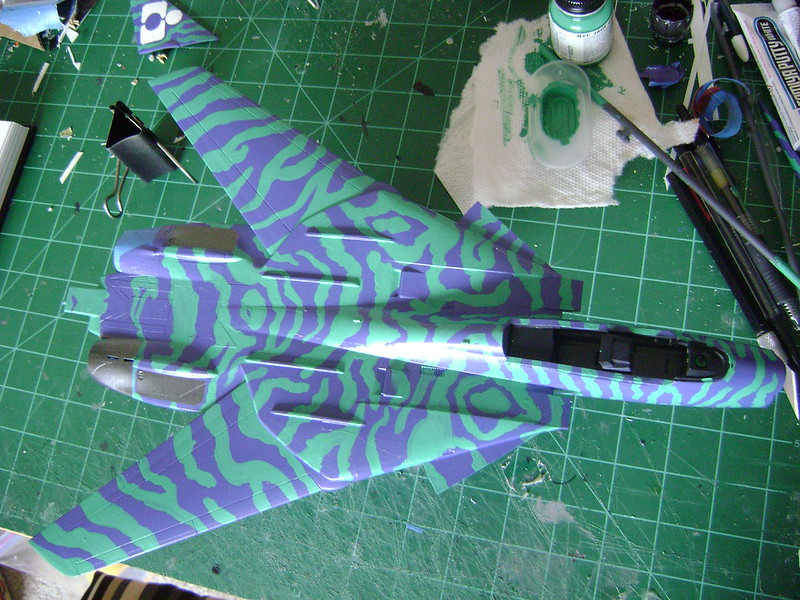
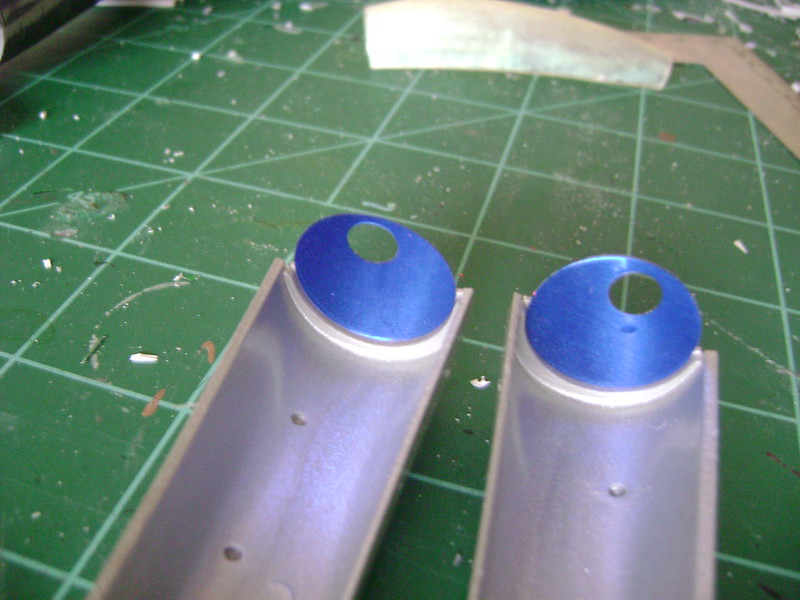
Man that's some color!
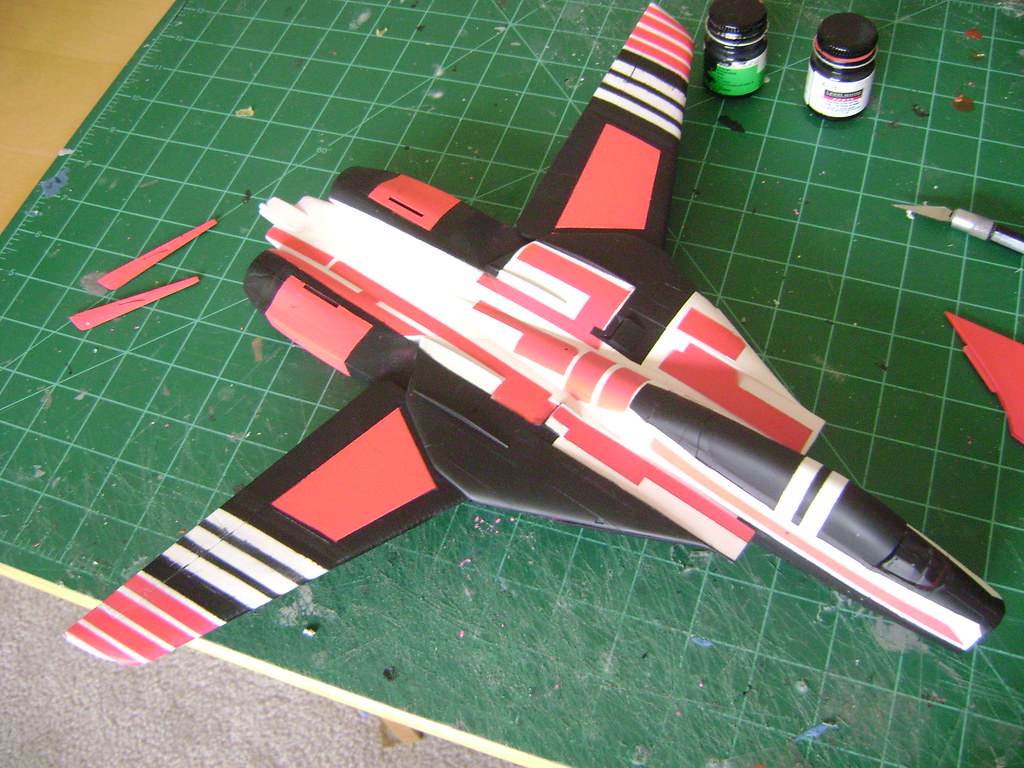
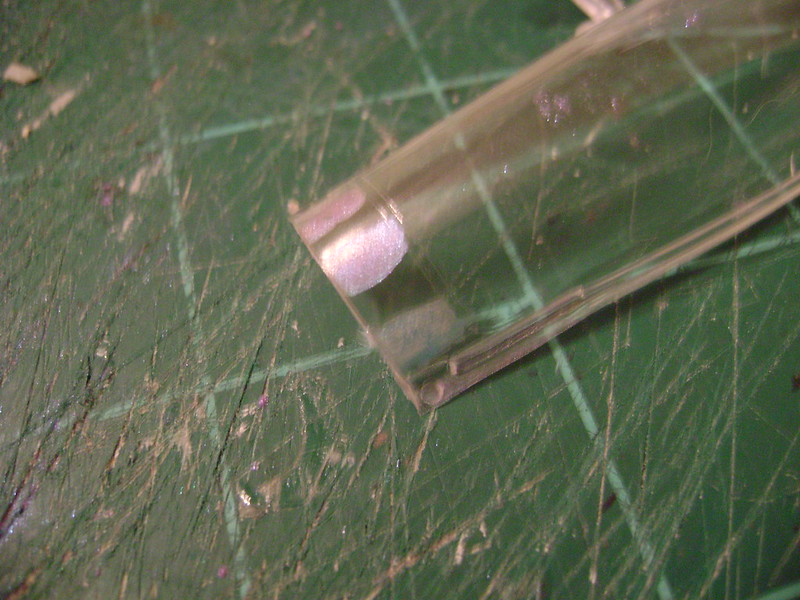
I did that with a canopy a couple of times. The B1 I did in a gold AlcladII, it looked ok. But the F5 I did was in silver and I gave it a black backing. Do the Silver first then black. REally gave it depth.
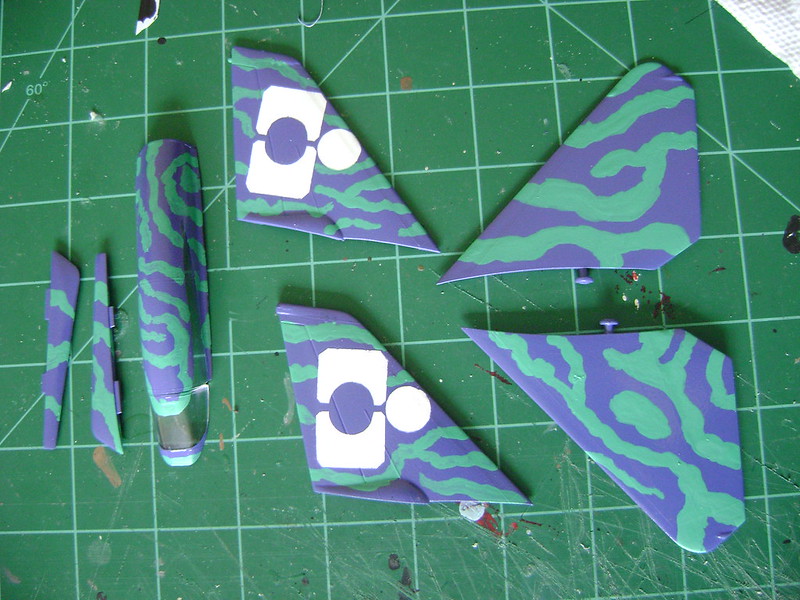
Looking good


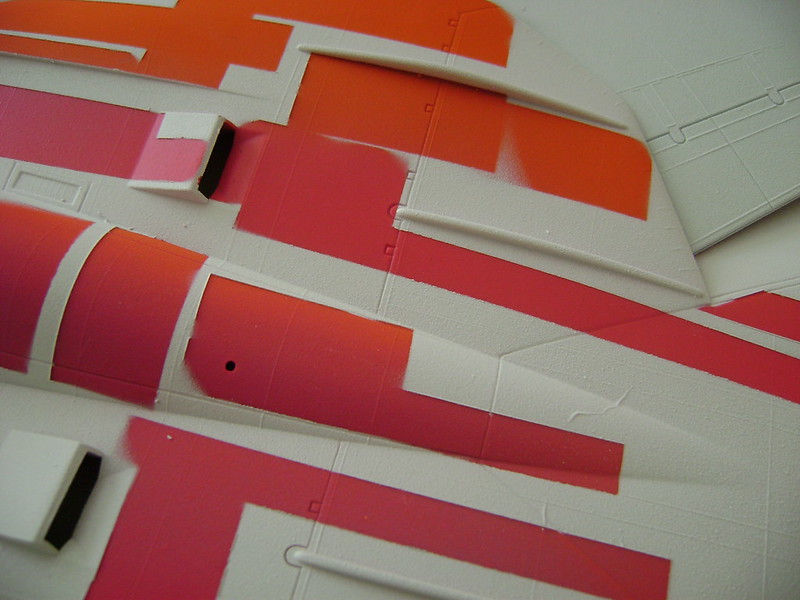

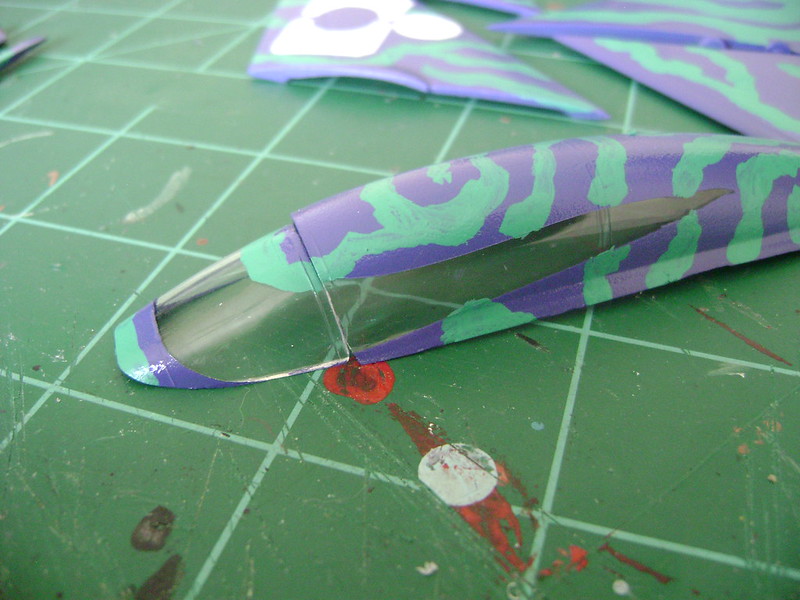
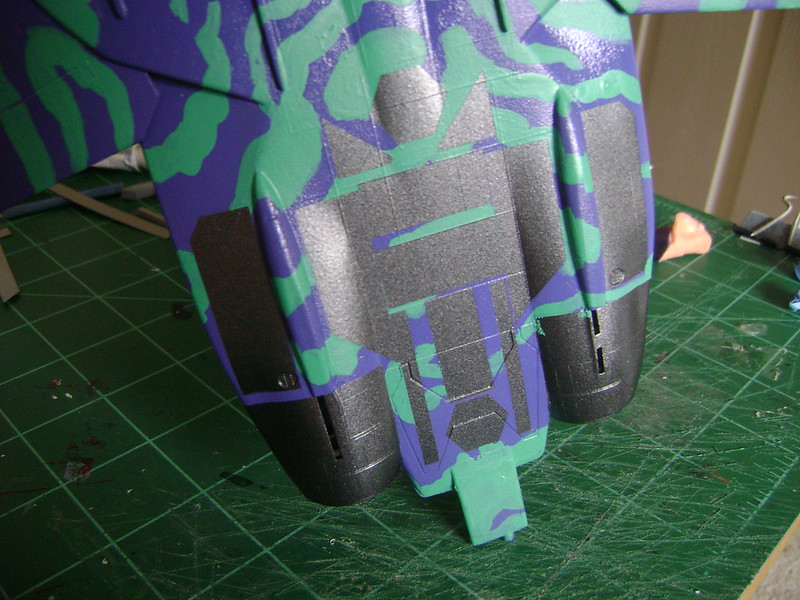
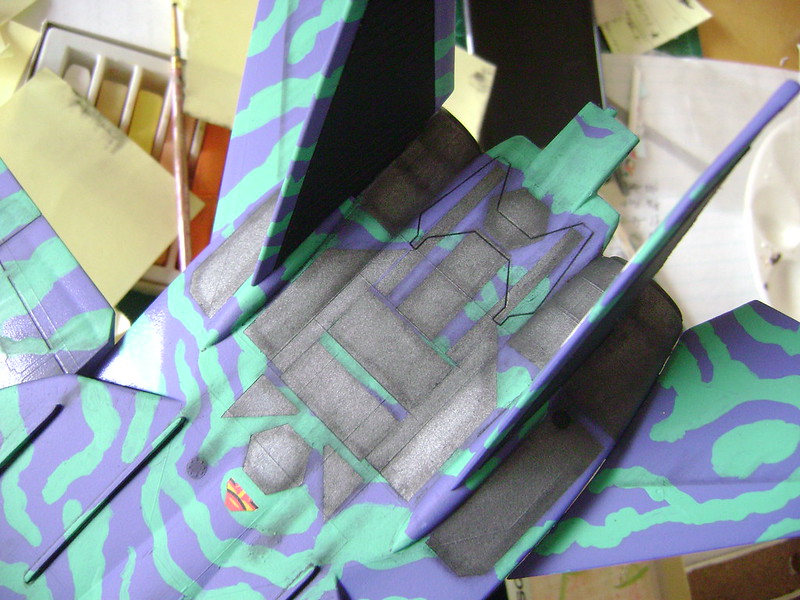
sorry about the mask but should be easy clean up. If I may suggest, when you lay the mask down come back with the base color to seal in any gaps, or a clear coat. That way if there are any gaps it's filled in with the color and the next layer of color doesn't bleed in under the mask.