-
Modelers Alliance has updated the forum software on our website. We have migrated all post, content and user accounts but we could not migrate the passwords.
This requires that you manually reset your password.
Please click here, http://modelersalliance.org/forums/login to go to logon page and use the "Forgot your Password" option.
You are using an out of date browser. It may not display this or other websites correctly.
You should upgrade or use an alternative browser.
You should upgrade or use an alternative browser.
This Clown's a Joker! Serb T-34B
- Thread starter Sharkmouth
- Start date
centaur567
Well-known member
coming along nicely. Gary S.
Duke Maddog
Well-known member
I like it so far. I can relate as I'm always trying to find an hour or two here and there myself.
I got word that one of the modelers at the Scale Model Enthusiasts Club passed away from Cancer. Although I knew who it was, I called to confirm and indeed it is Dr. Fuzz. His ten year old daughter, a modeler in her own right, will be missed as she kept my son company. Horrid disease.
Regards,
Regards,
Duke Maddog
Well-known member
My condolences to you and the family as well. I'll pray for them, may he rest in peace.
Just a few more weld beads, then to add the pin return ramps, hinges and tow hooks. The lower hull will be done.
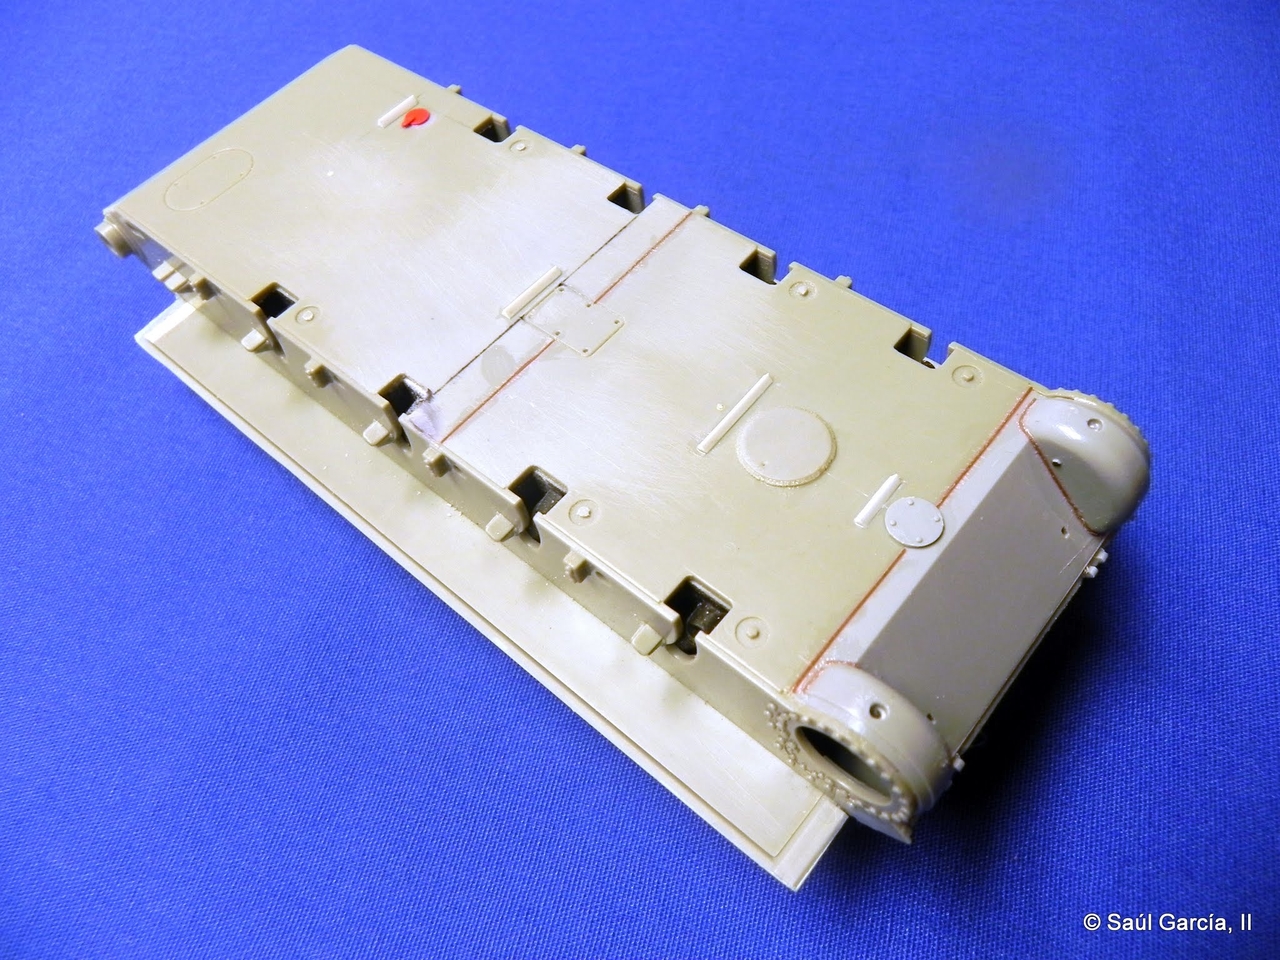
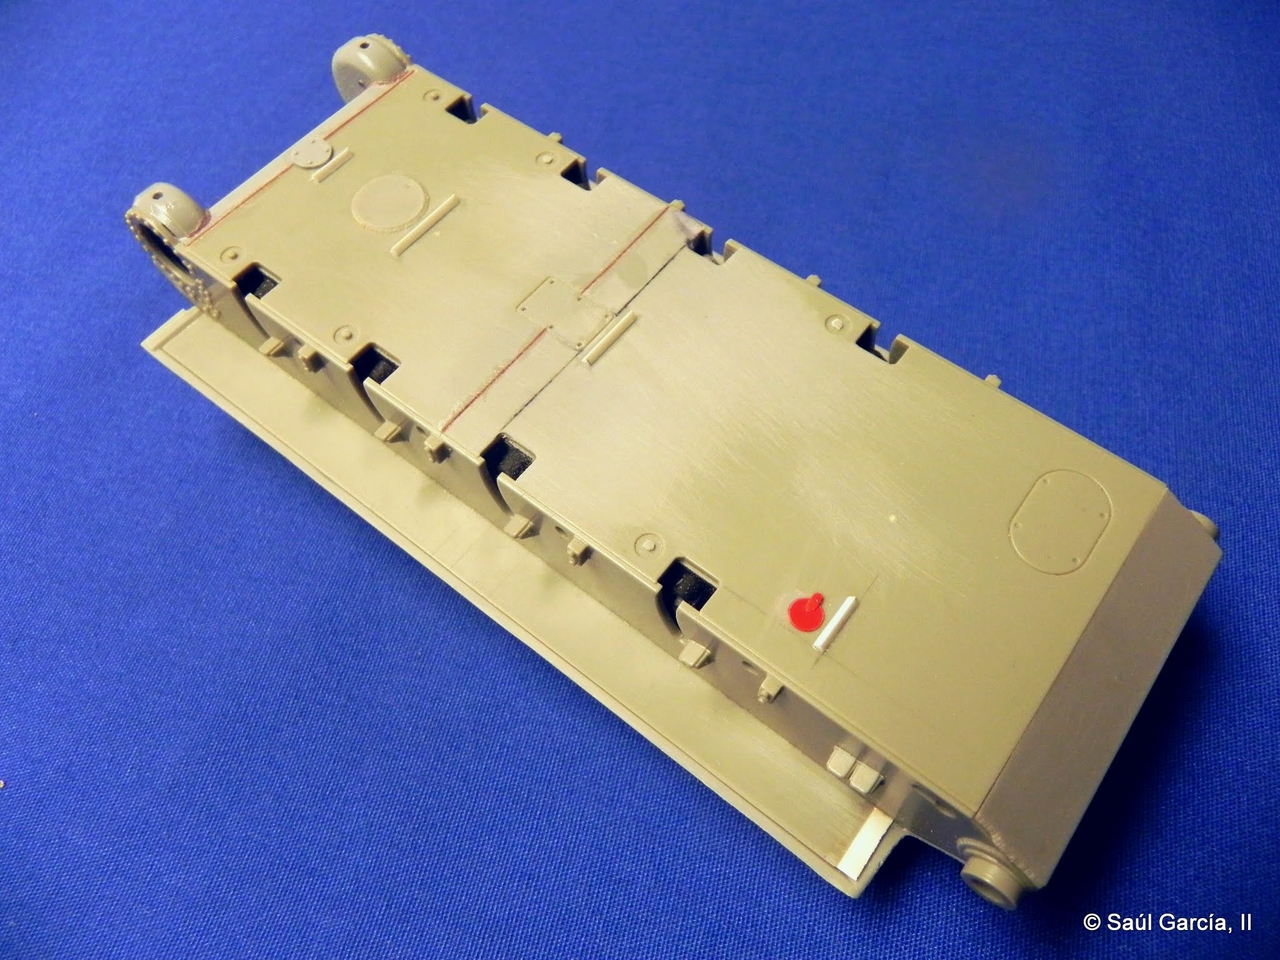
I didn't take a photo of the turret but weld beads are all it needs.
Regards,


I didn't take a photo of the turret but weld beads are all it needs.
Regards,
The hull photos don't show it clearly but I had to move weld lines, add new ones (reddish brown rod), add deflectors (triangular Plastruct shapes), new drain on hull bottom (red styrene sheet), new drains on differential gear covers, grease ports on differential gear covers, plus filled the gap on the lower rear hull plate so it reaches the upper rear hull plate. Note also the filling of large gaps at the front of the sponsons with thick sheet styrene.
Regards,
Regards,
I didn't take a photo of the turret but weld beads are all it needs.
Actually, painted the cast areas with Gunze's Mr. Surfacer 1500 and found some flaws to fix before adding weld beads. Not to mention that the port pistol port needs to be dropped about 1mm.
On the bright side, I am done adding welds to the hull bottom. Adding bolts to the dampers (which held the rubber for the stops).
Upper hull is next. Instead of going the 'easy' way out with regards to what can be seen under the screens and grates, I decided to graft in the AFV club parts since the kit I took the turret from is for spares.
Photos coming once I have some things to show.
Oh my! I actually stated I put primer on a kit!
Regards,
Yes, the Macro function on a camera is a blessing and a curse. Instead of posting the photos, out came the Squadron White Putty, some sanding, and here I stand (some more sanding needed):
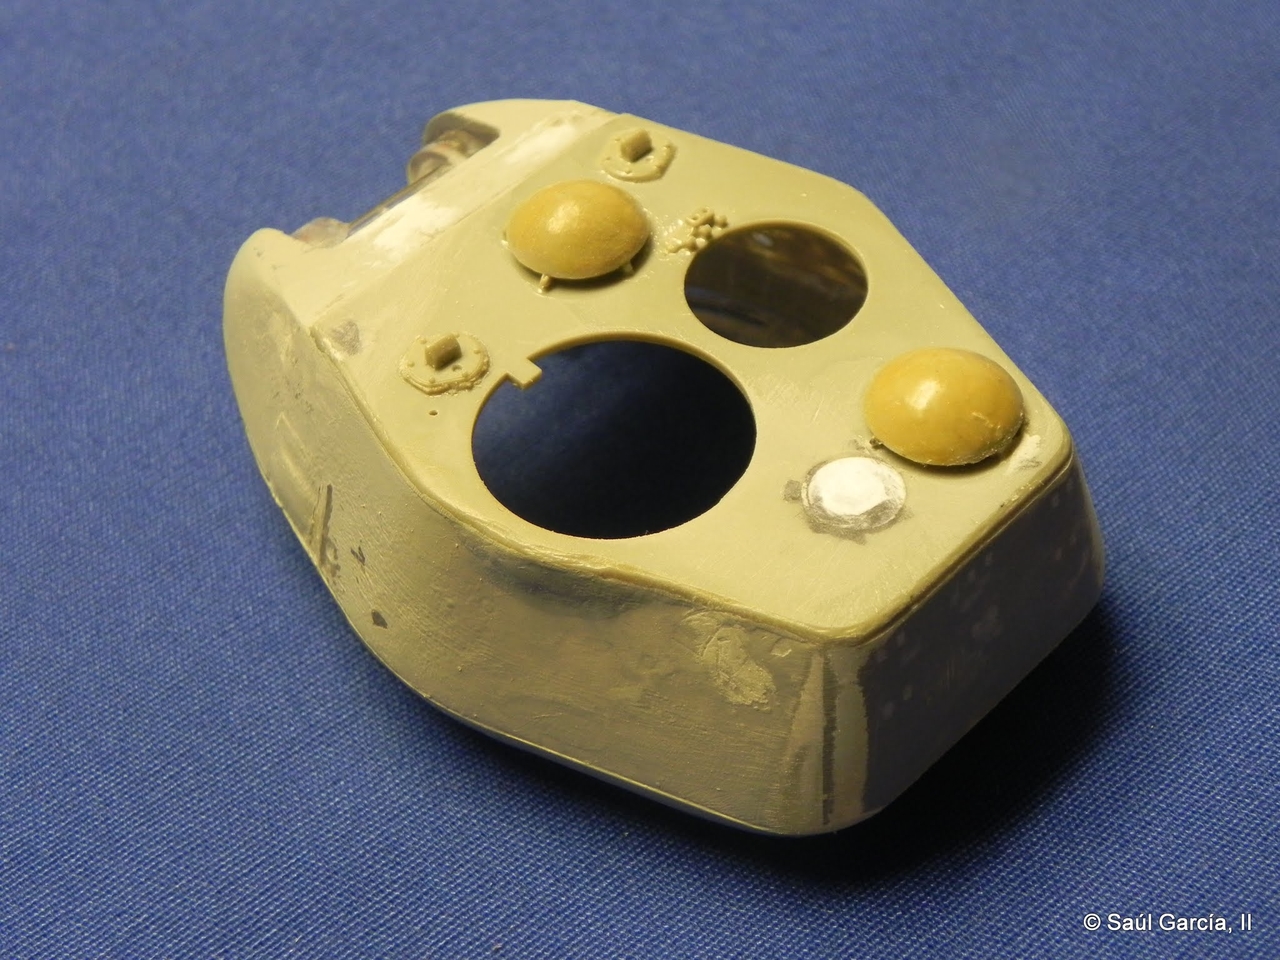
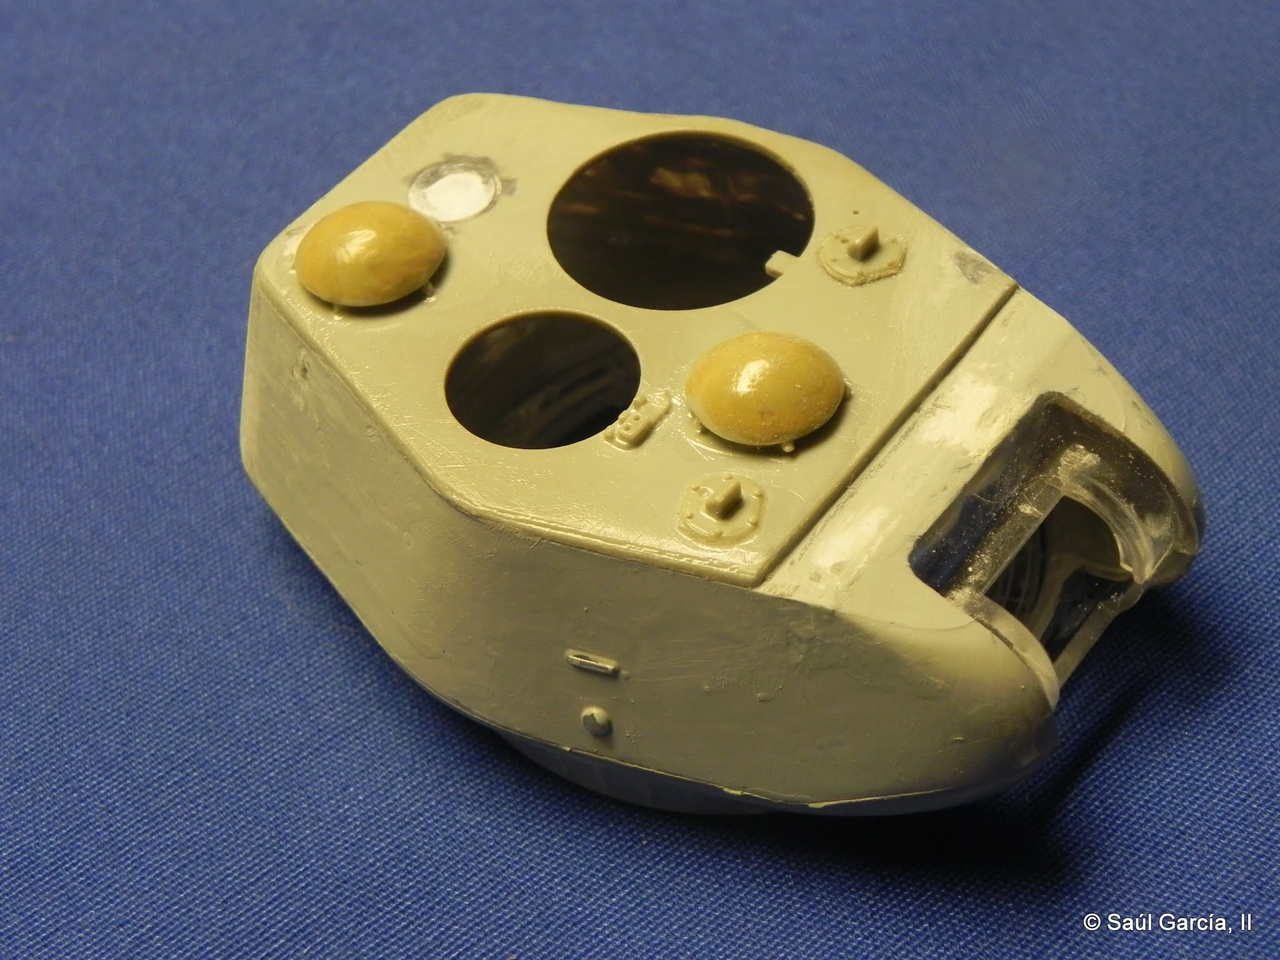
Tomorrow, I get all the wheels together and continue working on the upper hull. Driver's hatch completed though.
Regards,


Tomorrow, I get all the wheels together and continue working on the upper hull. Driver's hatch completed though.
Regards,
Yes, the Macro function on a camera is a blessing and a curse. Instead of posting the photos, out came the Squadron White Putty, some sanding, and here I stand (some more sanding needed):


Tomorrow, I get all the wheels together and continue working on the upper hull. Driver's hatch completed though.
Regards,

When I'm working on something, this is what I see:
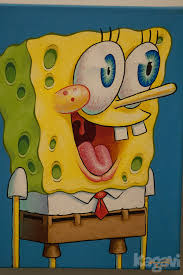
Then I take the photo and this is what it really looks like:

Since I was working with clear plastic, it was even worse! My son loved the Spongebob Squarepants comparisons, by the way!
Never mind the dust, I grafted parts of the AFV Club engine deck so as to have things to see under the grills.
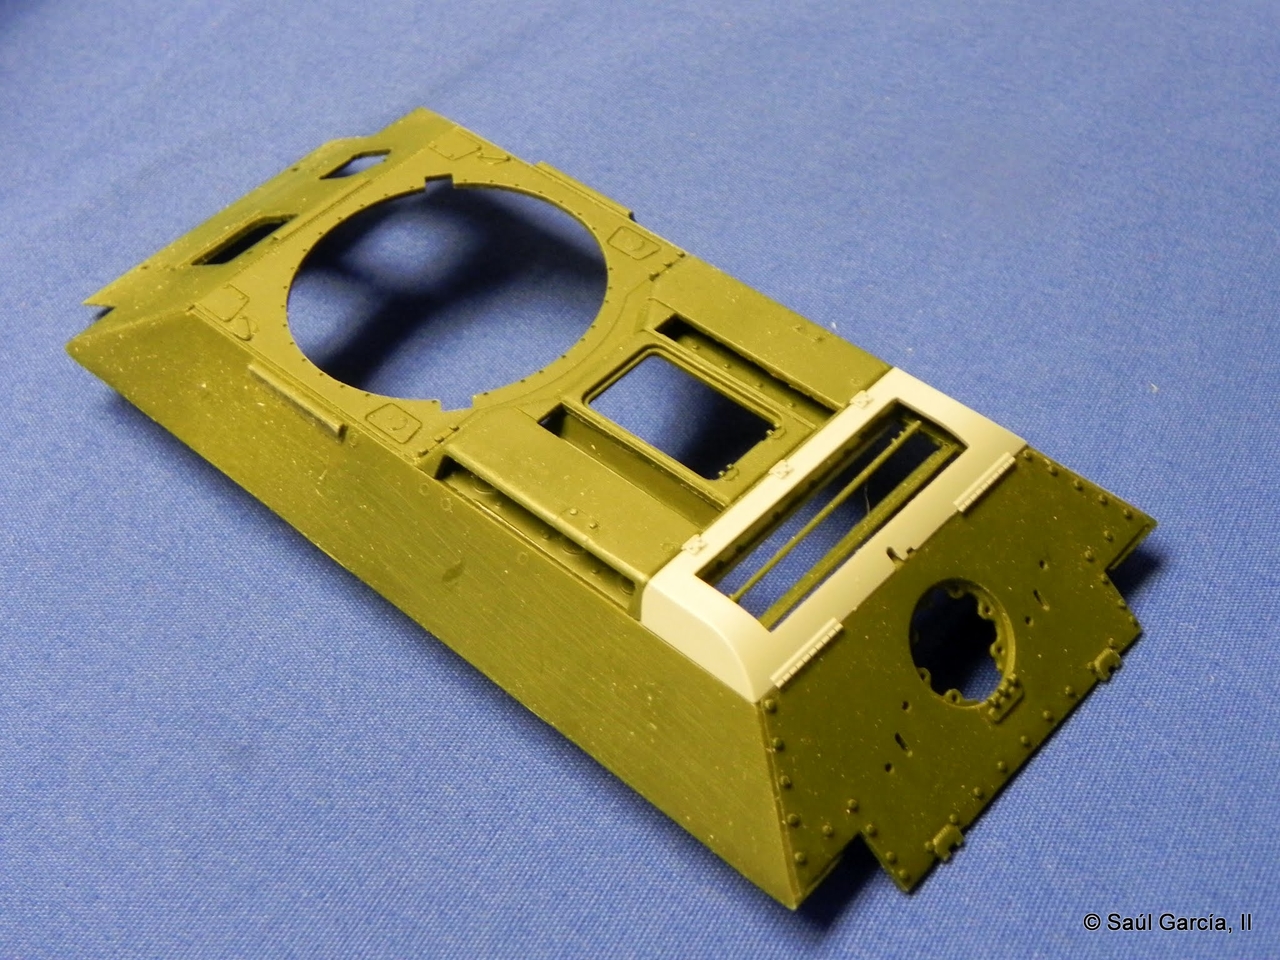
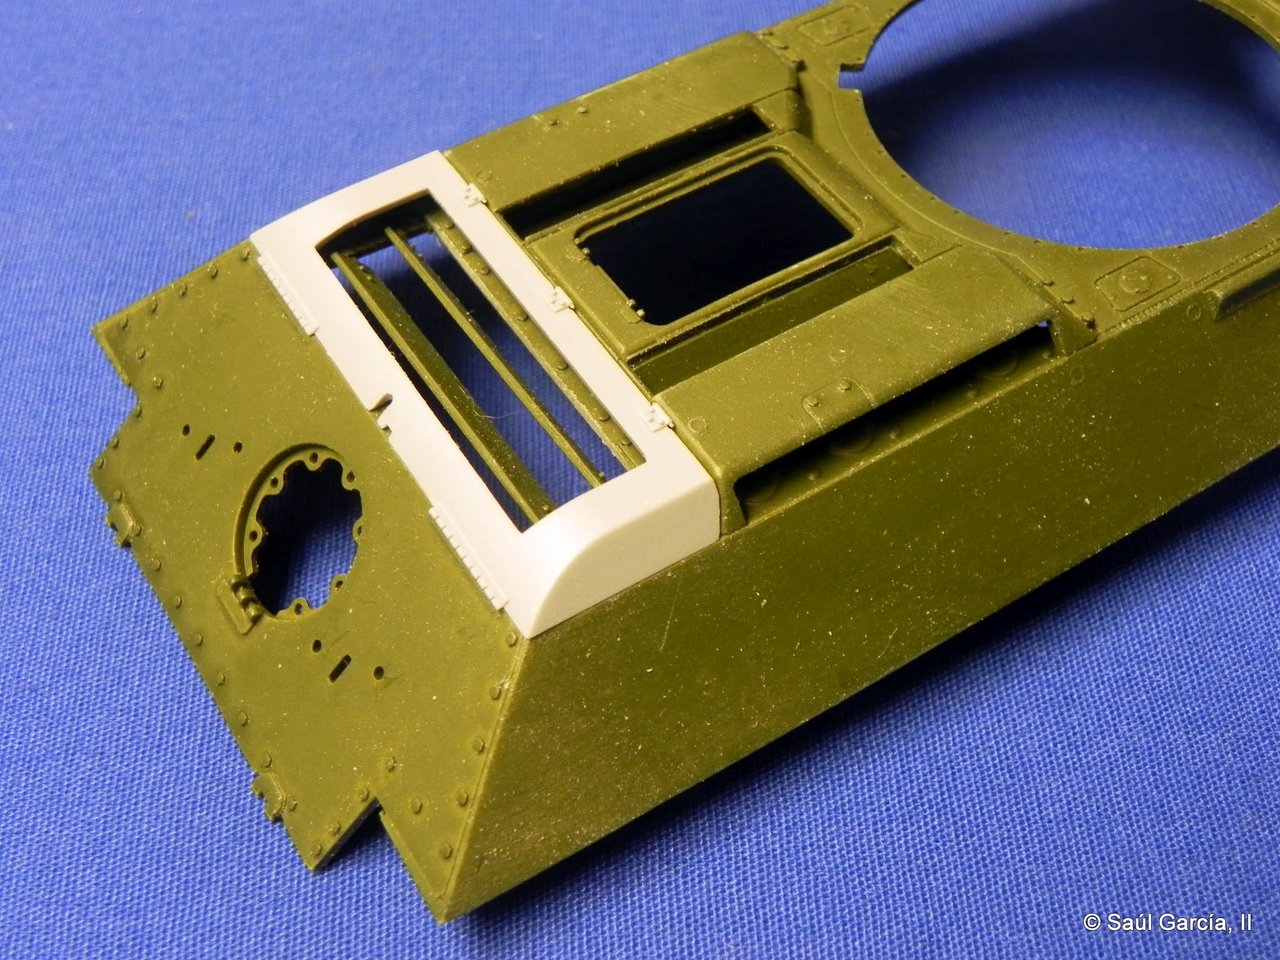
Regards,


Regards,
centaur567
Well-known member

 Gary S.
Similar threads
- Replies
- 53
- Views
- 7K
- Replies
- 23
- Views
- 5K
- Replies
- 23
- Views
- 5K
- Replies
- 63
- Views
- 17K
- Replies
- 8
- Views
- 2K

 :frantic

