ausf
Master at Arms
My initial reaction to this kit was disappointment. I bought it thinking I could throw an Arduino in it and finish it in a weekend. Unfortunately the parts that are to be lit are molded in silver styrene, which includes 8 slotted windows, one big window and the engine, which is molded in a pretty cool pattern. Pretty much a deal breaker in terms of a quick build, so the kit was destined to sit in the stash for a while.
Then I found a photo of the filming miniature and the engine isn't textured, good news! And after a bit of thought, I don't need to carefully cut out 8 slots and fill with clear, a better idea jumped into me head.
So a few minutes with the trusty Proxxon table saw and a yellow styrene strip and it's sitting pretty. I just need to fill in the gap with more styrene strip once the glue dries, fill and sand flush and I'm done. I purposely went a bit wide with the strip height, I intend to just mask off the windows, so I wanted some area fill that won't show through the transparent area.
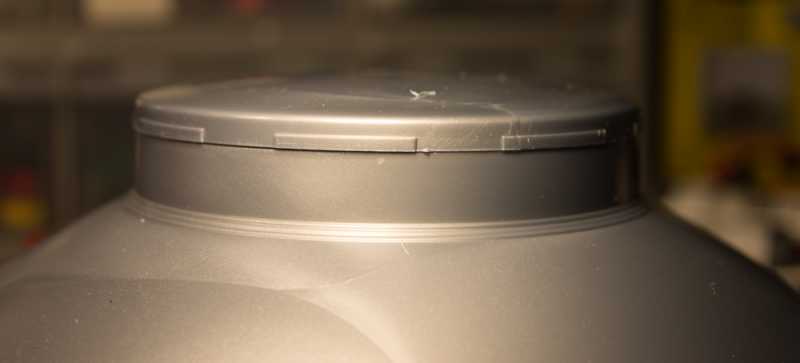
Here's the kit as designed, the raised parts are supposed to be windows:

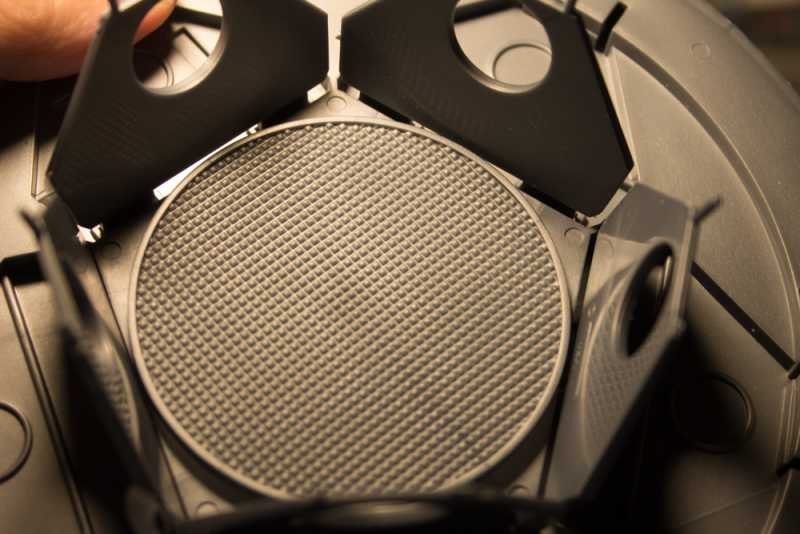
And the engine, ain't no LEDs going to shine through that:

The post cut fit:

The yellow transparent styrene internal strip, as a structural support and back stop for the next layers to get the surfaces flush. I only have PVC sheet in clear on hand, my plan is to fill the gap with it and cap the final with yellow styrene for gluing purposes.

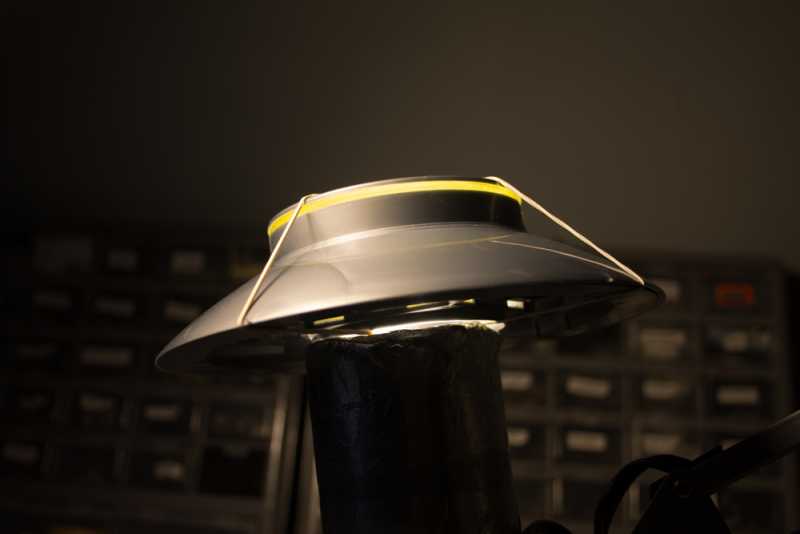
And a light underneath to show the yellow:

I'm going to 3D print the engine insert. It's a simple circle, I have transparent filament and can use a honeycomb fill pattern that should give a good effect with the lighting.
Then I found a photo of the filming miniature and the engine isn't textured, good news! And after a bit of thought, I don't need to carefully cut out 8 slots and fill with clear, a better idea jumped into me head.
So a few minutes with the trusty Proxxon table saw and a yellow styrene strip and it's sitting pretty. I just need to fill in the gap with more styrene strip once the glue dries, fill and sand flush and I'm done. I purposely went a bit wide with the strip height, I intend to just mask off the windows, so I wanted some area fill that won't show through the transparent area.
Here's the kit as designed, the raised parts are supposed to be windows:

And the engine, ain't no LEDs going to shine through that:

The post cut fit:

The yellow transparent styrene internal strip, as a structural support and back stop for the next layers to get the surfaces flush. I only have PVC sheet in clear on hand, my plan is to fill the gap with it and cap the final with yellow styrene for gluing purposes.

And a light underneath to show the yellow:

I'm going to 3D print the engine insert. It's a simple circle, I have transparent filament and can use a honeycomb fill pattern that should give a good effect with the lighting.


