phantom II
Master at Arms

Cheers, Christian B)

Modelers Alliance has updated the forum software on our website. We have migrated all post, content and user accounts but we could not migrate the passwords.
This requires that you manually reset your password.
Please click here, http://modelersalliance.org/forums/login to go to logon page and use the "Forgot your Password" option.

 B)
B)


Archer set is Rivets .014" (.36mm) set #AR88016 retail- $17.95
the other one is micromarks here is the link, they have 2 diferent sizes O and HO and the pages are
big with other details also sets #84985 and 87987 - $11.75 I got one of each
http://www.micromark.com/ho-scale-decals-with-raised-3d-rivets-and-other-surface-details,9968.html

 hmy: :hmmm
wooooww Saul you are right!!! thats no coincidence, its identical to mission models one. what else may have being copied?


 hmy: hmy: hmy: hmy: hmy: :angry:
 Hi!!
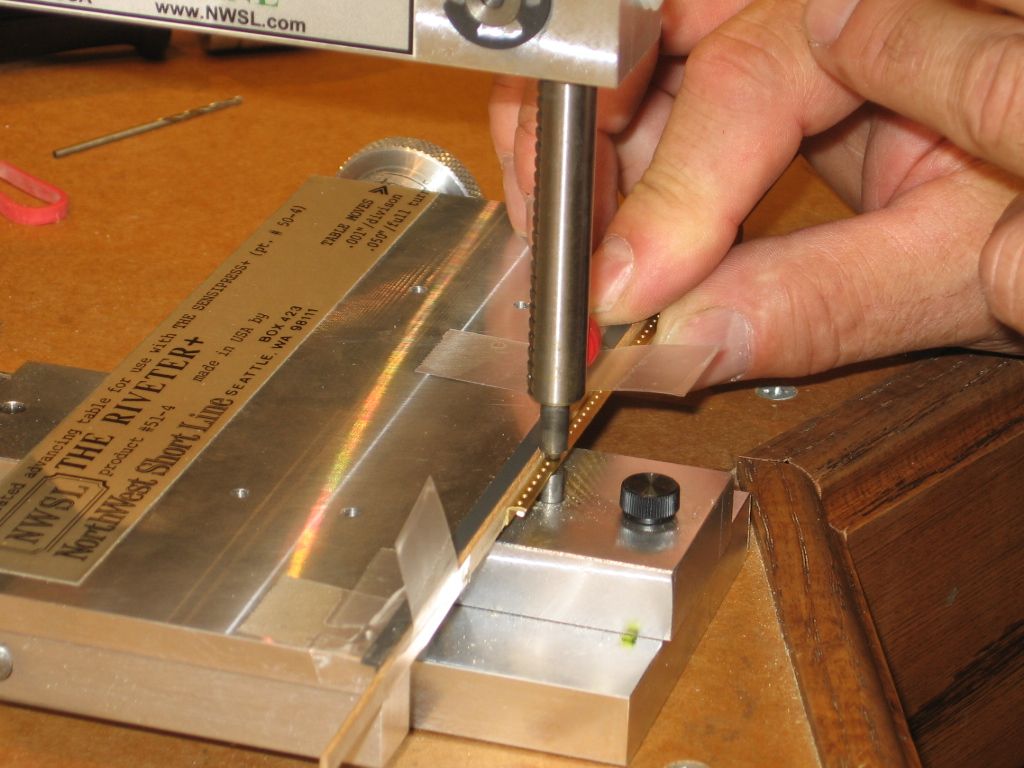
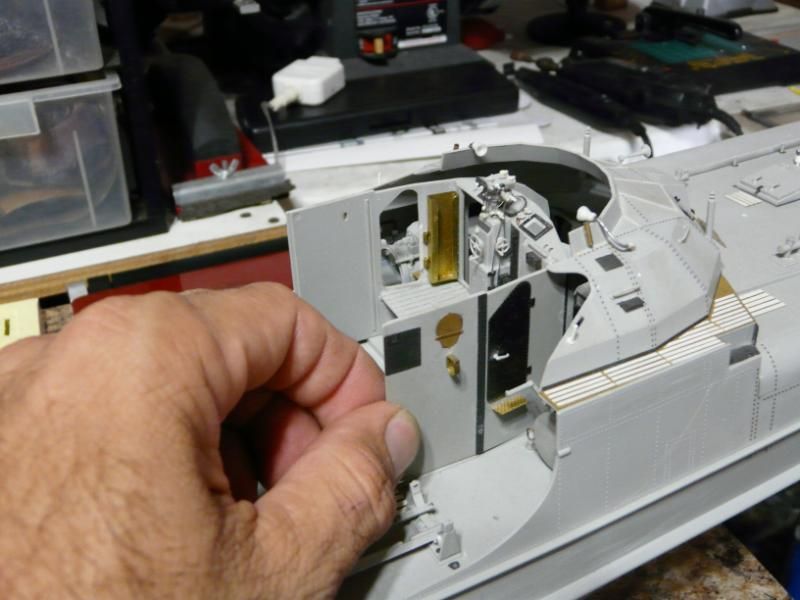
Here with another small update on the S-100, a little more scratch and more rivets. I finally glued the front deck in place and used gap glue to fill the line between the parts, because of the sanding the
Rivets close to it were lost. So I used the resin rivets decal to fix it.
Here the rivets already replaced
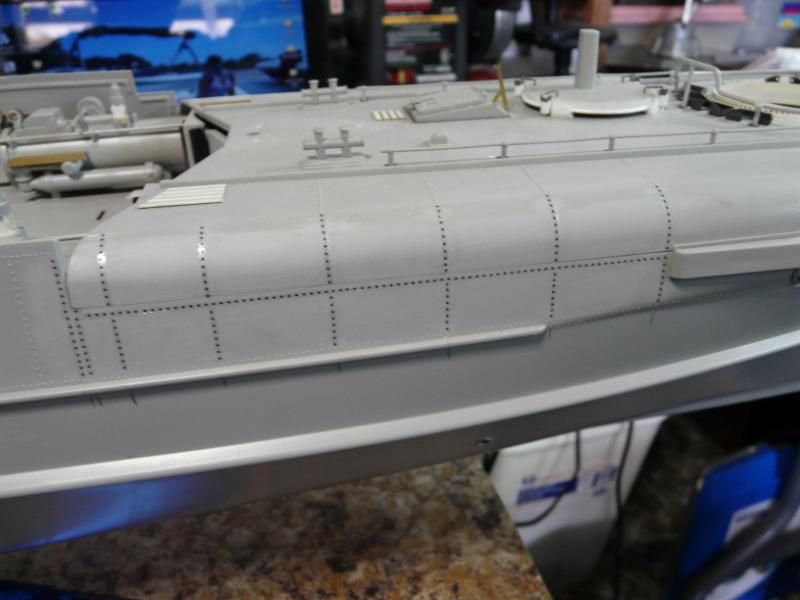
Same for the front part of the deck

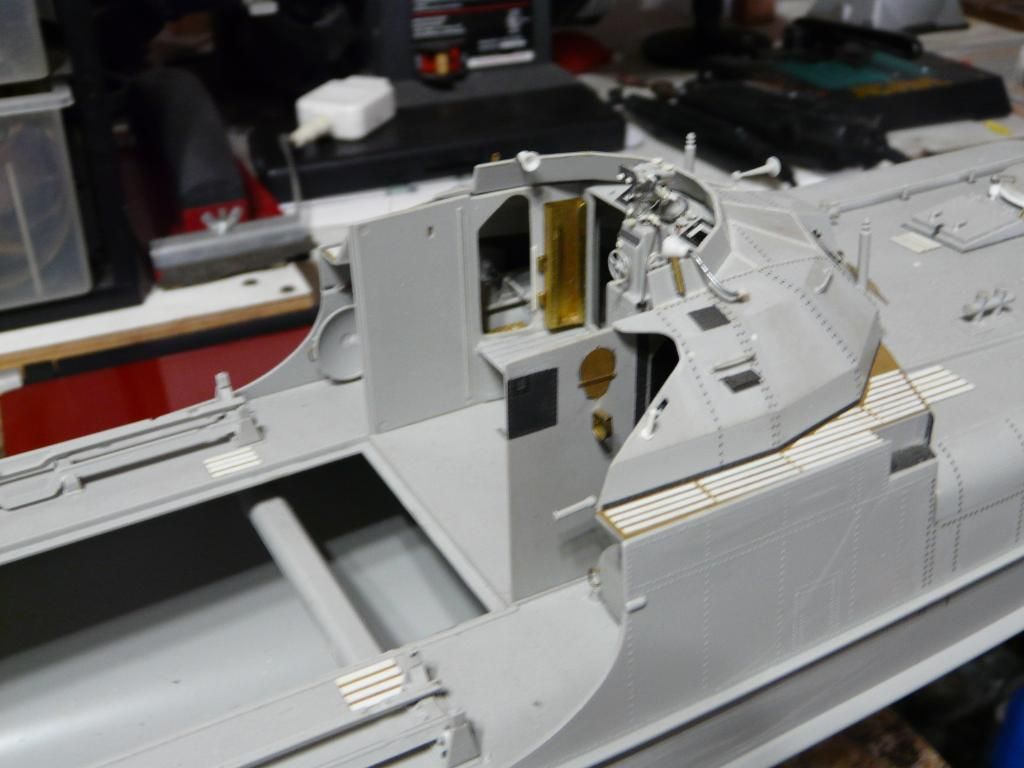
Next I fixed the armored bridge to the boat but left the cabin assembly out for ease of painting
Later, for this you need to cut all the pins on the bottom of the walls so the cabin can slide to its
Place
Cut all the pins
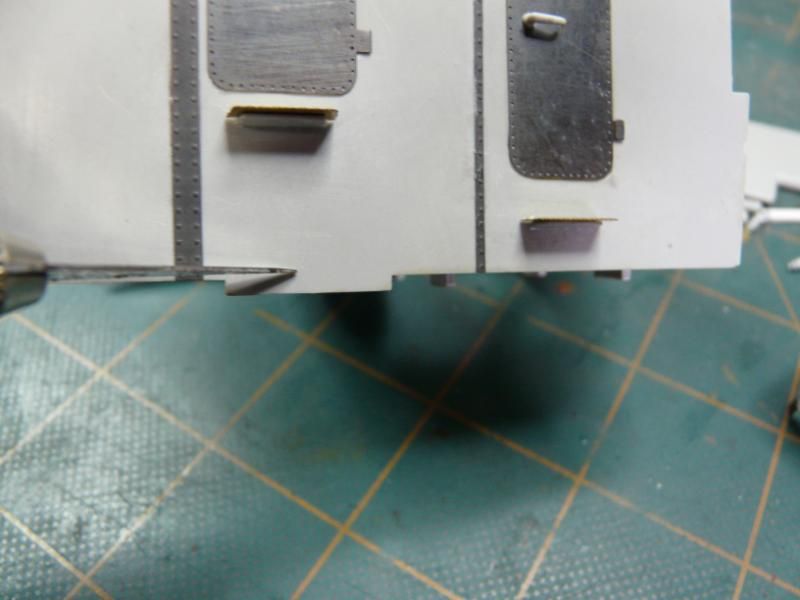
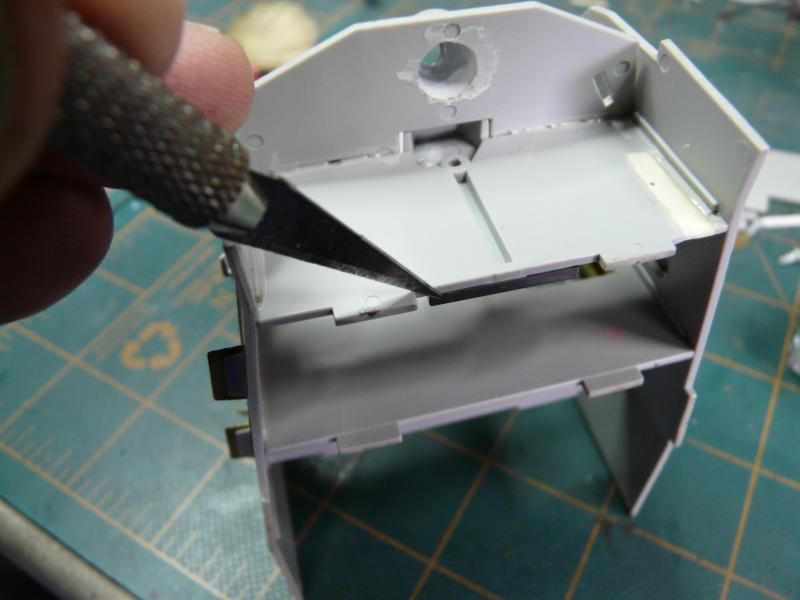
So now you can slide it in
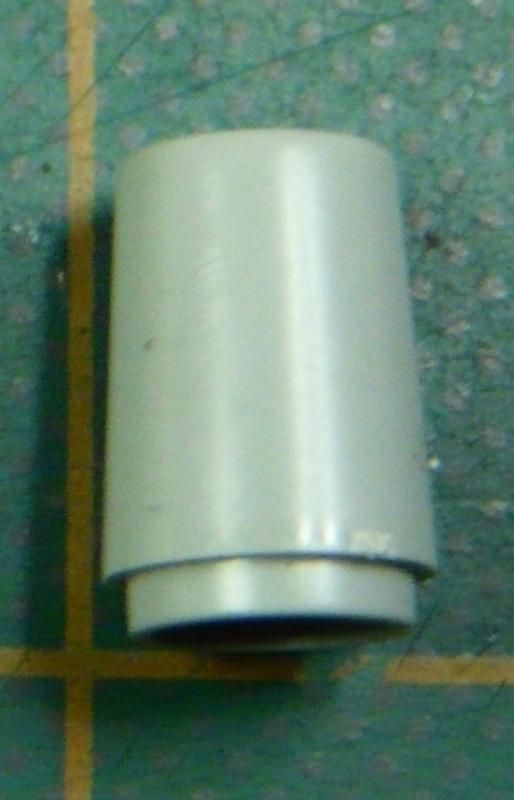
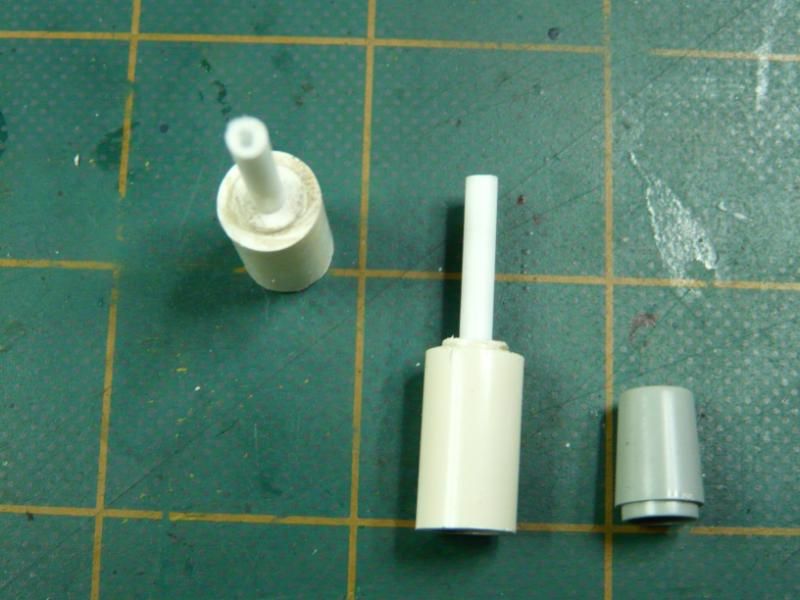
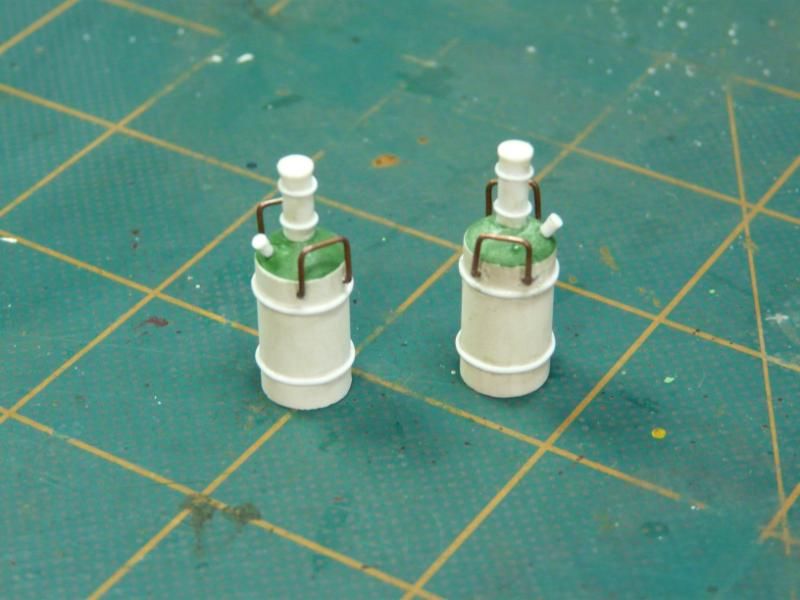
Next is the creation of the demijohns, this is French liquid containers. After studying the work on the other forums I made it using 3 different styrene tubes…
The italery ones
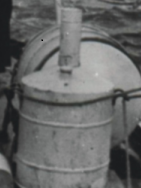
Original demijohn
Here I made the two new ones, the italery one on the right

The top is filled with green putty mixed with a little lacquer thinner to make it softer
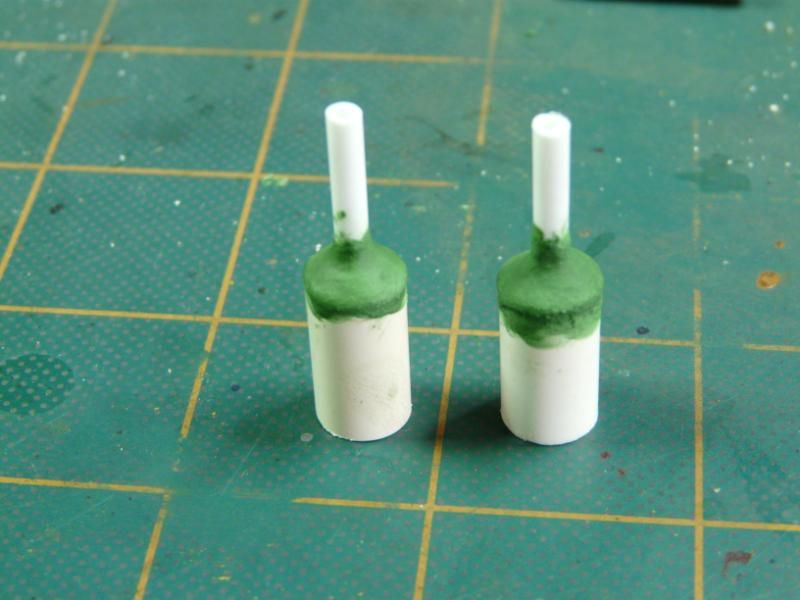
After sanding the putty at an angle I add some details using styrene strip and styrene half round strips
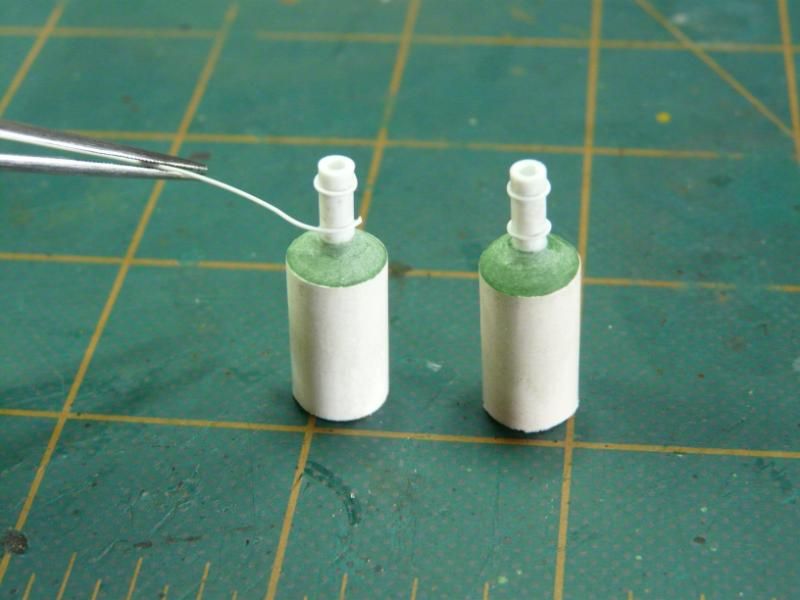
Also add the small filler neck on the side of the long neck
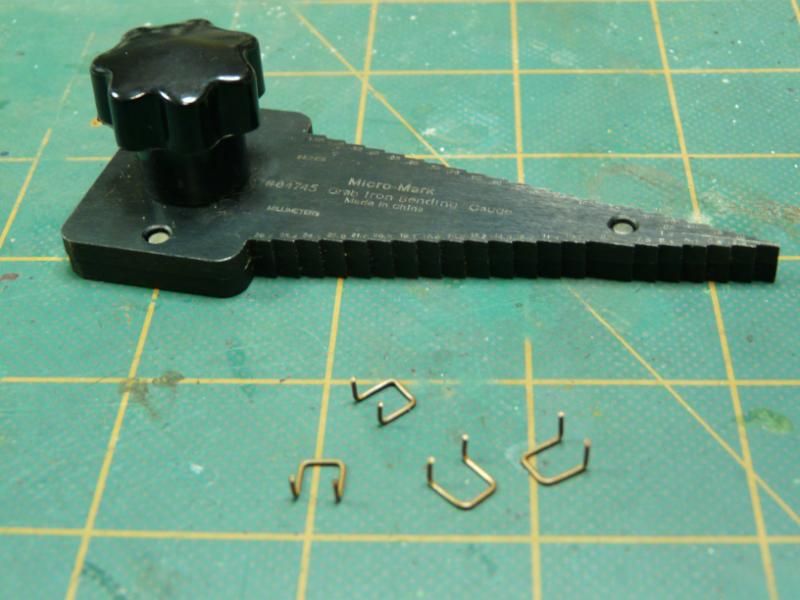
Finally the handles are made with cooper wire bent to shape
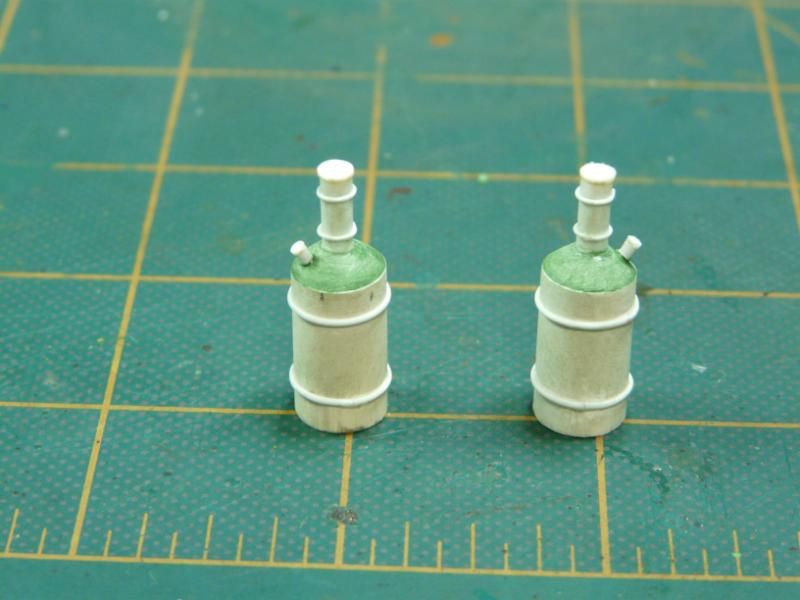
Here the finished demijohns, another great improvement over the kits ones
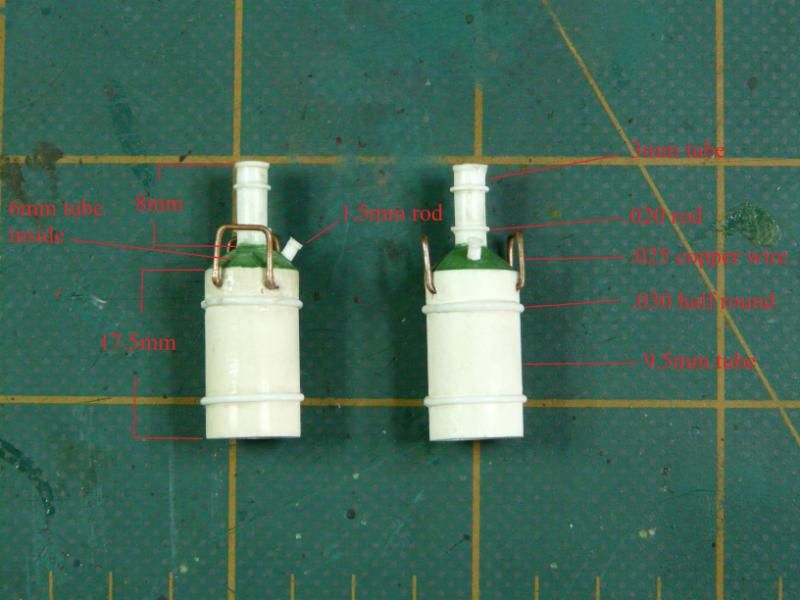
Here are all the dimensions for the parts
That’s all for now, hope to do more in a couple of weeks
Thanks!
Abdin


 ....
....  ....
.... 