jugjunkie
Active member
Well the Phantom is on a holding pattern awaiting decals from a very kind soul in the UK (nudge, nudge, wink, wink Ian) so I decided to unpack something that I have been meaning to get to for a very, very long time. First impressions are not too good. The surface detail is very soft and disappears in places and - reminds me a lot of early Italeri (ala Phantom). Fit seems to be OK'ish but I do foresee the need for some elbow grease ahead.
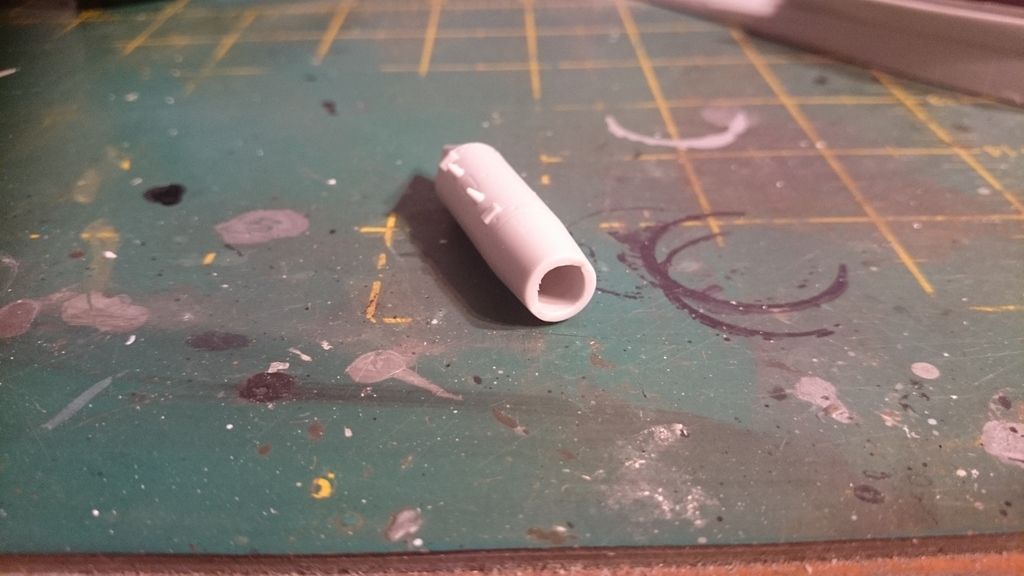
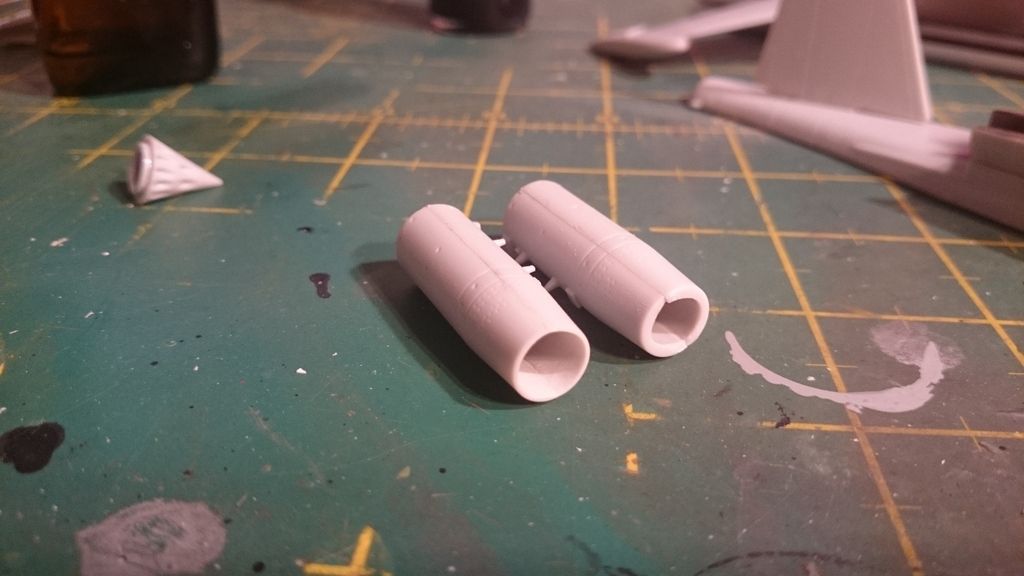
I started this one completely different to the usual cockpit. I was a bit perturbed by way everything goes together and I can see that the engine nacelles, wing, and engine internals are going to make for some fun. The engineering of this assembly is plain bloody daft. So after reading the instructions thoroughly and wrapping my head some potential issues I decided to deviate completely from the plan an instead of assembling the internal engine as a unit, I decided to assemble one half of the inlet onto the fuselage on both sides, and assemble the other half of the nacelle onto the wings. I opted to spray the engine intake with Alclad dark Aluminium at this stage.
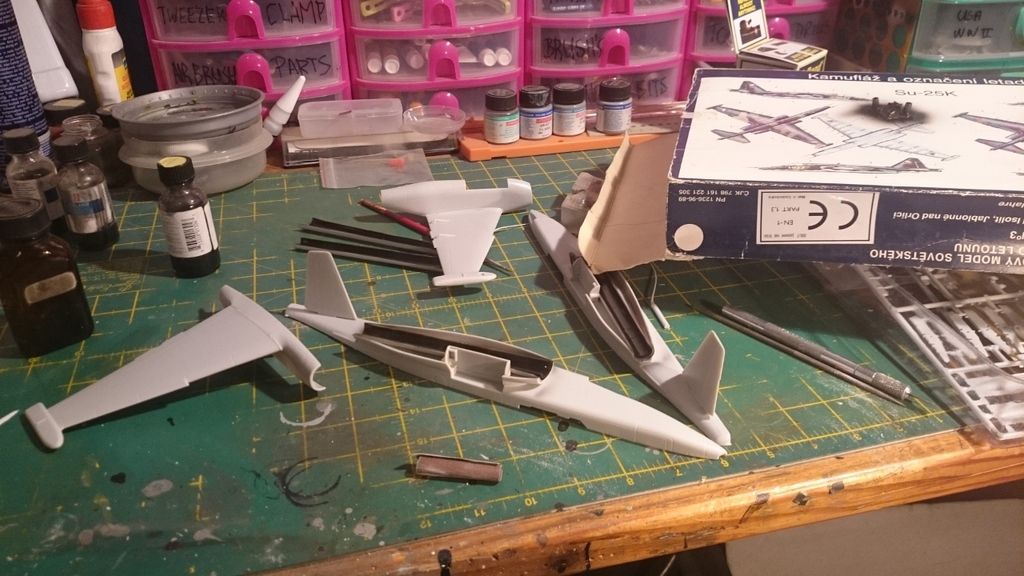
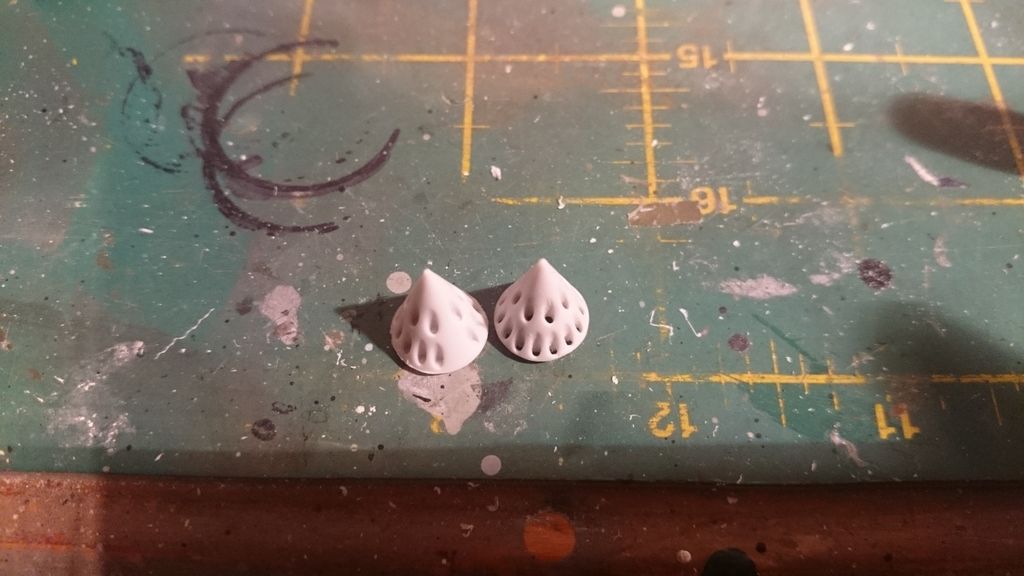
I then sprayed the compressor blades in Alclad Durallium, and fitted them. Then I attached the second half of the engine and attached the wing section to the fuselage section and this worked out sort of OK....
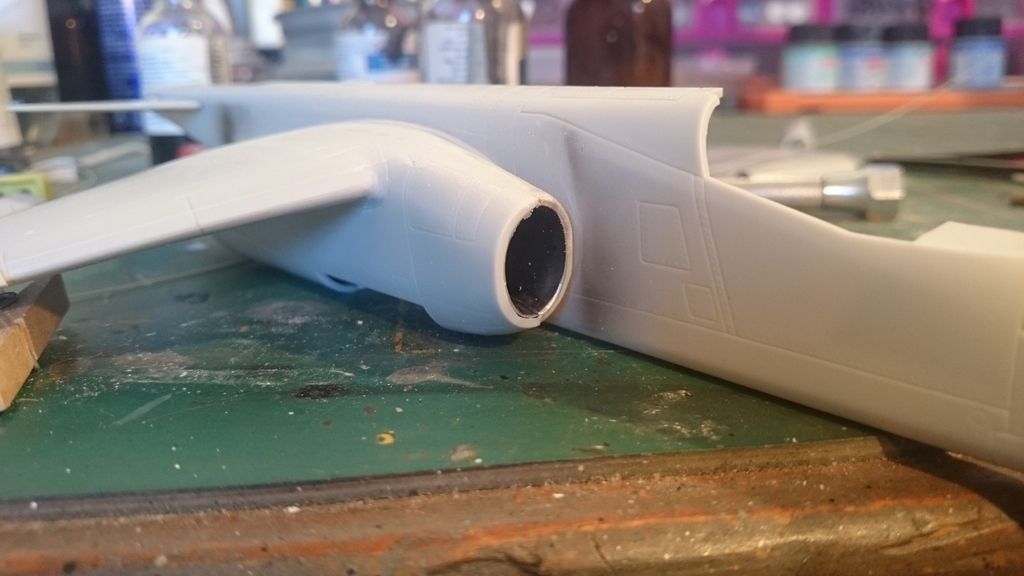
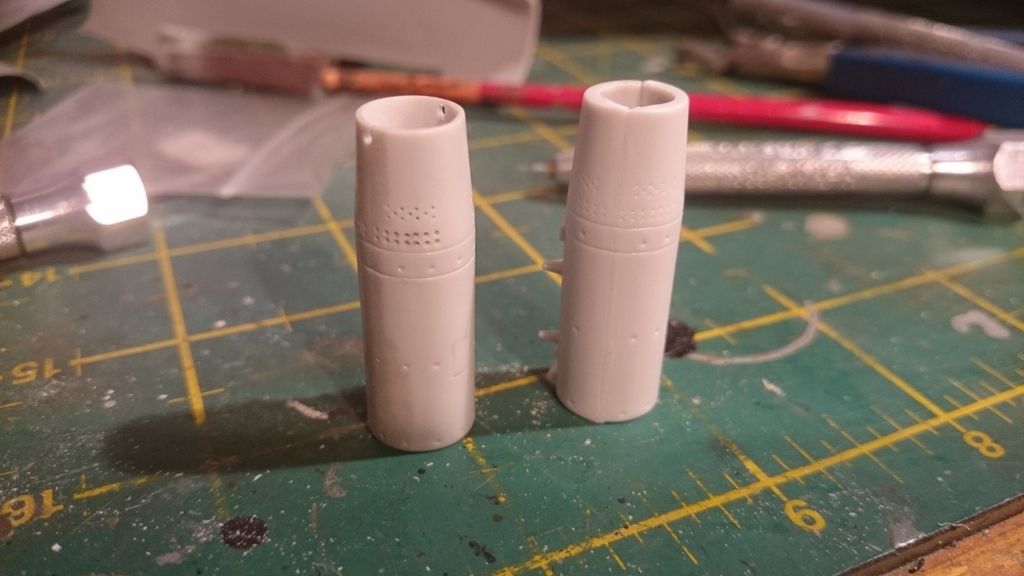
At this stage I realised I should perhaps have assembled the engine section complete first and then attached it to the fuselage because now the fixing of the seam is going to a bit more difficult in-situ. At this point I saw the intake looked like crap and this is the way it is!!! There is nothing else to add!! Looking at Photos of the plane, the opening of the intakes are very rounded and not squared off as this is. Logic tells me that Kopro really should have made decent intake rings to be added at this stage to give that proper rounded effect but alas! So I had to create that by building up the lip with some plastic sprue and then sanding it to shape.
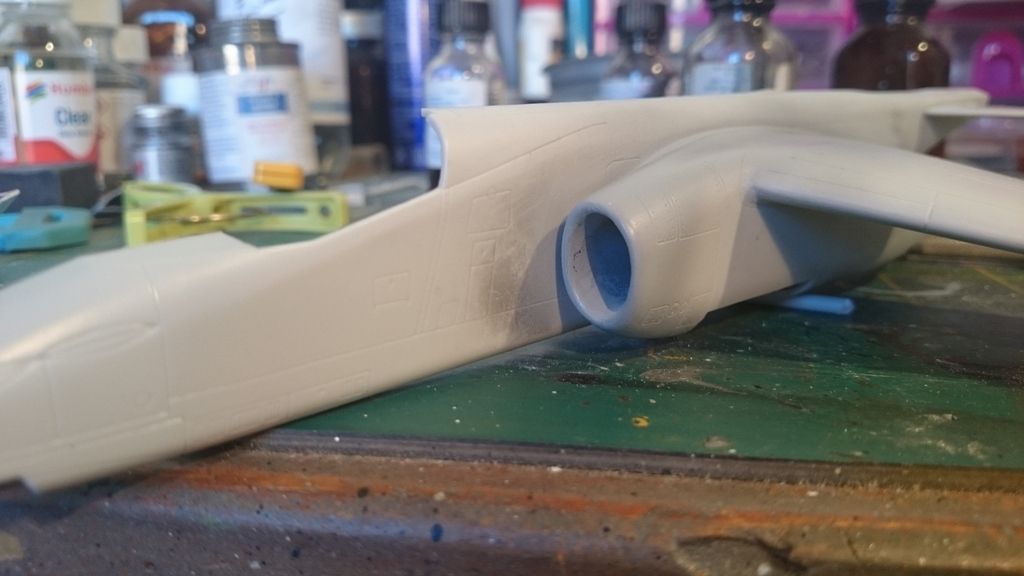
Just a comparative shot - original and reworked together...
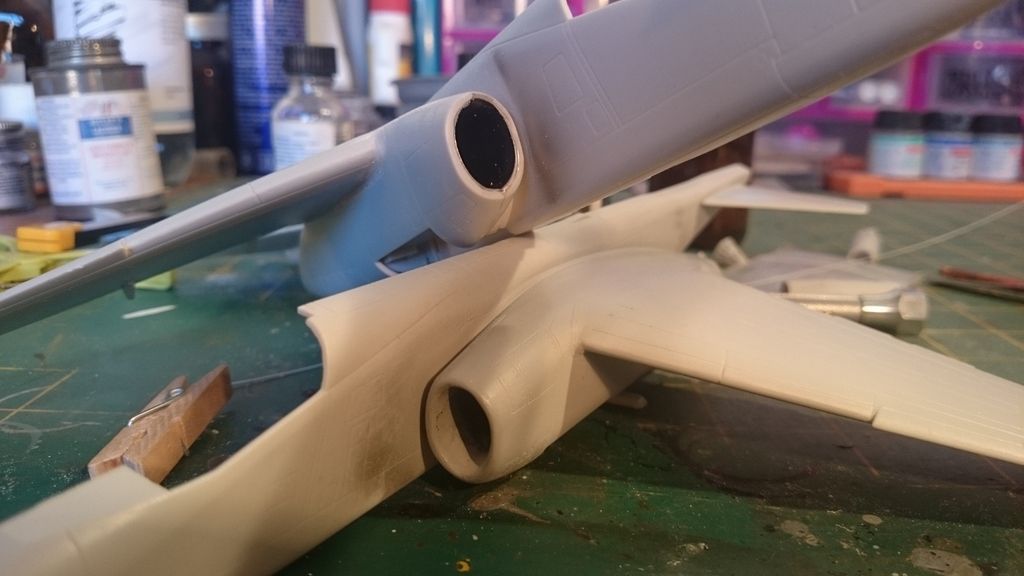
and that's where we are at for now.
I started this one completely different to the usual cockpit. I was a bit perturbed by way everything goes together and I can see that the engine nacelles, wing, and engine internals are going to make for some fun. The engineering of this assembly is plain bloody daft. So after reading the instructions thoroughly and wrapping my head some potential issues I decided to deviate completely from the plan an instead of assembling the internal engine as a unit, I decided to assemble one half of the inlet onto the fuselage on both sides, and assemble the other half of the nacelle onto the wings. I opted to spray the engine intake with Alclad dark Aluminium at this stage.

I then sprayed the compressor blades in Alclad Durallium, and fitted them. Then I attached the second half of the engine and attached the wing section to the fuselage section and this worked out sort of OK....

At this stage I realised I should perhaps have assembled the engine section complete first and then attached it to the fuselage because now the fixing of the seam is going to a bit more difficult in-situ. At this point I saw the intake looked like crap and this is the way it is!!! There is nothing else to add!! Looking at Photos of the plane, the opening of the intakes are very rounded and not squared off as this is. Logic tells me that Kopro really should have made decent intake rings to be added at this stage to give that proper rounded effect but alas! So I had to create that by building up the lip with some plastic sprue and then sanding it to shape.

Just a comparative shot - original and reworked together...

and that's where we are at for now.


