

I think we can see more shadow and highlights now. If they make any sense it's pure luck. This look ok now?

Modelers Alliance has updated the forum software on our website. We have migrated all post, content and user accounts but we could not migrate the passwords.
This requires that you manually reset your password.
Please click here, http://modelersalliance.org/forums/login to go to logon page and use the "Forgot your Password" option.
With What?? What's the next step, assembly?


") , some really nice contrasts too B)
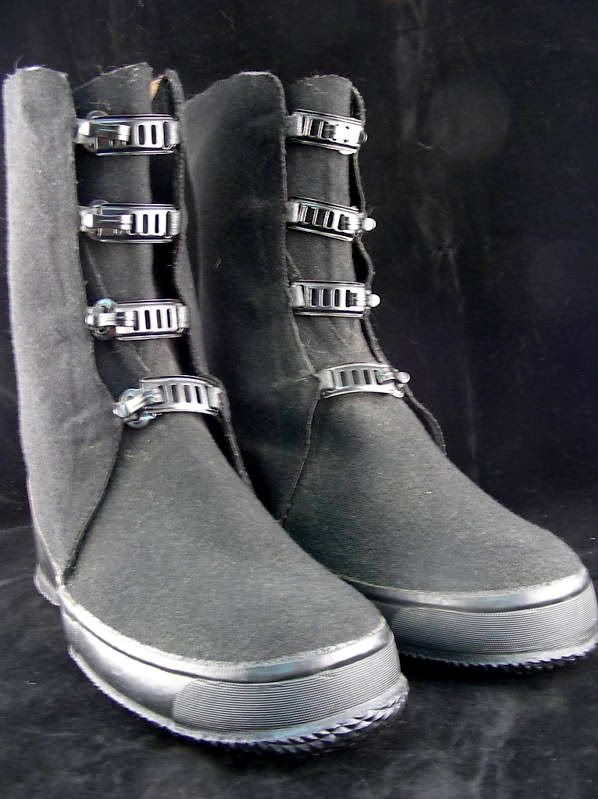
, some really nice contrasts too B) OK, one of you smart ones take a look at the smoking guy's boots. They are not laced but they have clasp, 4 of them. They look more like galoshes. What are they and would they also be brown?


There is another class forming up, hasn't been announced yet waiting on the Teacher to take roll call.
 next class?