
Re: hawkenstein 2 update 12/2
Right... :coolio
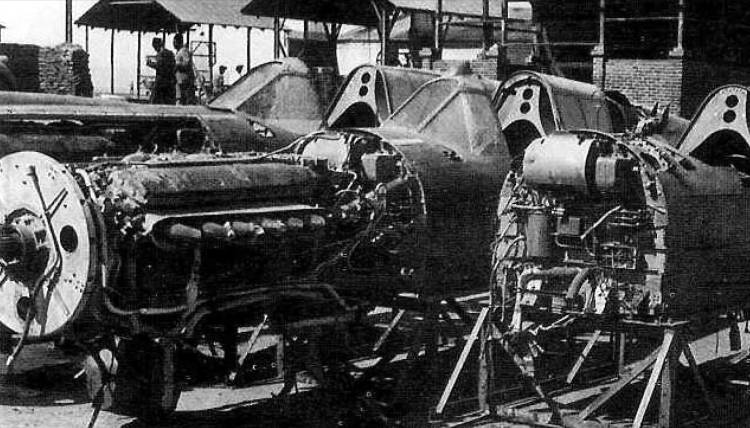
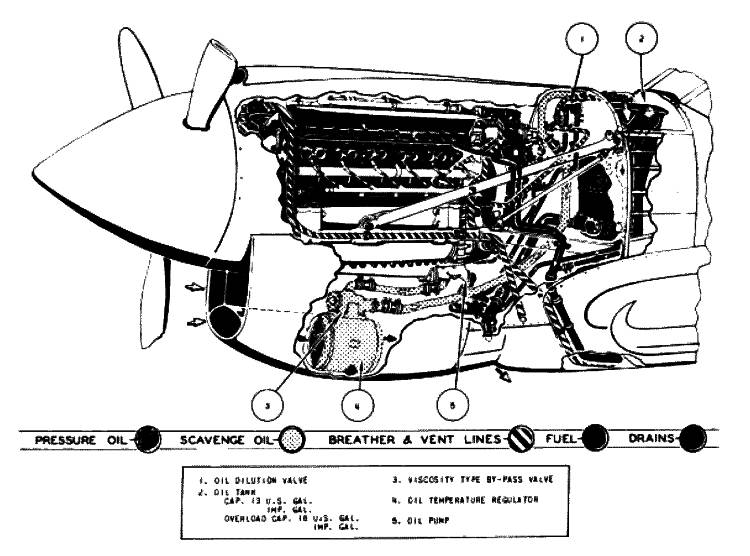
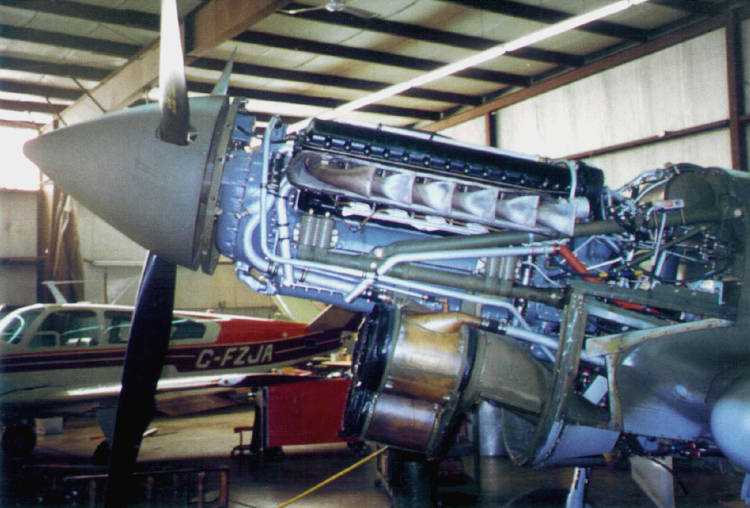
It's looking good, I like what you have going on. Did this engine have some sort of gearing that brought the prop center up, looks like the drive shaft is going to be way low.
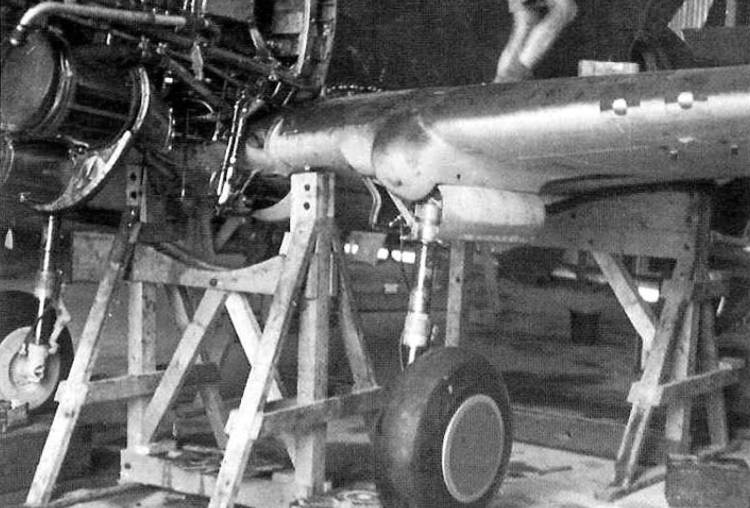
I don't think the engine is glued to the mounts yet. He probably wants to paint the mounts first.
Cheers
Right... :coolio


")


