• Modelers Alliance has updated the forum software on our website. We have migrated all post, content and user accounts but we could not migrate the passwords.
    This requires that you manually reset your password.
    Please click here, http://modelersalliance.org/forums/login to go to logon page and use the "Forgot your Password" option.

F/A-18A VFA-15 'Valions'

ij001

Well-known member
Looks like I'm first to kick this one off...

ha56fbeb.jpg


he0033bb.jpg


hfc131a5.jpg


hced768a.jpg


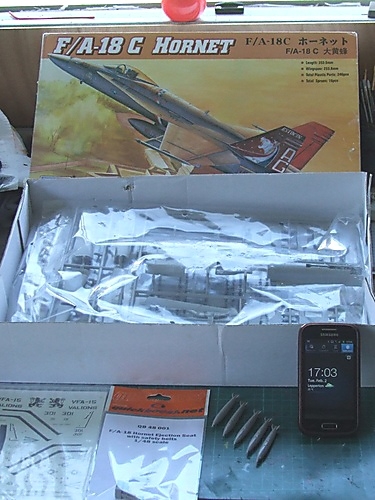
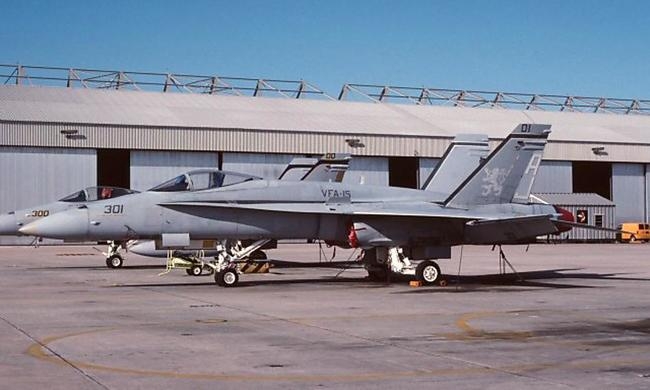
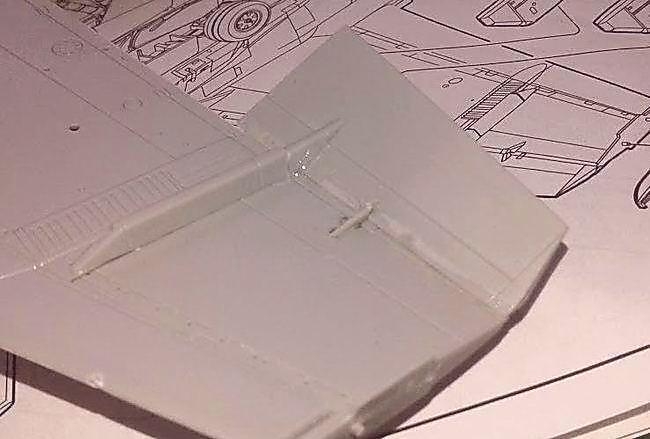
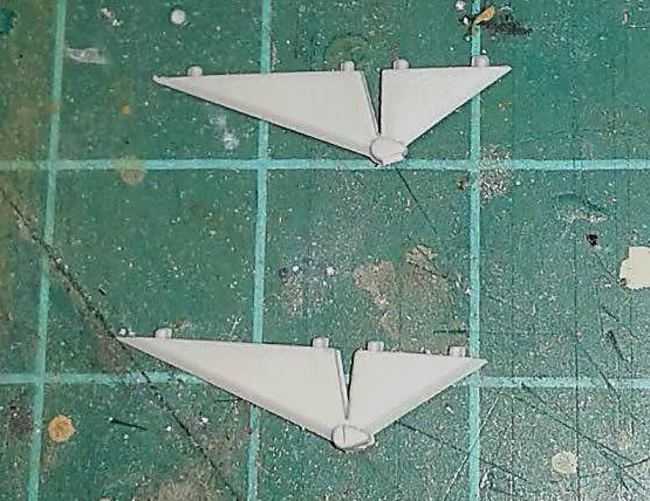
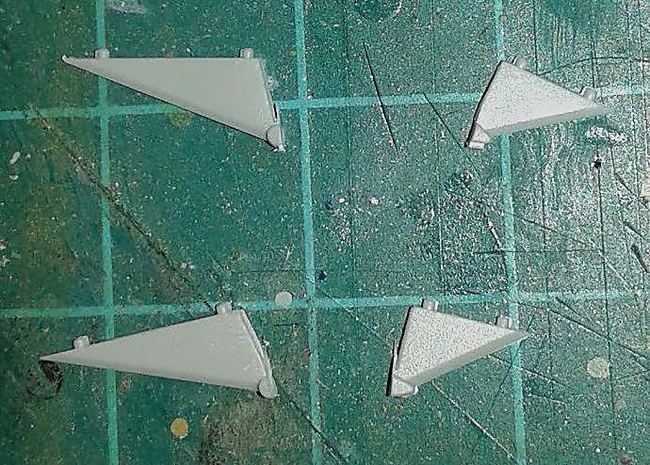
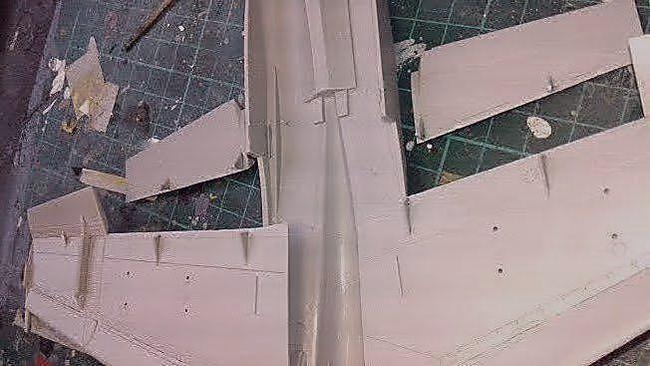
Hobbyboss kit with CAM decals, and an 'authentic' Desert Storm loadout of five Mk83's, the only 'extra' as such is the (excellent) Quickboost seat. Paint will be all enamels :eek:hmy: , but hey they work for me. Will be cutting my first plastic after the Crusader is done.

AFN

Ian.
 
F/A-18C VFA-15 'Valions'

Found two good photos of VFA-15 machines just prior to departing for Desert Storm, one is the actual aircraft that I'm going to be building AJ-301, the squadron CO's machine. The difference between this (Fallon ?) deployment and getting to the Gulf, the lions on the tail were repainted in black...

h23d98dc.JPG


h696724f.JPG


Will start with the sub-assemblies tomorrow, time permitting.

Ian.
 
F/A-18C VFA-15 'Valions'

VFA-15 appears to have been flying the A model during Desert Storm, if you care to make the minor visual cues between the 2 models. To be honest, it will likely take a pretty hardcore Bug enthusiast to pick up on the differences.
 
F/A-18C VFA-15 'Valions'

I think the C model is a little larger than the A model, plus the intakes are different. The C model is squared off. Gary
 
F/A-18C VFA-15 'Valions'

You're thinking of the E, F, & G models Gary. The A, B, C, D are all based off the original airframe, now known as "Legacy Hornets".
 
F/A-18C VFA-15 'Valions'

Your right Chris, I wrote that and tried to change it. I had the c model confused with the Super Hornet. Hell getting old. That's my excuse. Gary
 
F/A-18C VFA-15 'Valions'

VFA-15 appears to have been flying the A model during Desert Storm, if you care to make the minor visual cues between the 2 models. To be honest, it will likely take a pretty hardcore Bug enthusiast to pick up on the differences.

Yep absolutely right, but the 'C' parts in the kit are all on the 'options' sprues, so all I need to do is not put them on and 'hey presto' and F/A-18A !!

Ian.
 
Yep absolutely right, but the 'C' parts in the kit are all on the 'options' sprues, so all I need to do is not put them on and 'hey presto' and F/A-18A !!


Perfect! :woohoo:

The little bit of digging I did, the most prominent would be easily enough removed with some sanding sticks if they did come molded in. Mostly some extra antenna humps.
 
Because of the breakdown of the kit, just for once, the builder can start virtually anywhere on the construction – I have started on the upper fuselage & wing sub-assembly. After inserting the lower panels and building/fitting the leading edge slats I ran in to a problem with positioning the flaps & flaperons.

Hobbyboss have copied/adapted Hasegawa’s approach and provided ‘positionable’ trailing-edge ‘stuff’. Great, I love the look of an F/A-18 with everything drooped and dropped.


Unfortunately Hobbyboss didn’t give the builder positionable actuators or optional hinges… b*gg*r !!. Not a huge problem to sort-out, but shows a certain lack of experience by the manufacturer. So what should have been a quick and relaxing session ended-up as a ‘fiddly’ session as I had to find & cut the six hinges, attach them to the wing & trailing-edge ‘stuff’. Then cut & reshape the actuators all this whilst simultaneously ensuring the flaps & flaperons were drooping symmetrically.

Ho-hum…
:java

hab38a6c.jpg


h8c8ab64.jpg


h6e65abc.jpg


h014daa7.jpg


ha66a62a.jpg


Thanks for taking the time to look and/or comment.

Ian.
 
Unfortunately Hobbyboss didn’t give the builder positionable actuators or optional hinges… b*gg*r !!. Not a huge problem to sort-out, but shows a certain lack of experience by the manufacturer. So what should have been a quick and relaxing session ended-up as a ‘fiddly’ session as I had to find & cut the six hinges, attach them to the wing & trailing-edge ‘stuff’. Then cut & reshape the actuators all this whilst simultaneously ensuring the flaps & flaperons were drooping symmetrically.

Ho-hum…
:java

[/quote]

Don't we call this the joy of modeling? :tomato
 
Back
Top