• Modelers Alliance has updated the forum software on our website. We have migrated all post, content and user accounts but we could not migrate the passwords.
    This requires that you manually reset your password.
    Please click here, http://modelersalliance.org/forums/login to go to logon page and use the "Forgot your Password" option.

Done! 1/350 Yankee Modelworks Los Angeles Class

Re: 1/350 Yankee Modelworks Los Angeles Class Sub

Just snapped a couple quick pictures of the sub w/ the screws in place. Think it looks pretty good now.

DSC01411.jpg


DSC01412.jpg
 
Re: 1/350 Yankee Modelworks Los Angeles Class Sub

No real progress to speak of, but I did manage last night to at least get the sub onto its construction base.

I think this is gonna work real good.

DSC01413.jpg


And it looks like I managed to get it pretty straight. Its kinda hard to get a good straight on picture.

DSC01414.jpg
 
Re: 1/350 Yankee Modelworks Los Angeles Class Sub

It's looking good so far, Adam. Did you fill the pin holes yet? :drinks
 
Re: 1/350 Yankee Modelworks Los Angeles Class Sub

No, not yet. Still working in the backyard, hopefully once that's done I'll get back to working on the sub and get those holes filed in.
 
Re: 1/350 Yankee Modelworks Los Angeles Class Sub

Finally some real progress!!

We took a break from working in the backyard, so I spent the evening relaxing. Didnt get as much modeling done as I'd hoped, but I was able to get the first layer of putty down. My sub looks like it has the chicken pox!

Larger Image

DSC01428.jpg


I'm going to have to put down at least 1 more coat of putty in a few places, but I'm going to wait until I can get the whole thing primed, so I know where it needs to go.
 
Re: 1/350 Yankee Modelworks Los Angeles Class Sub

No pictures, but I went ahead & put down a 2nd coat of putty last night, but wasnt able to get it sanded. I also cut the wood for the finished base. Gotta look at what I've got for router bits, so I can decide what edge I want to put on the base, and then I'll start gluing on the cribbing.
 
Re: 1/350 Yankee Modelworks Los Angeles Class Sub

Finally got primer on the hull yesterday morning between other projects going on.

After letting it dry for a few hours, I found out that the paint was really rough, pretty sure it was b/c I was too far from the model w/ my airbrush, so it was drying as it was hitting the surface.

After a good sanding w/ 1k grit sand paper, it looked good.

Found out, kinda to my surprise, that there are still a lot of small bubbles that I'll have to fill, and also found out that I have some work to do around the base of the conning tower, but overall its not too bad.

DSC01458.jpg


DSC01461.jpg


DSC01459.jpg


Think I'm gonna push this one toward the back burner a little bit, and try getting a few other builds finished up, but I'll work on this between other things.
 
Re: 1/350 Yankee Modelworks Los Angeles Class Sub

Good luck Adam. I think Chuck ran into the same problem, maybe he'll have some insight.
 
Re: 1/350 Yankee Modelworks Los Angeles Class Sub

Adam, I had that problem with my 388- I filled the bubbles easily with Milliput. Before curing you can thin it with water and paint it on. Wiping the excess off forces it into the tiny cavities- viola! You may have to do a second round for those persistent little beggars, but there is no sanding and you will open no new holes.

Don't give up the ship!
chuk
 
Re: 1/350 Yankee Modelworks Los Angeles Class Sub

Oh, I hadnt thought about milliput. I've got some of it on my shelf. I used Bondo Spot Glazing Putty to fill them the first 2 rounds, and before painting, I had to wash off all the sanding residue, and I gently went over it w/ a tooth brush to get it out of the lines & such, and I wonder if maybe doing that removed some of the bondo.

THanks a ton Chuk, I'll definitely look at the Milliput. When you thin it, how much water do you use? I've never thinned it, I've only used water to help keep it from sticking to my fingers & such.
 
1/350 Yankee Modelworks Los Angeles Class Sub

SCREEEEEEEEEEEEEEECH!!!!!!!!!!!!!!!!!

Thats the sound of this thread being opened up for the first time in a long time!

Pulled this back out a few days ago, to start tweaking on it.

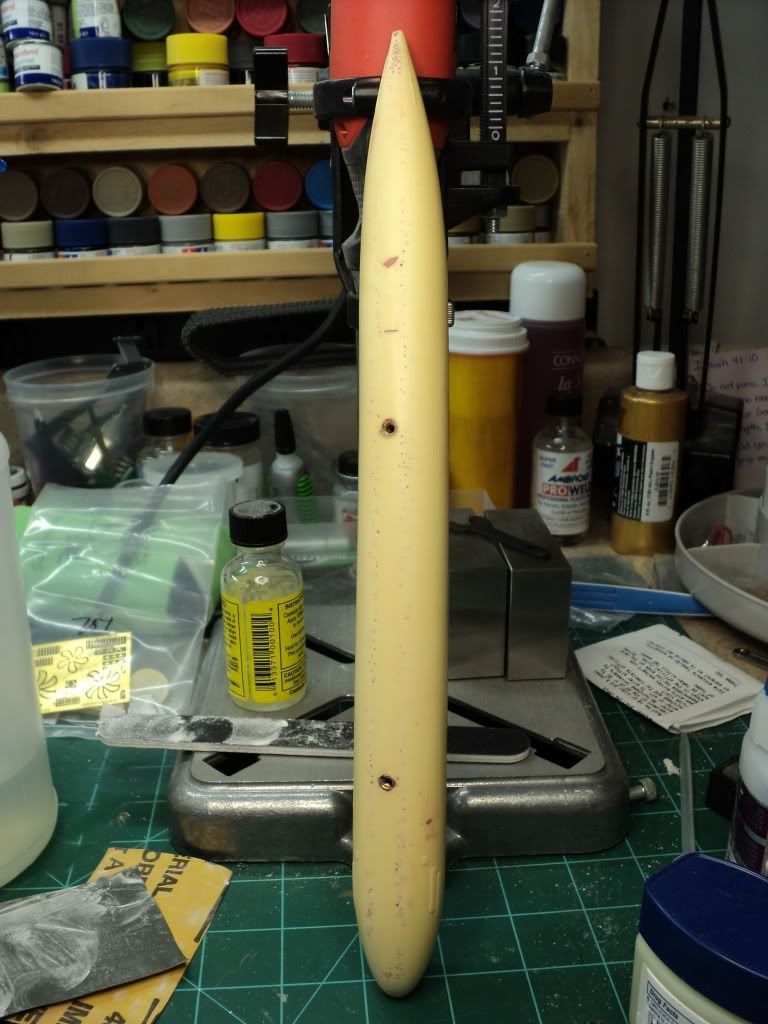
Last time I worked on it, all I'd done is sanded the hull down and put down some primer and started working on filling in the various air holes.

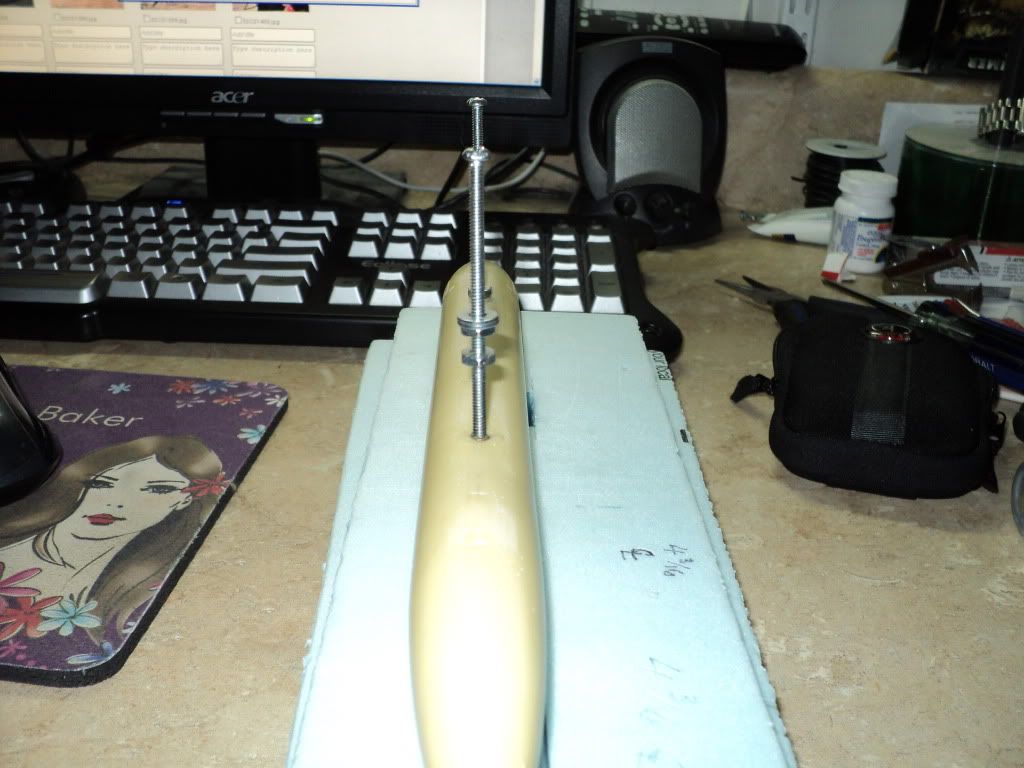
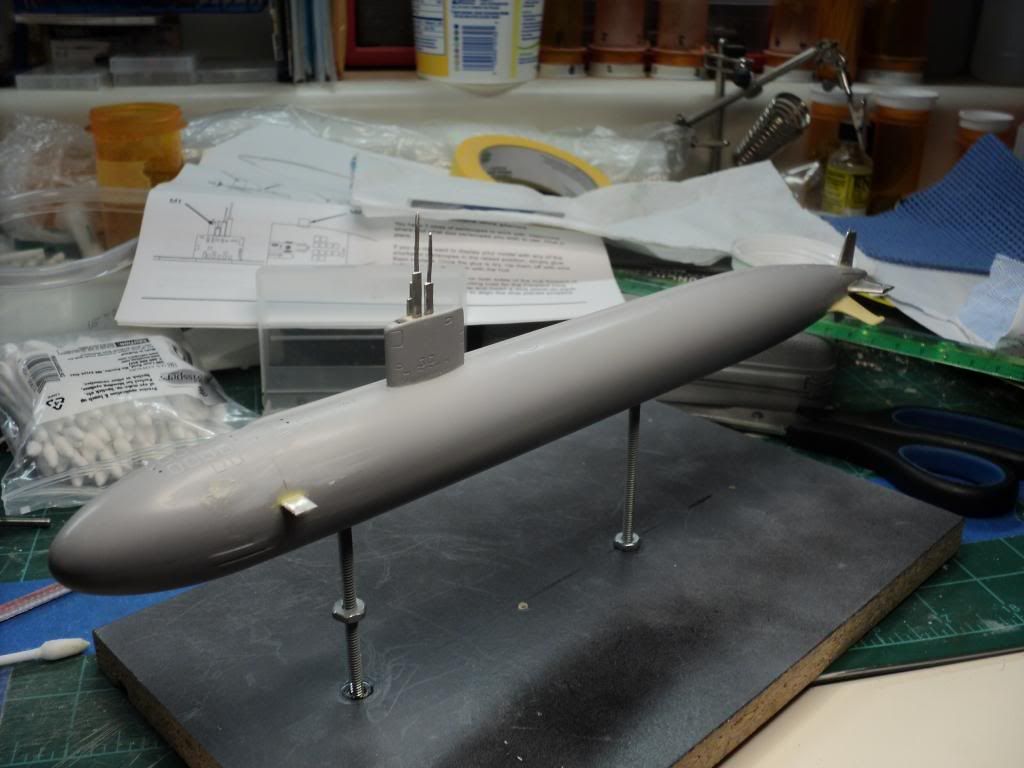
I pulled it out and got it mounted back on the construction base I made, and started working on trying to lay out the centerline get the rudders and dive planes put on, and found that I was having a really hard time w/ it. When I first started the kit, I noticed that the hull had a bit of a banana shape ot it, w/ the stern area having a noticeable, but not major, droop to it. I had planned on just leaving it alone b/c I was worried that any attempts to heat the resin could cause other issues. But with having so much trouble trying to lay out the cetner line, I decided it needed to be fixed. First I tried hot water, but just couldnt seem to get it hot enough w/o worrying about getting it too hot. So then I turned to my trusty food dehydrator. Turned the temp control to 155° and put the hull in for 20 minutes. Checked it after the 20 minutes and it was hot, but not enough to get the hull to take the droop out. Put it in for another 20, and then it was pliable enough to get the droop out. Took a couple more tries to make it perfect, but afterwards I mounted it to the construction base, and it sat perfectly straight, and visually it looks straight as well, no more droop.

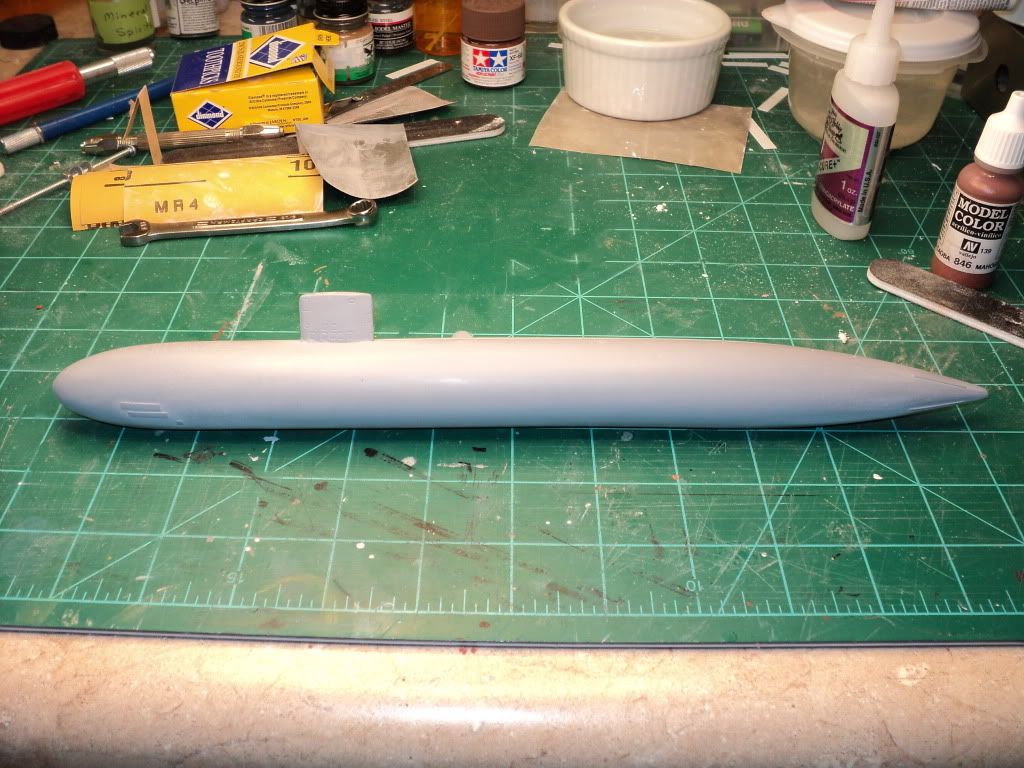
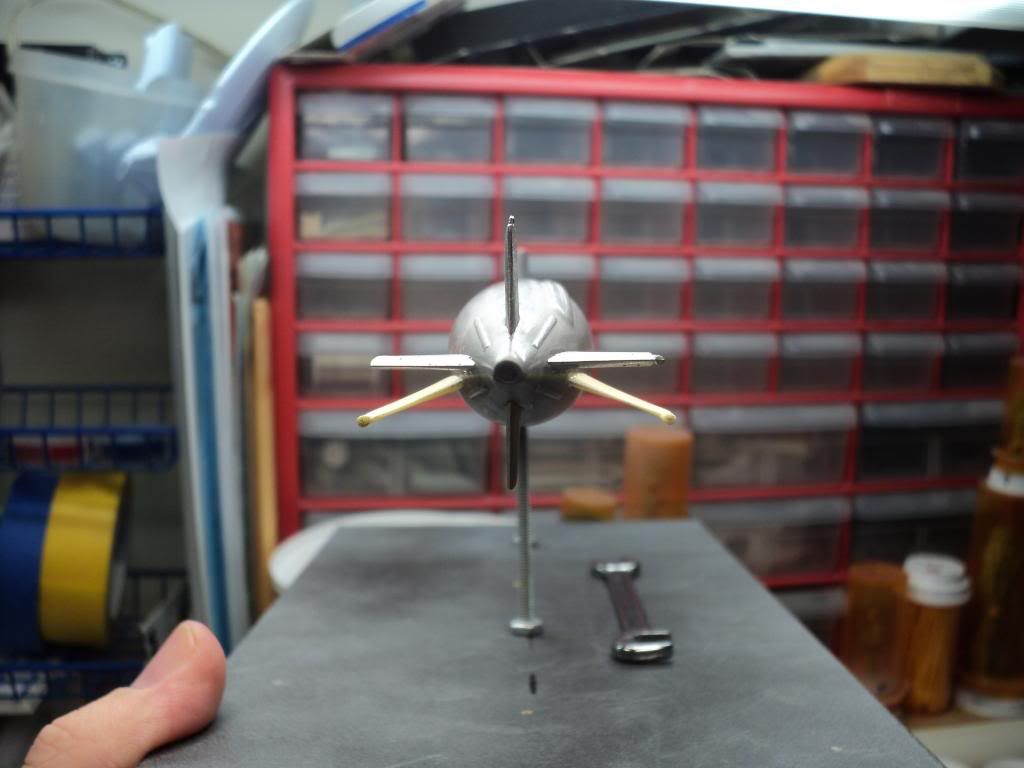
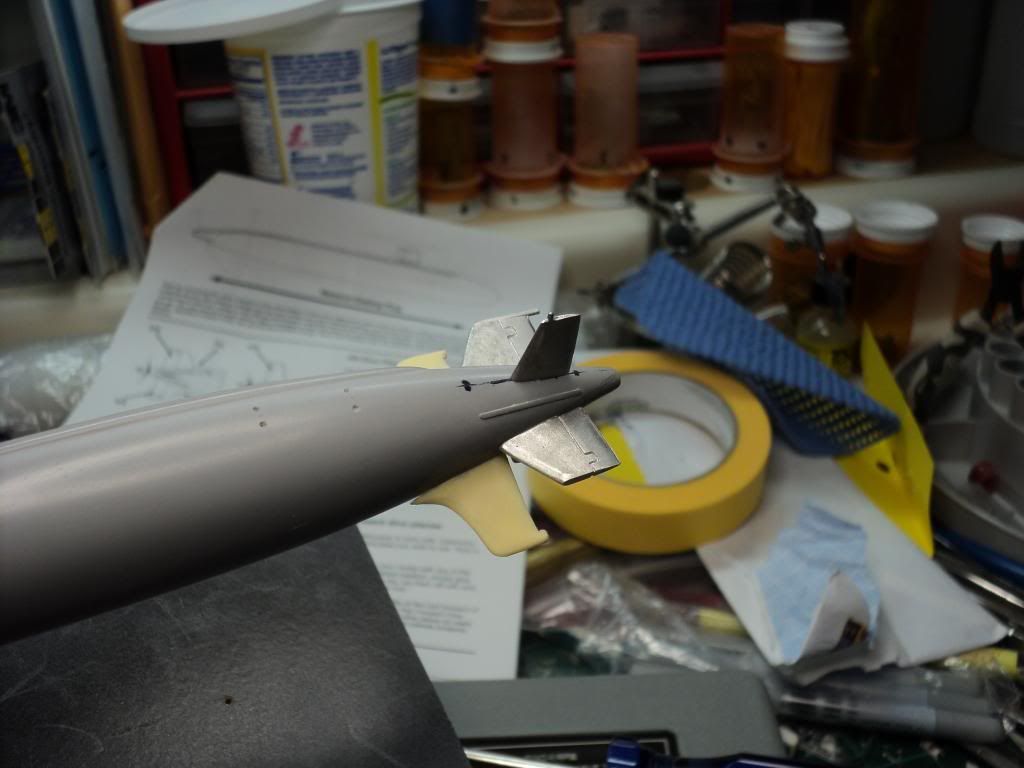
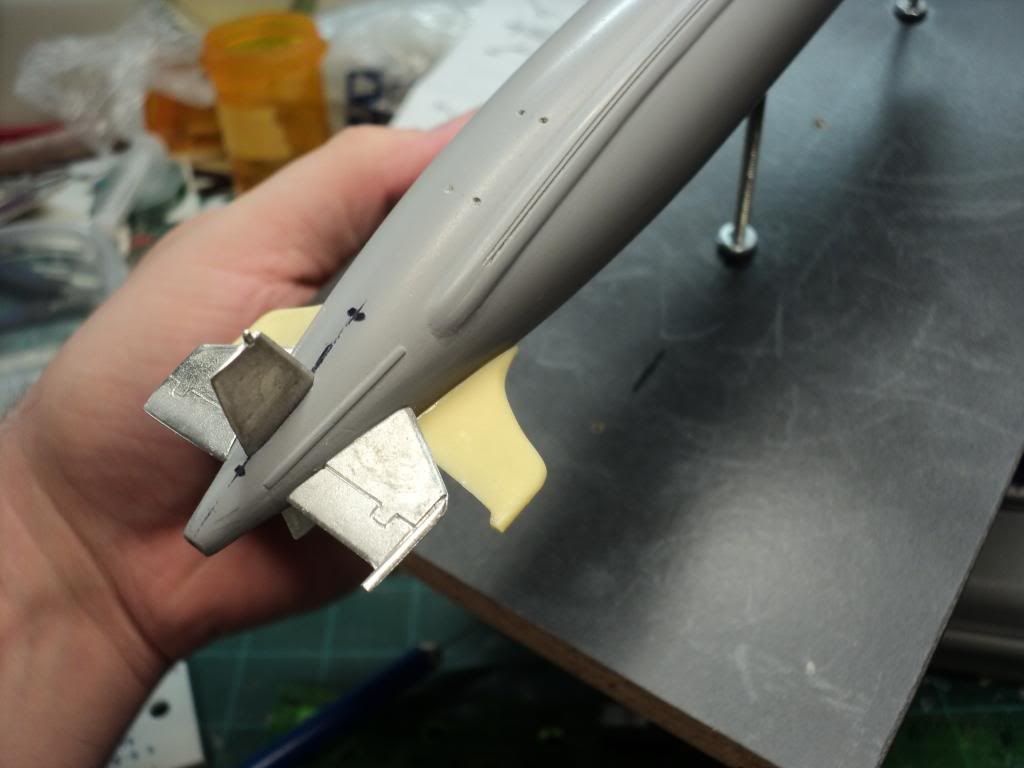
Once that was taken care of, I began the process of gluing on the rudders & dive planes. I spent more time trying to lay out the center line, and after several failed attempts to lay it out, I said screw it and just lined the parts up by eye, and thankfully I think it came out really good.

DSC02451_zps17aa914f.jpg


DSC02452_zps5c717380.jpg


DSC02453_zps14d36506.jpg


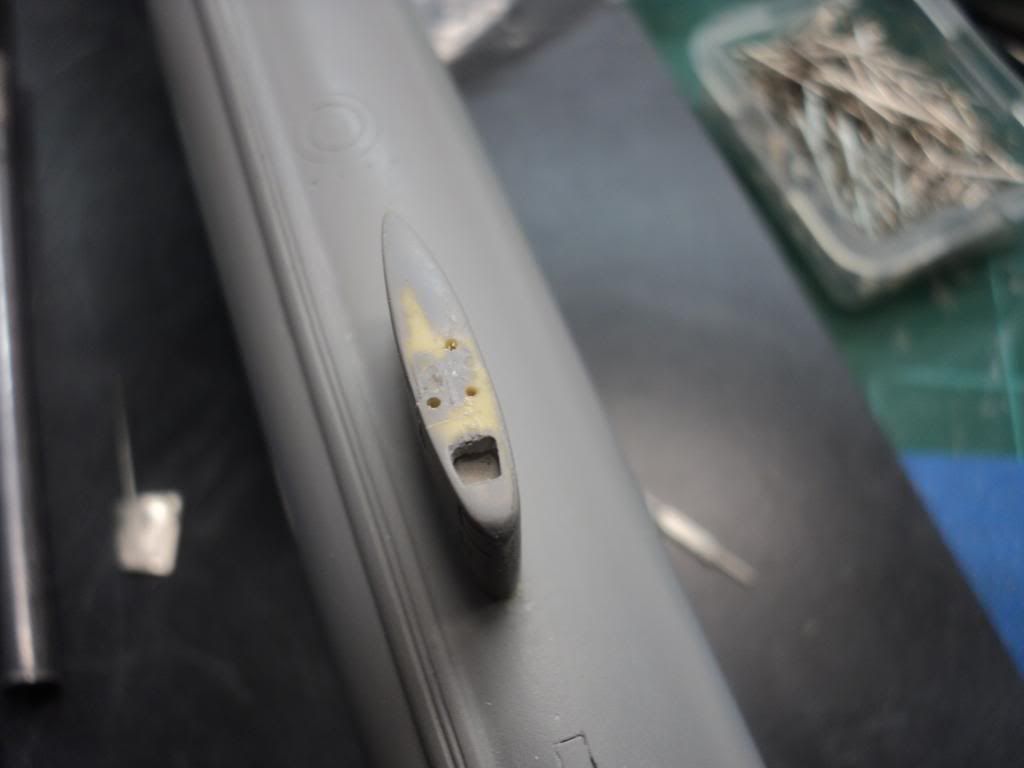
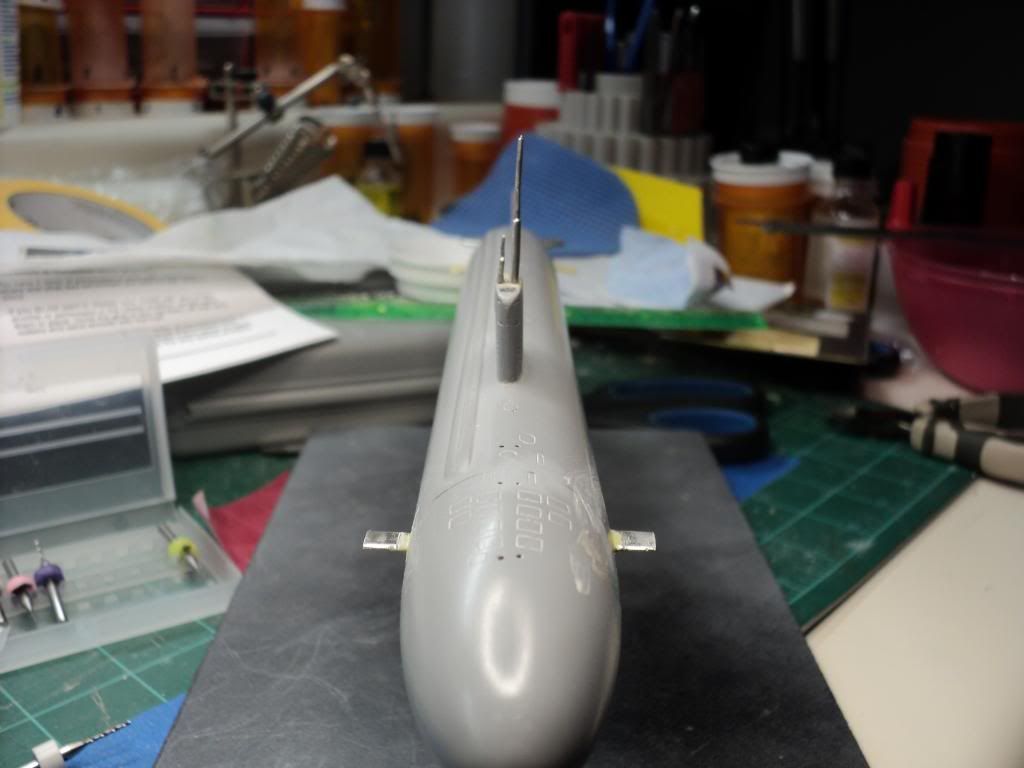
This evening I started working on getting the bow dive planes and the periscopes put on. I had to drill holes in the hull for the dive planes, and I'm still a bit worried that they arent even, but i figure they're close enough so its good for me.

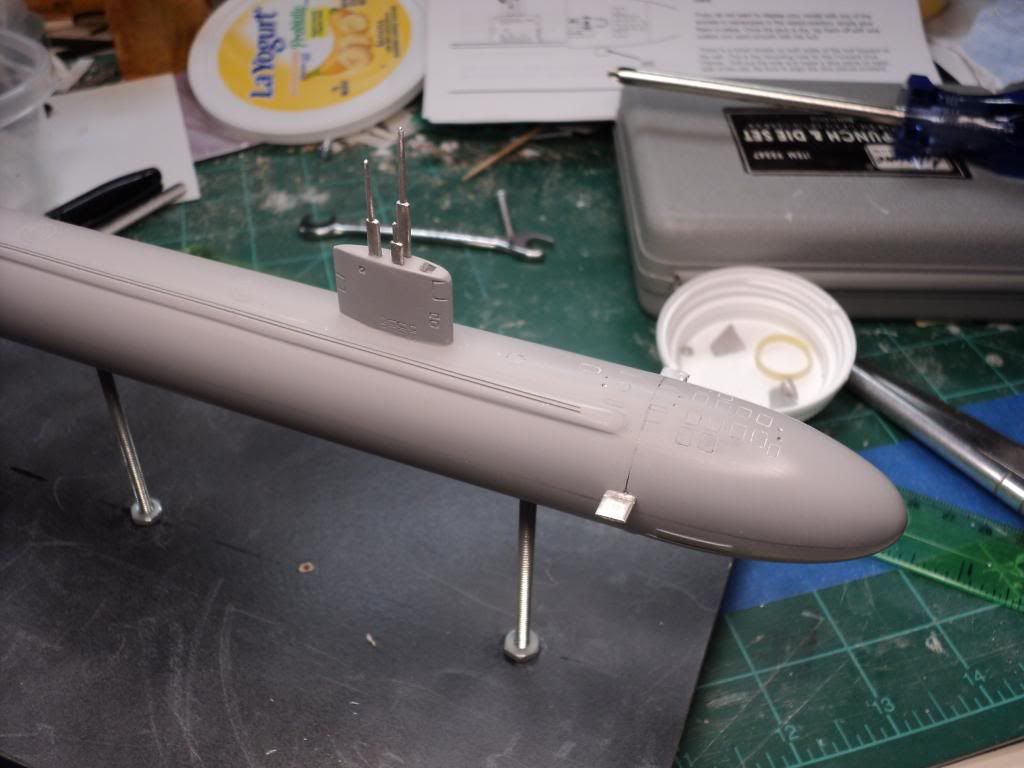
There wasnt anything on the top of the sail for the periscopes, so I had to post on a ship modeling forum I'm on, to get help w/ that, but thankfully it was pretty simple, so I glued them on how I wanted and went w/ it.

DSC02454_zpsc1a901e2.jpg


DSC02457_zps5b7b3042.jpg


The next task, once the superglue has dried for a couple of days and gotten well & cured, I'll start filling in all the gaps around the rudders w/ Milliput. Got some coaching from Chuk on how to apply & clean it up to get good filled seams by thinning the Milliput to the point that you apply it w/ a paint brush, and then very carefully wipe the excess off, and voila, a perfect fill w/ zero sanding required.
 
1/350 Yankee Modelworks Los Angeles Class Sub

Little bit of hiccups and a bit of progress.

I kept knocking the periscopes off, so this afternoon I drilled all 3 out and superglued straight pins into each one and then drilled out hte sail, and glued the periscopes back in.

DSC02458_zpsa74aede2.jpg


DSC02459_zps6ddbe247.jpg


DSC02460_zpsfcc99555.jpg


I have to say I'm extremely unimpressed with the white metal periscopes on this kit, they just suck! I guess I'll leave them there for now, but I might end up trying to replace them in the future.

I also kept knocking off the bottom rudder, and tried pinning it in place, but broke a couple of my micro drills in the resin hull, so I had to nix that idea and just use superglue to reattach it.

I started using Milliput the other night and unfortunately made the mistake of leaving the Milliput on too long and its dried completely so now I'm gonna ahve some fun getting it sanded smooth w/o breaking anything off.

DSC02461_zps25337e98.jpg


DSC02462_zpsb556e090.jpg
 
1/350 Yankee Modelworks Los Angeles Class Sub

Looking good Adam, can you make them out of brass?
 
1/350 Yankee Modelworks Los Angeles Class Sub

Hmm, hadnt thought about that. I was thinking about maybe trying to make them out of styrene. I've got some rectangular stock that I could make the base portion out of, and then I've got several different sizes of round rod that I could make the actual periscope portion out of.

Might do the base in styrene and then the periscope out of brass, that might give a better look.
 
1/350 Yankee Modelworks Los Angeles Class Sub

Short update, but a big step forward. I finally managed to get the base coat down, and I'm very happy w/ the results. I used Testors MM Engine Grey to give the faded out appearance the subs take on once they've been in service for awhile.

DSC02680_zps25634614.jpg


Overall I'm happy w/ where I'm at. I did notice a couple of places that I thought I'd taken care of that arent as good as I would have liked but overall I'm happy w/ it.

I'll let this dry for about a week, since I put 2 coats of paint down, and then I'll mask it off for the red oxide anti-fouling color that goes along the bottom of the hull. And then it will get a seal coat, decals, and then some very light weathering, and then its done!

Hoping by the end of the month it'll be finished.
 
Back
Top