• Modelers Alliance has updated the forum software on our website. We have migrated all post, content and user accounts but we could not migrate the passwords.
    This requires that you manually reset your password.
    Please click here, http://modelersalliance.org/forums/login to go to logon page and use the "Forgot your Password" option.

Colossus-Building the Bismarck-Trumpeter 1/200th

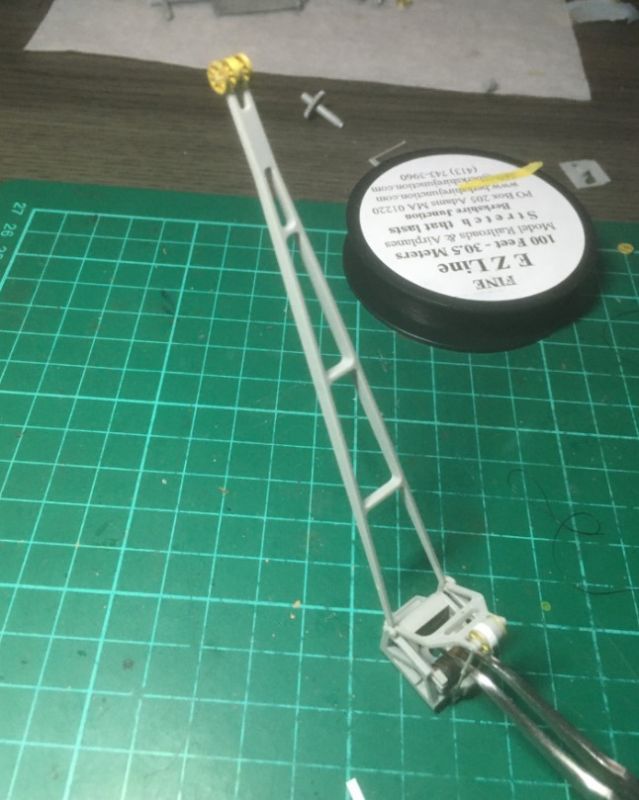
Moving right along - more work on the main mast - actually it's done, except for priming - painting - weathering of course.


h9e70c00.JPG


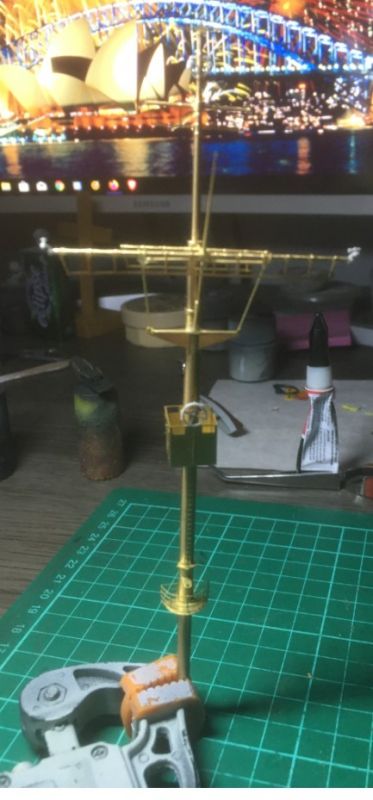
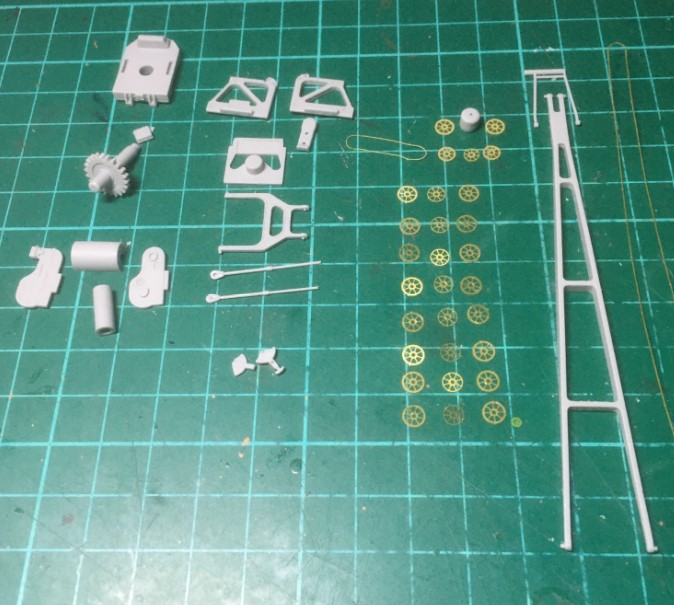
Not the best photo either, will take some more later. 43 PE pieces on the fret, plus another 10 or so turned pieces. Room for improvement - there are some very small parts that appear to be much better in their plastic form, as the PE is too flat. Will see what it looks like when painted and weathered.

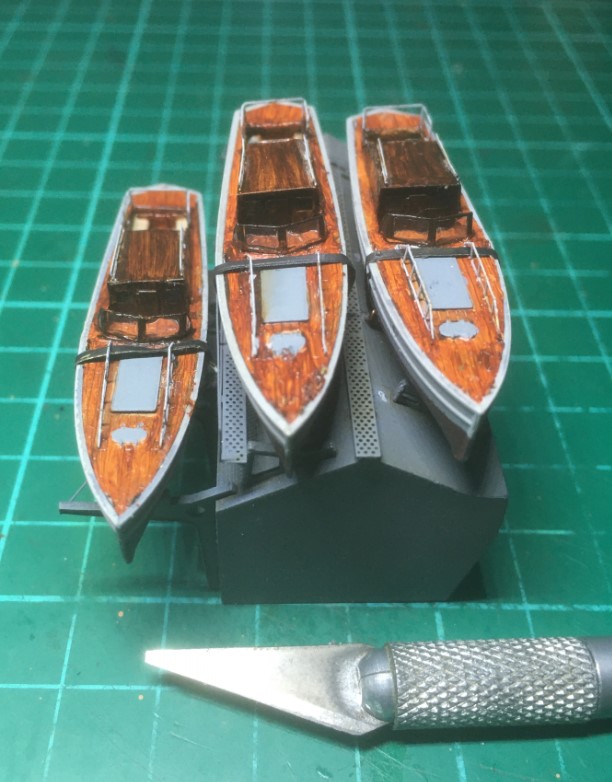
Once the main mast was done, I resumed working on the launches - here's three of them that will go on top of one hangar.


h9ab91ea.JPG


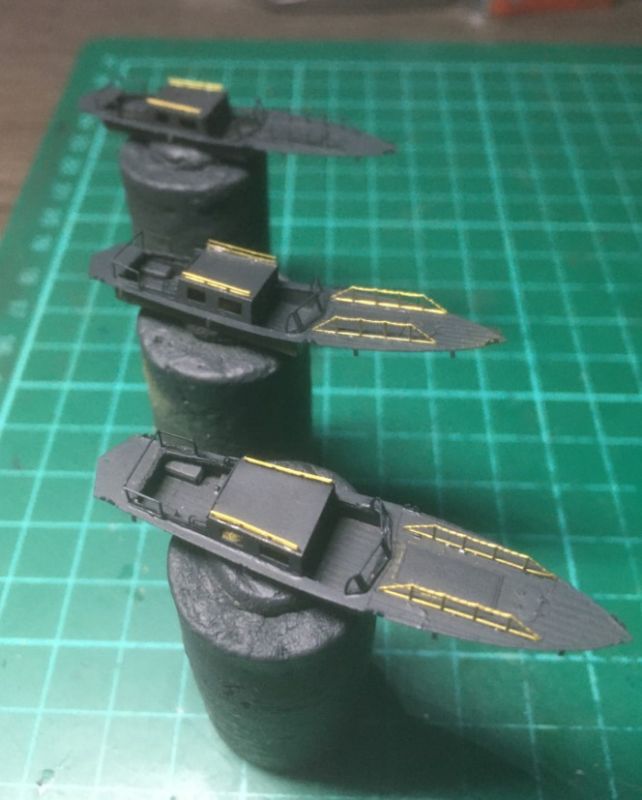
Each launch requires 20 PE parts, plus the plastic hull from the main kit.

Thanks for watching,

Laurence

:notworthy

Looks swell Laurence!
 
Almost there ....


hbb51f3b.JPG


h9345423.JPG


Just a couple of small things missing (3 PE parts per boat), then some dull cote, some touch ups and that little segment of the build is done :D


Laurence
 
You know, if you do the entire Bismarck as well as you did those tiny boats, it will be a masterpiece!

Fantastic work Man!

Bob
 
Thanks Mike, MP, Bob and Mark, very kind words :notworthy :notworthy :notworthy

Bob, I hope Bismarck will turn out fine, what I also hope for is for the water to be as realistic as it could be. I have this obsession with getting that water done with big splashes and waves and all sorts .... when the time comes.


Thank you all again,

Laurence
 
Over the past couple of days I have decided to work on the massive 12 ton cranes that served the Bismarck's seaplanes (mainly).

There are a few PE pieces and plastic too.

Here's the bill of materials for one crane ...


h9cadfa7.JPG


And some progress ...


h7db6c70.JPG


The fun part is the rigging, which is not very well captured in the instructions - one weird thing is using PE (a very narrow closed loop instead of wire). So, to make my life complicated and the model look as realistic as it could be, I am using EZ line instead.

I will finish the rigging soon and I will post the instructions on how it should be done, based on research of course :pp


Thanks for watching,

Laurence
 
Looks great Laurence! It is always a good idea to do the research on these. My Arizona cranes were quite a ways from looking like the references. The PE helped a little, but only to a point.

Research!
Research!
Research!

Looks_Good_GIF.gif
 
Thank you all for the very kind words. Now that I finished the Salamander - a weird figment of my imagination, it's back to Bismarck. Of course, having all the space I need helps a lot :bigrin:.

Other than some boring work in adjusting the base to make the model "sit" better, at a proper height so I wouldn't use a ton of Celluclay, I have been busy weathering the hull above the water line. Used Winsor & Newton oils only, raw umber and burnt Sienna for some light rust.

One side is fully done, the other one is almost done.

These two photos are closeups, and the light isn't fantastic either. From a normal viewing distance, the effects are a lot more faint than that.

This side has also received a coat of Testors Dull Cote - then all port holes have been "glazed" with Micro Kristal Klear, all 48 of them. That makes it 96 on the hull only. There are over 200 to be "glazed".

The thing that needs to be 100% scratched is the propeller protector (1 on each side).

And one detail I found just a few days ago ... at the stern, the two big holes there, were for releasing smoke, to create a smoke screen when needed. Nice, better late than never, as the say :bang head

Thanks for watching,

Laurence
IMG_6017a.JPG
IMG_6018a.JPG
Boom.jpg
Smoke_Holes_Stern.jpg
 
Back
Top