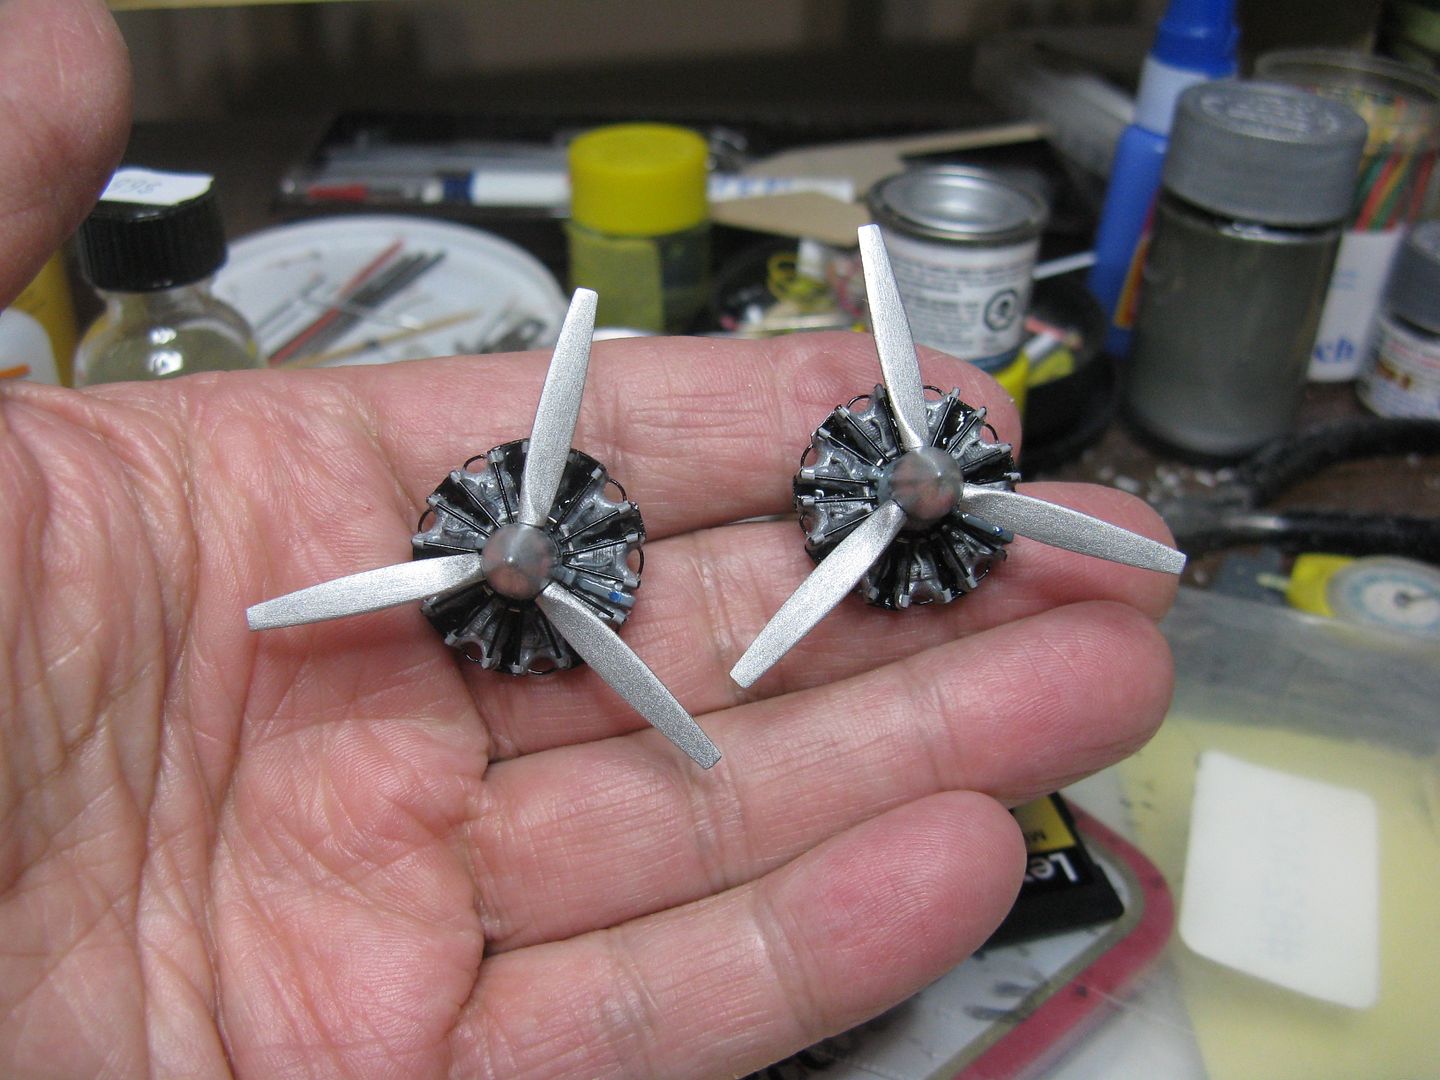
The Beechcraft 18, aka the Twin Beech, aka the Bugsmasher, began life in 1935 and production continued until 1969. Over 9000 of them were built for both civilian and military markets. In Canada some were equipped with floats and straight skis or wheel/skis. There are a handful of them still flying, mostly on floats in Northern Ontario, with a couple on the west coast.
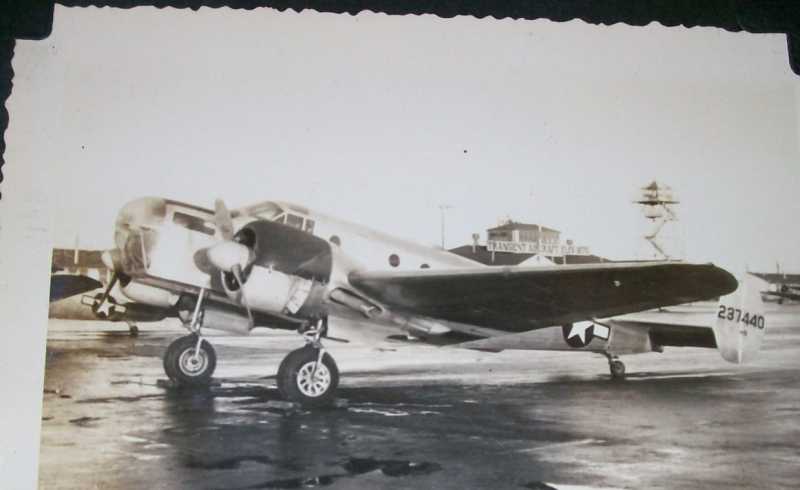
There have been a few model kits of them over the years - notably Hobbycraft in 1:72 scale - and one in 1:48 scale. Only the hardiest of individuals tackled the 1:48 Battle Axe kit. I know one person who did and after much work he produced a stunning example. On floats! A couple of years ago, first ICM and then Revell produced a military C-45F kit of the Beech 18 in 1:48 scale, the kit being the mil version of the civilian Beech 18C. A friend briefly flew one about seven or eight years ago and since I have been building models for his collection for about that long it came to the top of the bucket list. Here's a couple of pics of the airplane.
Side view...
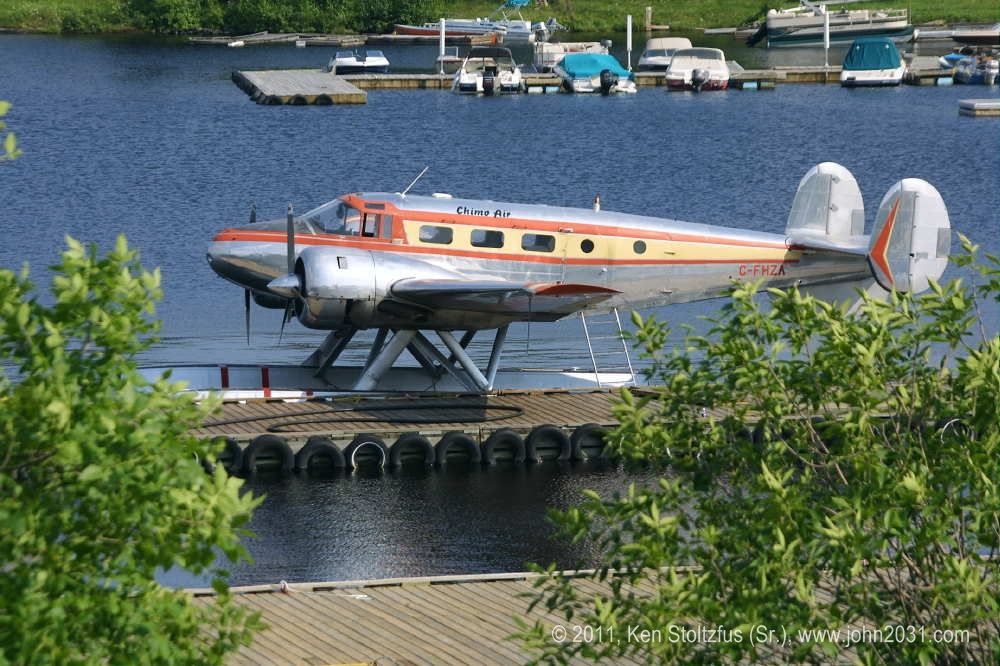
Front view...

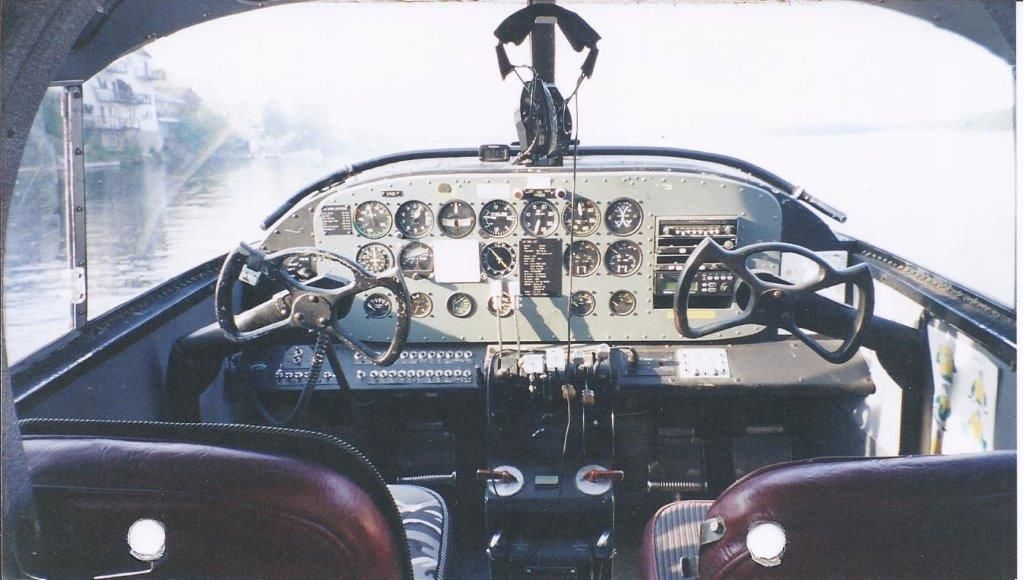
Front office...
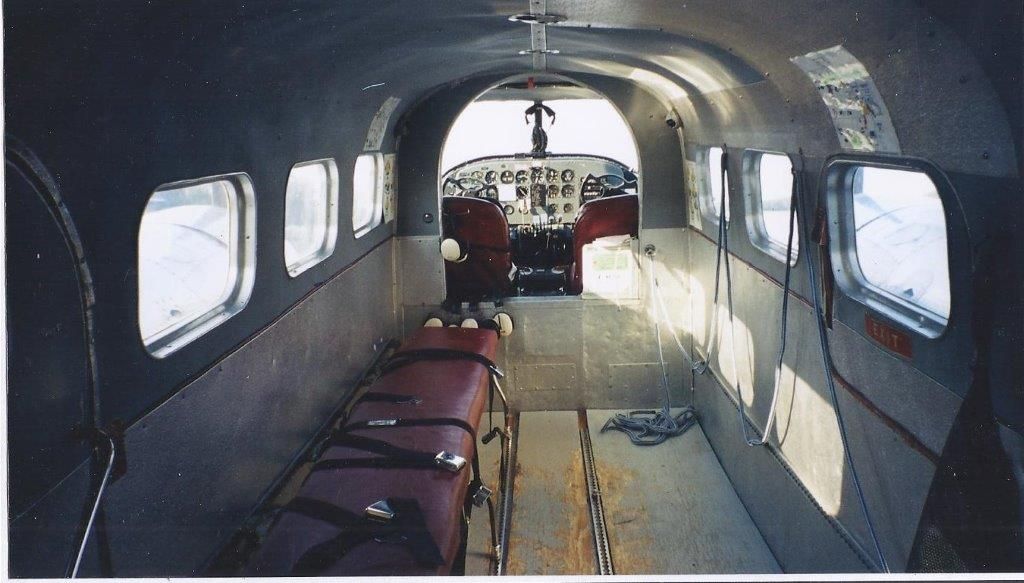
Cabin. It's been around the block a few times.
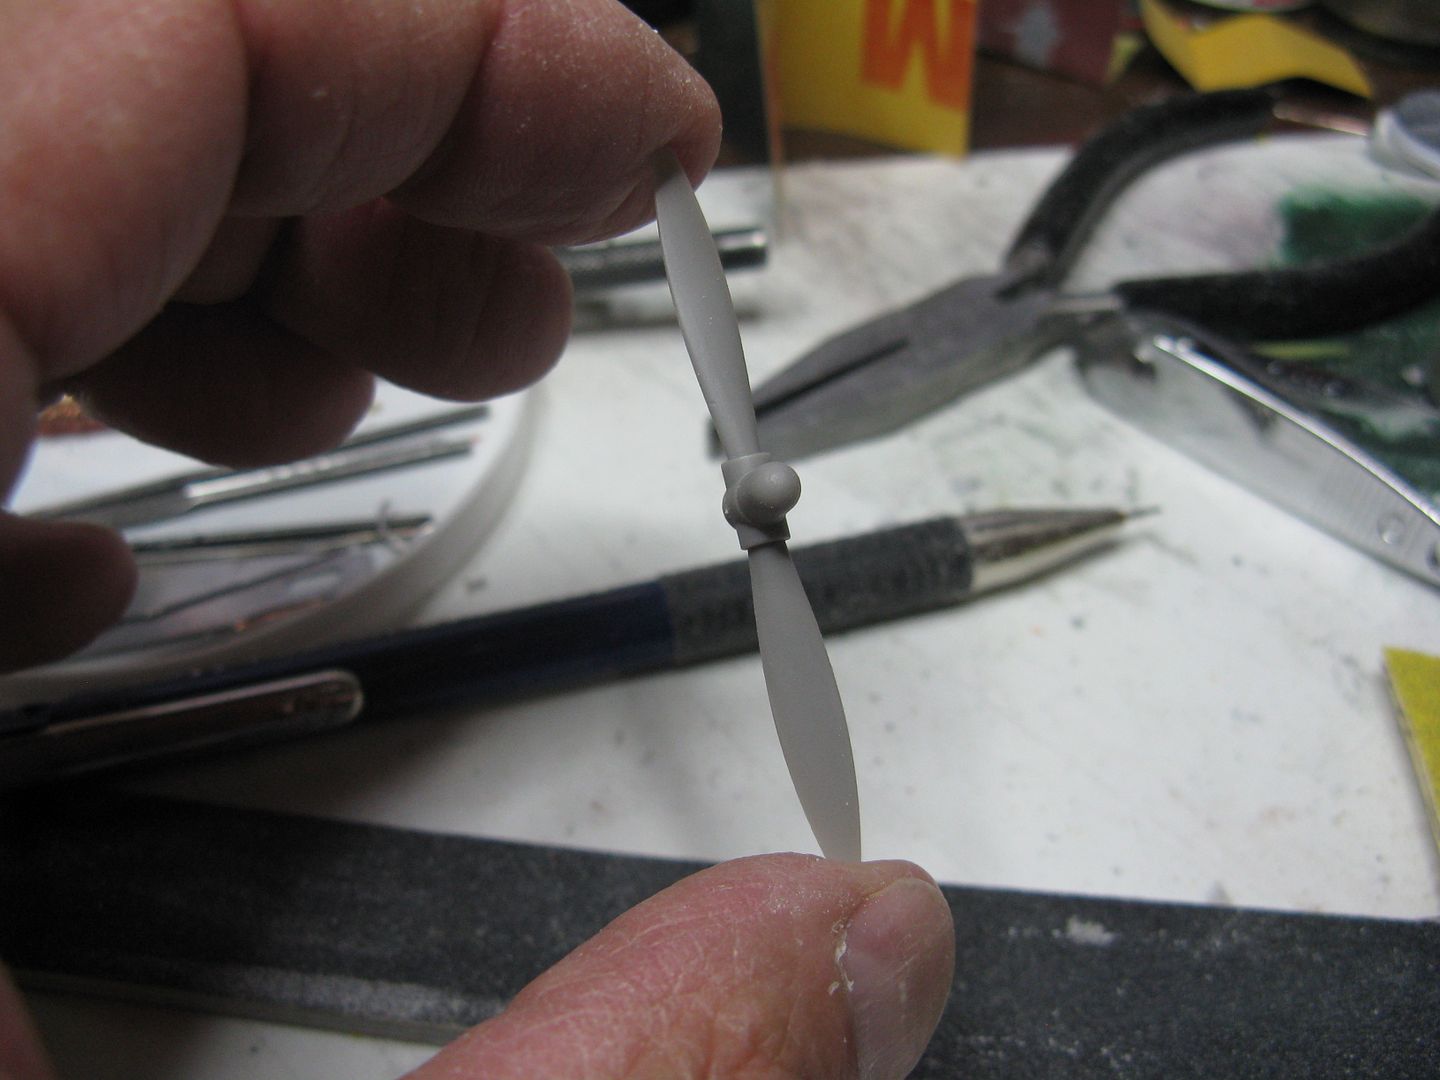
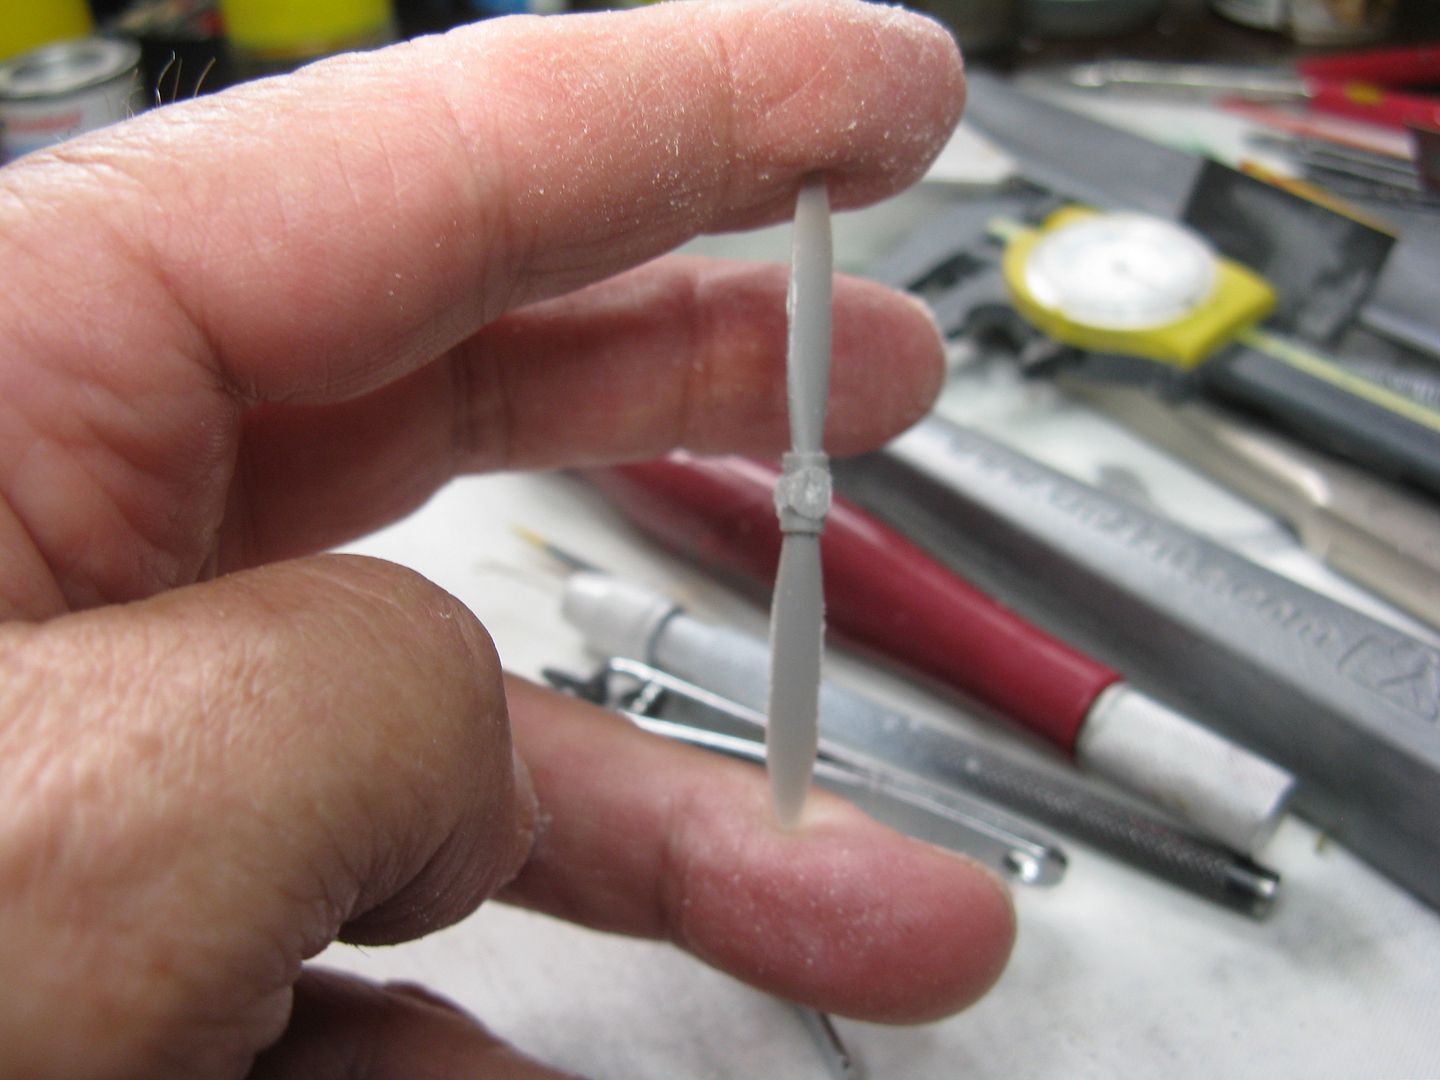
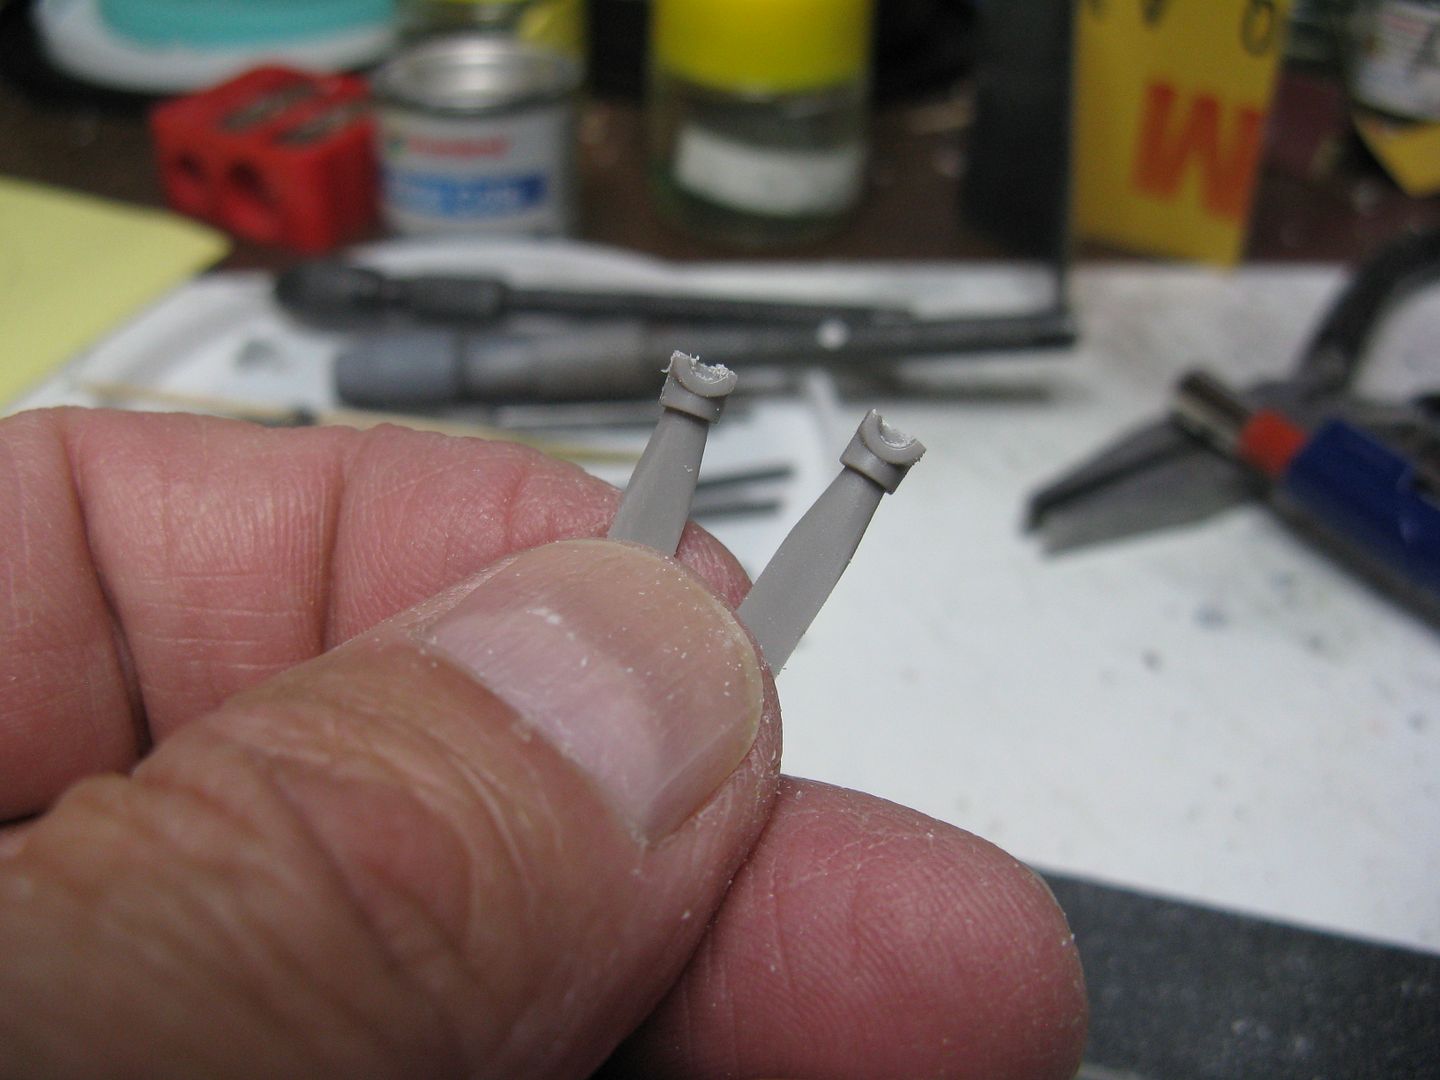
The kit I shall build is the Revell offering and I shall put it on floats. I have a set of Edo 7170's - which is the DHC Otter float - but with the addition of a one cm plug in front of the step it is magically transformed into an Edo 7850. (I think this is a reboxing of the ICM kit, but that's a WAG on my part.) Anyway. There's a couple of sprues of absolutely flash-free parts, so other than a rinse in mild detergent to remove any surface crud, that's it as far as prep goes. One must start somewhere, and since I regard an instruction sheet as someone else's opinion, I will start with the powerplants - the engines and propellers.
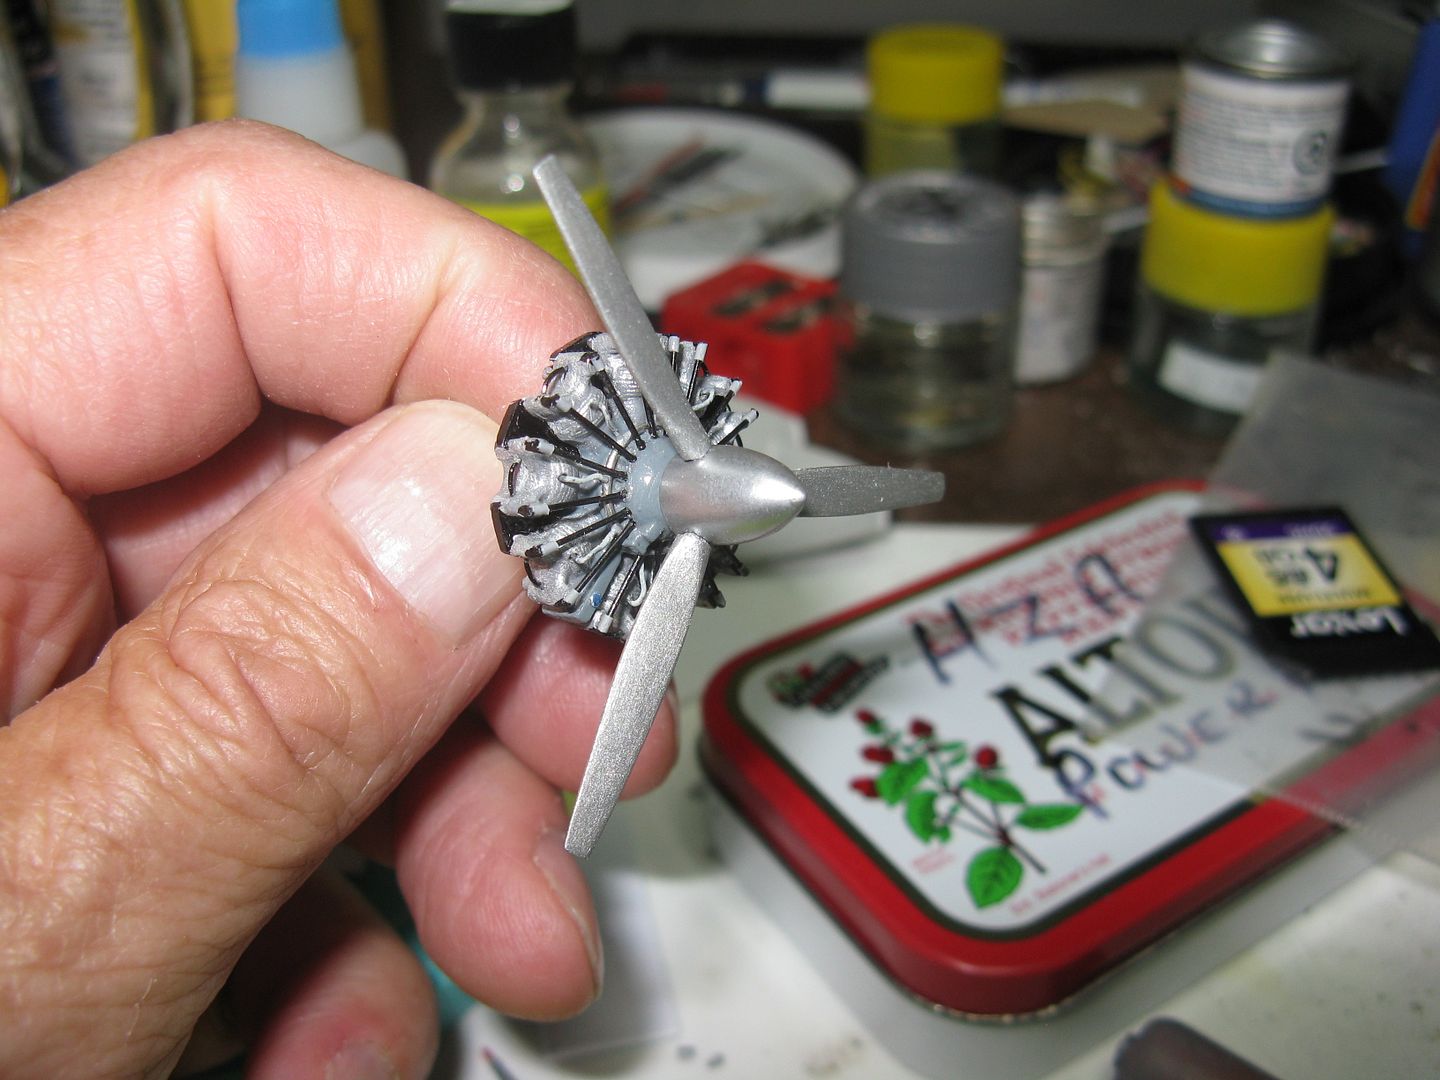
I consigned the kit engines to the spares box and opted for two examples of the Pratt R985's from Engines & Things I had in the spares box. The E&T offerings are rather plain, but with a bit o' work that can be made to look like the small Pratt, so let the cutting begin to commence!
Out of the box with the flash cut away they looks like this...
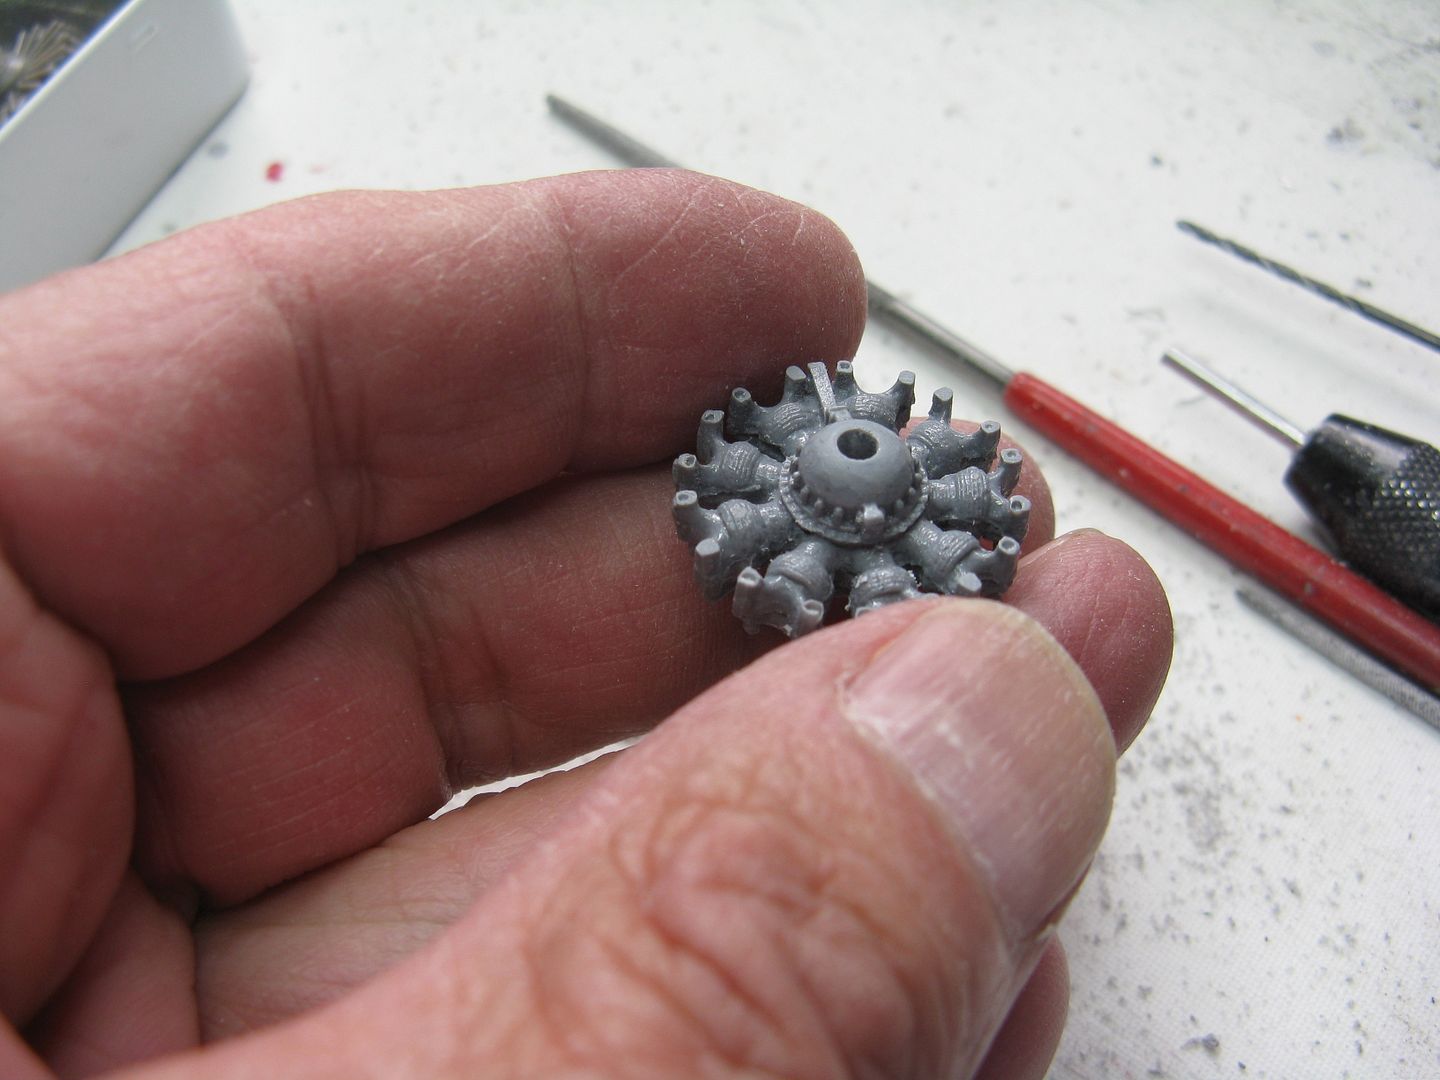
They have an accessories section attached to the rear of the crankcase...
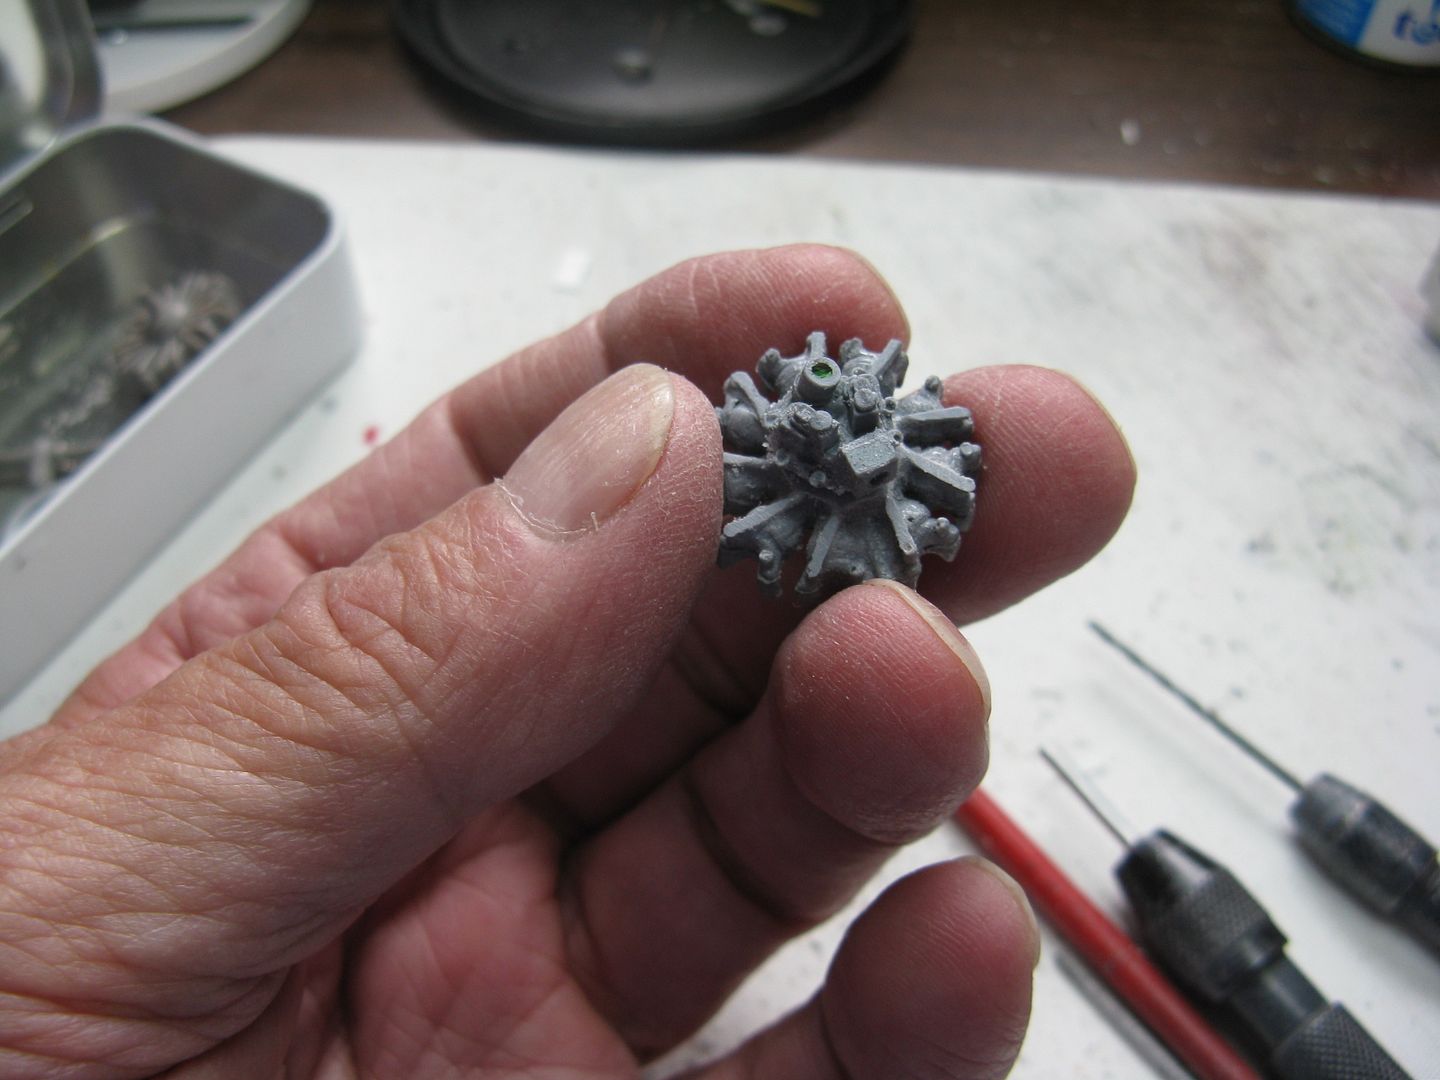
...But since you can't see it after the cowlings have been buttoned up, we'll pretend I didn't saw it off and sand the engine down to the same thickness as the kit engine.
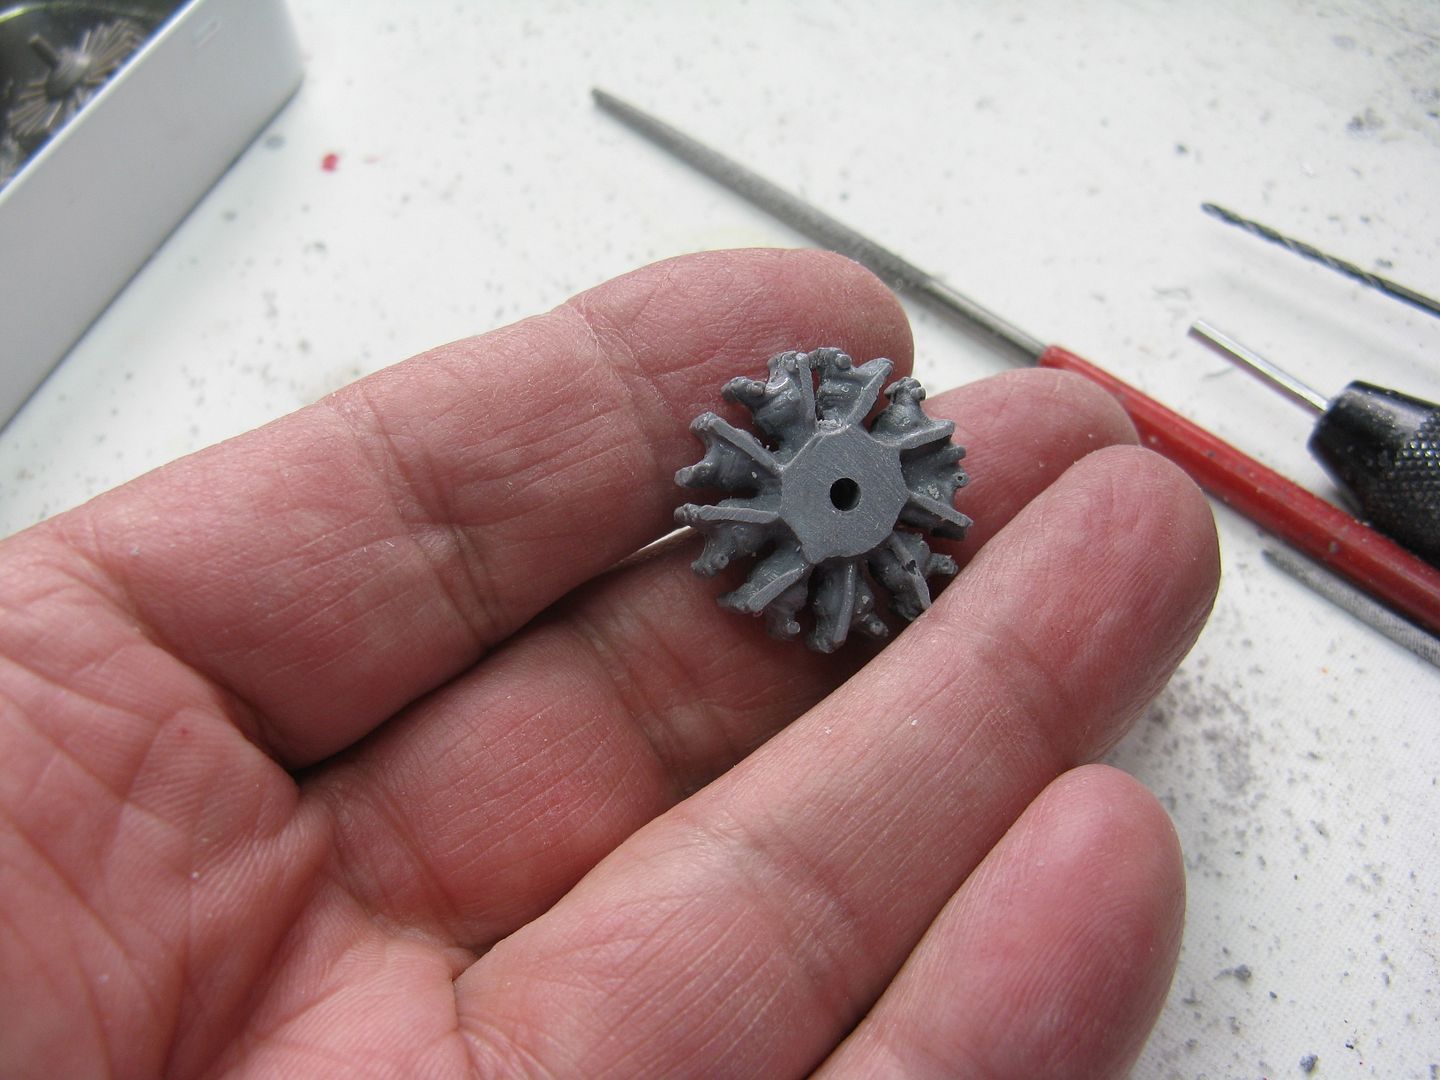
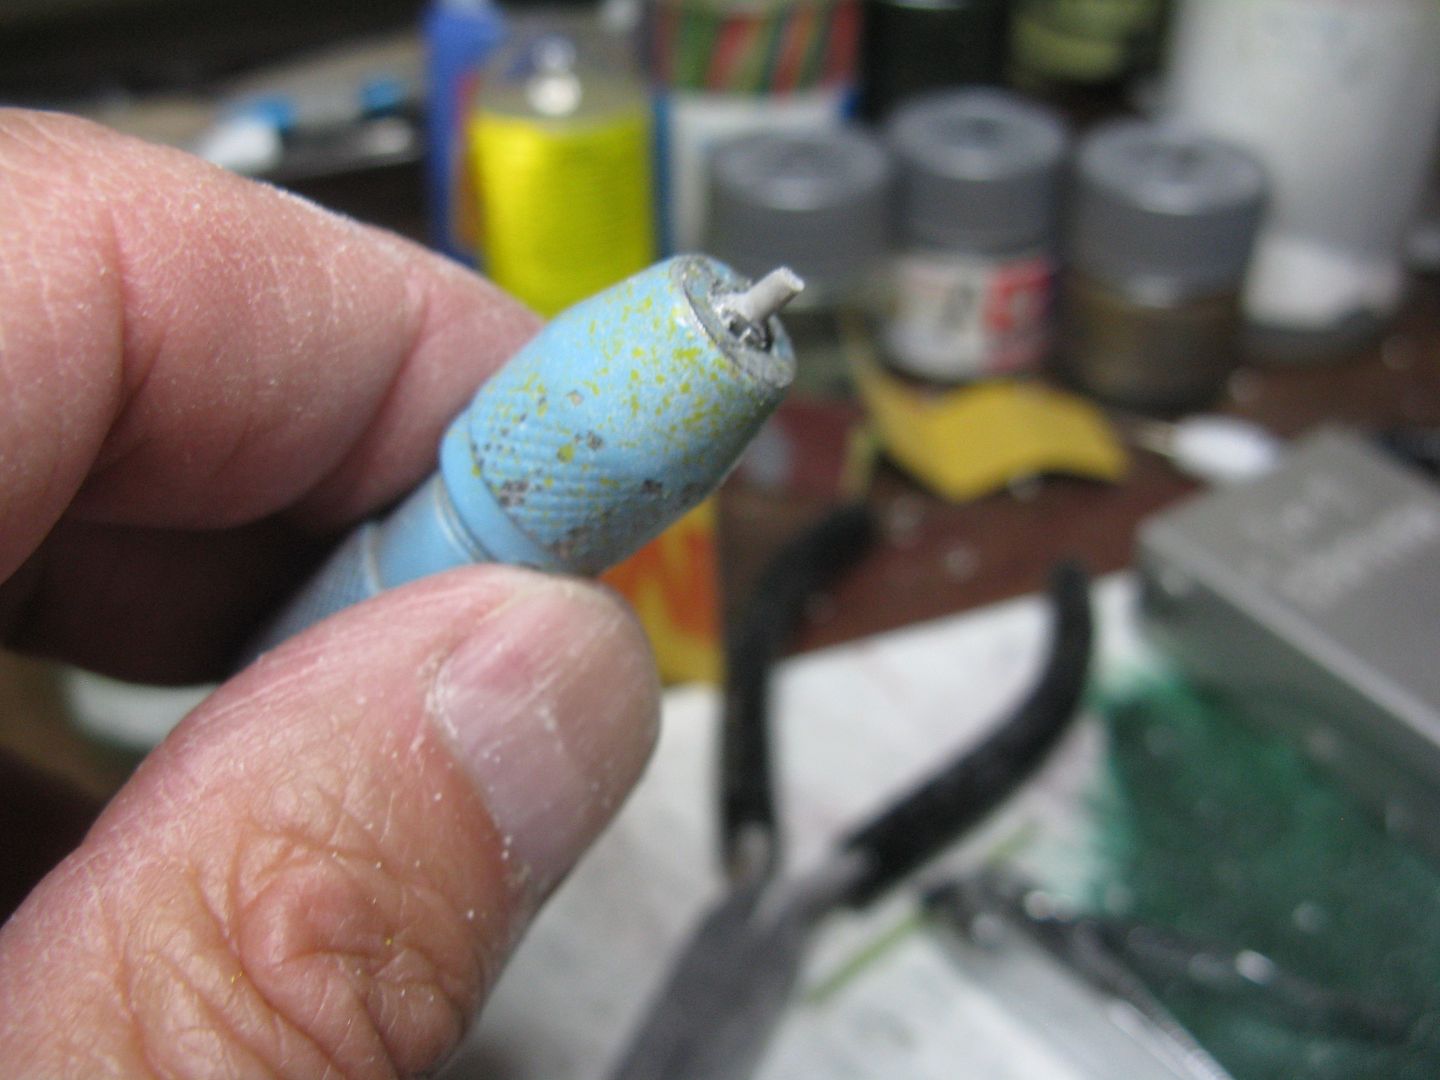
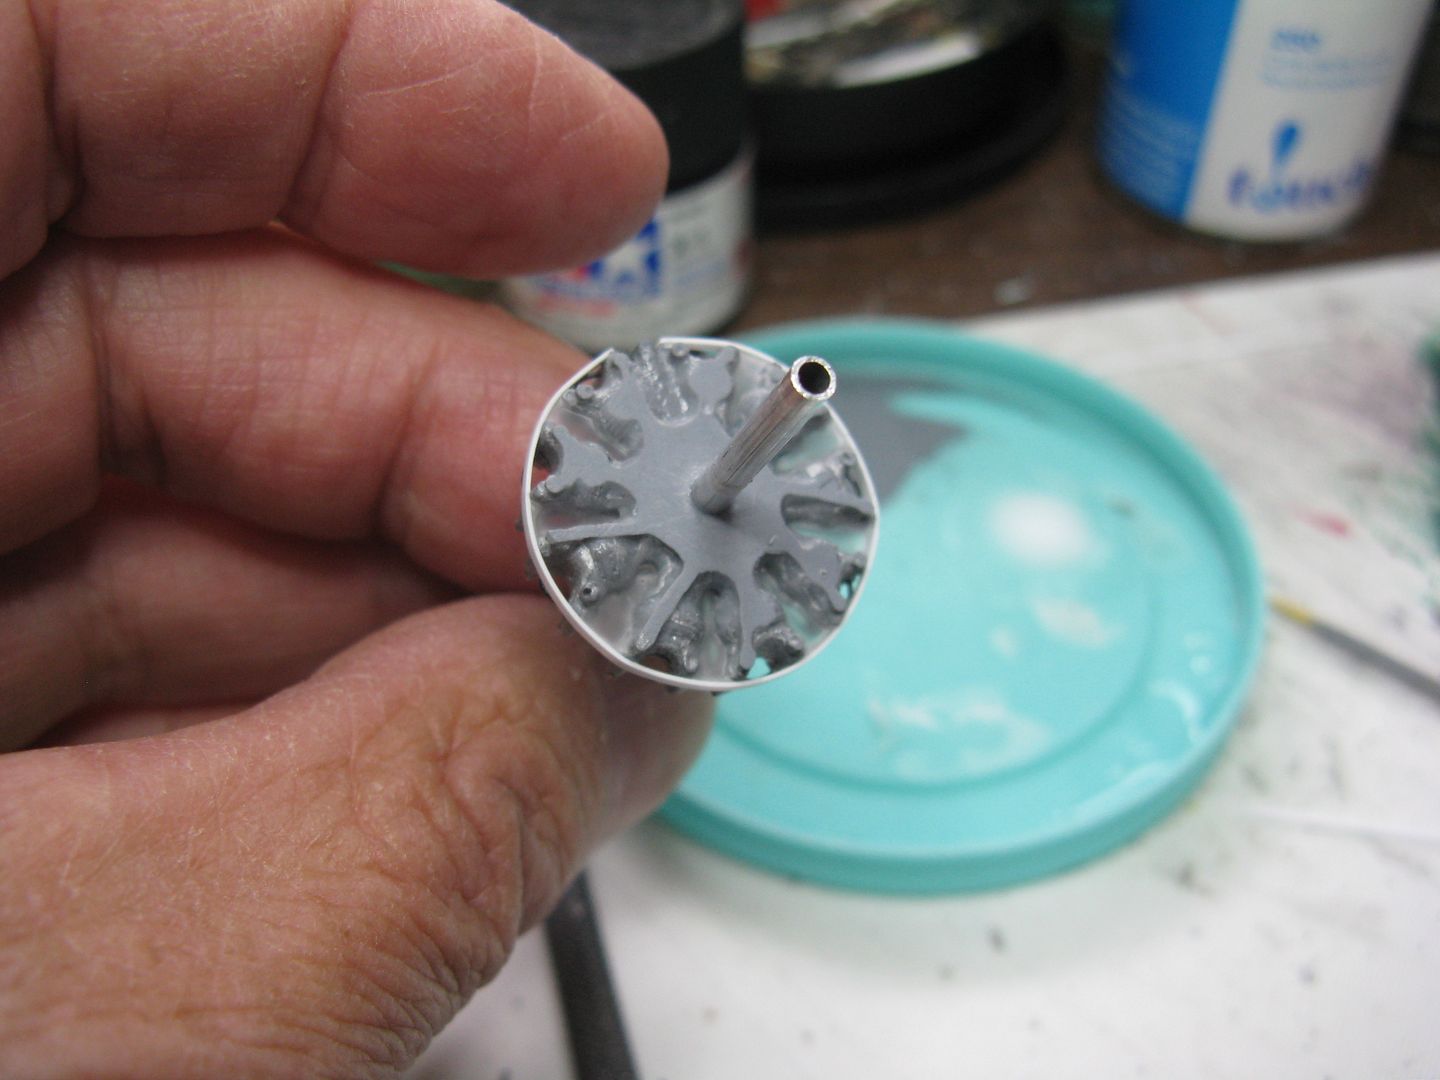
There is a little raised lip around the prop shaft hole that represents the engine thrust bearing, but since I always drill out the shaft hole and replace it with a length of aluminum tubing, I cut that off also, then shot a coat of primer using grey automotive prime and drybrushed the cylinders with Humbrol #27001 Metallic Aluminum. While it was drying I gently brushed the cylinders with a soft toothbrush to cut down any shine. I don't know why my wife was mightily incensed, I washed her toothbrush before putting it back in the bathroom. I then painted the crankcase and crankcase drain with Humbrol # 5 Gloss Grey, which is as close to P&W engine grey as I've been able to find.
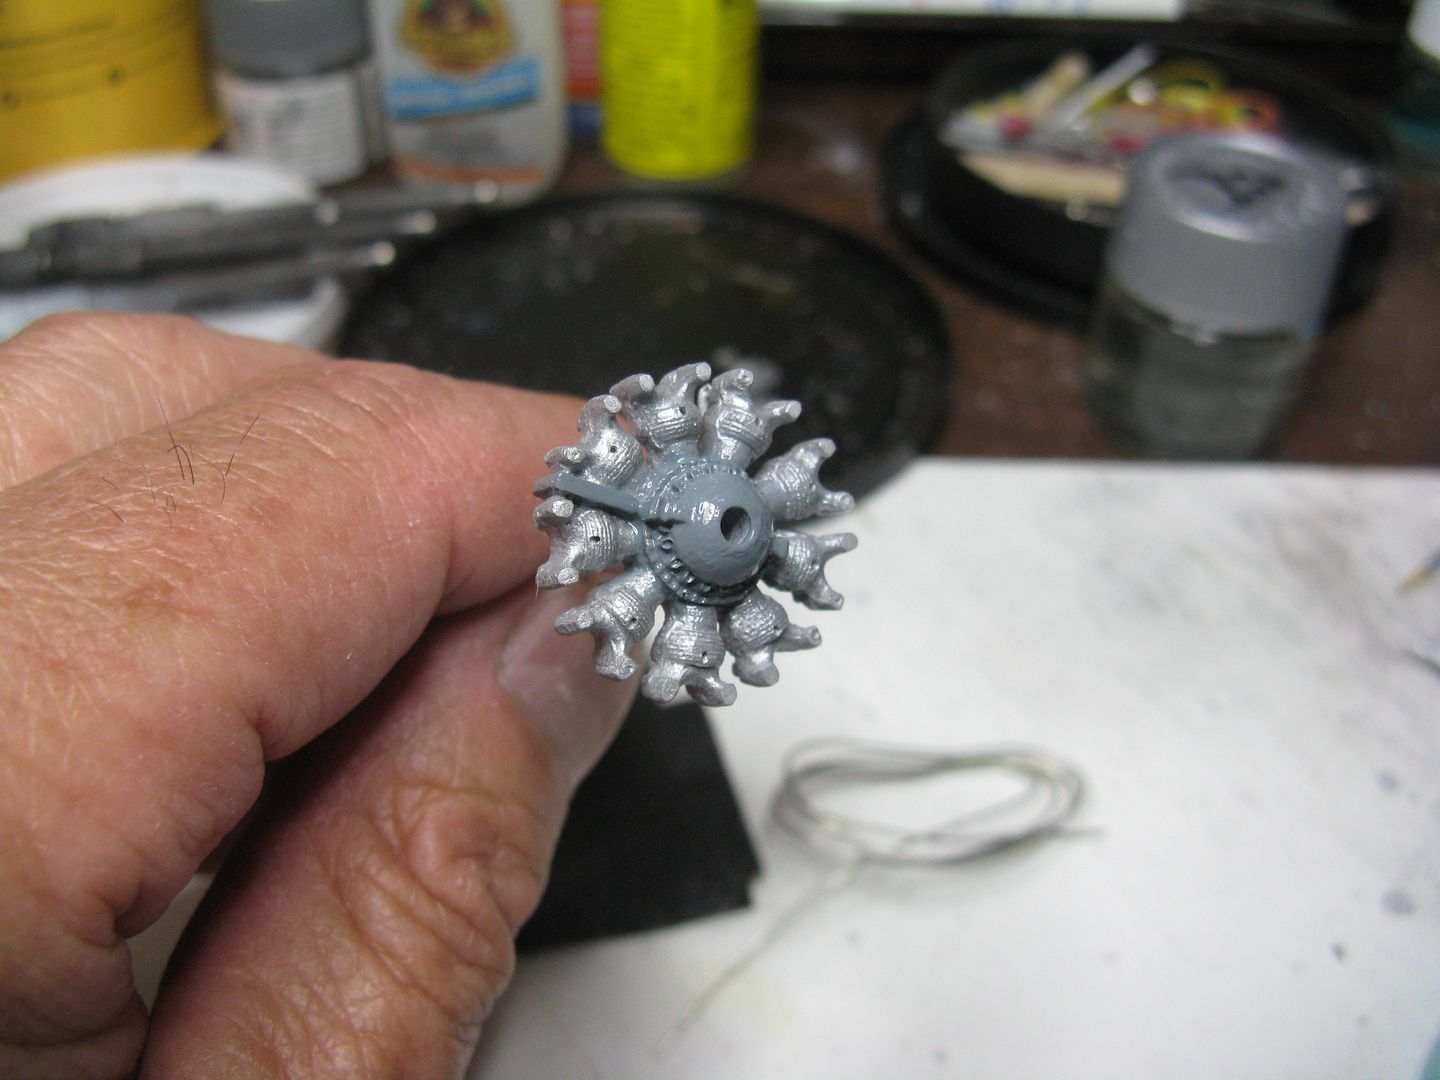
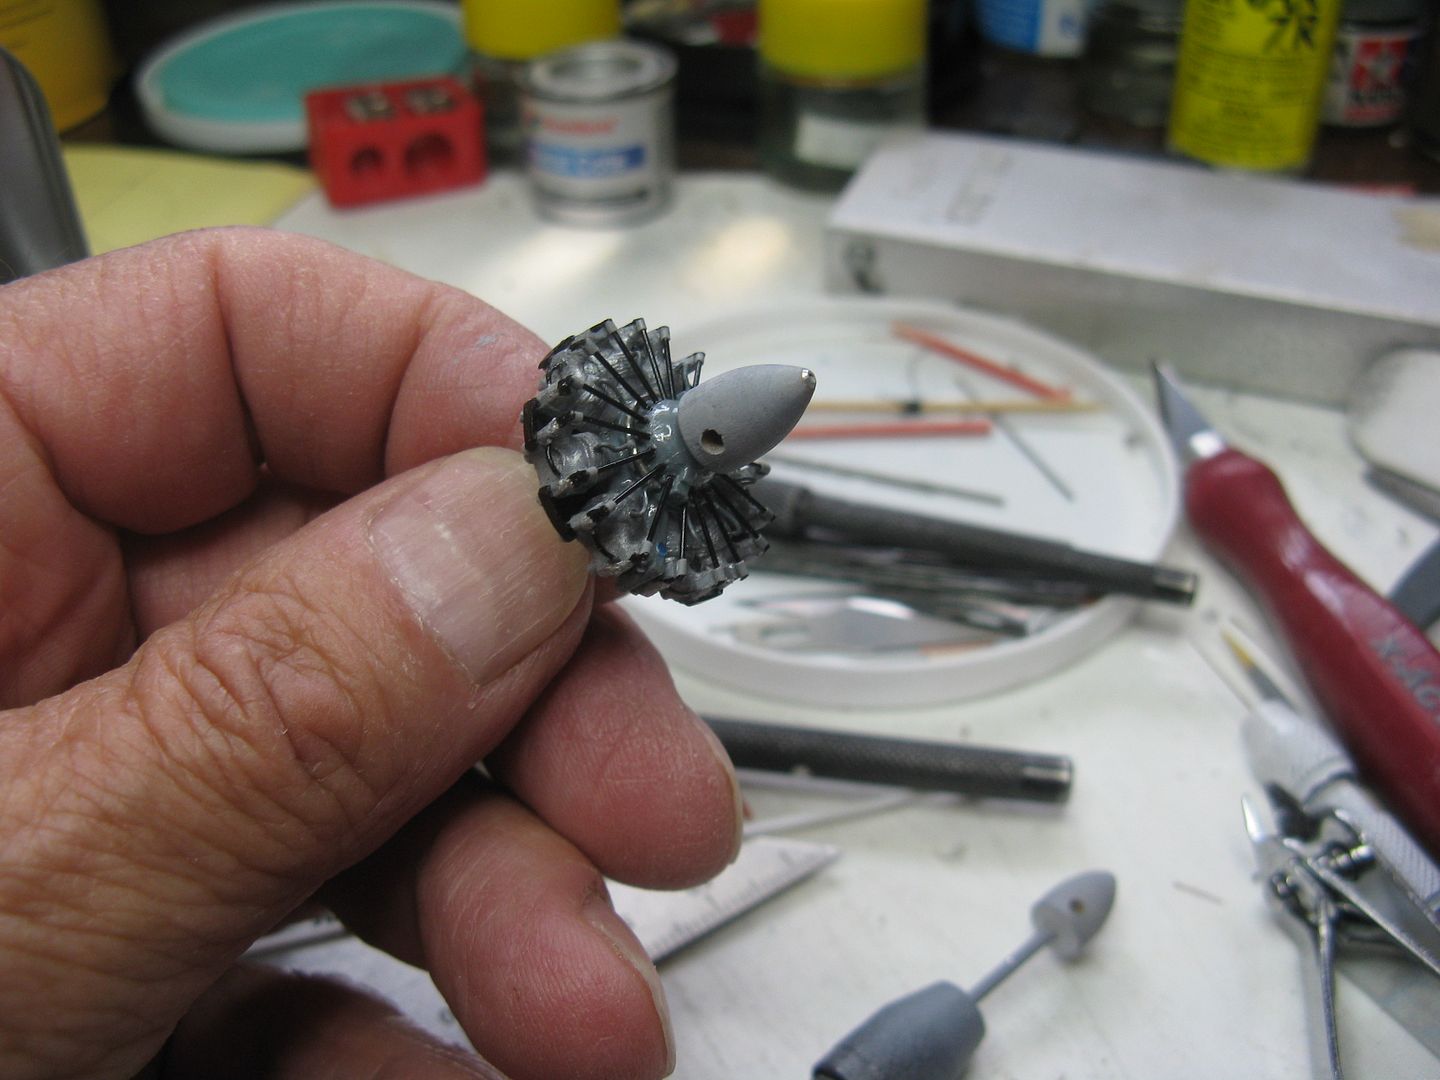
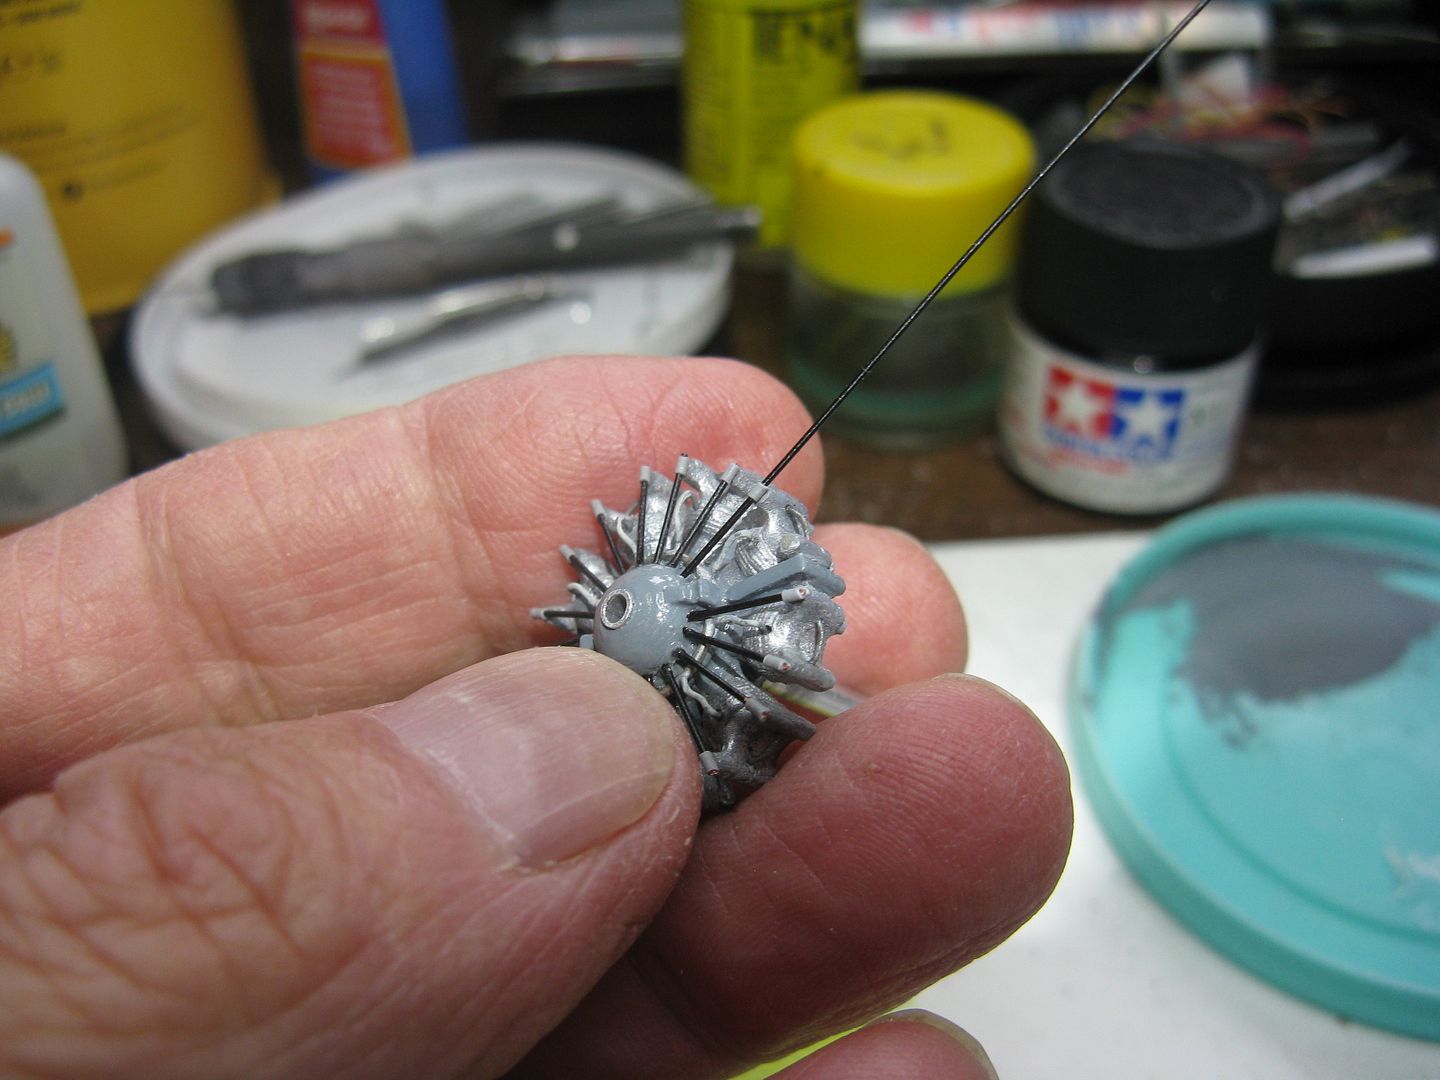
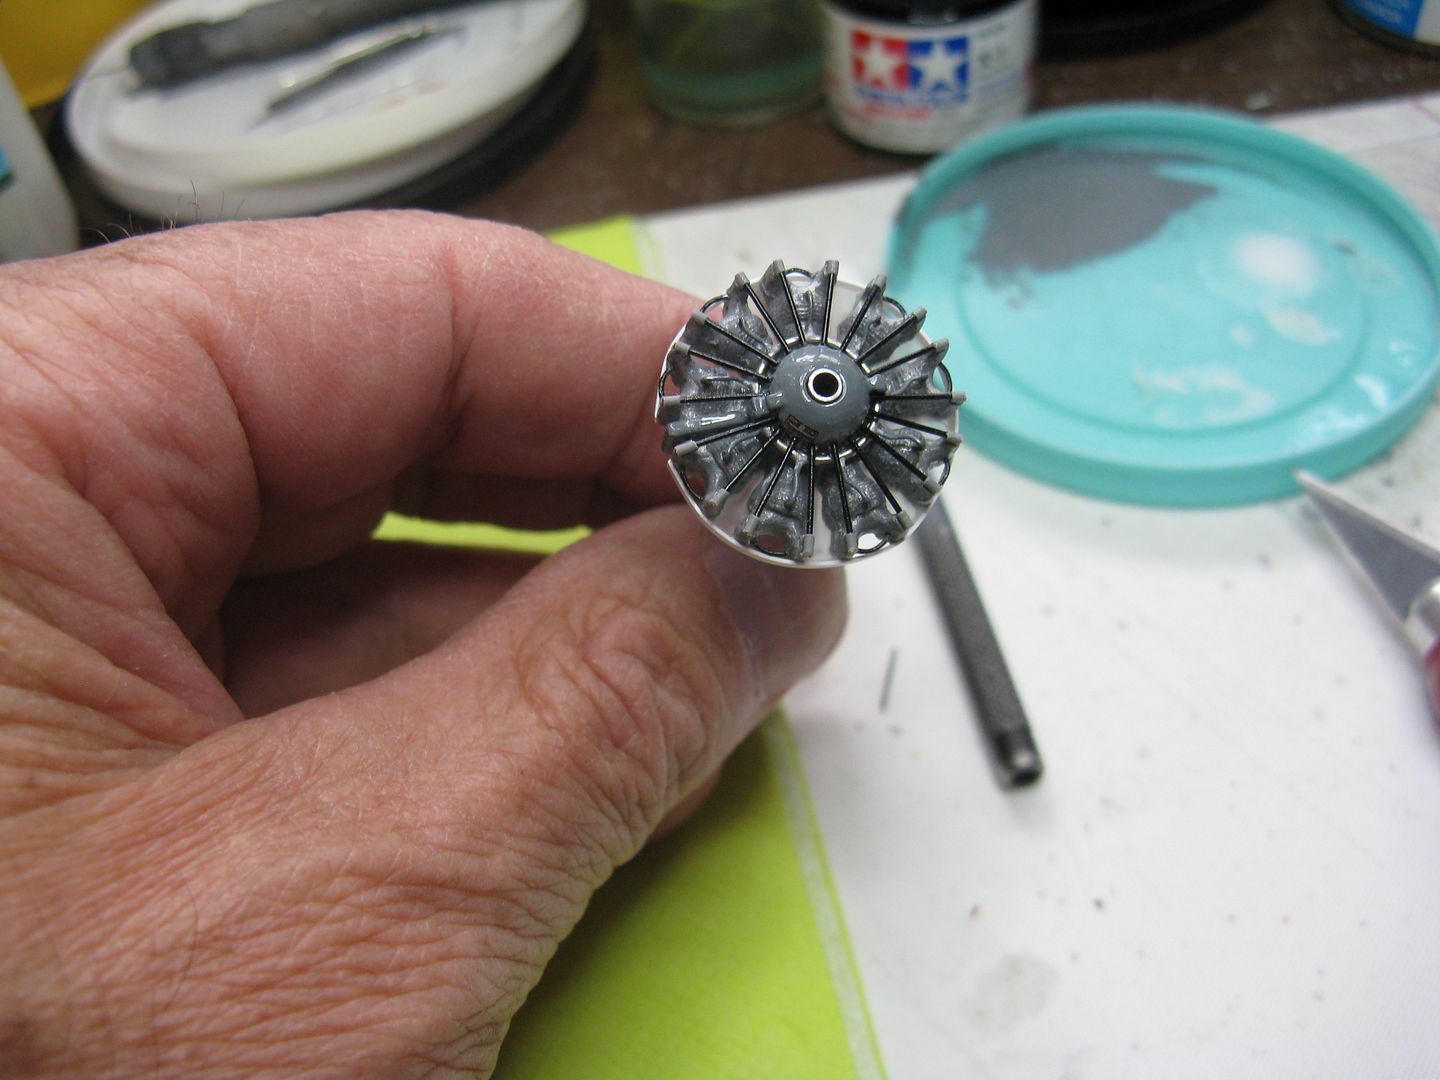
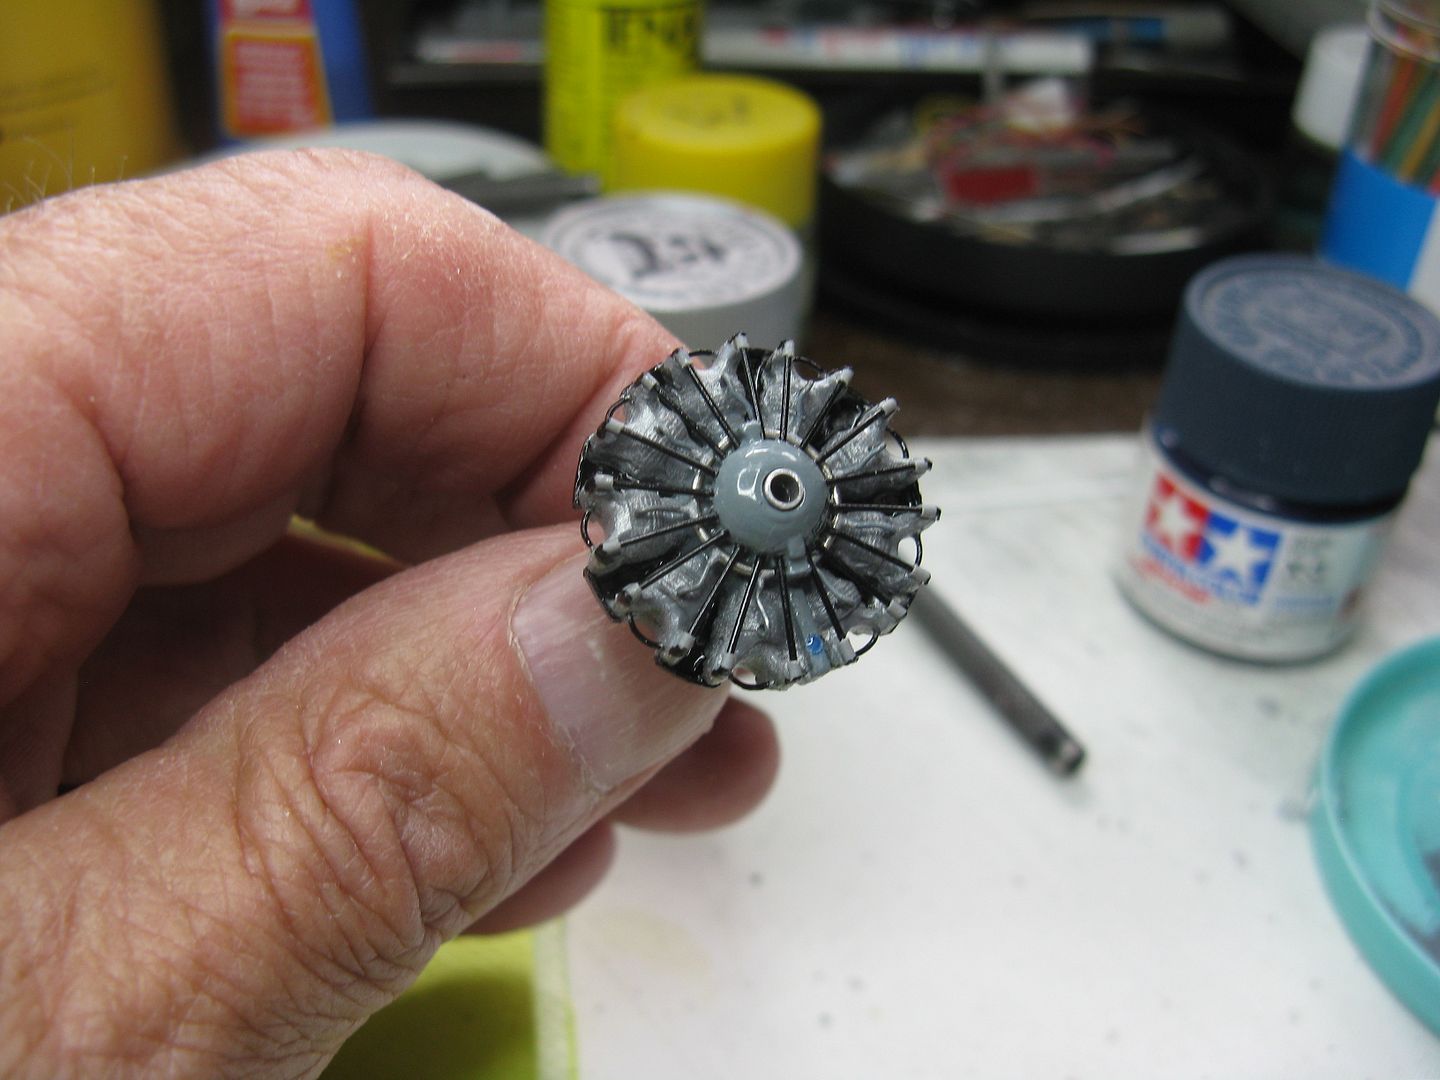
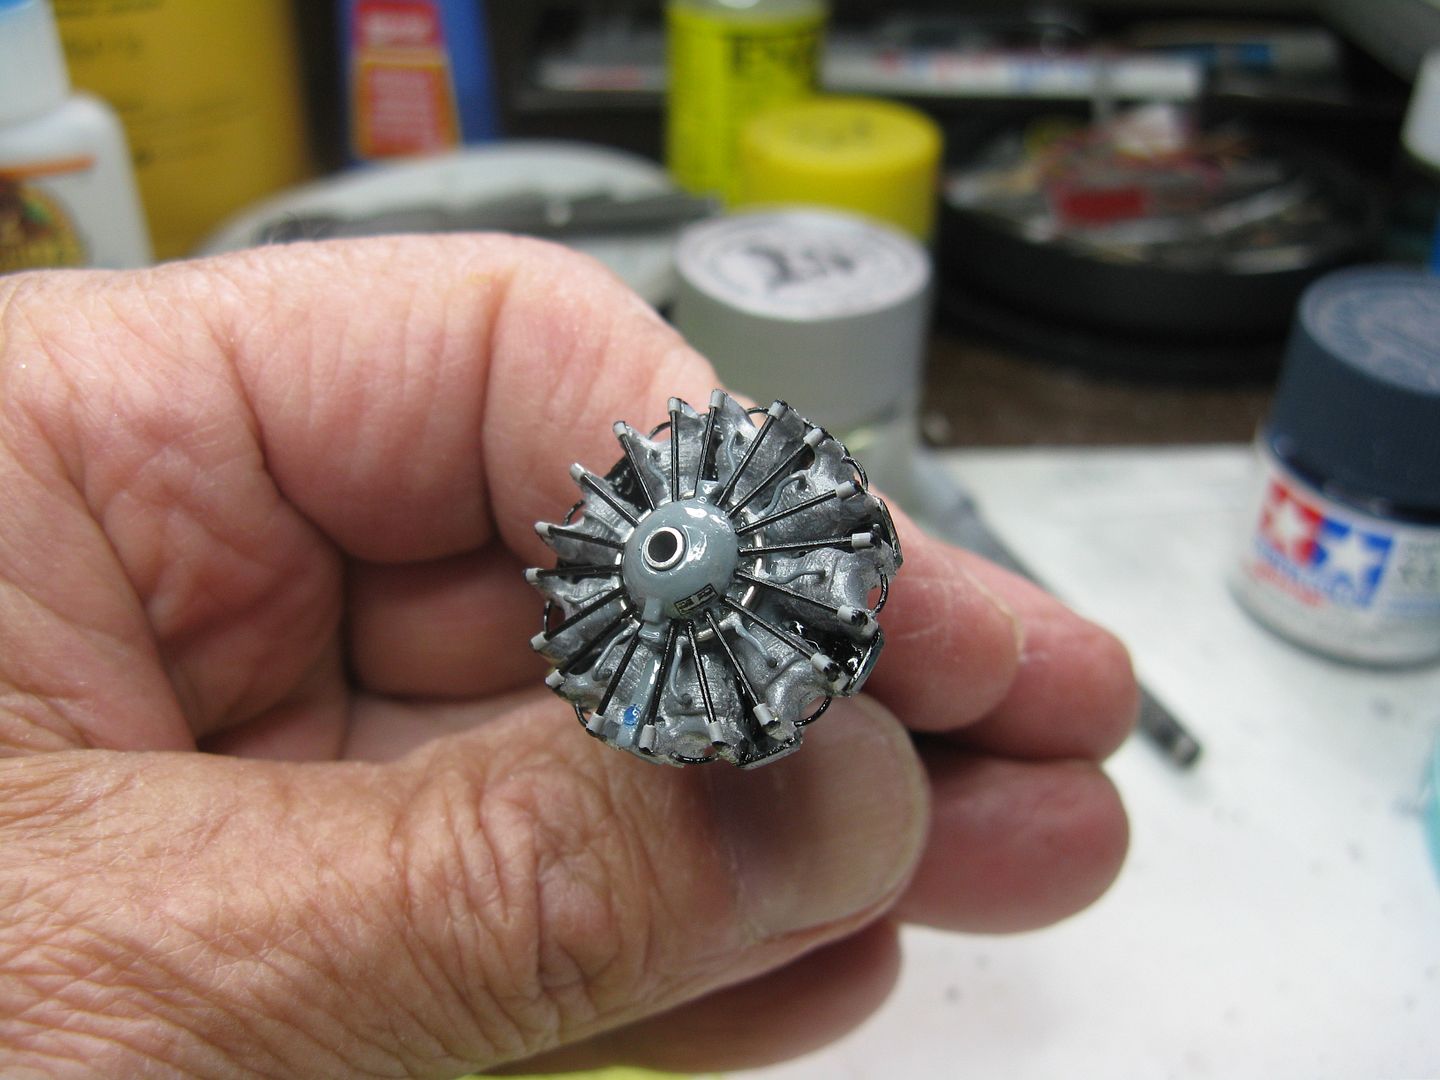
Break out the pin vice. I shall add an ignition harness, pushrod tubes and rocker box interconnect drains to the engine, so that makes a total of forty five holes to be drilled, nine for the plugs, two per cylinder x nine for the pushrods and two per cylinder x nine for the drains. hmy: The holes have been completed and the ignition ring has been installed. I don't know why E&T add that little grey thingy opposite the crankcase drain. I suspect they think it is the prop governor, which is where the governor is on the 1340, and it's too big a pita to remove so I'll live with it, but it means the ignition ring must be split into left and right sides.
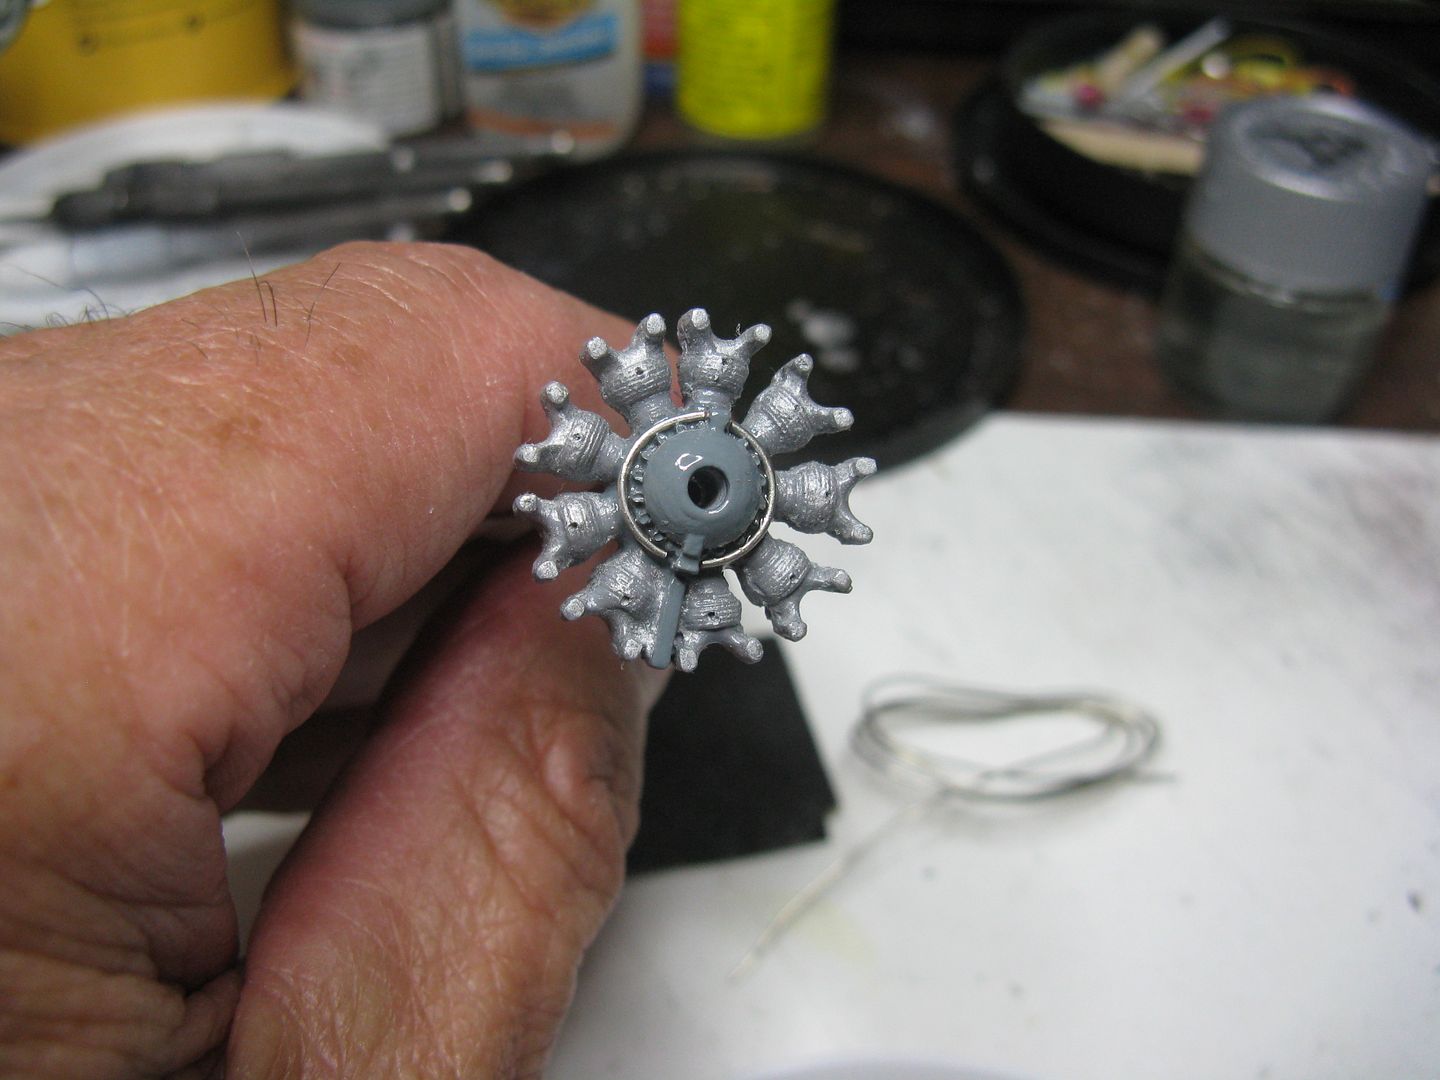
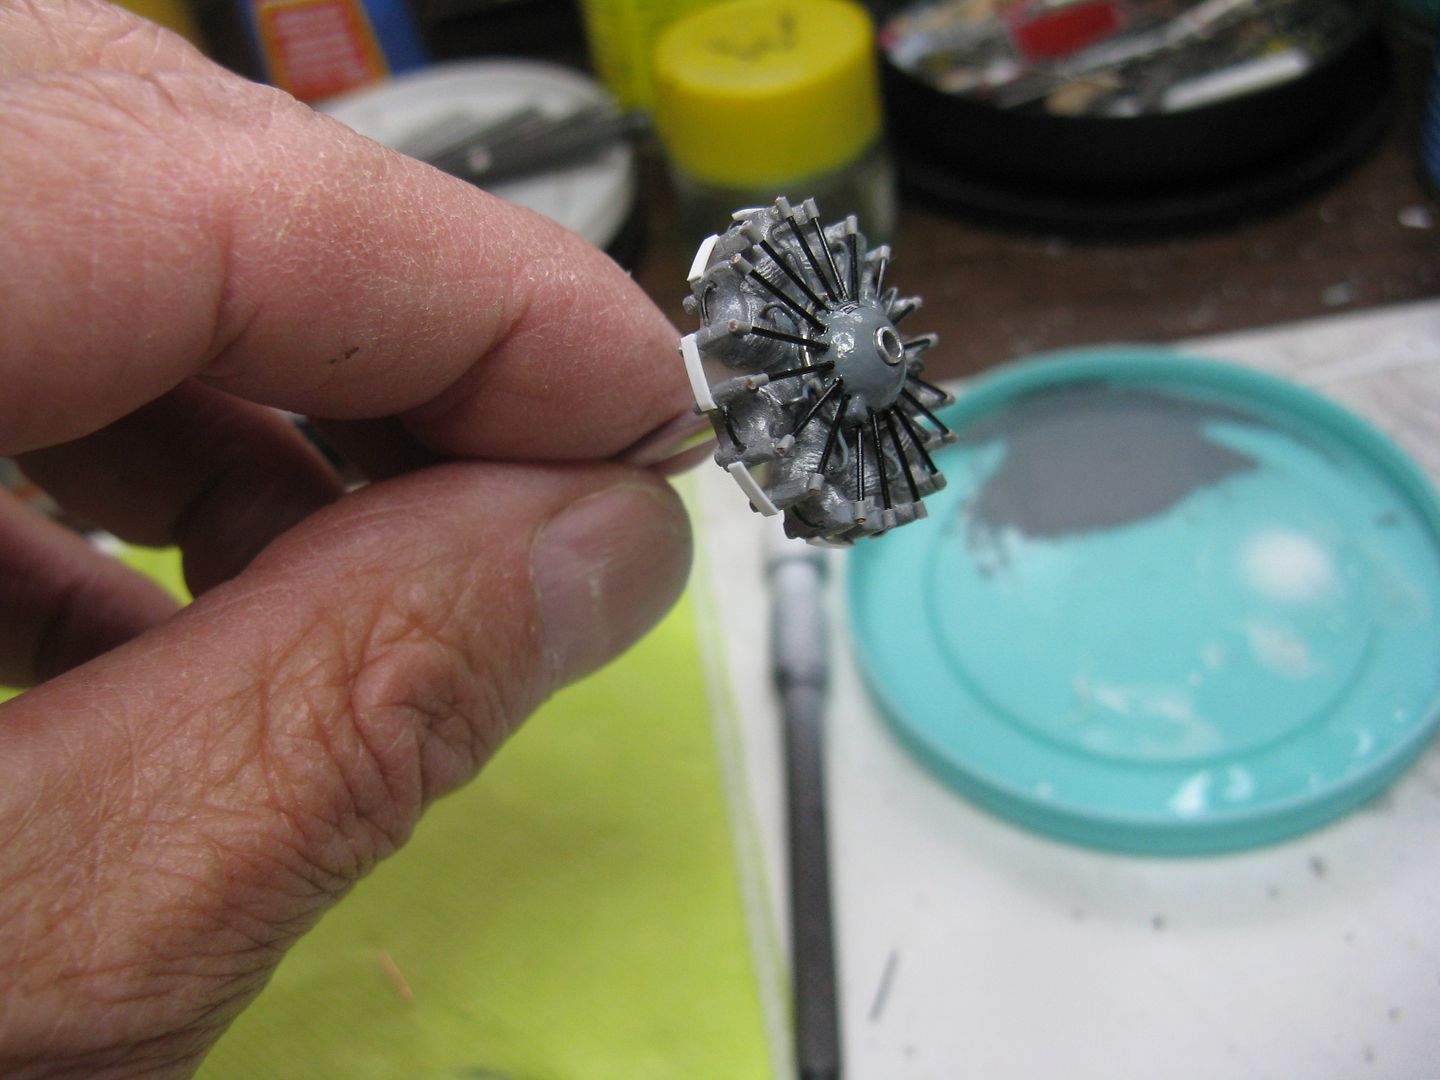
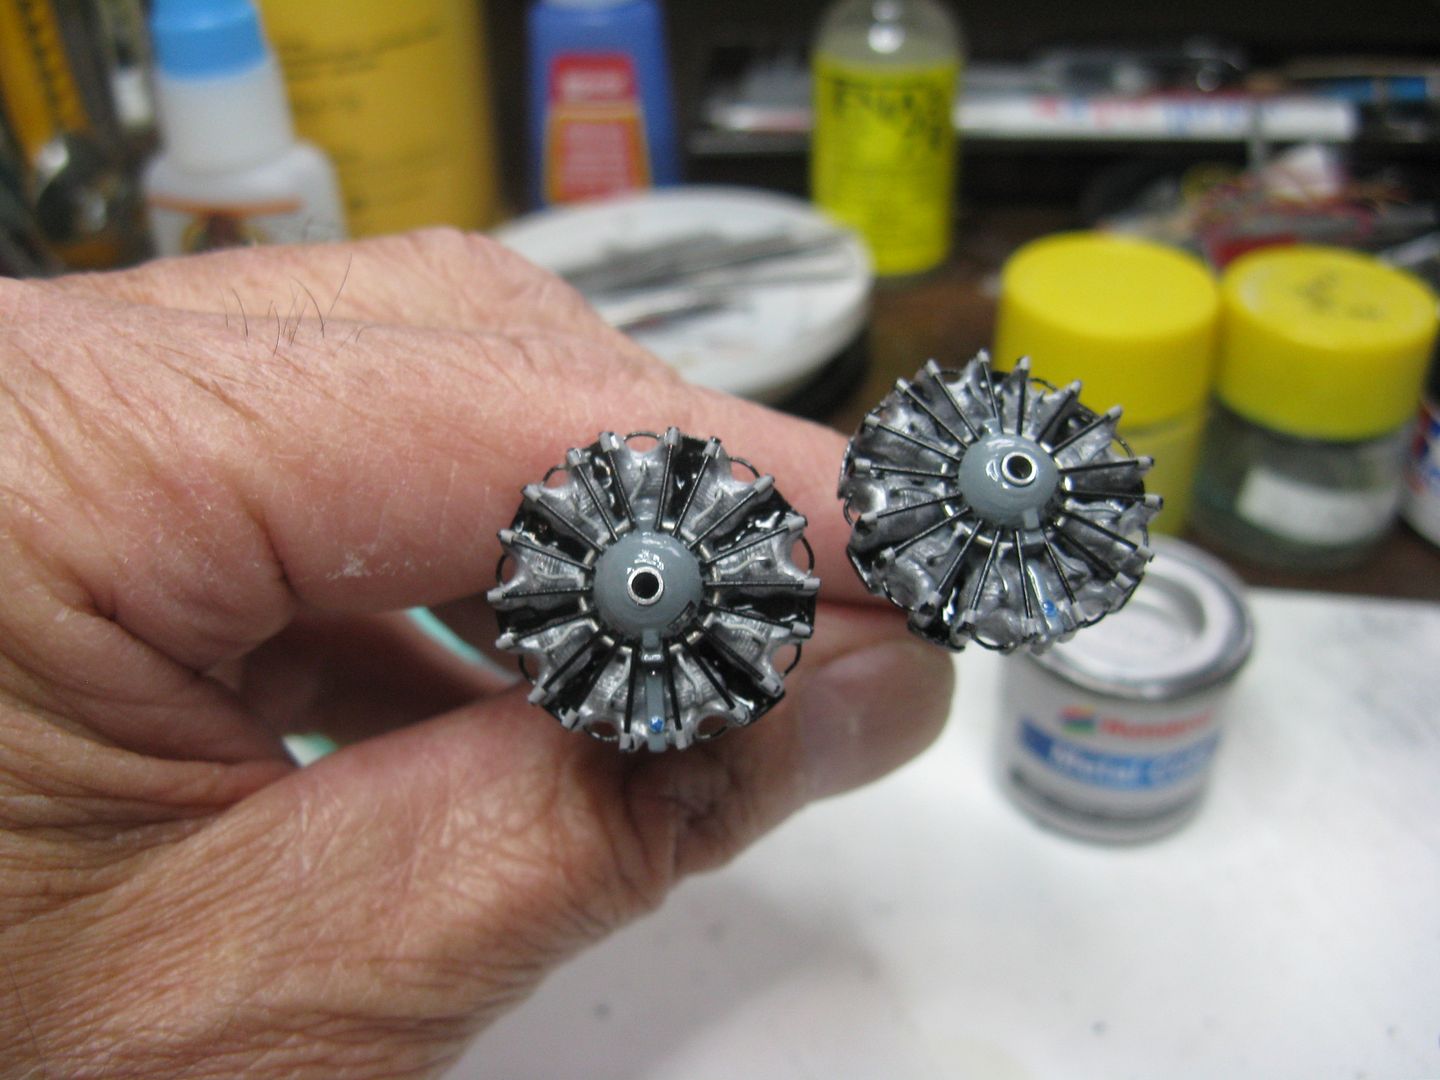
The ignition harness including the spark plugs are installed. I simply bent short lengths of # 28 florist wire to the shape of the plug wires with a bit bent over at the end inserted into the spark plug hole I had drilled in the cylinder. I painted the plug wires dark grey. They start out as black rubber, but after one season with the sun and wear and tear they fade to grey.
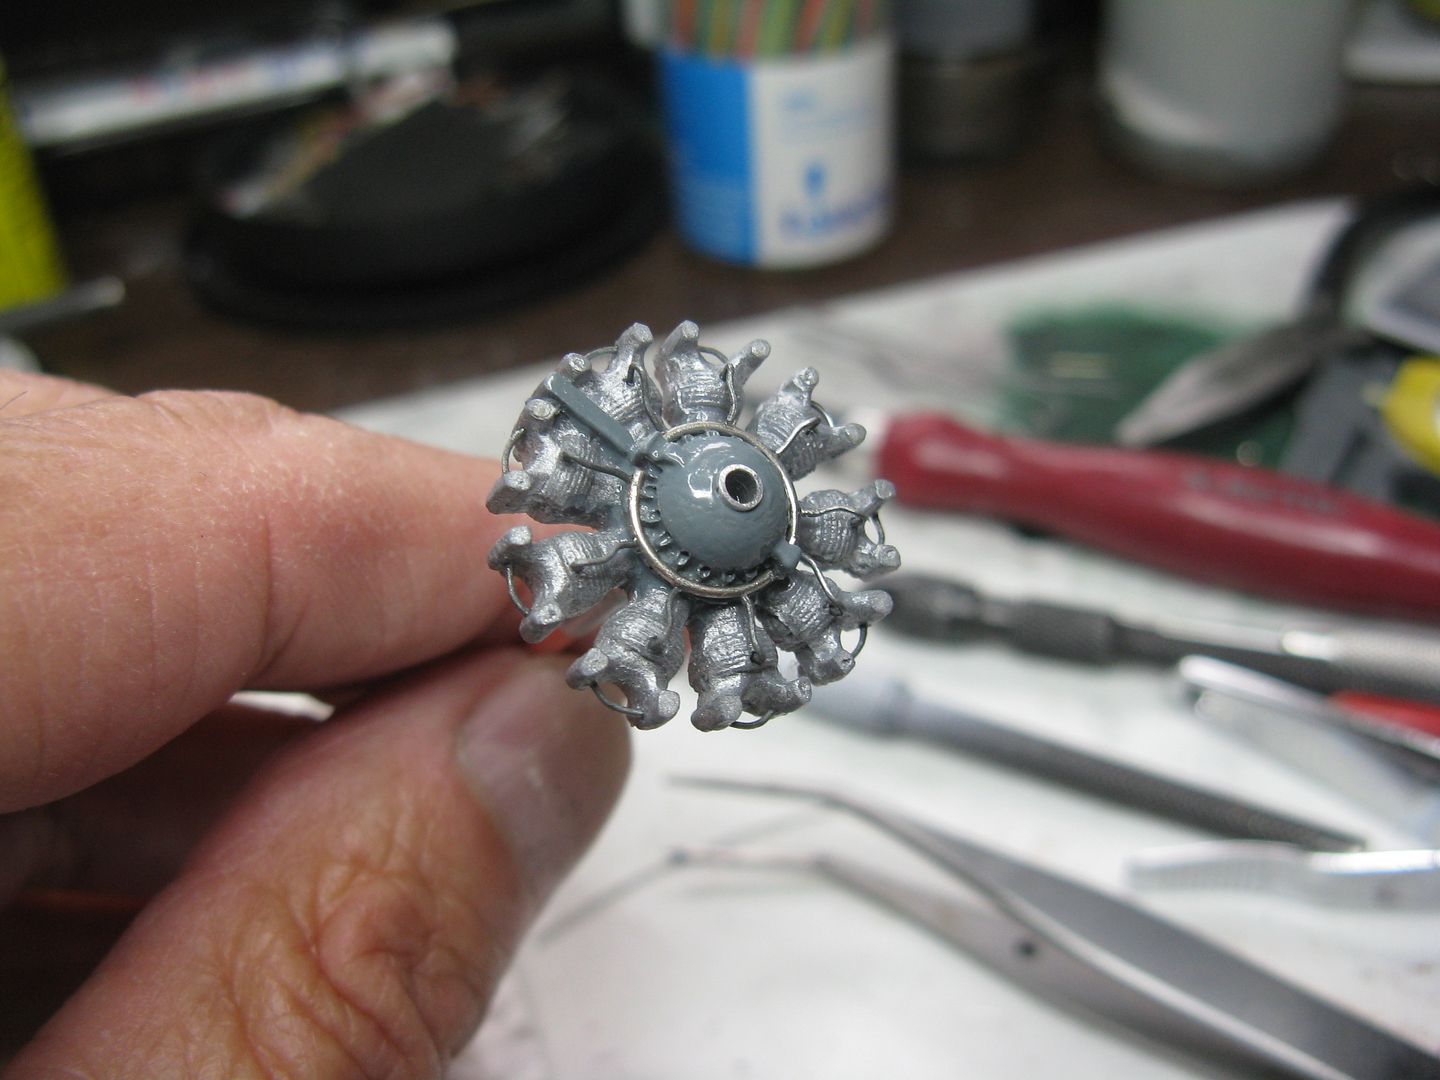
I'm gonna end this here even though I have the engines completed. I don't know the maximum number of characters per post, and I don't want to go over and have to edit. To quote Marvin the Martian "That would make me very, very angry!
There have been a few model kits of them over the years - notably Hobbycraft in 1:72 scale - and one in 1:48 scale. Only the hardiest of individuals tackled the 1:48 Battle Axe kit. I know one person who did and after much work he produced a stunning example. On floats! A couple of years ago, first ICM and then Revell produced a military C-45F kit of the Beech 18 in 1:48 scale, the kit being the mil version of the civilian Beech 18C. A friend briefly flew one about seven or eight years ago and since I have been building models for his collection for about that long it came to the top of the bucket list. Here's a couple of pics of the airplane.
Side view...

Front view...

Front office...

Cabin. It's been around the block a few times.

The kit I shall build is the Revell offering and I shall put it on floats. I have a set of Edo 7170's - which is the DHC Otter float - but with the addition of a one cm plug in front of the step it is magically transformed into an Edo 7850. (I think this is a reboxing of the ICM kit, but that's a WAG on my part.) Anyway. There's a couple of sprues of absolutely flash-free parts, so other than a rinse in mild detergent to remove any surface crud, that's it as far as prep goes. One must start somewhere, and since I regard an instruction sheet as someone else's opinion, I will start with the powerplants - the engines and propellers.
I consigned the kit engines to the spares box and opted for two examples of the Pratt R985's from Engines & Things I had in the spares box. The E&T offerings are rather plain, but with a bit o' work that can be made to look like the small Pratt, so let the cutting begin to commence!
Out of the box with the flash cut away they looks like this...

They have an accessories section attached to the rear of the crankcase...

...But since you can't see it after the cowlings have been buttoned up, we'll pretend I didn't saw it off and sand the engine down to the same thickness as the kit engine.

There is a little raised lip around the prop shaft hole that represents the engine thrust bearing, but since I always drill out the shaft hole and replace it with a length of aluminum tubing, I cut that off also, then shot a coat of primer using grey automotive prime and drybrushed the cylinders with Humbrol #27001 Metallic Aluminum. While it was drying I gently brushed the cylinders with a soft toothbrush to cut down any shine. I don't know why my wife was mightily incensed, I washed her toothbrush before putting it back in the bathroom. I then painted the crankcase and crankcase drain with Humbrol # 5 Gloss Grey, which is as close to P&W engine grey as I've been able to find.

Break out the pin vice. I shall add an ignition harness, pushrod tubes and rocker box interconnect drains to the engine, so that makes a total of forty five holes to be drilled, nine for the plugs, two per cylinder x nine for the pushrods and two per cylinder x nine for the drains.

The ignition harness including the spark plugs are installed. I simply bent short lengths of # 28 florist wire to the shape of the plug wires with a bit bent over at the end inserted into the spark plug hole I had drilled in the cylinder. I painted the plug wires dark grey. They start out as black rubber, but after one season with the sun and wear and tear they fade to grey.

I'm gonna end this here even though I have the engines completed. I don't know the maximum number of characters per post, and I don't want to go over and have to edit. To quote Marvin the Martian "That would make me very, very angry!




 :salute
