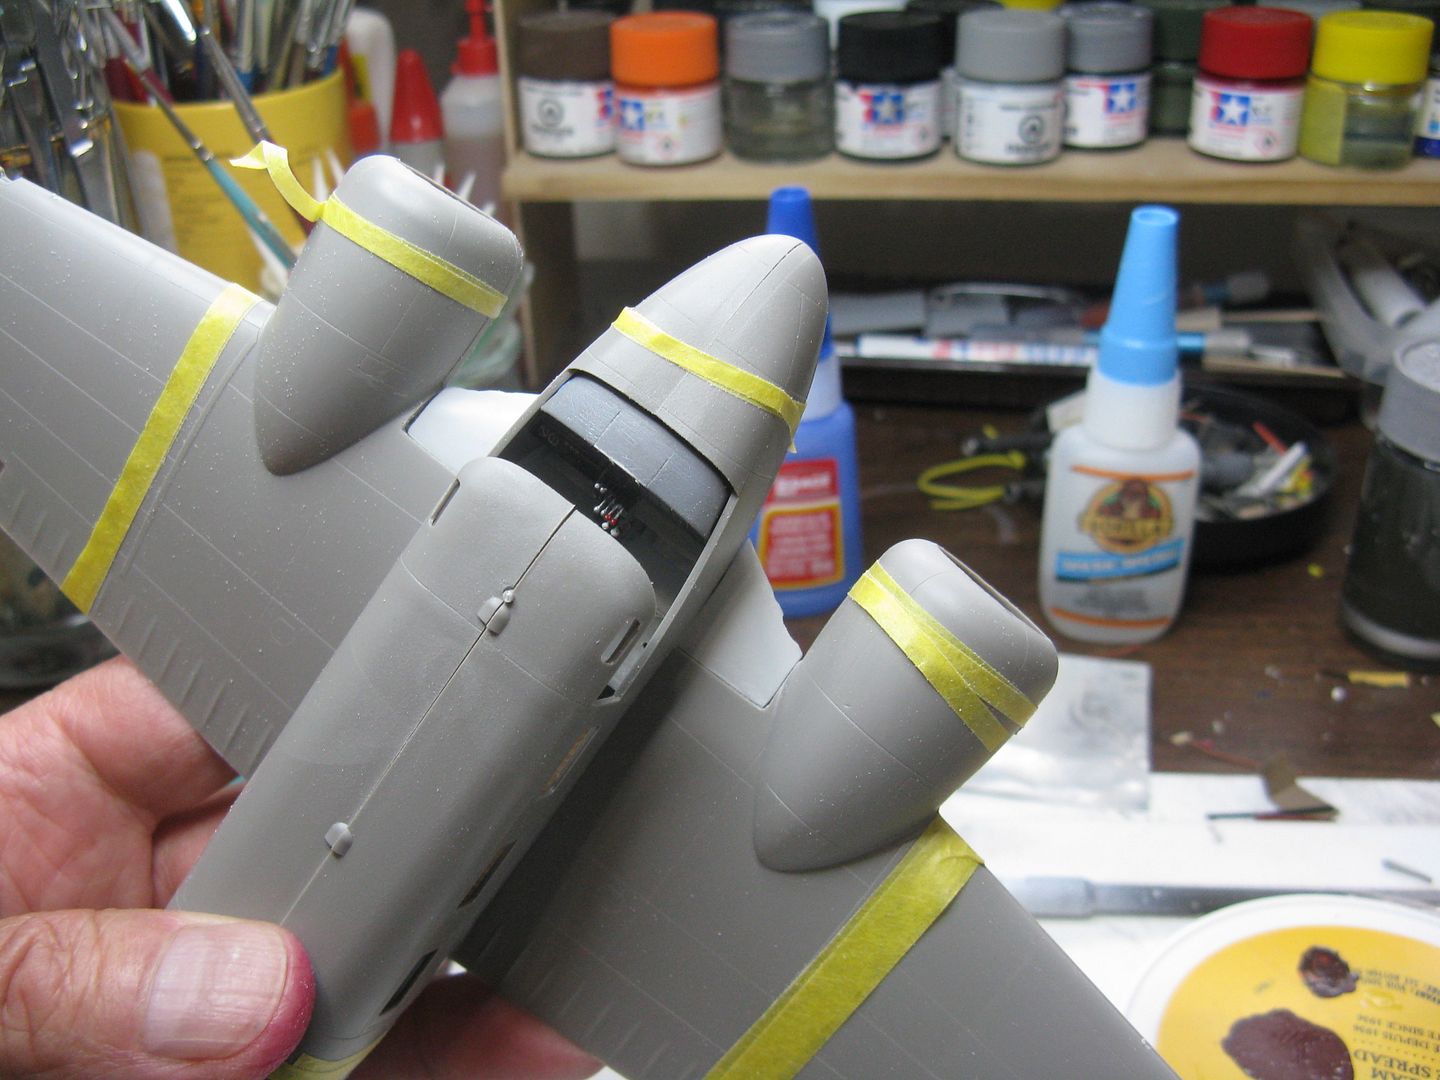
Appreciate the kind comments fellers, thank you all. Uros, what are you using to post your pictures, Photobucket? I just renewed my subscription, have been a paying member for some years, and so far there has been no disruption to the third party hosting. Knock on wood.
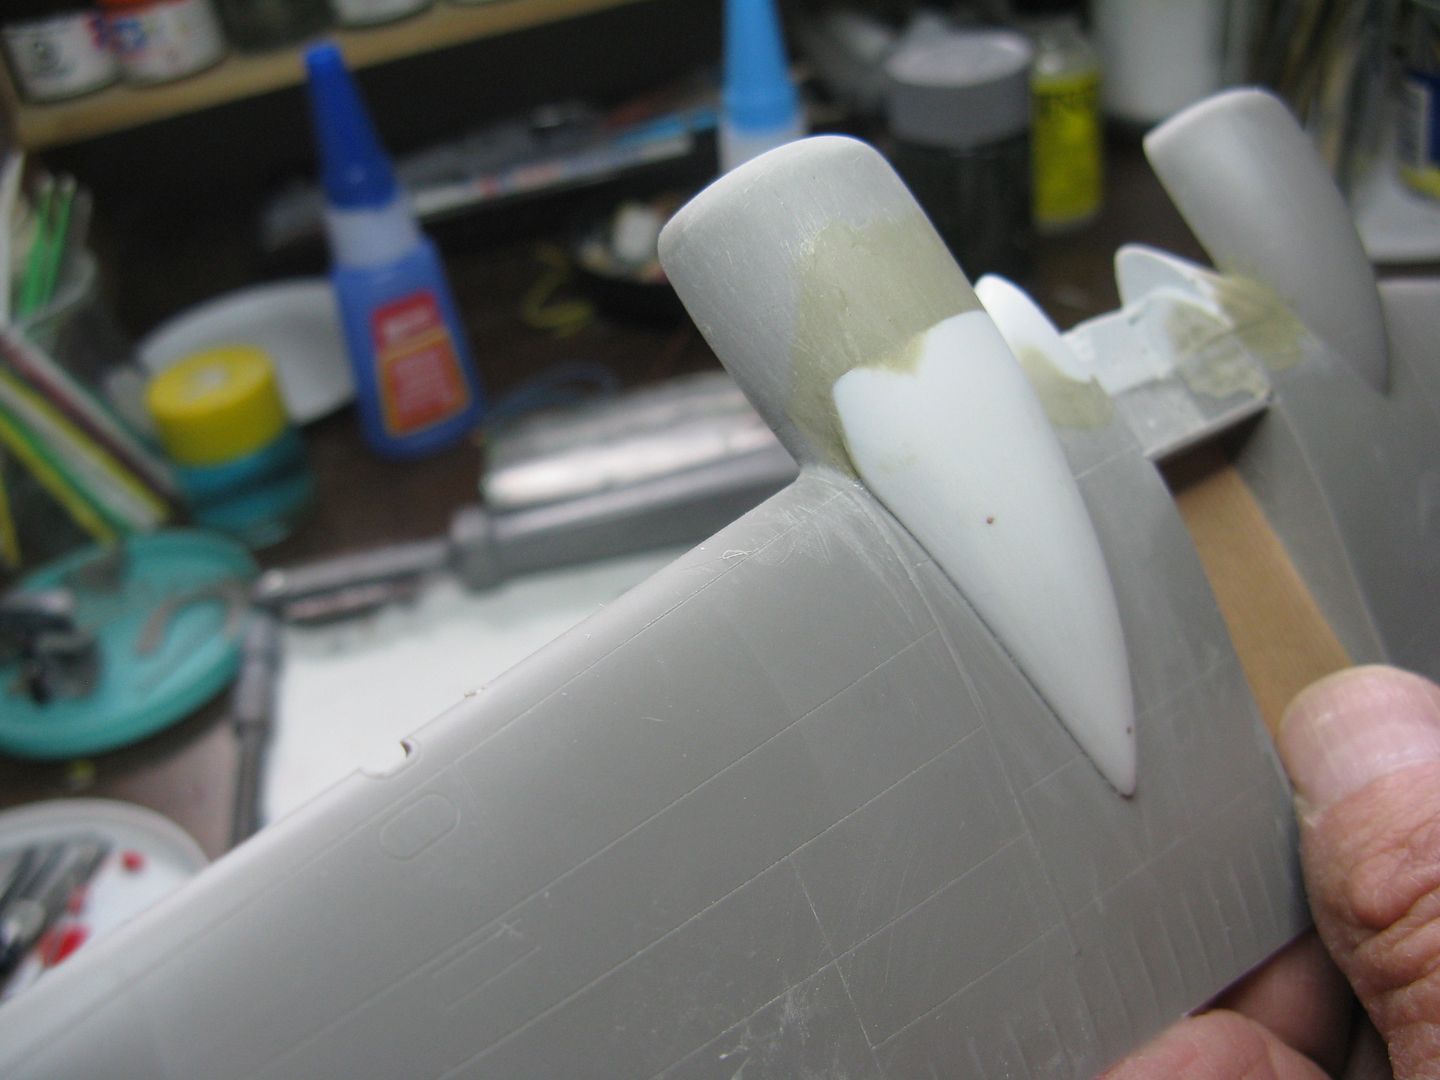
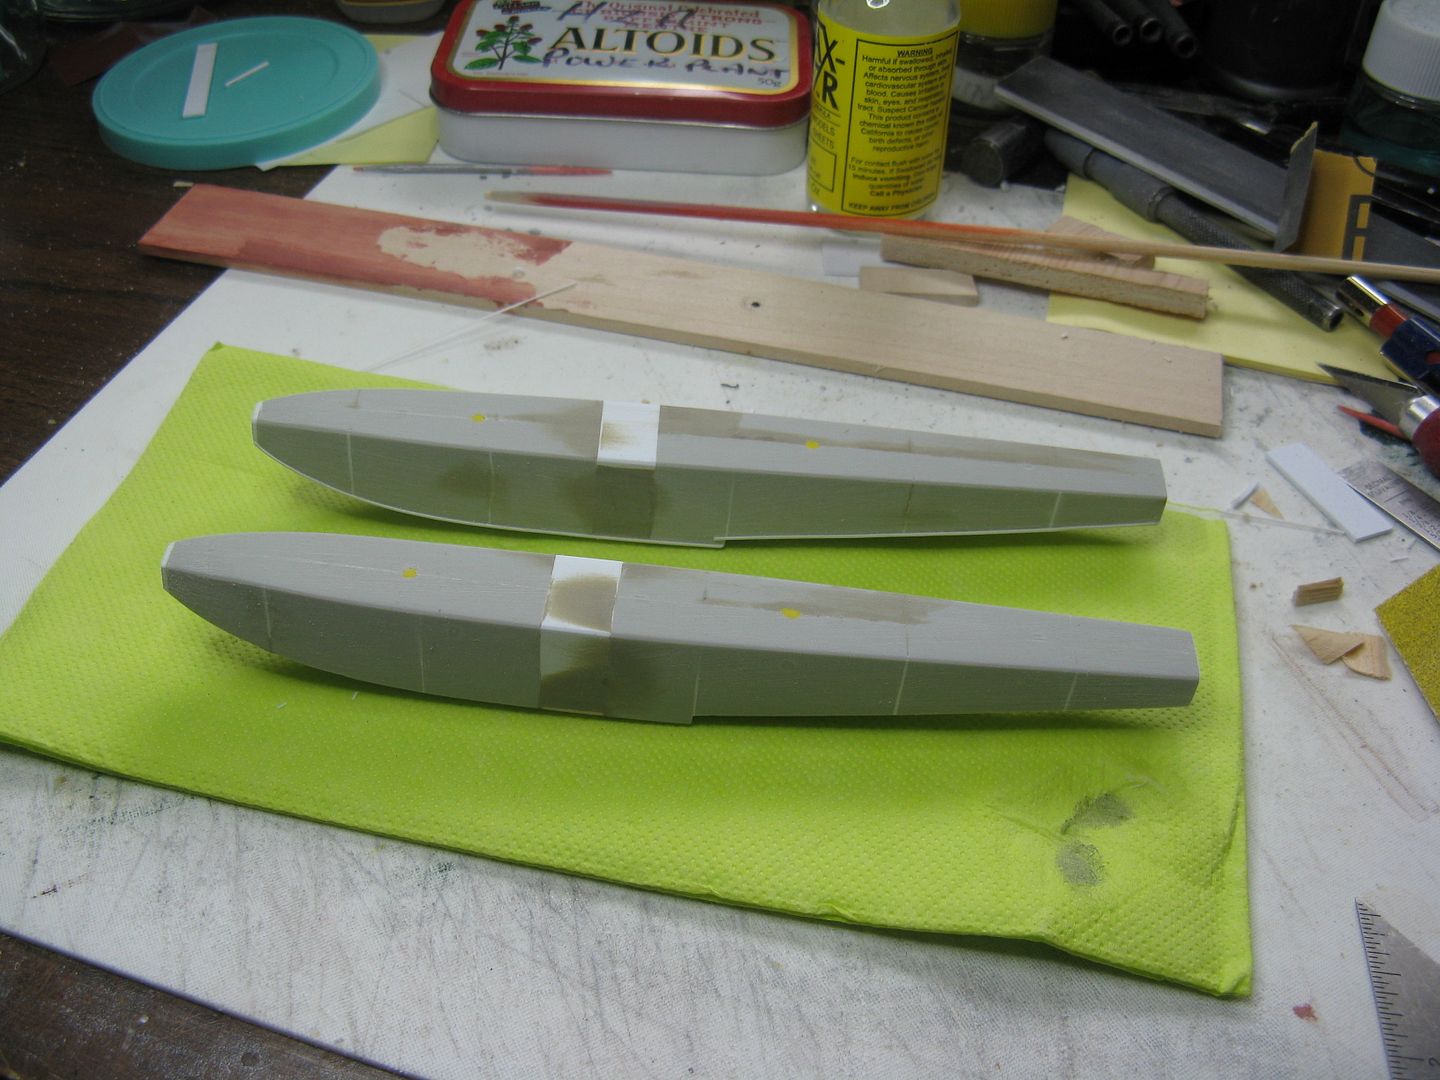
Anyway, on to the floats. The standard Beech float is the Edo 7850. I had a set of floats for the Hobbycraft 1:48 Otter - Edo 7170's - that I got from a gentleman in Leeds, UK in exchange for 750ml of maple syrup. I kid you not, and he said his Christmas morning pancakes were delicious! The beam and the depth of the 7850's and the 7170's are the same, but the 7850 has an 18" plug forward of the step. In the pic one float has been modified to show the difference in lengths between 'em.
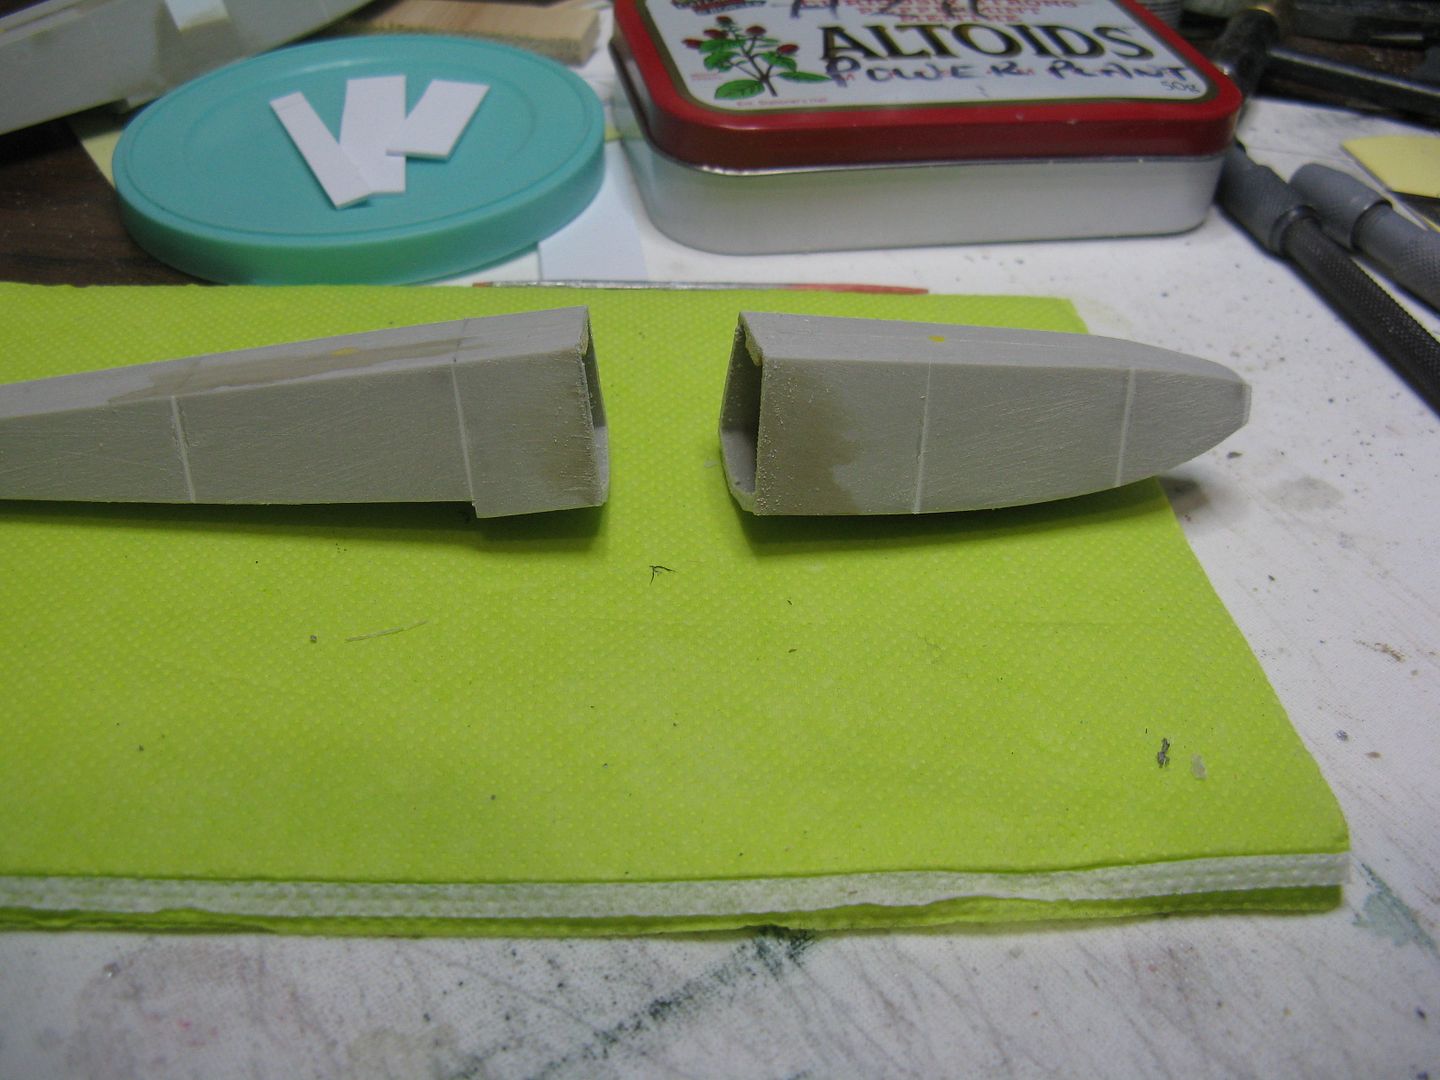
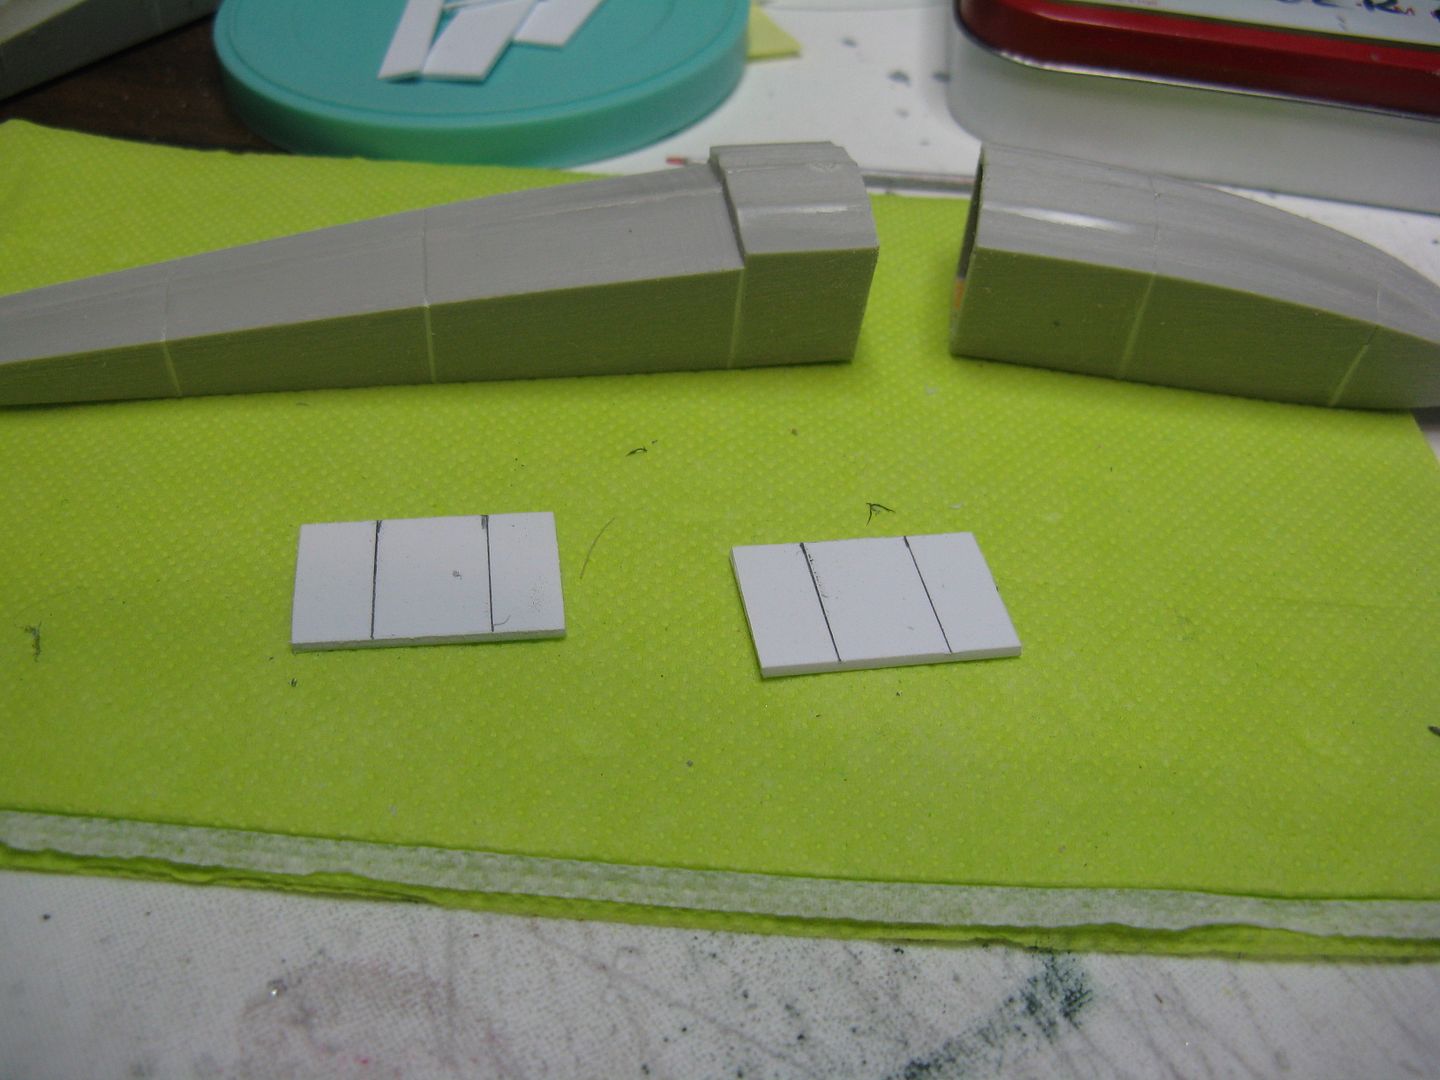
After gluing the float halves together, I cut 'em apart a foot in front of the step.
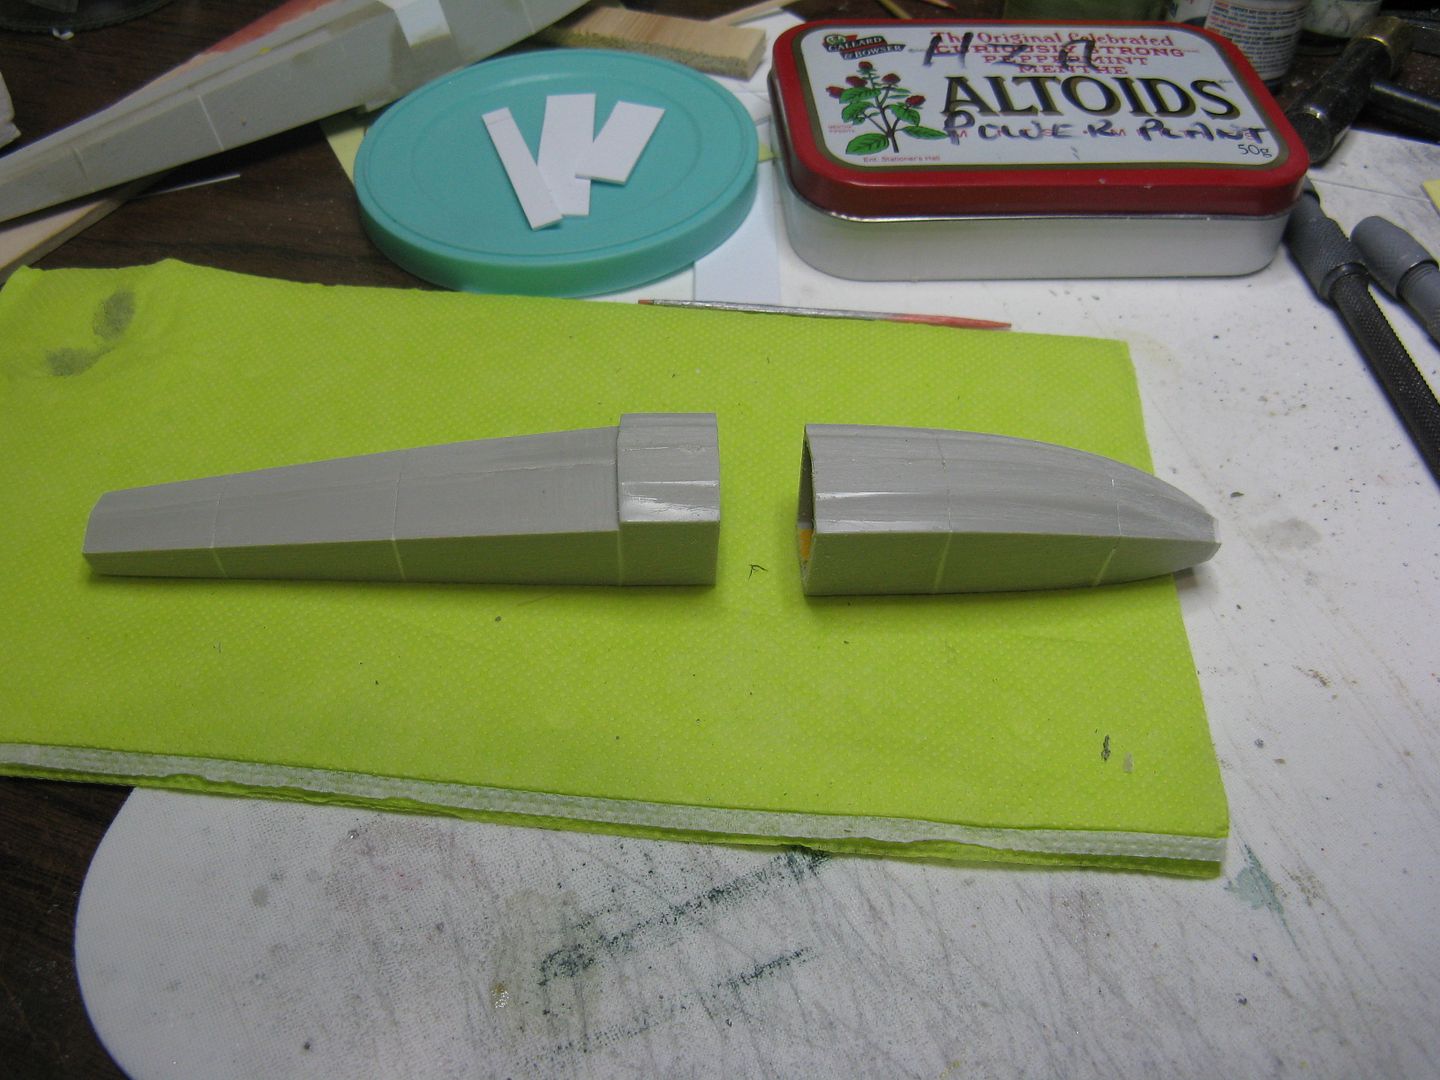
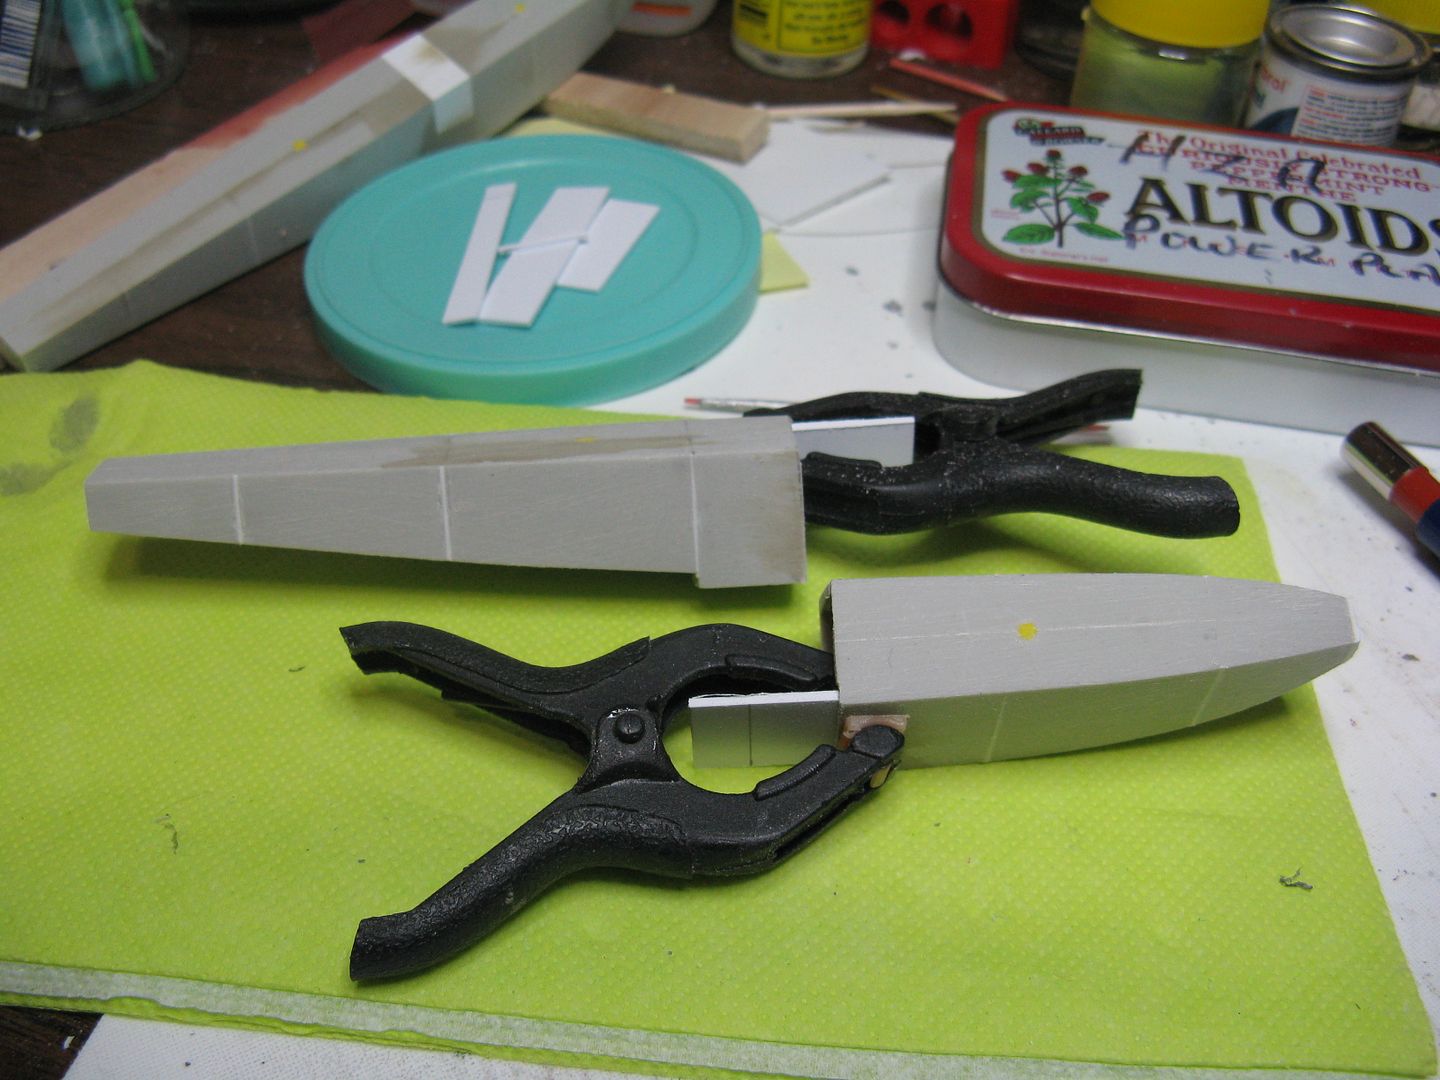
I cut two lengths of .040 scrap plastic that will fit inside sides of the float and marked the length of plug, in this case 3/8" (18 scale inches)...
..Then glued the two pieces in place and clamped them overnight.
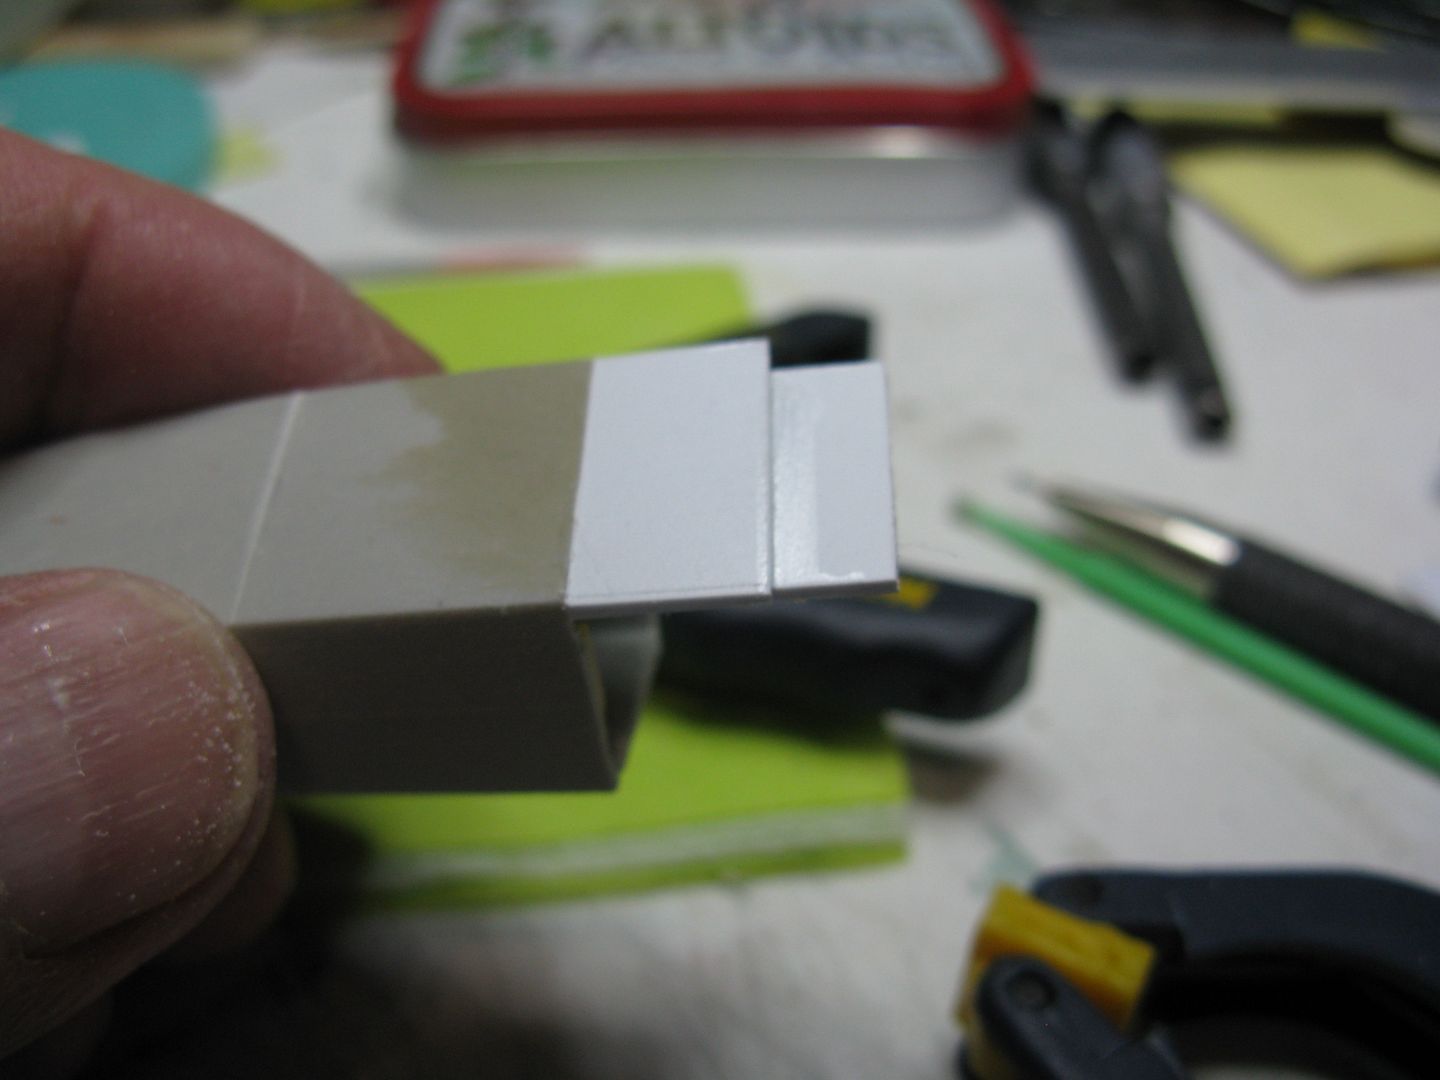
When this assembly had dried, I cut more .040 scrap the length of the plug (3/8") and glued
that to the inside plug to make the outer skin of the sides of the float.
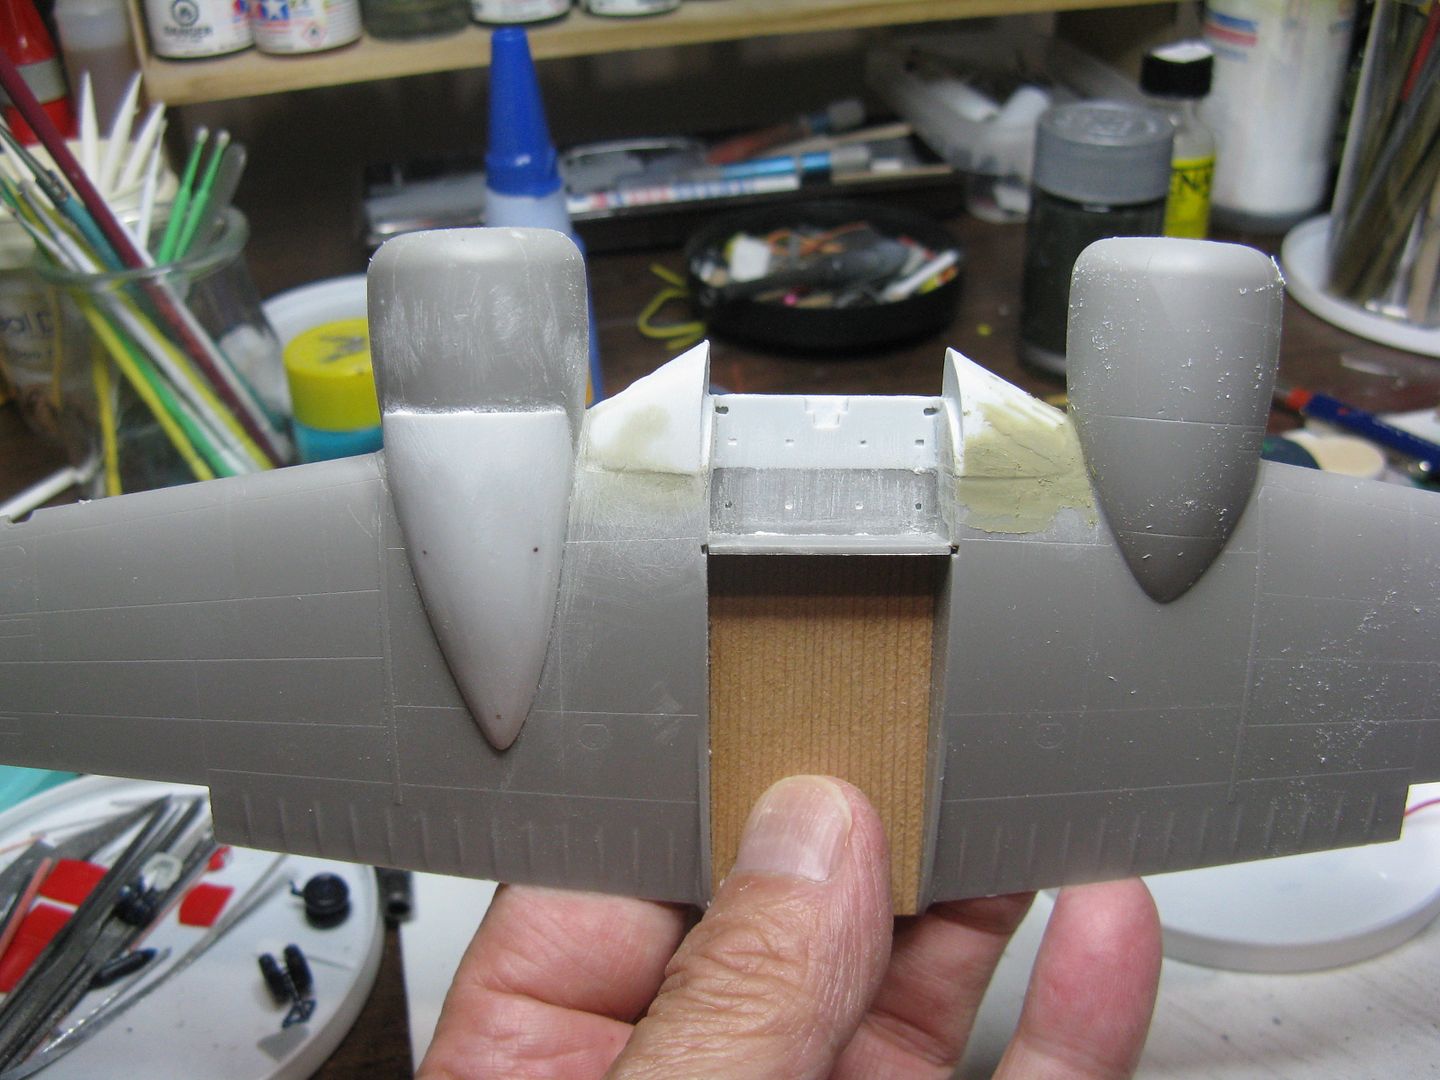
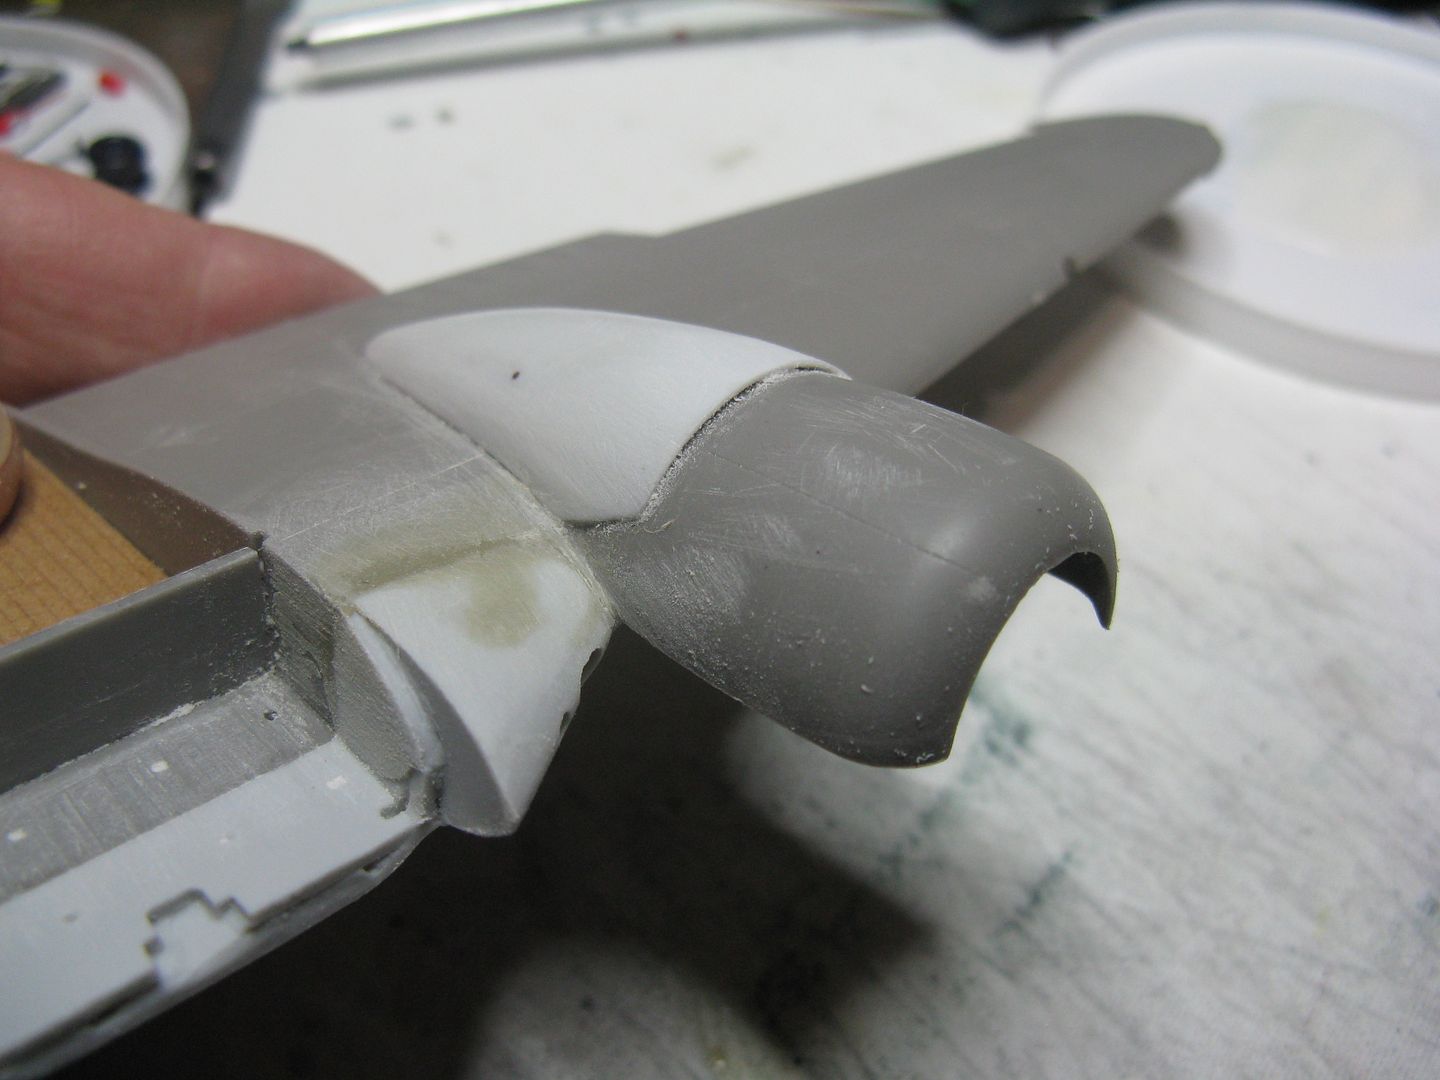
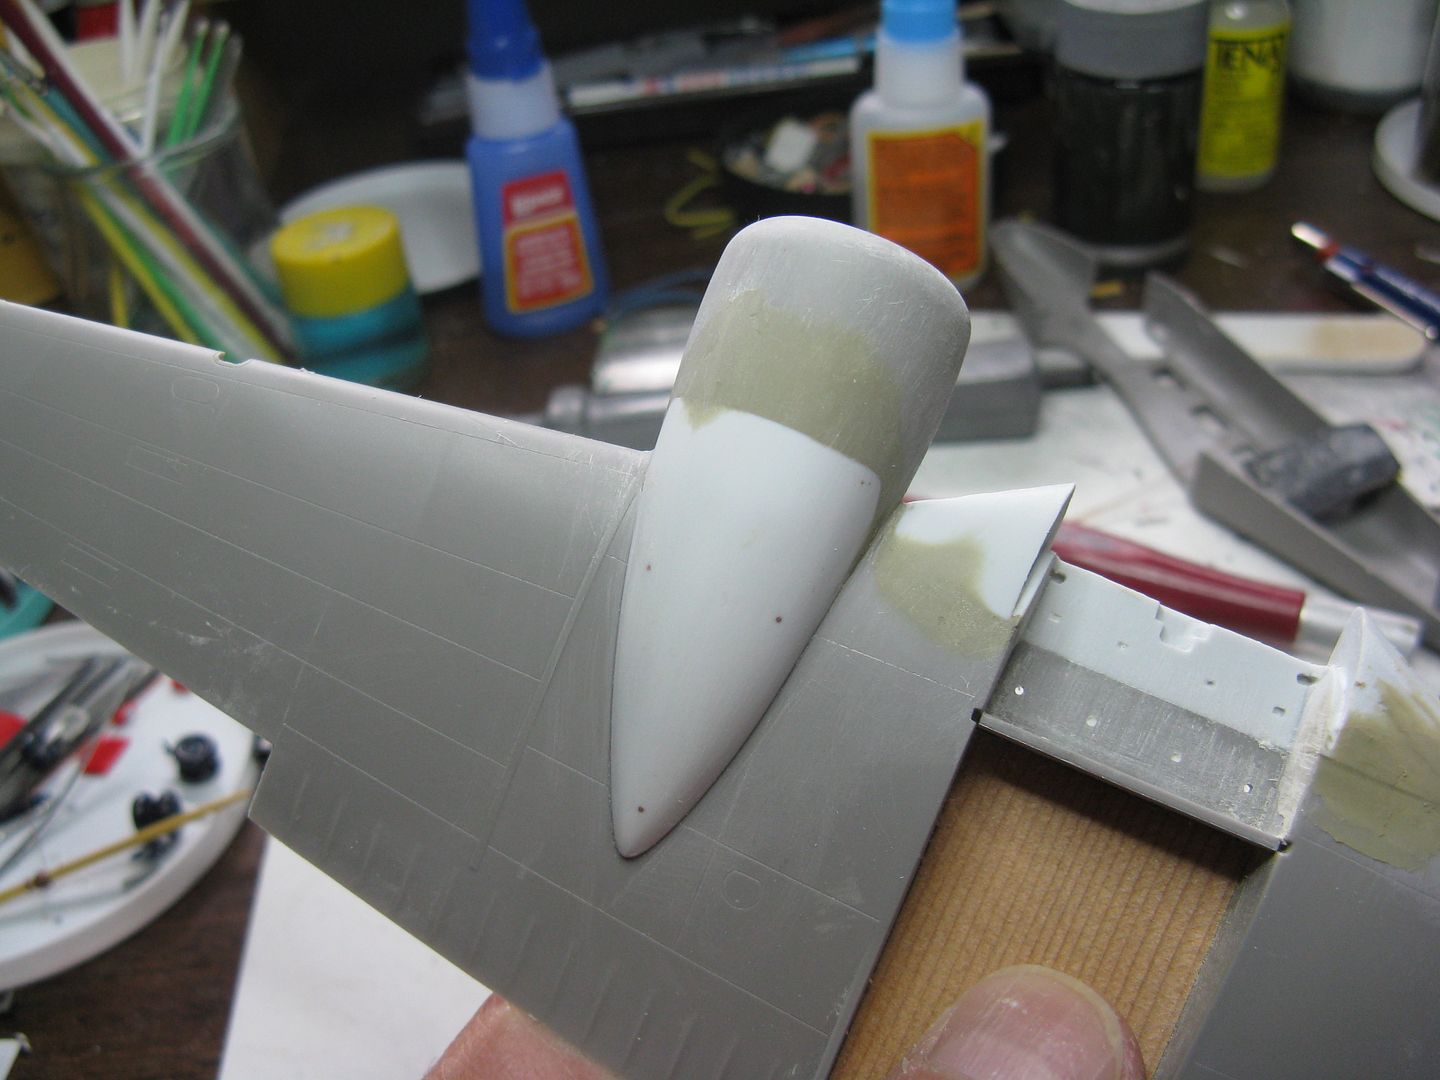
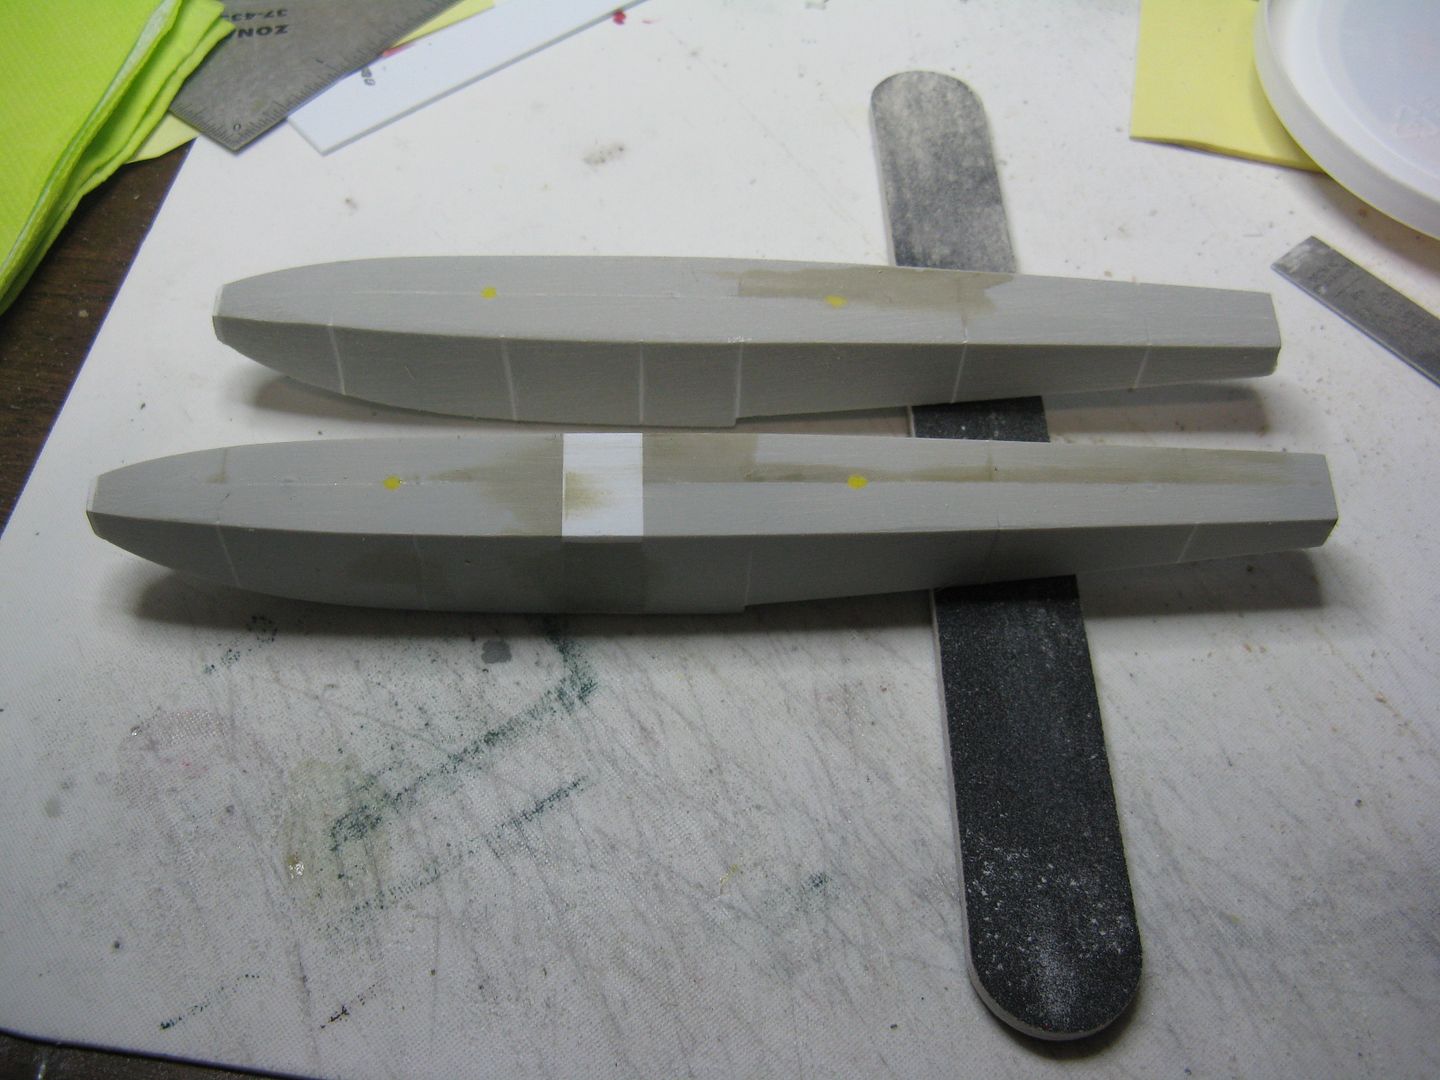
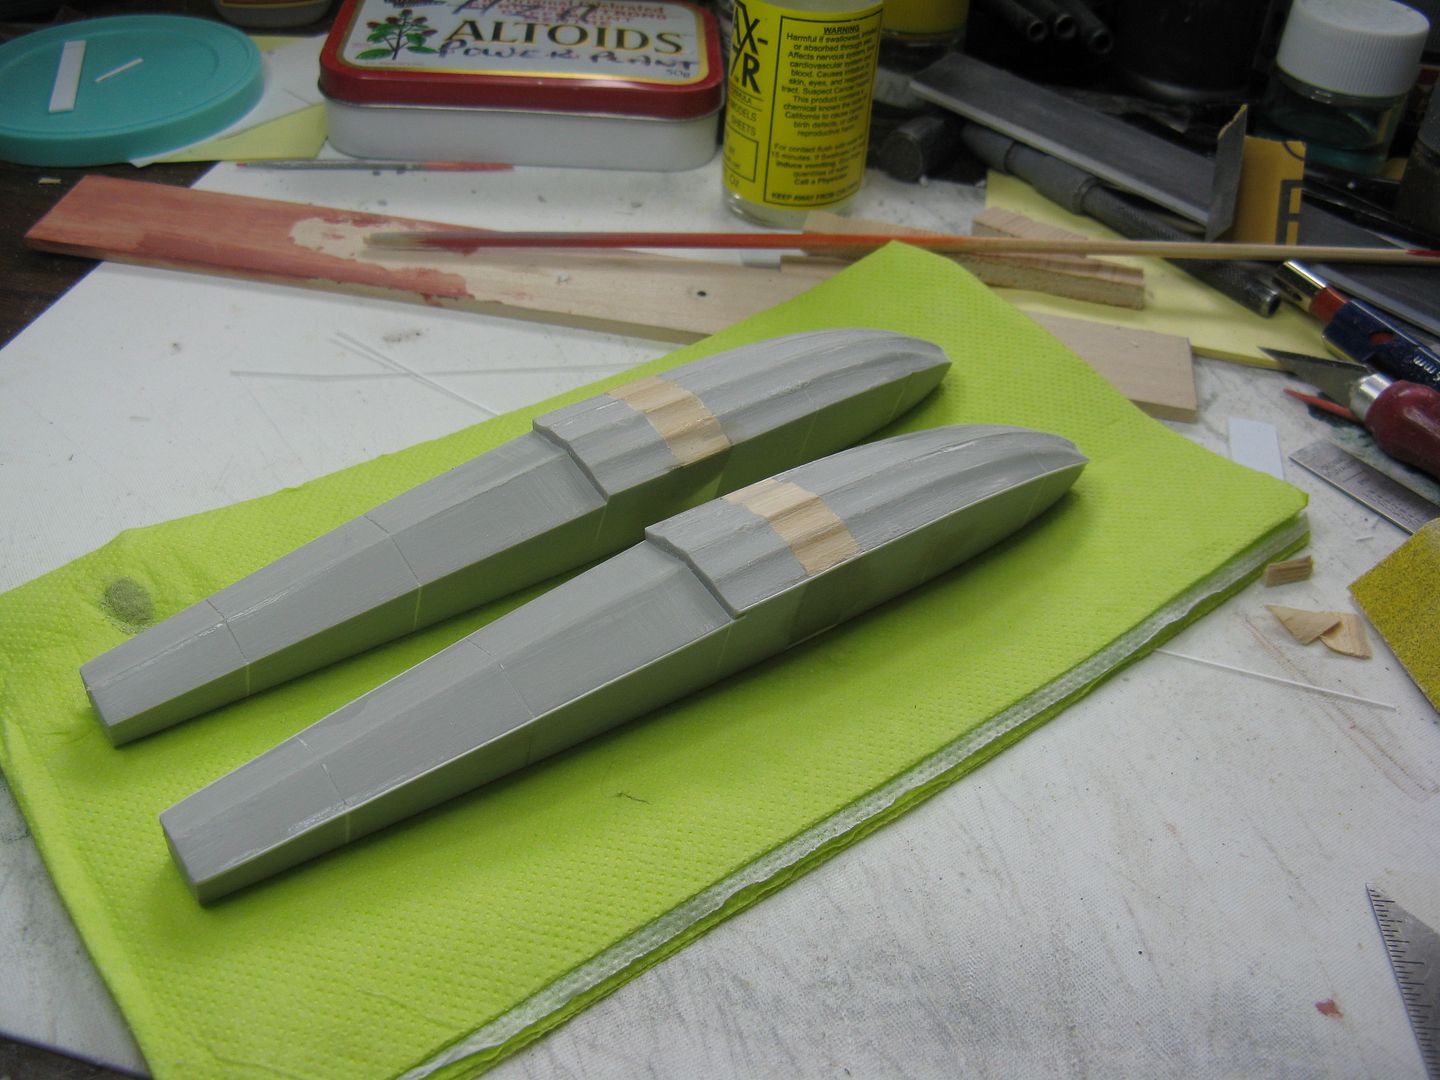
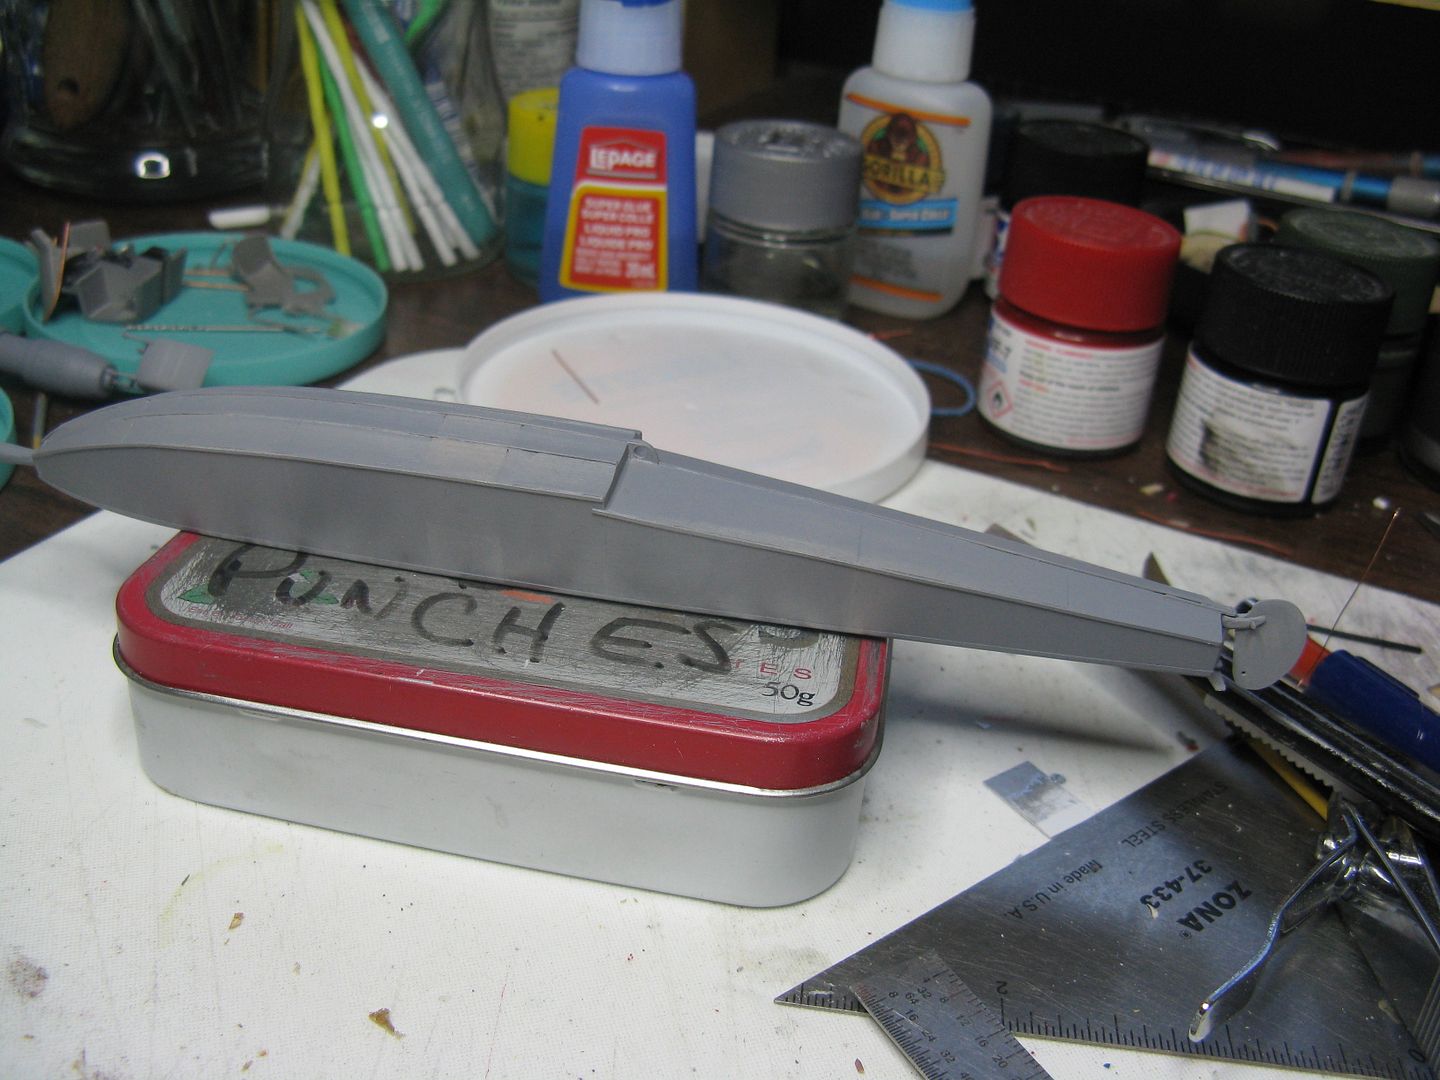
From there, it was a simple matter of mating the two halves of the float, gluing them together and installing more .040 sheet across the top for the deck. For the bottom of the float I used a length of cedar shim, glued in place and sanded to the contour of the double fluted shape that makes the front step of the float.
Viola! Two the same.
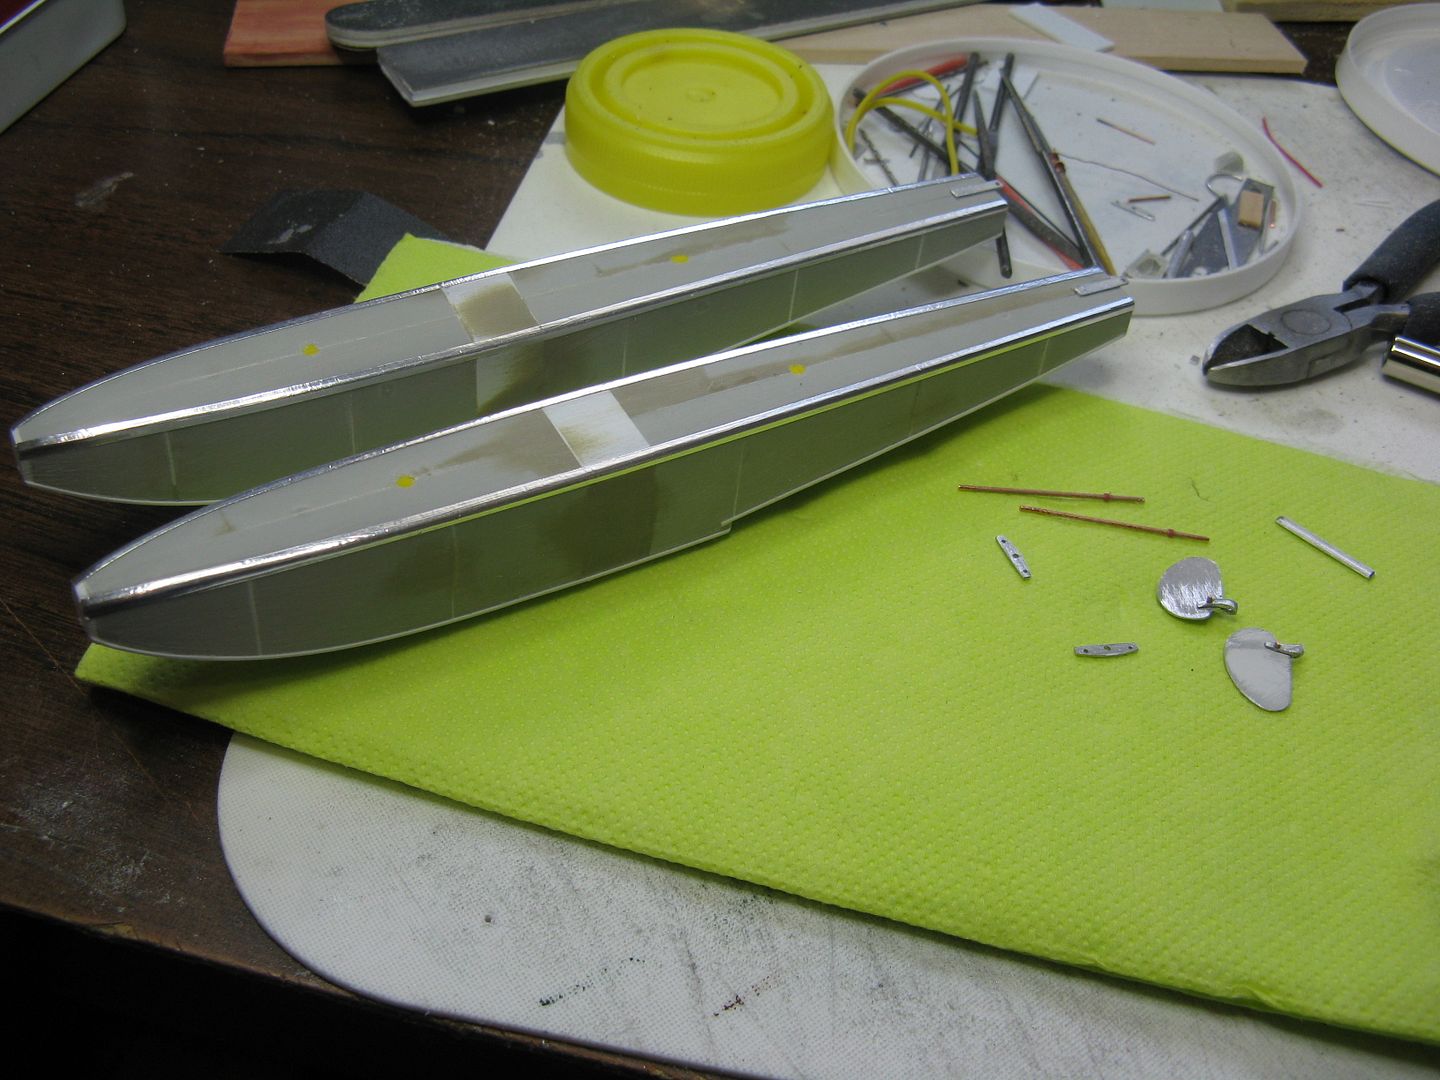
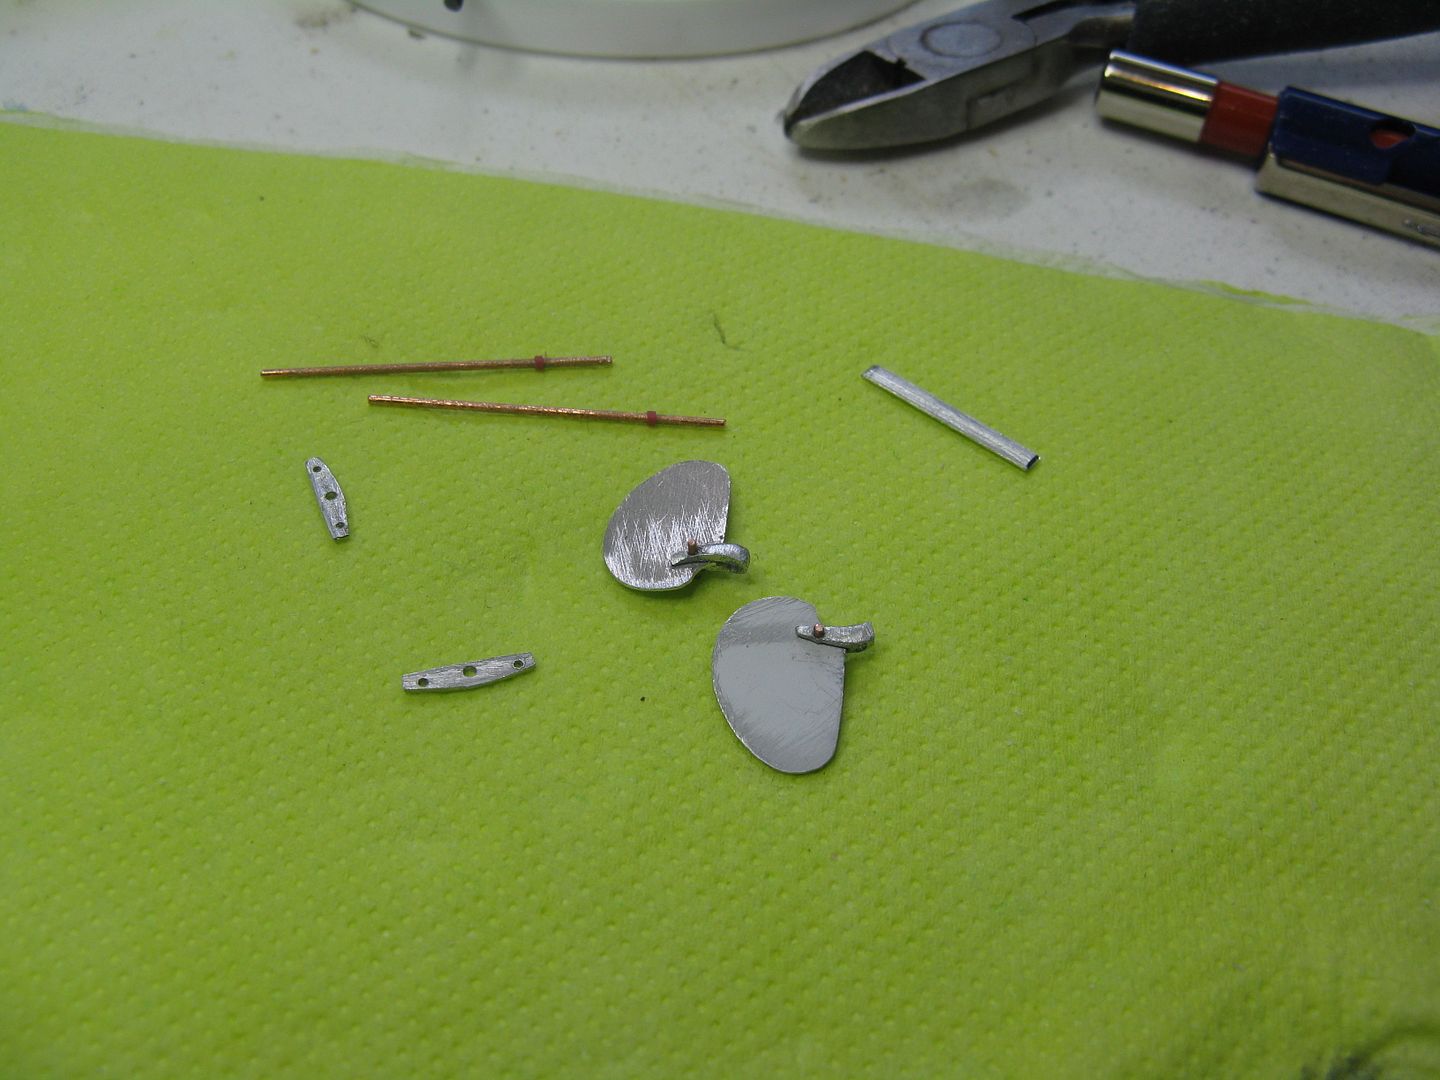
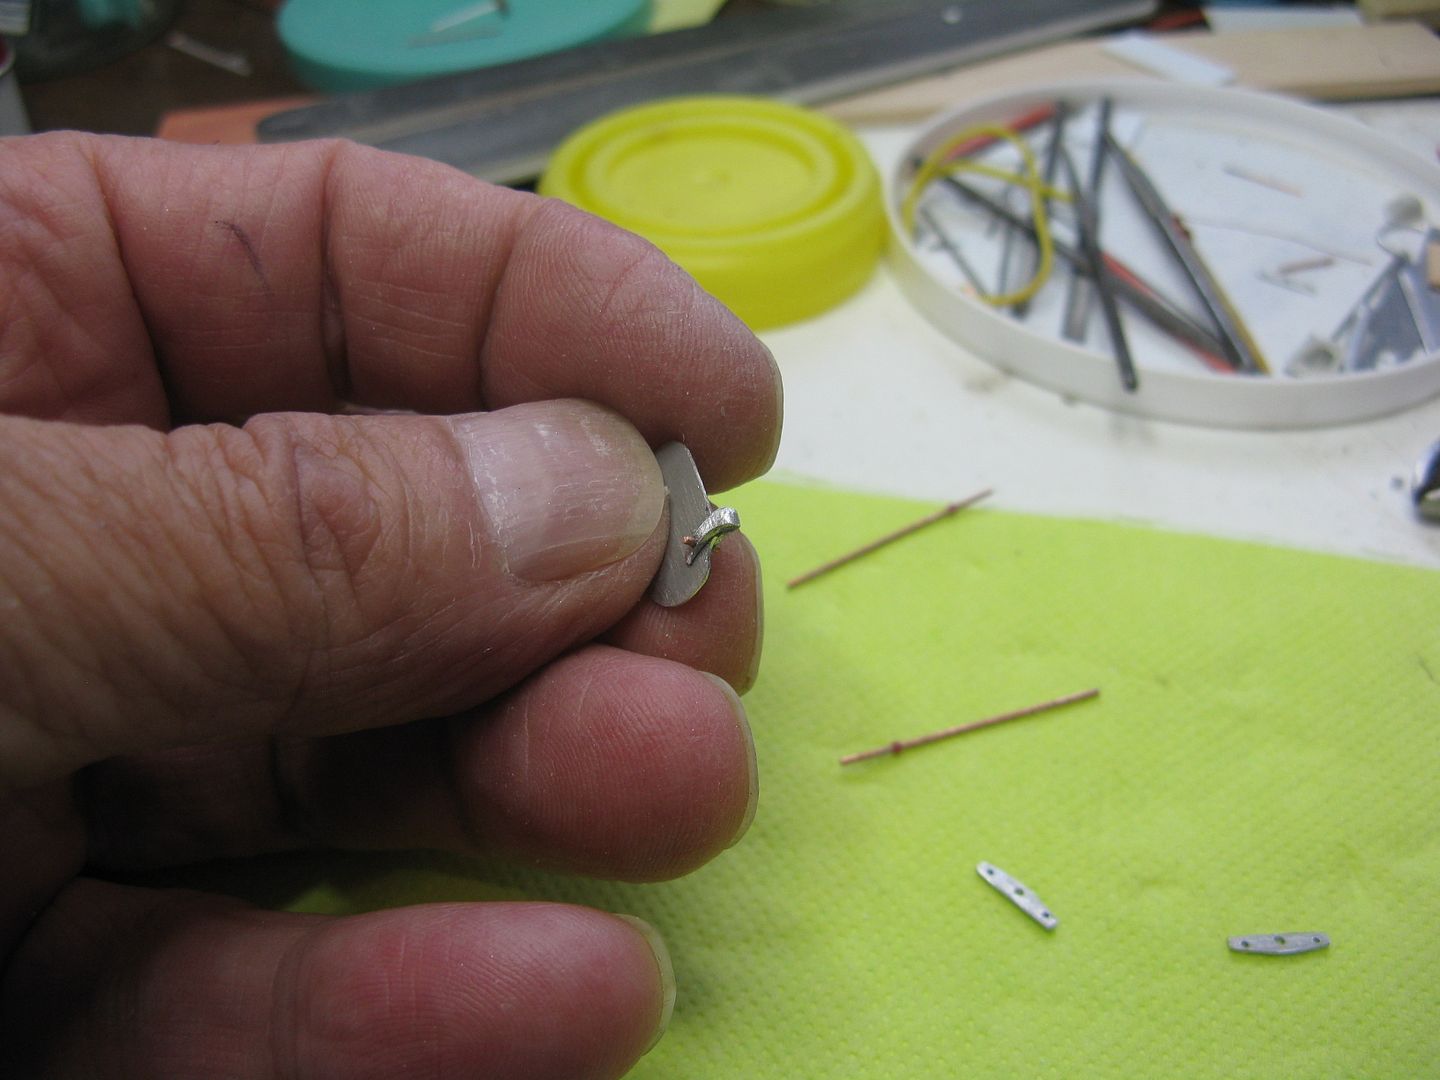
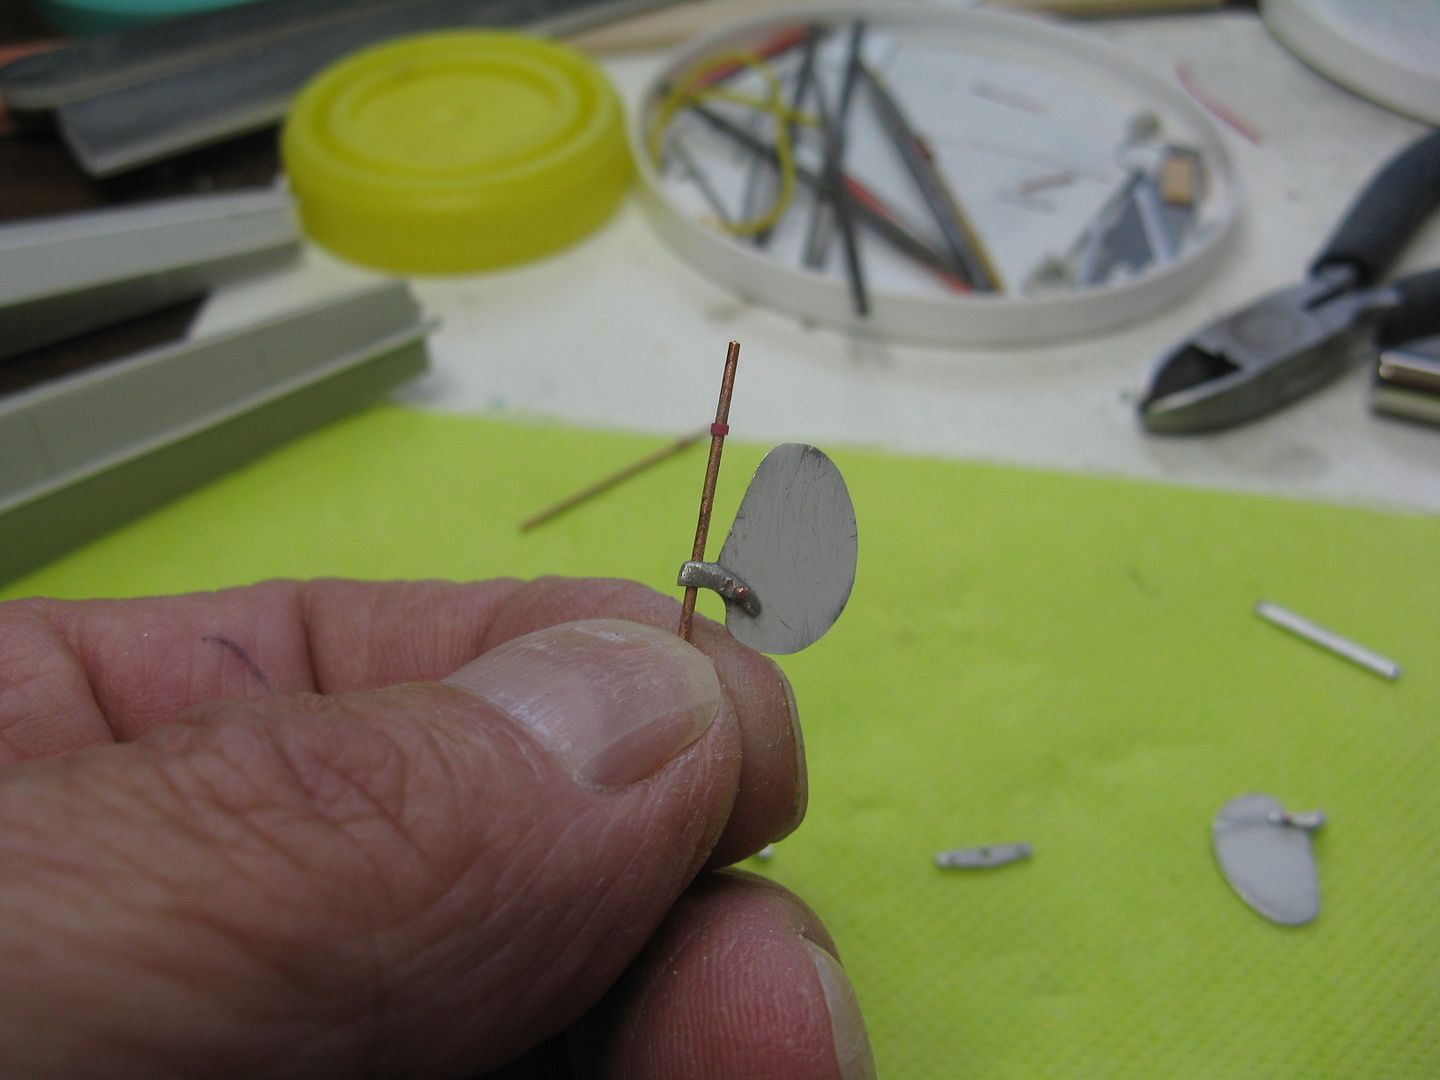
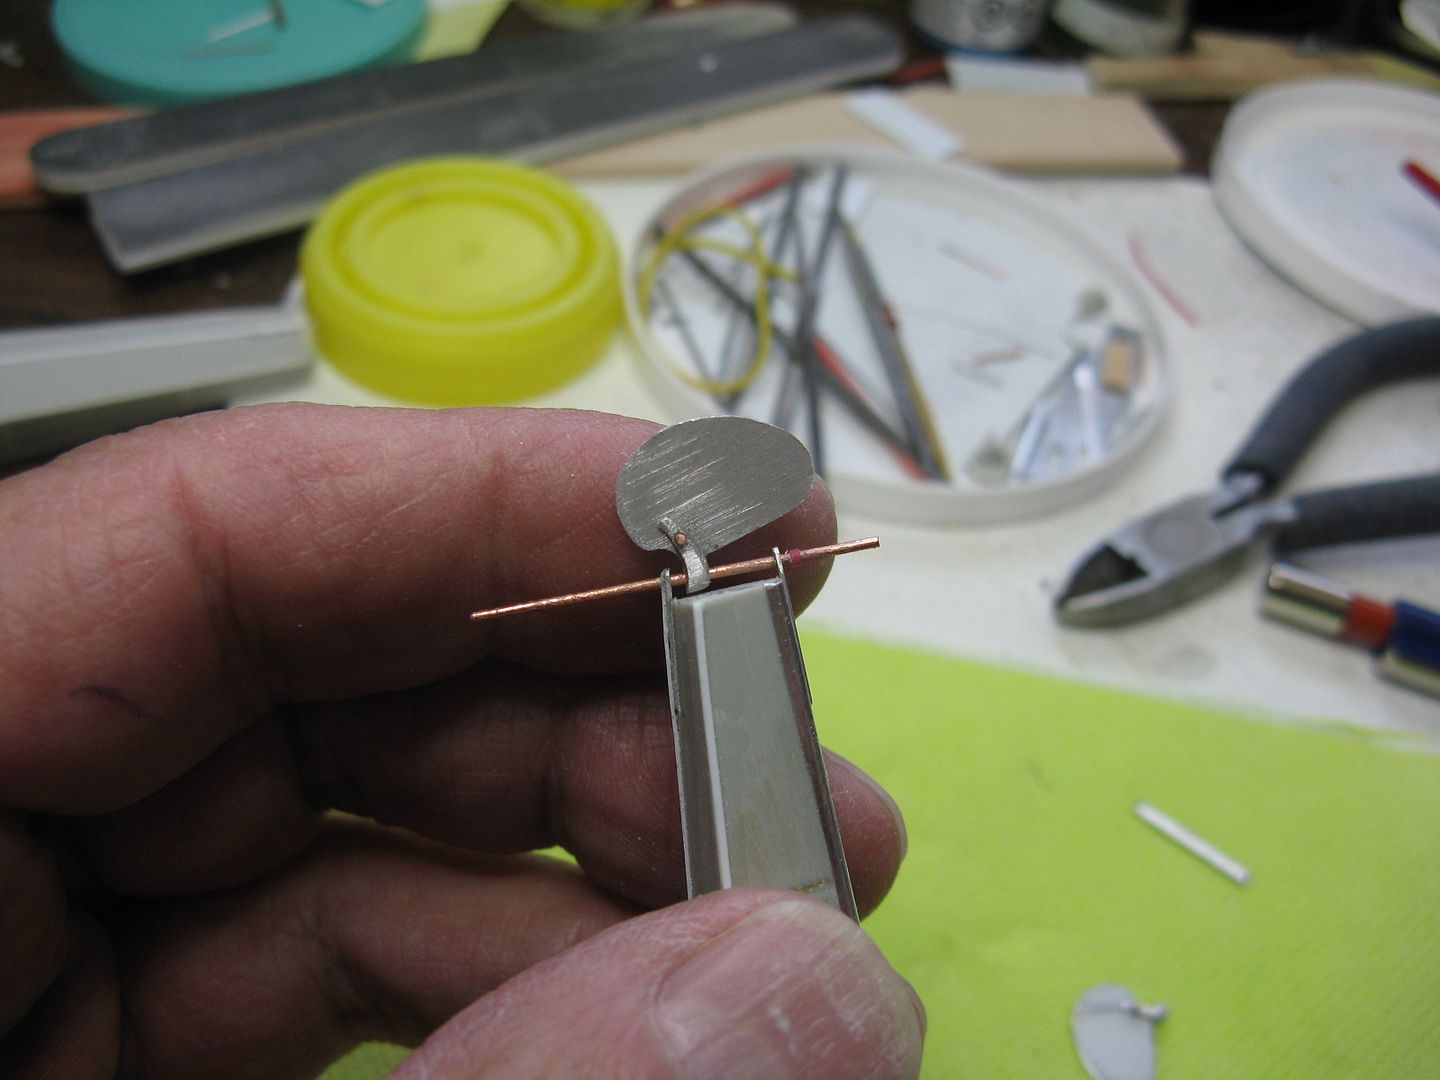
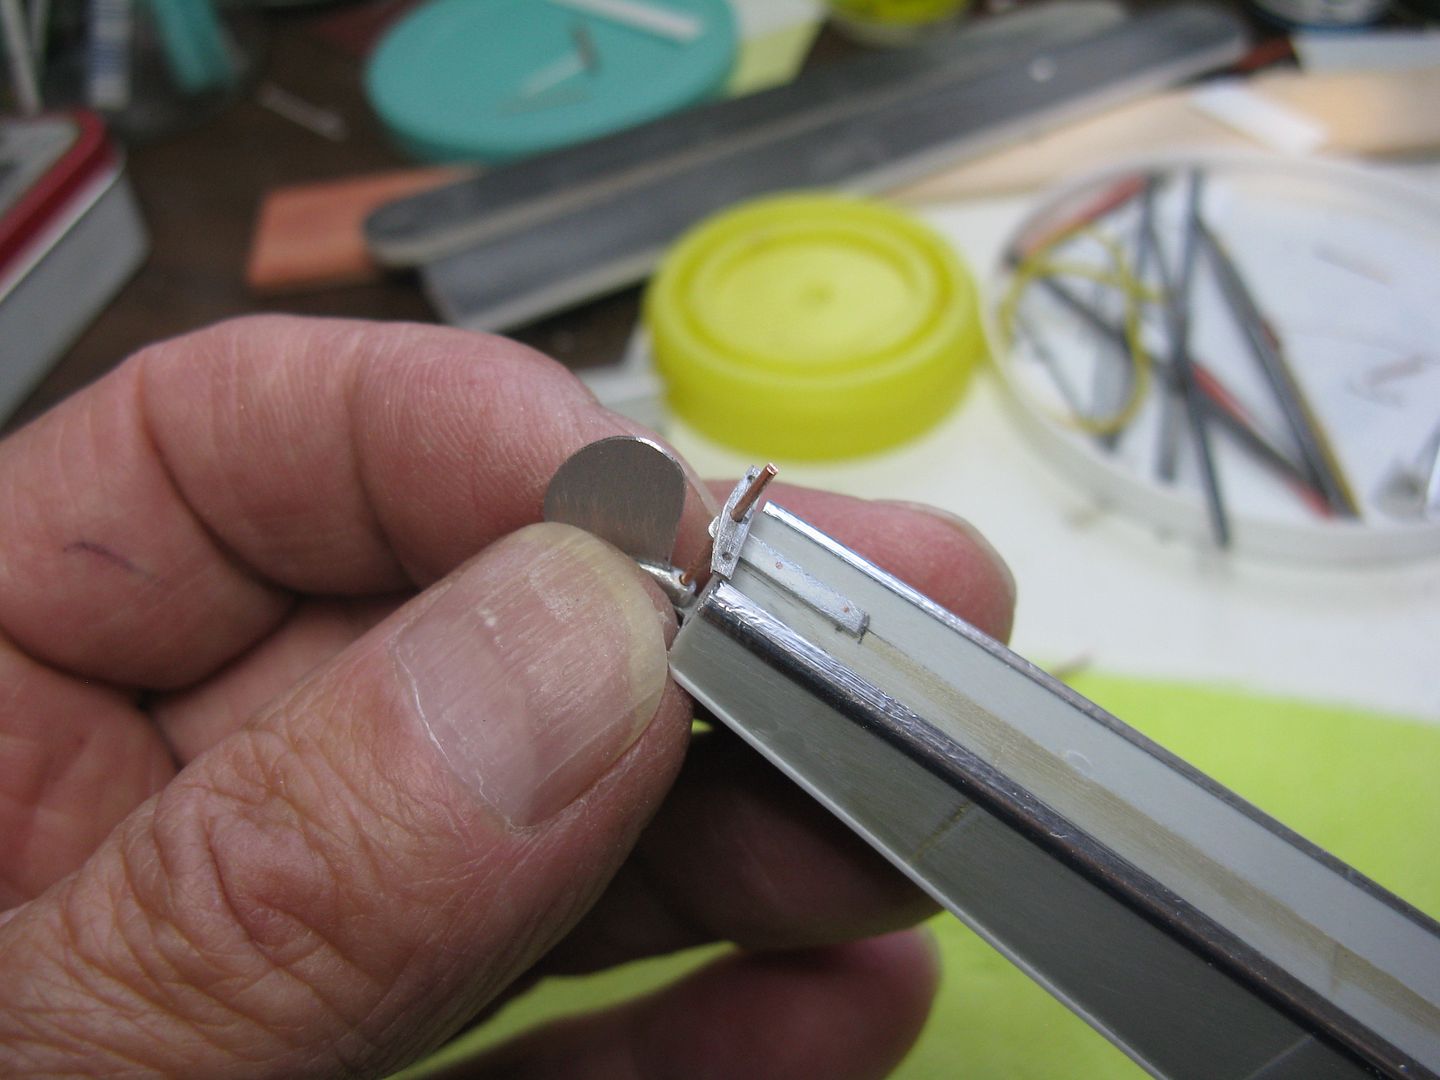
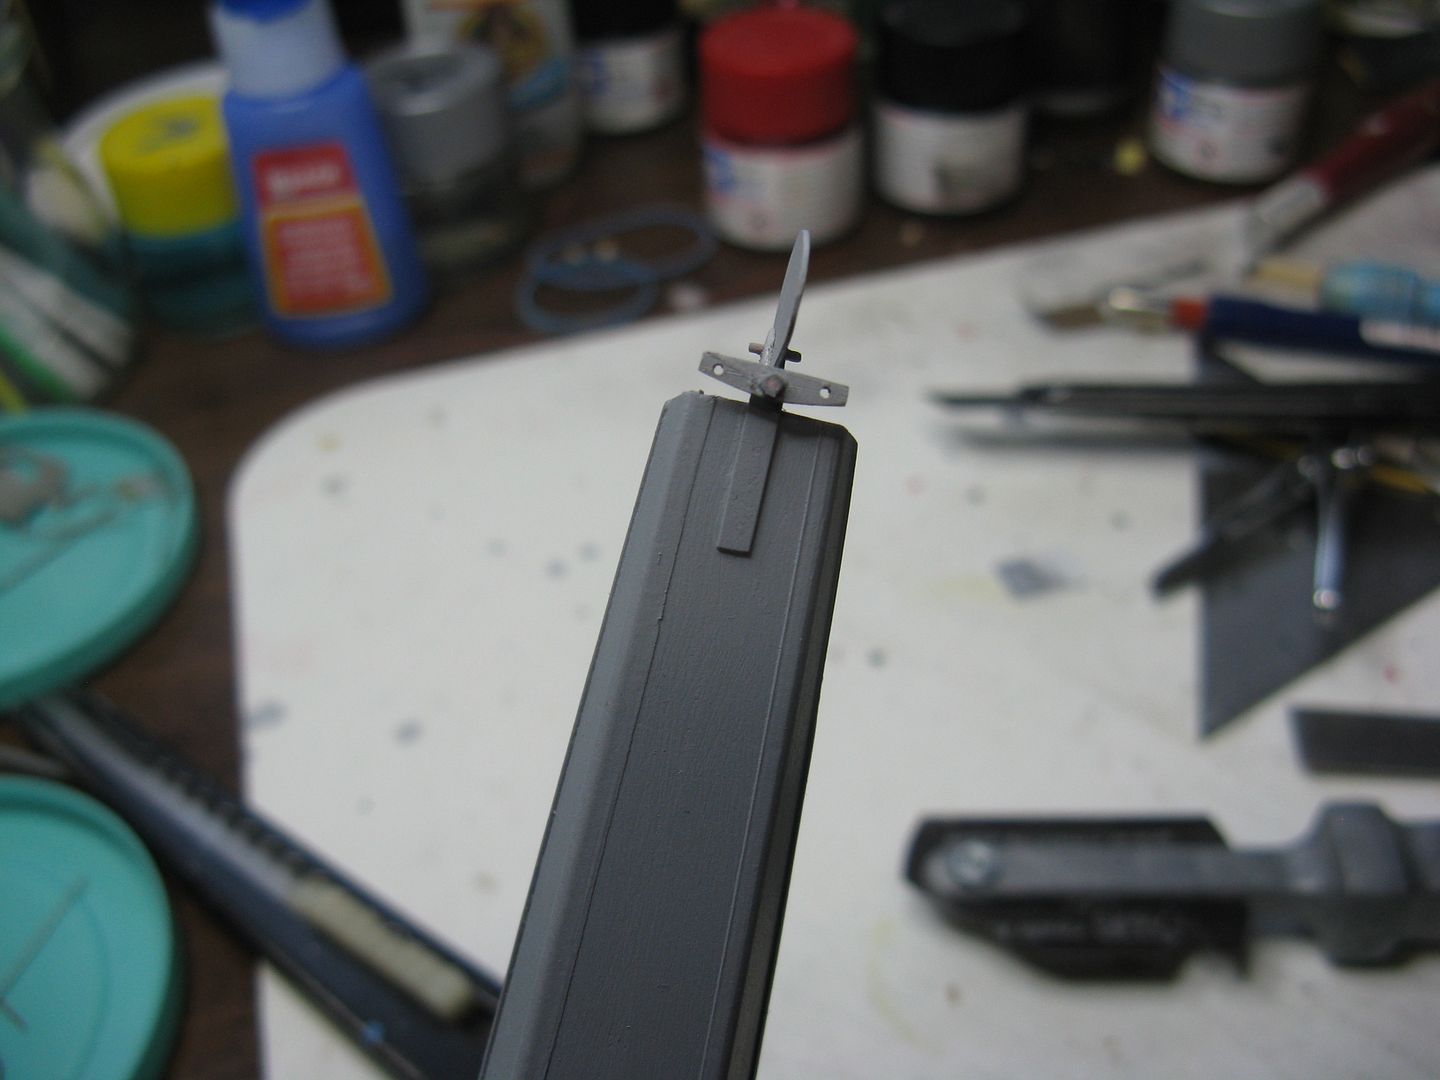
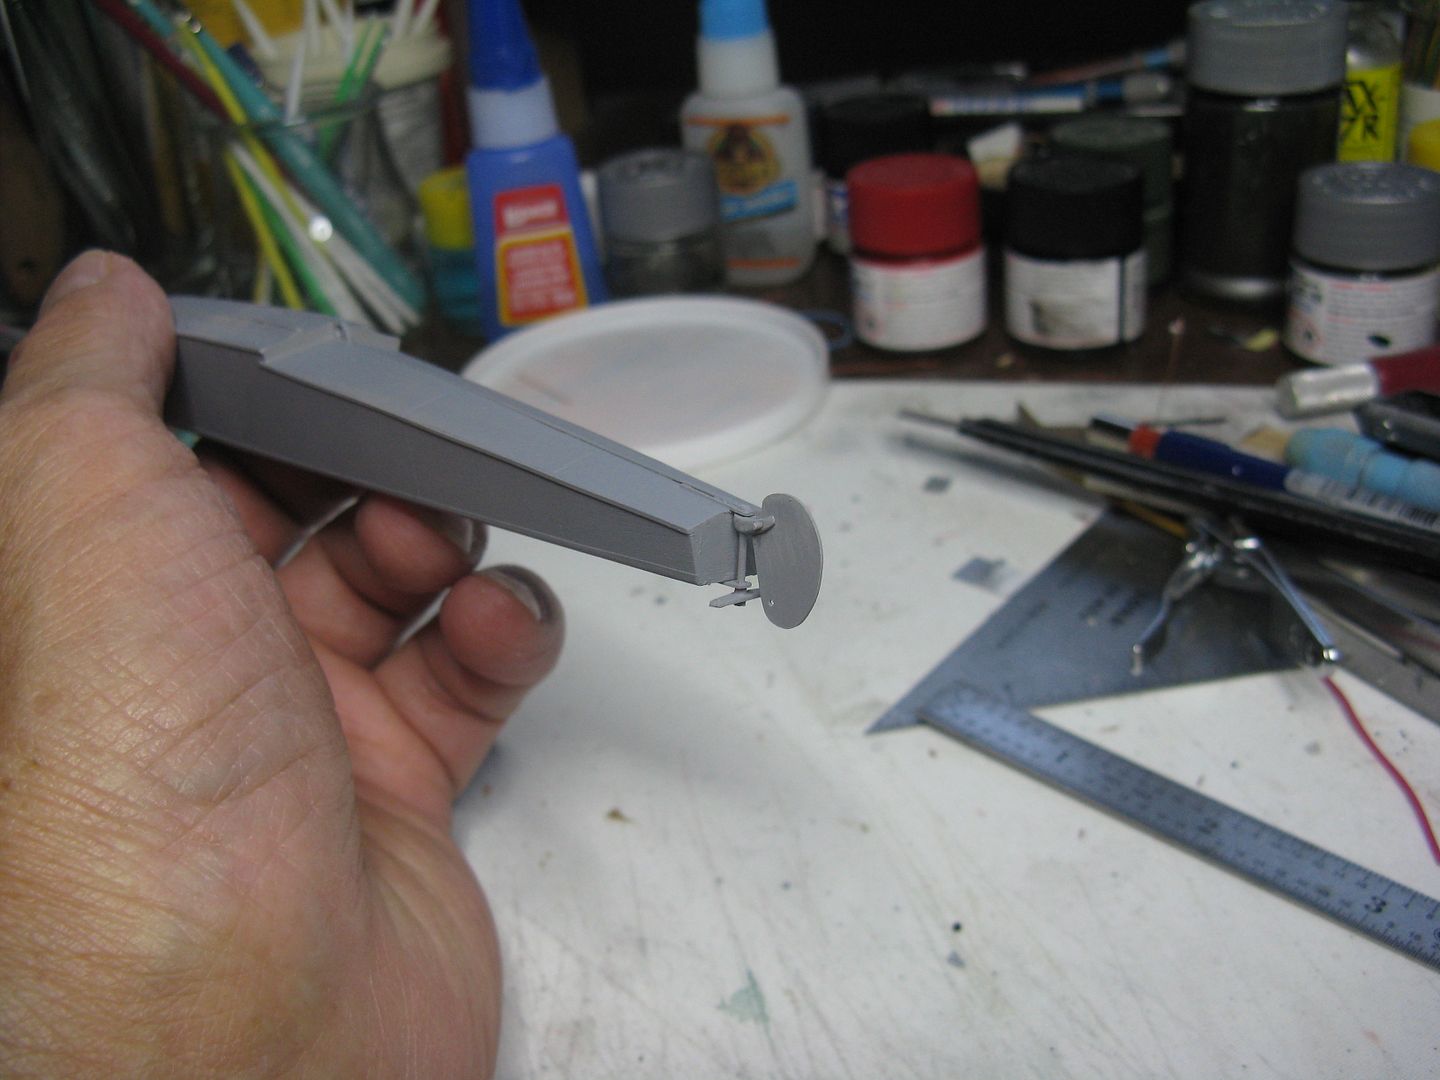
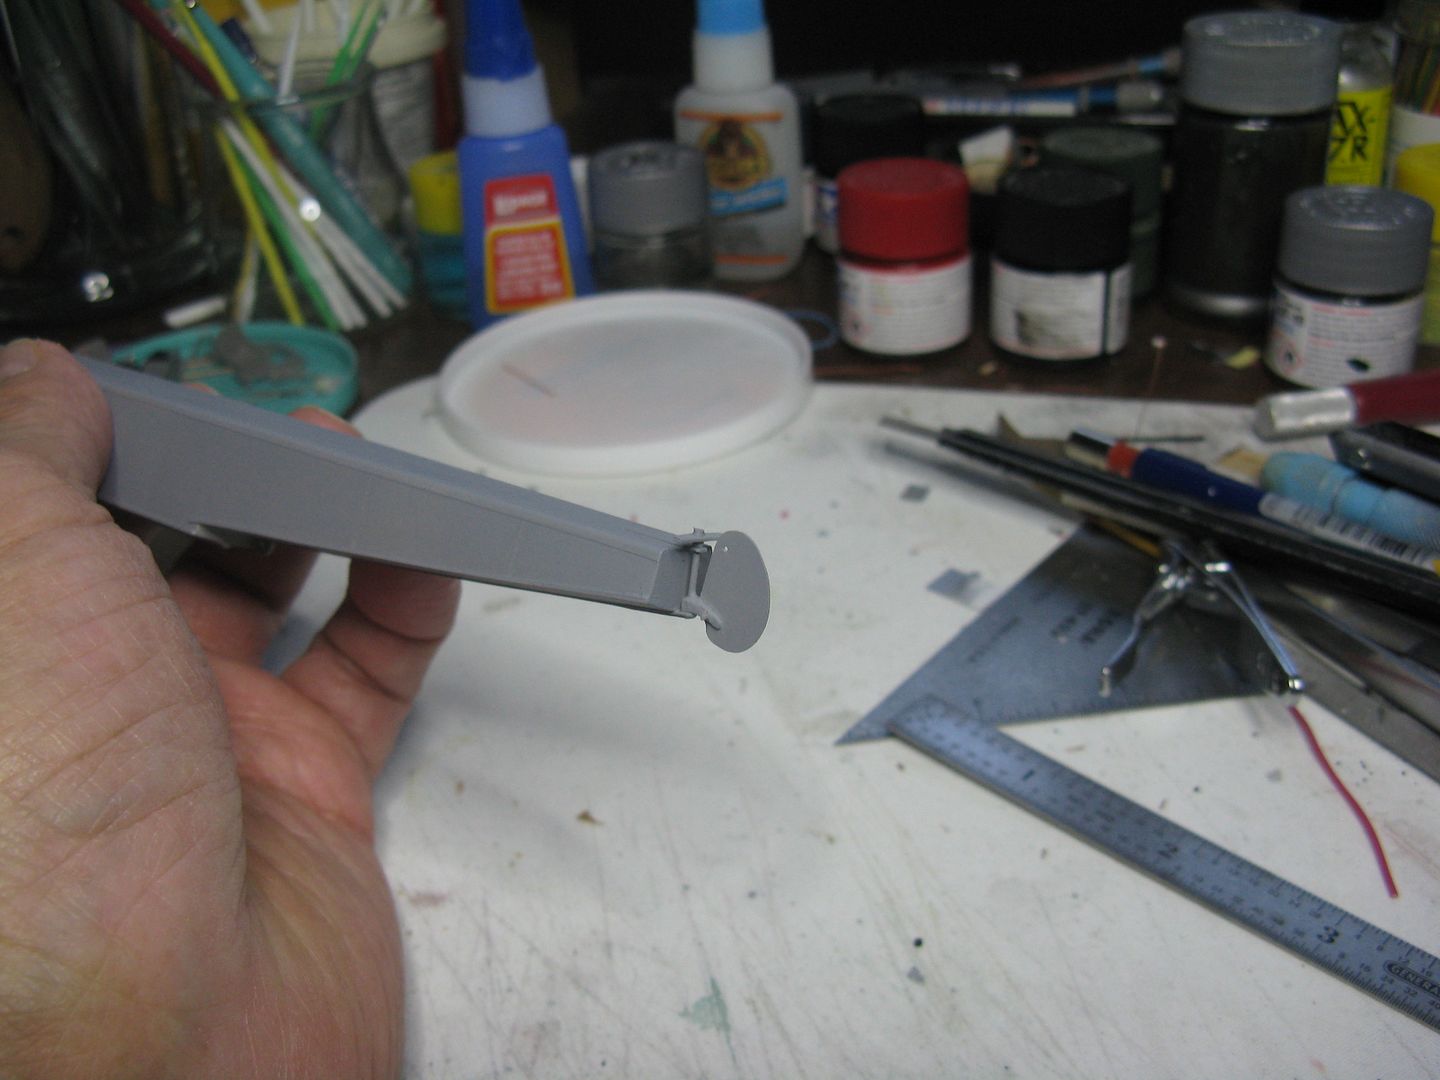
To make the floats more presentable I filled the chasms in the sides that represented the panel lines, using .010 x .010 Evergreen strip, then sanded them smooth. I added deck angle brackets made from chukw tape, and using more .010 x .020 Evergreen strip I added the chines between sides and bottom of the float and chine keels and a keel shoe on the bottom. Additionally, I cut 1/8" off the nose so I can add a bumper later after the floats have been painted. To accommodate the water rudders, I also installed an upper and lower water rudder bracket at the rear, using short lengths of scrap aluminum.
I may have reached the limit for pictures in one post, so more on the floats later.


I'm still in modelers preschool compared to what you have accomplished
:drinks
I'm still in modelers preschool compared to what you have accomplished
:drinks
I'm still in modelers preschool compared to what you have accomplished
:drinks

 B)
B) 