• Modelers Alliance has updated the forum software on our website. We have migrated all post, content and user accounts but we could not migrate the passwords.
    This requires that you manually reset your password.
    Please click here, http://modelersalliance.org/forums/login to go to logon page and use the "Forgot your Password" option.

Batman #2

Joe Hudson

Master at Arms
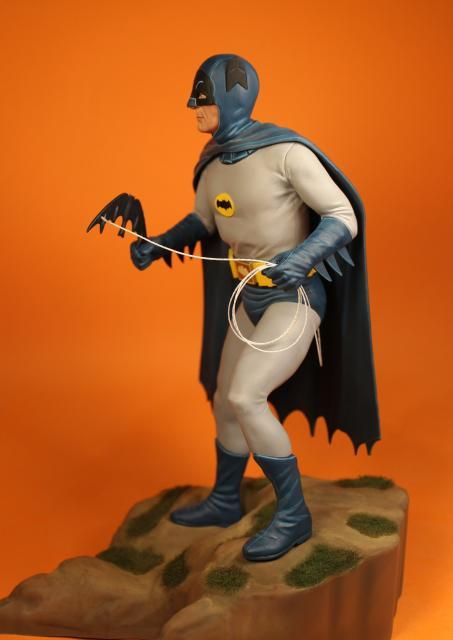
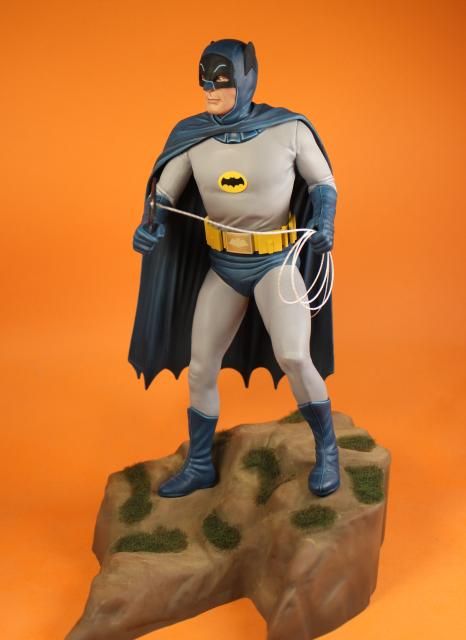
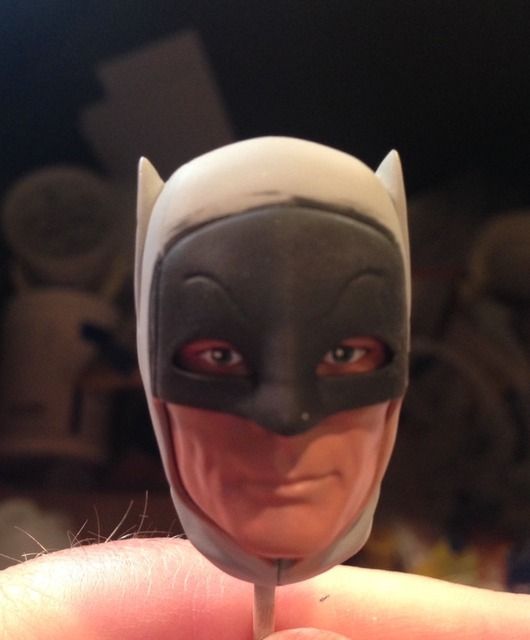
Here is the second Batman that I'm doing. It's the same kit from Moebius models. It's also being painted all in acrylics. The difference is the customer wanted his eyes looking straight ahead vs to the side. Here are a few phone pictures of the face. I still will tweak it here and there but this will give you a little insight. The cowl is base painted and I'll begin the highlights and shadows tomorrow. The eyes as of now do not have any gloss on them but I was trying to make them look wet without it. Thanks for looking!

I just noticed in the pictures that I need to cut the top off of the eyes, they are to round and not natural.
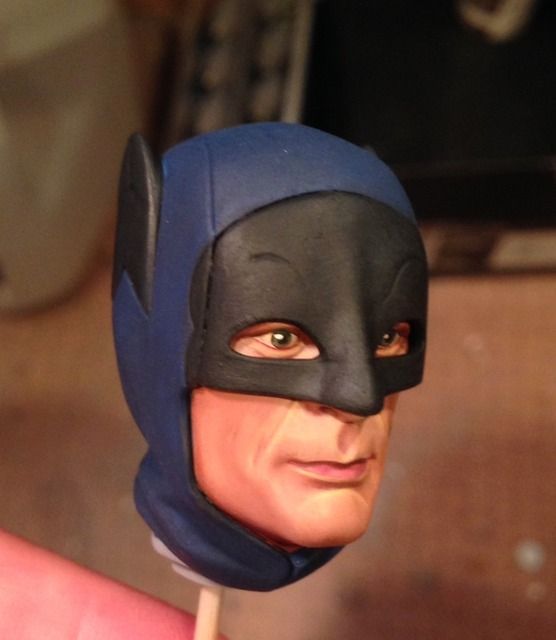
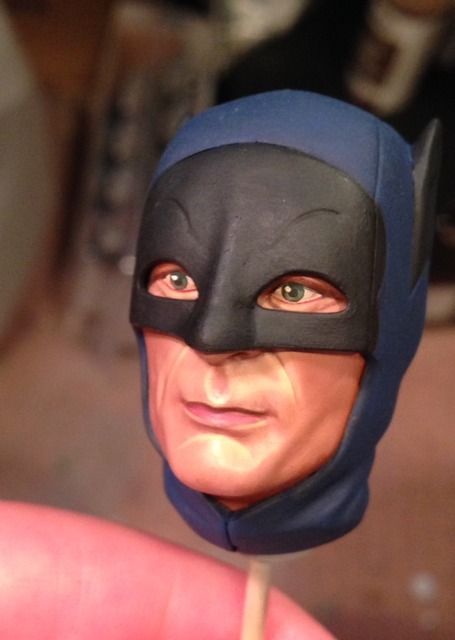
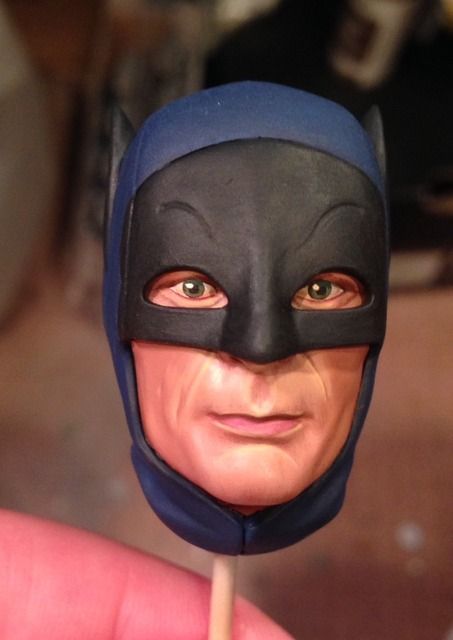


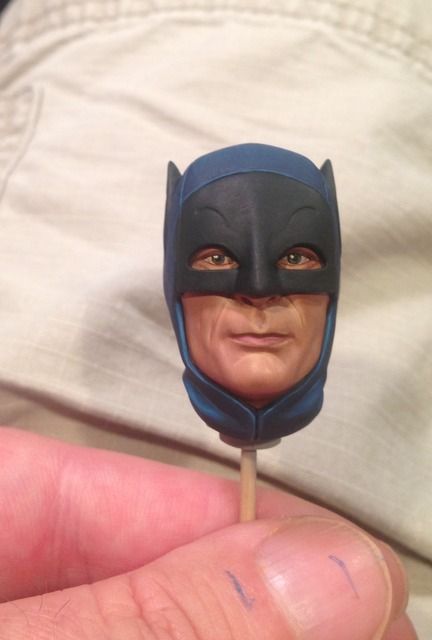
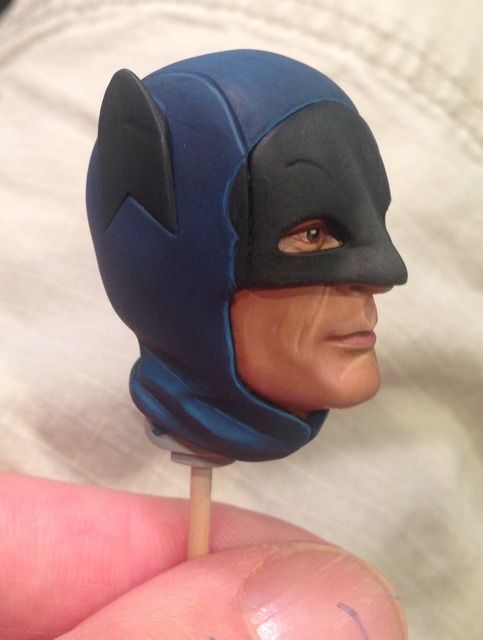
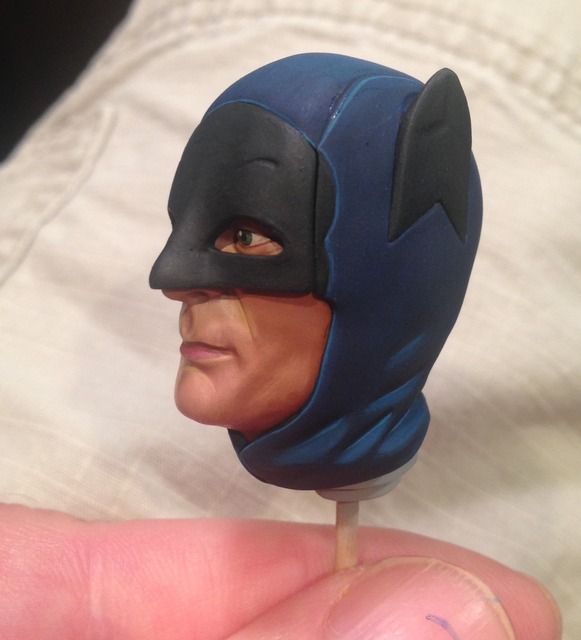
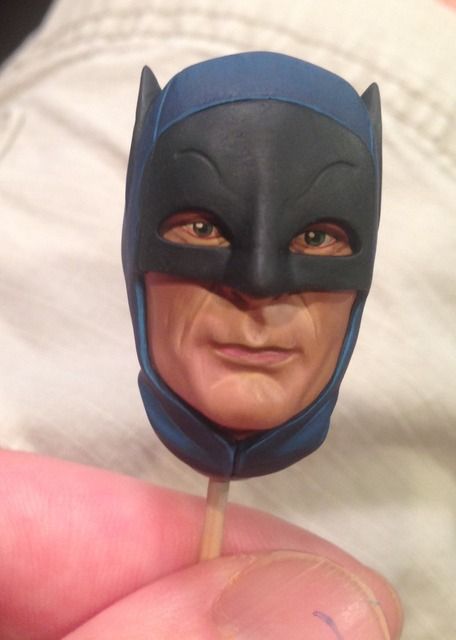
 
Hey guys, thanks for the kind words. I went back and did a little more work on the eyes and started highlighting and shading the cowl. It's still not finished but again here are a few phone shots to show where it's at now. Thanks agian!


Absolutely beautiful.

Your first one inspired me to pick up the kit (I have a soft spot for both Moebius and old TV shows/movies).

There's no way I'll pull off what you did, but I'll try my best. Was there any issue with the sticker for the chest insignia? I was hoping for a decal...
 
I really LIKE the faces on your figures!!!! :notworthy :notworthy

I did Curly from the 3 stooges a while back, and while he looked good, the face wasn't up to this standard.

I would really like to know what paints you use and the process used to get the coloration on the face. (probably not alone on that)

Could you give lessons? :notworthy
 
Thanks guys for the kind words! I still have a ways to go but I'm slowly getting there.


Absolutely beautiful.

Your first one inspired me to pick up the kit (I have a soft spot for both Moebius and old TV shows/movies).

There's no way I'll pull off what you did, but I'll try my best. Was there any issue with the sticker for the chest insignia? I was hoping for a decal...

Hey, I'm glad to see that you liked it and that you will give it a go! I too like these kits and have a few others in the works. (y) I actuall orginally used the decal but it was very thin and cracked on me and when I tried to repair it it just kept getting worse so what I did was use the sticker but put some super glue on the back and pressed it down and so far no problems. I have a few more of these kits if you would like a decal. One other thing.....I have a new head sculpt for this kit, really cool! (y) :D Plus I'm doing a SBS for some new decals for the chest and cowl to make it more correct and back date them.

I really LIKE the faces on your figures!!!! :notworthy :notworthy

I did Curly from the 3 stooges a while back, and while he looked good, the face wasn't up to this standard.

I would really like to know what paints you use and the process used to get the coloration on the face. (probably not alone on that)

Could you give lessons? :notworthy


Hey thanks for the kind words. I would love to paint those kits if I could ever locate them at a decent price.

I use Vallejo for the flesh. I use Beige Red, Sunny Skin tone, Basic Skin tone, Mahogany Brown, Purple, Red, Vermillion, Black. I will use a mixture of different ones, depending on the effect I'm looking for. I'd be glad to help out anyway you guys would like.

Just an FYI I was recently contacted my a magazine about doing SBS articles on figures in all scales and genre. They are working things out and if it pans out I should have loads of stuff for you guys when you get bored! :eek:ldguy
 
I'm doing a SBS for some new decals for the chest and cowl to make it more correct and back date them.

Just an FYI I was recently contacted my a magazine about doing SBS articles on figures in all scales and genre. They are working things out and if it pans out I should have loads of stuff for you guys when you get bored! :eek:ldguy

Looking forward to all of the above. My first reaction to the sticker was 'time to break out the decal paper', I'll certainly follow along.

I assembled the kit last night, it practically fell together after minimal cleanup. Moebius has really upped their game. At first glance, it looks like the only areas that may need putty are a tiny bit under the front cowl lip where it meets the mask, some glove work and one boot sole.

Between this West and the Karloff/Manchester from their 'Bride', Moebius is producing some of the best styrene visages I've seen.
 
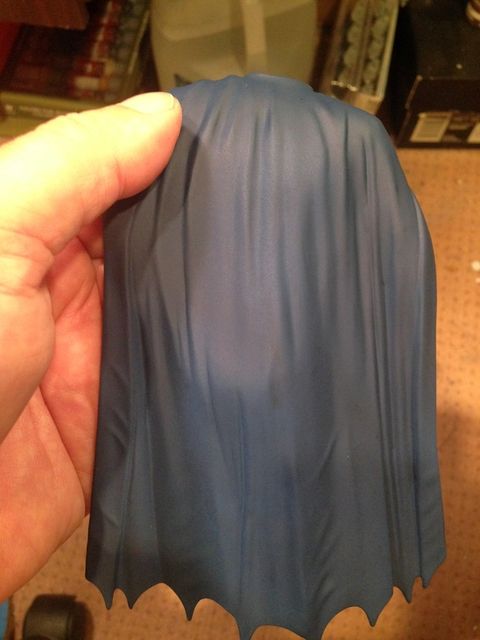
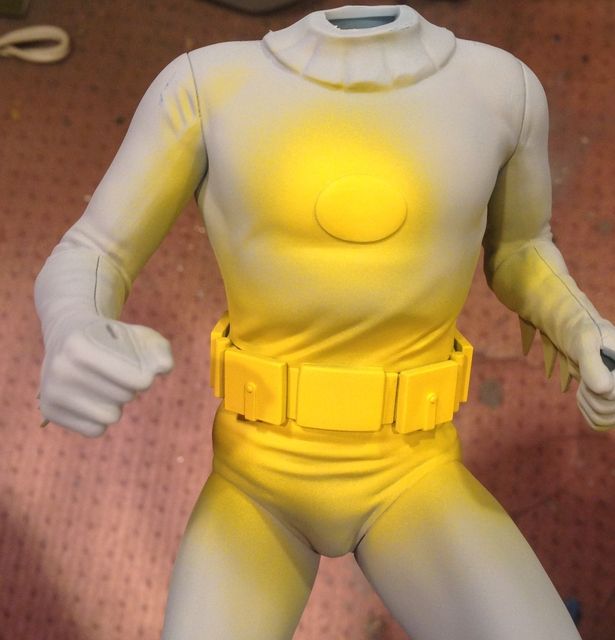
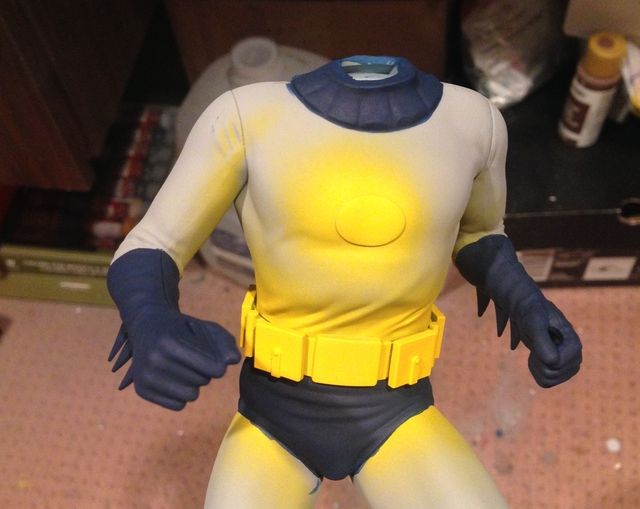
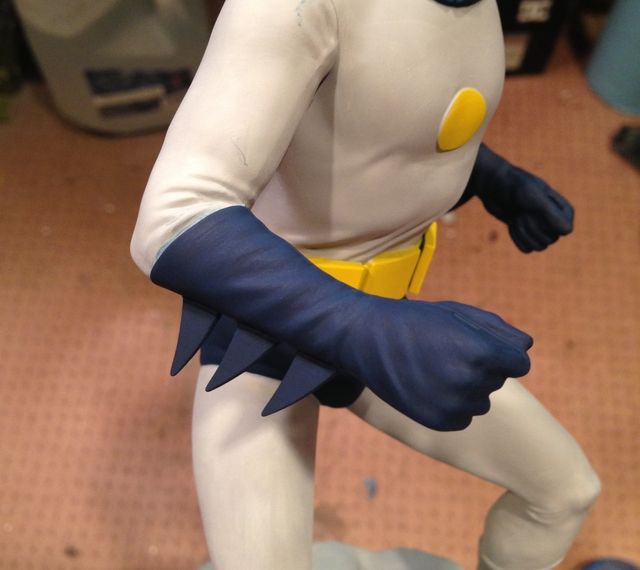
I've been a little slow getting something posted but took some pictures as I was going. I should have new pictures later but here's a little work for now.

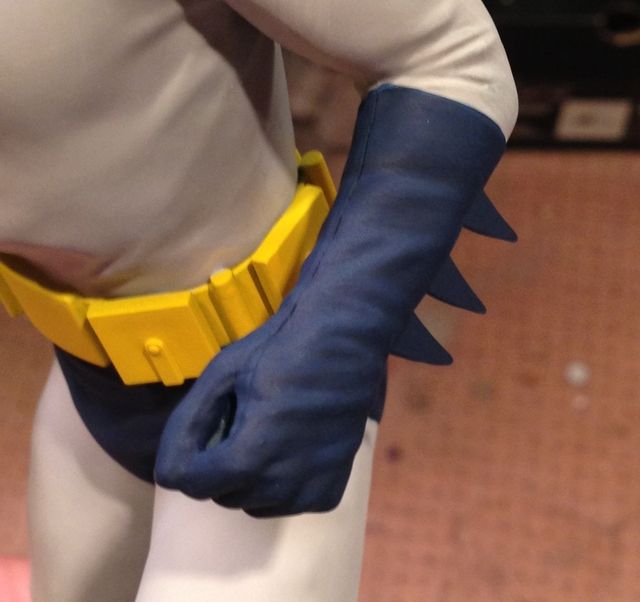
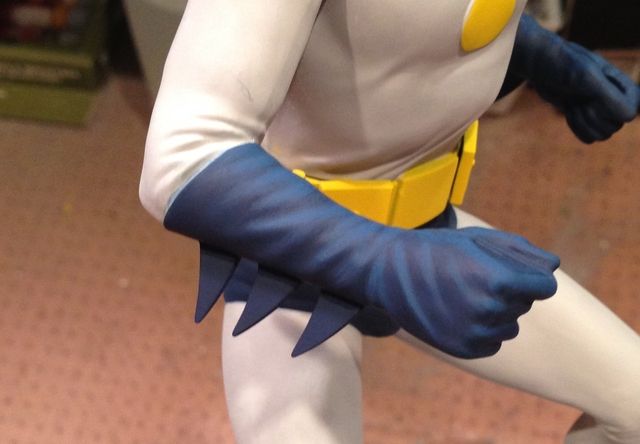
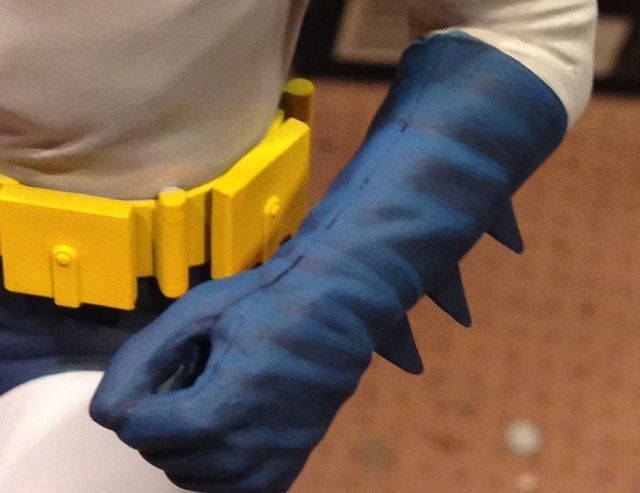
Here I decided to use the airbrush for the yellow. I then went in and painted the base coat for the blue and also the suit. I have also started working on the highlights on the gloves. As of this point there is no shadow work yet.

Hope you like it..


The cape


The yellow..it's Tamiya Flat yellow


The start of highlights


A little more highlighting


Bottom of the cowl with more work
 
:notworthy The Panting is Fantastic!

I have to ask ......why don't you fill in the seams

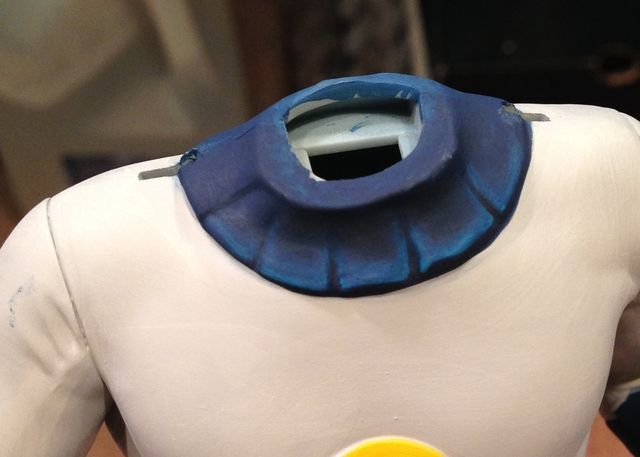
Thank you. Which seams are you talking about? The ones on the gloves and boots? If the shoulders, they actually are filled but not so much to be flush. I did it this way due to how the costume is made/appears. I also did not waste my time on the top sections because they will be covered with cape. The same thing is true for the gloves and boots. There is a large seam made onto the real items. I know at first it appears to be really bad and if you look at all my work...I HATE seams! Lol here's a shot of my other completed one for a comparison.


Joe


Back
Top