• Modelers Alliance has updated the forum software on our website. We have migrated all post, content and user accounts but we could not migrate the passwords.
    This requires that you manually reset your password.
    Please click here, http://modelersalliance.org/forums/login to go to logon page and use the "Forgot your Password" option.

''B'' is for Blohm & Voss

Thank you MP.

All decals are now on the model and the last of the camouflage paint has been sprayed on. Some weathering with oil paints has been done on the undersurfaces but are not finished yet, the upper surfaces and sides will get weathered later on.


h48f8a5a.JPG


h116e824.JPG


ha81fa2d.JPG


h73fe365.JPG


Matrixone
 
Thanks to all for the comments!

This one will get dirtied up with dirt stains and mud spatters like a typical aircraft flown by the Schlactgruppen on the Eastern front in 1945. ;)


Matrixone
 
I really like this kit- and what a great scheme you've chosen! I like that pale mottle- it siggests the shifting tides of air superiority in this nightmarish war scenario.
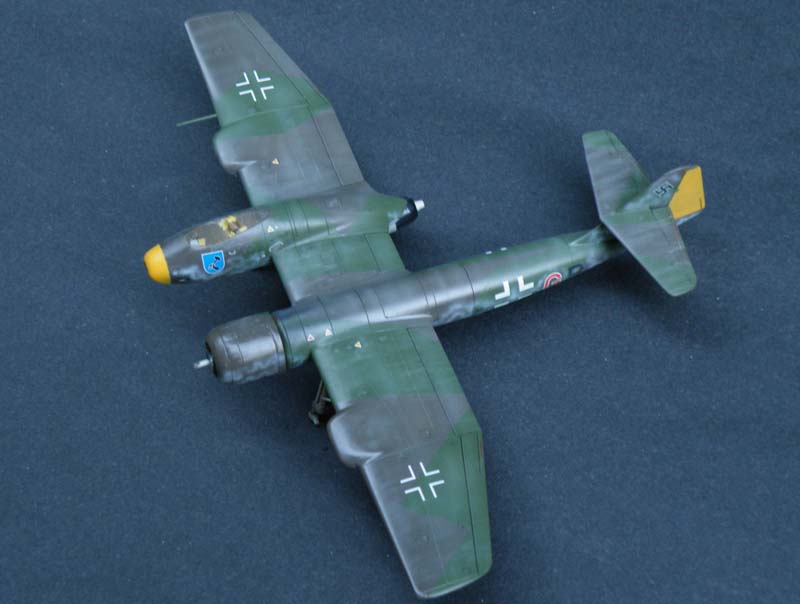
 
I really like this kit- and what a great scheme you've chosen! I like that pale mottle- it siggests the shifting tides of air superiority in this nightmarish war scenario.

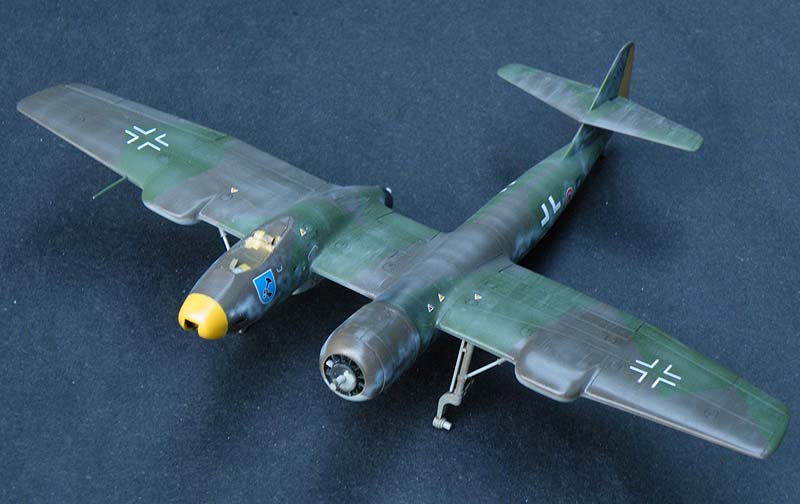
It is really amazing how fast the Luftwaffe went from ground camouflage to air superiority camouflage and then back to ground camouflage. All the lovely variations in between are just a modeler's dream!
 
Thanks guys!

Not much has been done on this model lately, while I had the airbrush out earlier today I started weathering the upper surfaces by spraying on light grey/RLM 02 tinted thinner in some of the panels and also added a few streaks, most of the streaking was done on the tail where there will be some dirt and mud splatters added later.
Spraying on streaking effects in this small scale does not always look very good so I did something a little different, after the streaks were added I used a wide paint brush dampened with thinner to increase the streaks, it looks bad now but by the time the other weathering effects are added it will look just right. Anytime I do pre-shading or panel highlights I prefer to not have them look too uniform, real equipment does not weather that way and I want the weathering on my models to look more natural. Easier said than done! ;)


h211505c.JPG


hcde3813.JPG


Matrixone
 
Thanks for looking guys! :)

More weathering has been done by adding mud splatters and dirt stains with enamel paint and a paint brush and its starting to shape up nicely, if the weather holds out for another couple hours I will get outside and take a few snaps of it.

Matrixone
 
Here are some pictures of my attempt to add mud and dirt stains, most of this type of work is being done towards the rear of the fuselage and the undersurfaces. The lower part of the yellow rudder also has dirt on it but did not show up well in these pics.

he86b4f3.JPG


h60c1e5d.JPG


h396f291.JPG


hb140ac0.JPG


Matrixone
 
Thanks James,
After I am through flinging mud at this thing I will be using oil paint to add oil stains near the bottom of the cowl of the radial engine.


Matrixone
 
More mud and filth was added to the undersurfaces as well as some paint chipping.

No more weathering will be added until the flat coat is sprayed on.


h8693565.JPG


hb7b0e69.JPG


ha60fea9.JPG


haed1f50.JPG


hdd90464.JPG


Matrixone
 
Back
Top