• Modelers Alliance has updated the forum software on our website. We have migrated all post, content and user accounts but we could not migrate the passwords.
    This requires that you manually reset your password.
    Please click here, http://modelersalliance.org/forums/login to go to logon page and use the "Forgot your Password" option.

AMT '67 Mustang Fastback--Completed 05/20

20210831_161803.jpg
I saw this last week at the grocery store. I thought of you. She had a Georgia license plate on her.
 
Thanks for the comments guys!!

Chris: Hey......she's still a fastback. The plus is that she's a roller. Thanks for the post. Awesome!!!
 
The old-school police light bar mounted to the roof made me wonder if it was a Police Interceptor. I should have waited to meet the owner. I'll bet the story is whopper!
 
Been out of the loop all across the forum fields for the last couple of weeks guys. Slowly getting back into it though. Just way too many projects going on right now.

Yesterday I installed the Shift 4 controller into my truck. Big difference and the truck is so much more driveable now. Shifts normally during regular driving and downshifts like a mutha during harsh acceleration. Just what she needed. Been selling off alot of automotive stuff that I had and got rid of some model kits that I wasn't going to build just yesterday and stashing money aside for project "406".

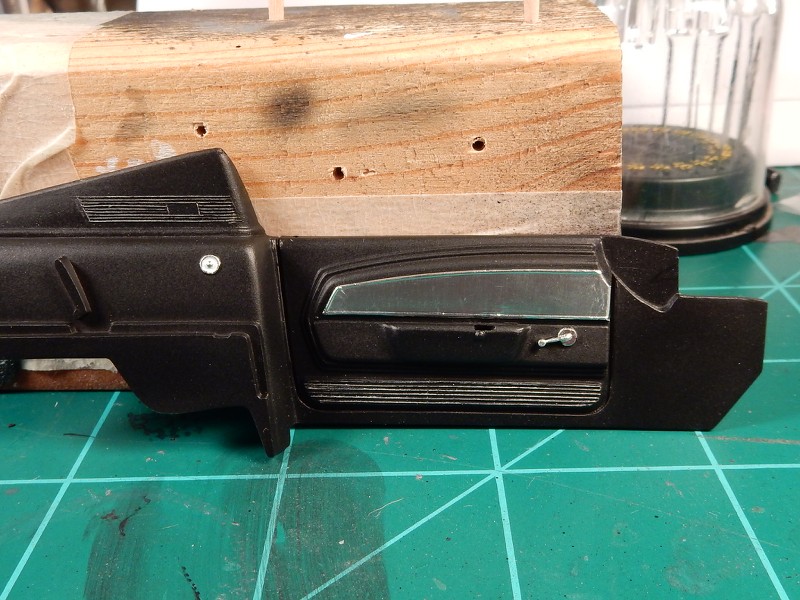
Started with the OOB panel. Got it adhered onto the chassis of my GT-350 mock up car here just to show what we're starting with.

Image

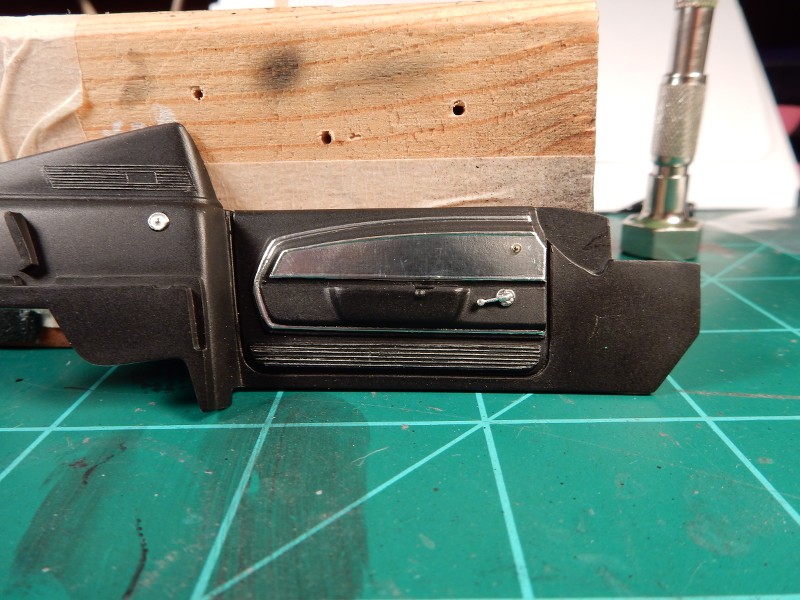
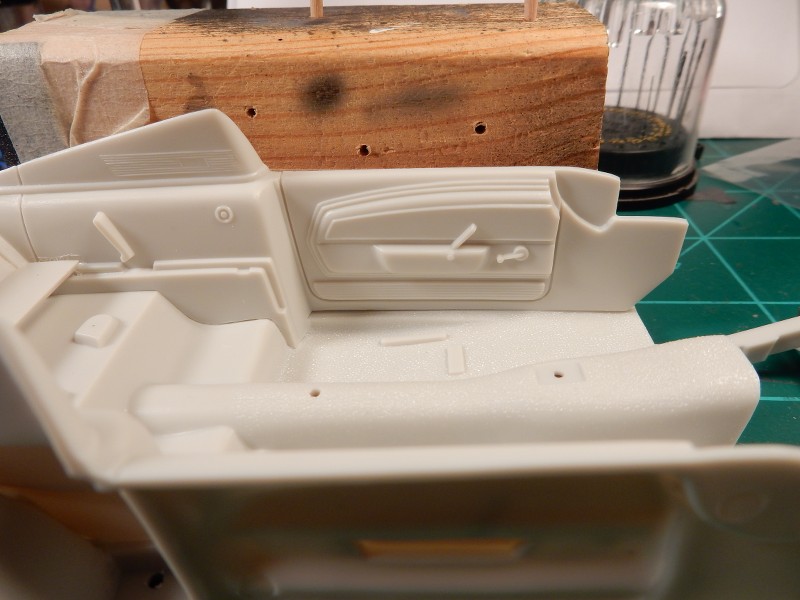
After 2 attempts at applying the BMF to the brushed aluminum strip on the door and fouling it up right around the door handle area.....I decided to just remove the dang handle altogether and order metal ones from Ted's Modeling Marketplace. I also cut the pocket out of the armrest for the door handle.

There....that worked out ALOT better for me in terms of getting the aluminum panel to look right.

Image

and then with the chrome strip BMF applied around the door panel insert and added the mirror control lever and bezel onto the aluminum strip at the front of the door panel.

Image
 
Moving on to what is normally my favorite part of the interior....the dash. Again.....this one presents very difficult obstacles. How to BMF that bad boy and NOT get any wrinkles.
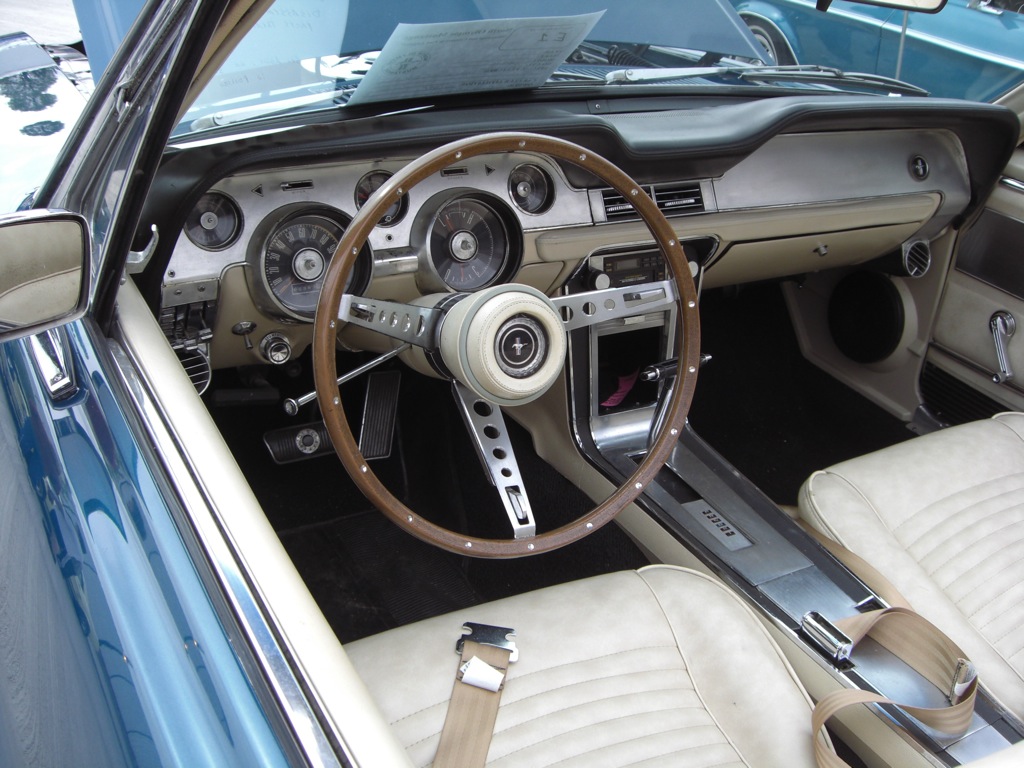
Y'all.....I'm really looking forward to the seats on this one. Deluxe dash panel inserts look like this:

spacer.png

And again....BMF ing this was dang near impossible. I tried chrome silver paint which looked good initially and then over time it did some weird stuff. Set up wrong or something. Anyway it looked like hammered dog crap!!!

spacer.png

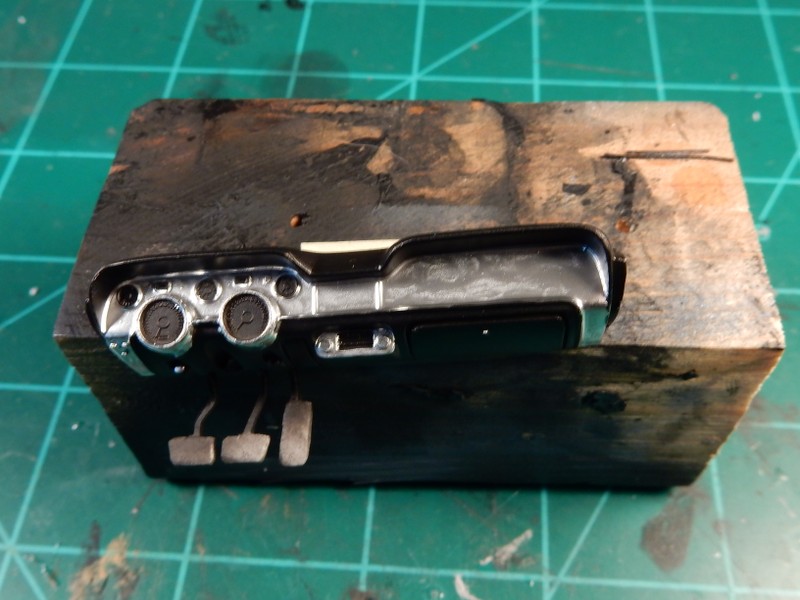
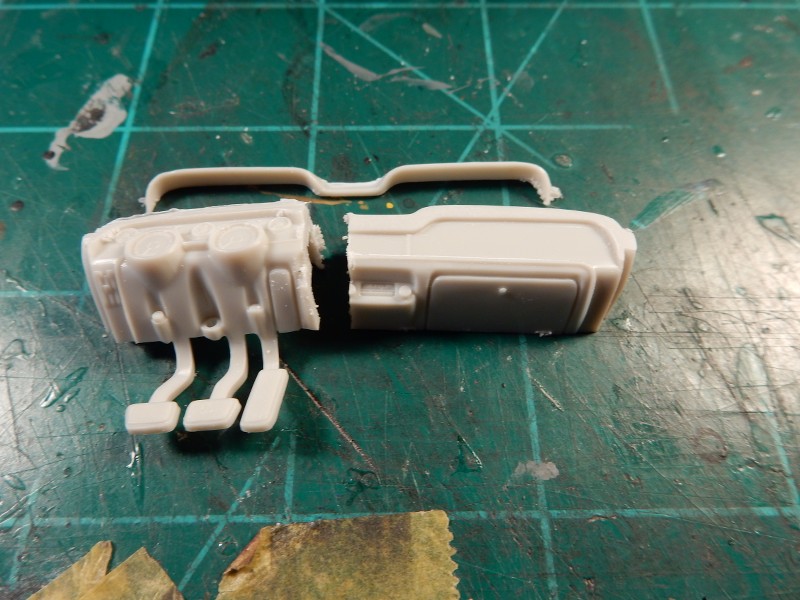
This is where drastic measures are called for. Some may call me crazy for this but hey......ya gotta do what you've gotta do in modeling. I had a spare dash sooooooo. I cut it in half and cut the dash pad/ cover off of it to gain easy access to the outline of the passengers side of the dash for being able to cut a template out of BMF in which to place a perfectly cut BMF piece on that side.

spacer.png

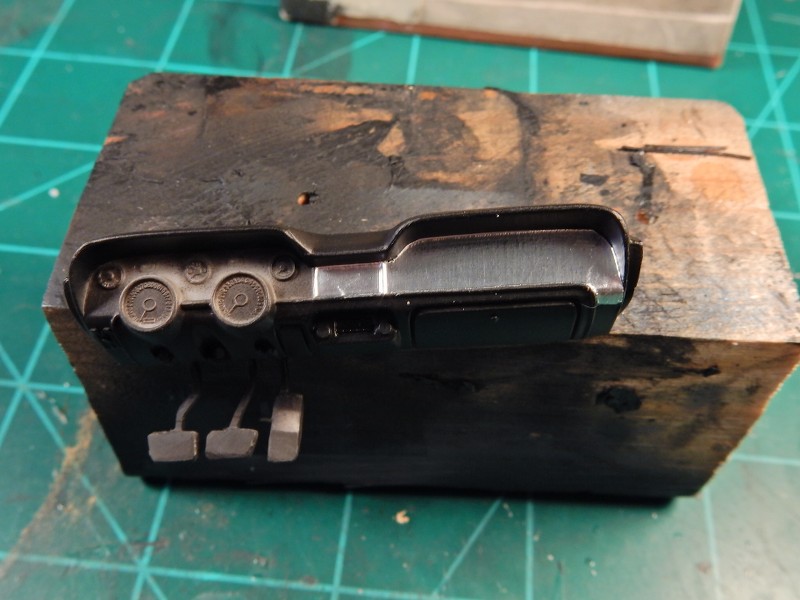
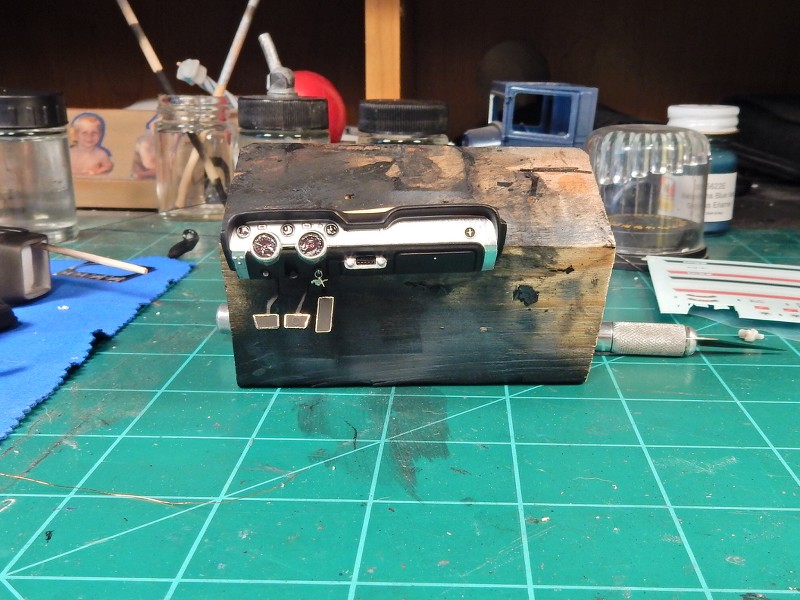
After creating an outline onto the BMF I cut it out to the exact shape and laid 'er into place. Not perfect....but I can live with this alot better than that other job.

spacer.png

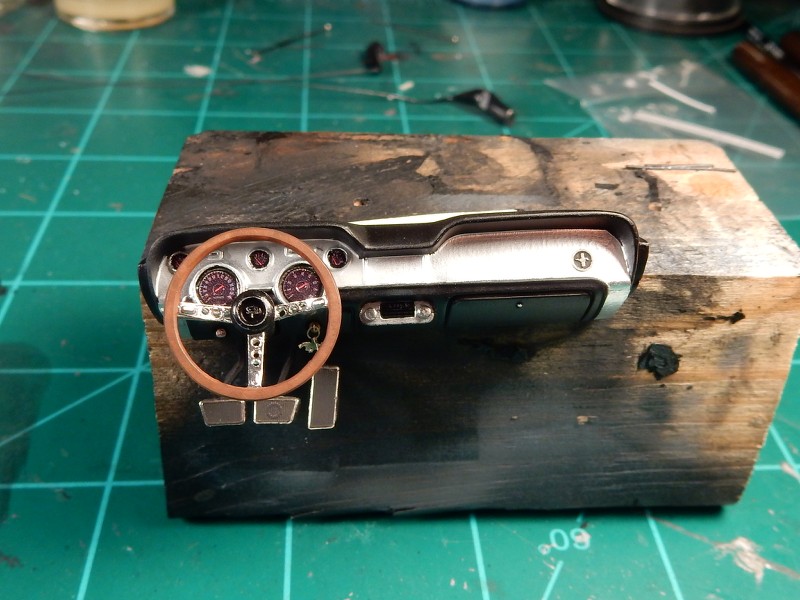
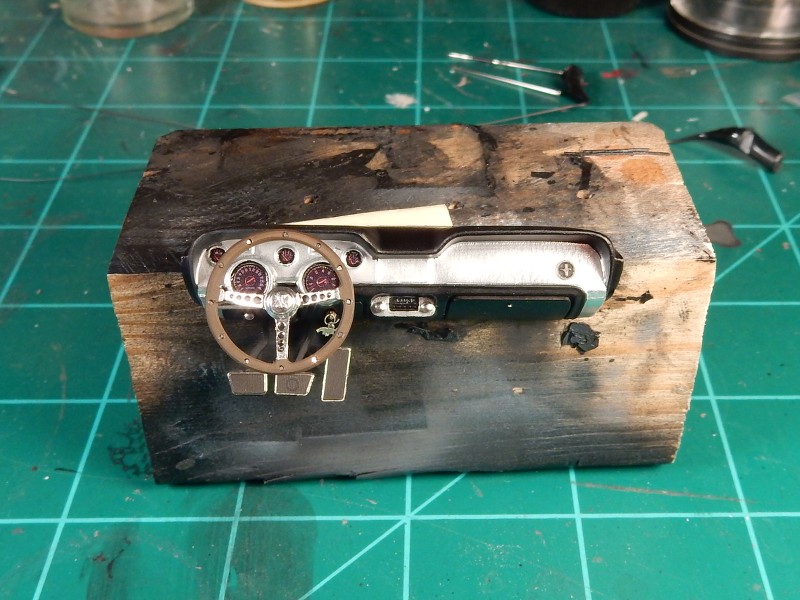
I ended up going over the left side of the dash with Molotow chrome and because of its flow properties it made its way into the nooks and crannys of the gauge clusters corners. After the Molotow had dried I shot a uniform coat of MM Acrylic Flat Coat over both sides of the dash trim bringing everything to a uniform finish. I then applied the Mustang medallion to the left side of the dash. Then the decals for the instruments went on and I painted the radio up, applied the chrome to the radio and light switch knobs. Ignition cylinder bezel went on and I inserted the keys into the ignition switch. PE pedal faces went onto the pedals and I picked out the chrome trim around the pedals.
I'm mostly content with this dash despite the difficulties presented with it but....I've had better.

spacer.png
 
Have you tried that chrome...hell can't remember the name now. Comes in a like a pen with a refill.
LOL!! That's the Molotow Chrome I was referring to and yessiree.....that's what I used here and dulled both sides down to a uniform luster. Thanks for the comments bro.

Really looks GREAT! Definitely a radical way to do it, but the results speak for themselves.

View attachment 142025
Thanks you as well H.E. I just couldn't think of another way. lol
 
Daaayyyum…that’s some kinda determination on getting the result you wanted. Congrats you done did it! Looks perfect to me…from my memory I mostly saw the passenger side (not my car) and it was usually blurry as we were going trans-warp
 
Thanks you guys. Really sorry I haven't been around much in the last few weeks Just frickin' crazy around the house and at work these days. I'll get back on here and check in on everyone else's builds first and then post an update here.
 
I am so looking forward to the cooler weather where I have to stay inside and build. Also looking forward to when the house repair project gets all finished. It has been one long fix this, that, and everything this year.
 
I am so looking forward to the cooler weather where I have to stay inside and build. Also looking forward to when the house repair project gets all finished. It has been one long fix this, that, and everything this year.
Amen to ALL that brother. All of it!!
 
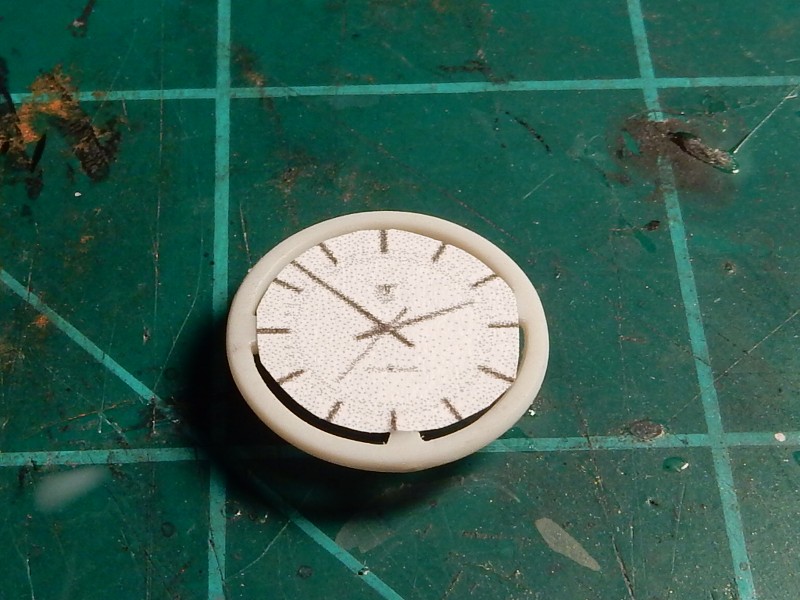
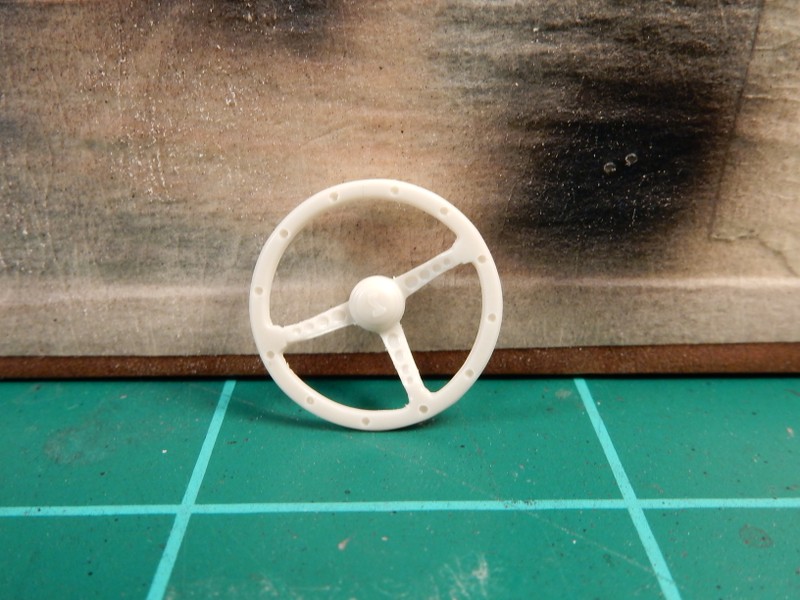
Ok guys. It's "Take II" time on the steering wheel. I had a cheater template for marking the rivet holes from a dollhouse clock. After I cut it to fit inside the steering wheel ring I was able to mark the rivet hole position holes really easy. FYI...if anybody wants free (and cool) print off stuff for 1/25 scale builds....here ya go: https://www.printmini.com/printables/ph.html


spacer.png


and then with the holes drilled for rivets later on....


spacer.png


Now to add some paint and some chrome trim to the spokes and then we're off to installing the rivets in the holes.
 
Cheating? Hardly, adapt, improvise, overcome. :soldier

:vgood:
Thanks Bob! lol

As far as the steering wheel goes. Ya know....if I've tried my best on something then I can sit back and be content with it but when I look at something I've done and see what I view as substandard and I know I can do better then I'll usually figure a method out on how to acheive the results I want. I've let stuff go in the past and always end up regretting it so I try to handle it when I see it now.

Any how..... I knew this was going to be alot of work so I stayed up late last night laying the groundwork for the steering column and wheel completion today. I woke up this morning and managed to get this to a point to where I'm going to be okay with it.

I used some scale PE rivets that I have from the Model Car Garage that I inserted into each one of the cavities once I had everything painted up.

To compare. My first attempt:

spacer.png

and Take II. I am MUCH happier with this:

spacer.png
 
Back
Top