
ricklawler
Member
Howdy folks,
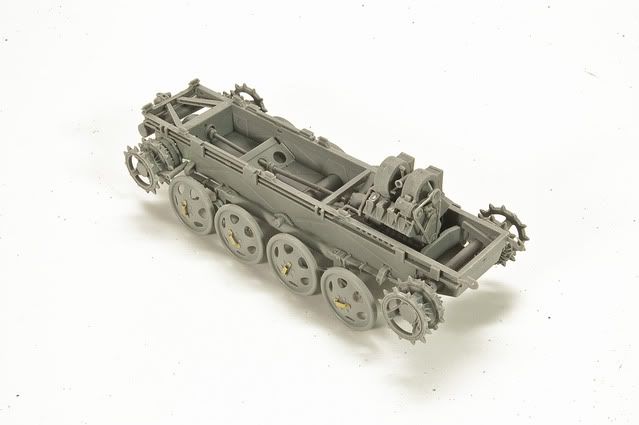
I have the chance to work on the new DML kit for an upcoming article in Military Modelcraft International. The kit itself is a fairly quick build, not a lot of parts. I will say, however, that the folks who designed the suspension and wheels must have been smoking something that day. The engineering is really half-a$$ed with quite a bit of play between the parts and guess work involved. Also, the mounting pins for the road wheels are almost non-existent making them a sure bet to be broken off at some point (I would suggest adding a small brass pin).
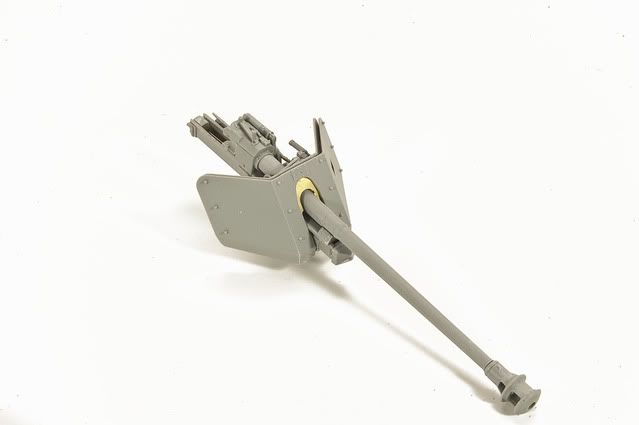
On the other hand the gun is a little gem, while the remainder of the kit is basic DML - good fit and finish.
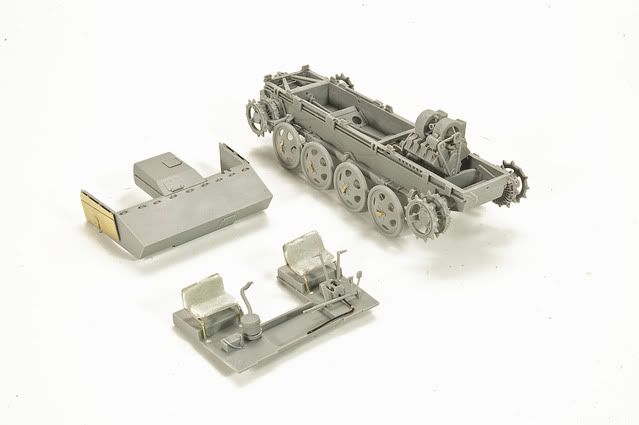
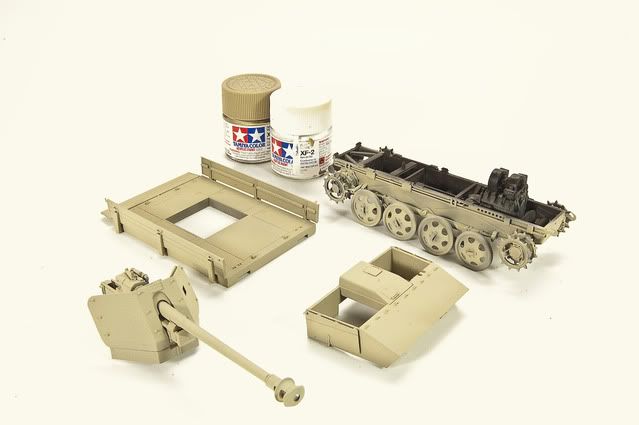
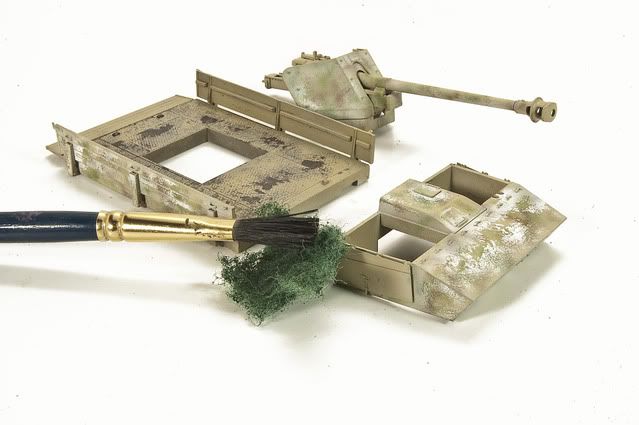
Ok - a couple of construction shots.
Of note: apparently the seats provided with the kit are based upon a post-war restoration using modern US pattern seats. Originally (shown in first photos) I fashioned new, basic truck styled seats from brass wire and epoxy - I later changed them out for modified Jeep seats.
Now for the fun part - painting. I wanted to show a fairly worn vehicle - late winter/early spring with a few remnants of the winter white wash still showing. Can you say "hairspray"?
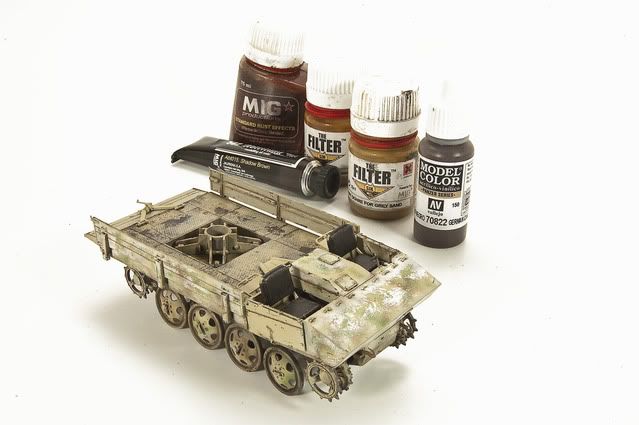
Base color for the underlying cargo bed color and for overall shadow is a dark rusty color mixed from German Grey and Hull Red.
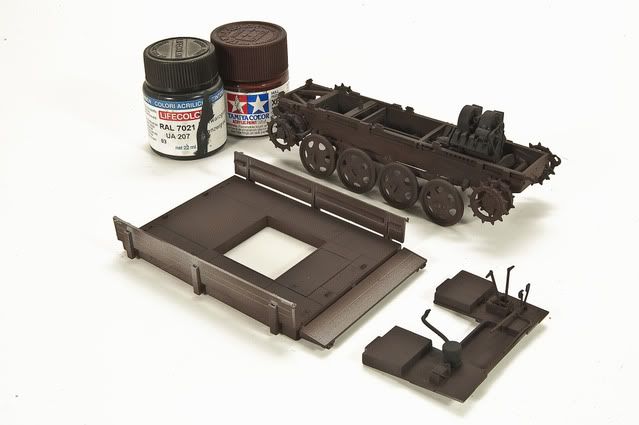

The process continues - base colors
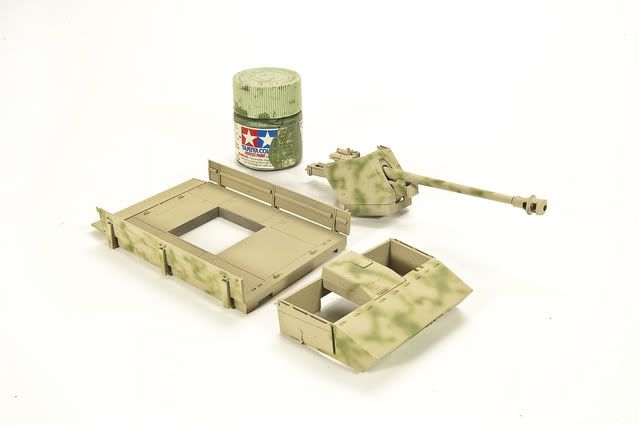
Now for a little scrubbing to show wear in the rear compartment.

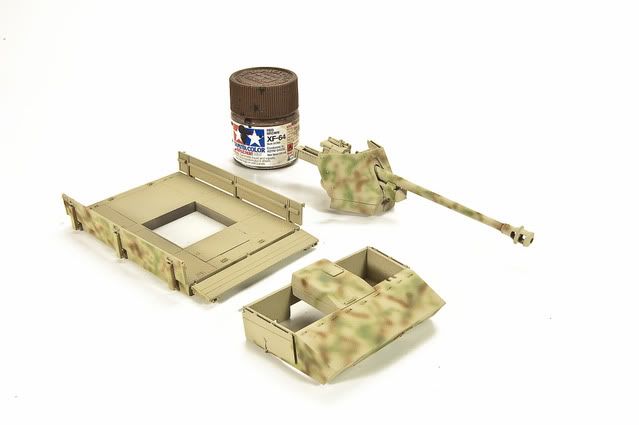
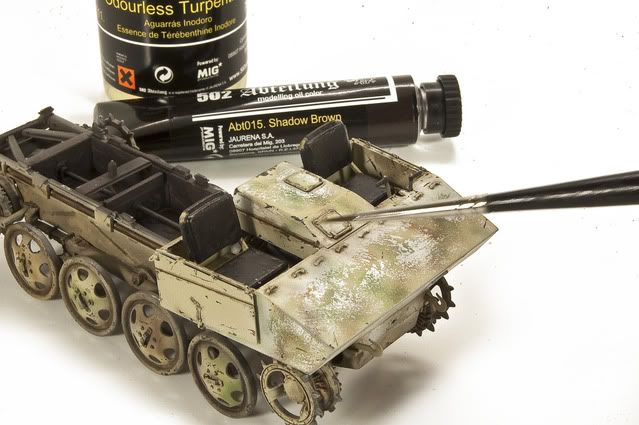
A layer of Future to protect the base and then another layer of hairspray...

White washed applied - and then scrubbed off.
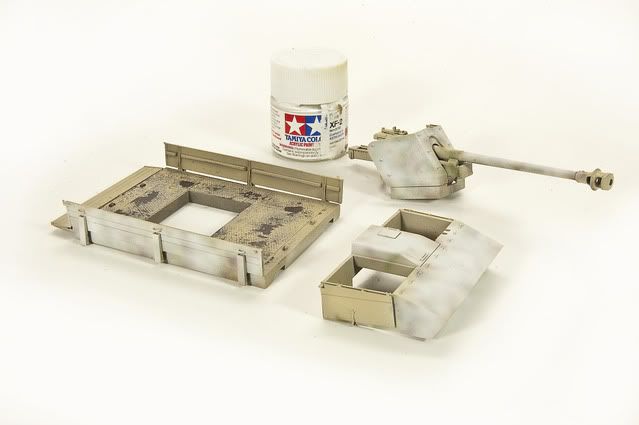
Weathering and detail work using oils and filters....lot's of back and forth.
I'll be switching out the kit's magic tracks for Fruils - they just arrived yesterday.
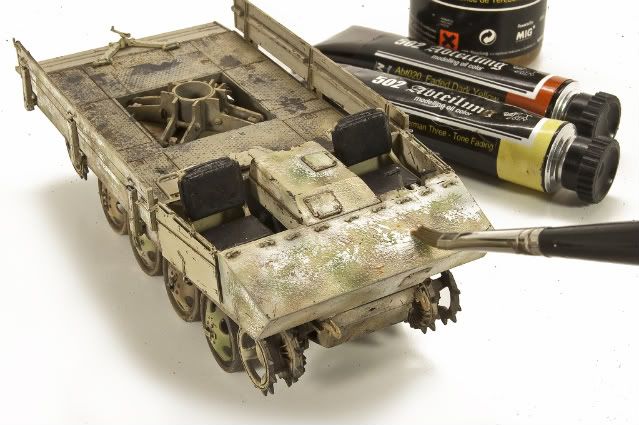
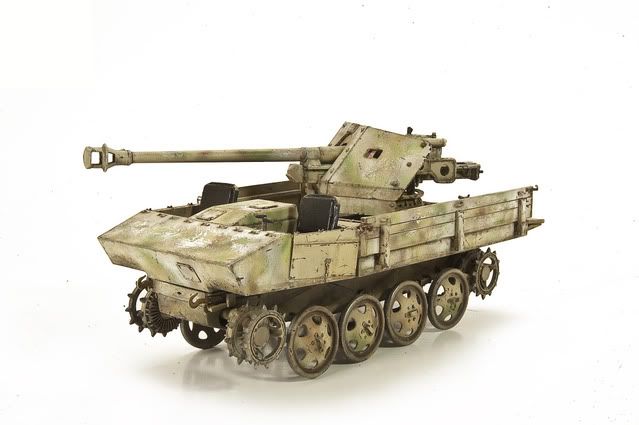
A quick shot of where I'm at right now. I'll continue to refine the paintwork using oils mostly, add a few cargo items and probably a end up putting it on a base with a figure or two. But that's down the road yet....
For now -
Thanks for looking.
Rick
I have the chance to work on the new DML kit for an upcoming article in Military Modelcraft International. The kit itself is a fairly quick build, not a lot of parts. I will say, however, that the folks who designed the suspension and wheels must have been smoking something that day. The engineering is really half-a$$ed with quite a bit of play between the parts and guess work involved. Also, the mounting pins for the road wheels are almost non-existent making them a sure bet to be broken off at some point (I would suggest adding a small brass pin).
On the other hand the gun is a little gem, while the remainder of the kit is basic DML - good fit and finish.
Ok - a couple of construction shots.
Of note: apparently the seats provided with the kit are based upon a post-war restoration using modern US pattern seats. Originally (shown in first photos) I fashioned new, basic truck styled seats from brass wire and epoxy - I later changed them out for modified Jeep seats.
Now for the fun part - painting. I wanted to show a fairly worn vehicle - late winter/early spring with a few remnants of the winter white wash still showing. Can you say "hairspray"?
Base color for the underlying cargo bed color and for overall shadow is a dark rusty color mixed from German Grey and Hull Red.
The process continues - base colors
Now for a little scrubbing to show wear in the rear compartment.
A layer of Future to protect the base and then another layer of hairspray...
White washed applied - and then scrubbed off.
Weathering and detail work using oils and filters....lot's of back and forth.
I'll be switching out the kit's magic tracks for Fruils - they just arrived yesterday.
A quick shot of where I'm at right now. I'll continue to refine the paintwork using oils mostly, add a few cargo items and probably a end up putting it on a base with a figure or two. But that's down the road yet....
For now -
Thanks for looking.
Rick
")


 ! Great Job ! Looks Killa' ! You've got that Hairspray method down ! Outstanding !!