• Modelers Alliance has updated the forum software on our website. We have migrated all post, content and user accounts but we could not migrate the passwords.
    This requires that you manually reset your password.
    Please click here, http://modelersalliance.org/forums/login to go to logon page and use the "Forgot your Password" option.

1/48 scale Bf 109's x 2

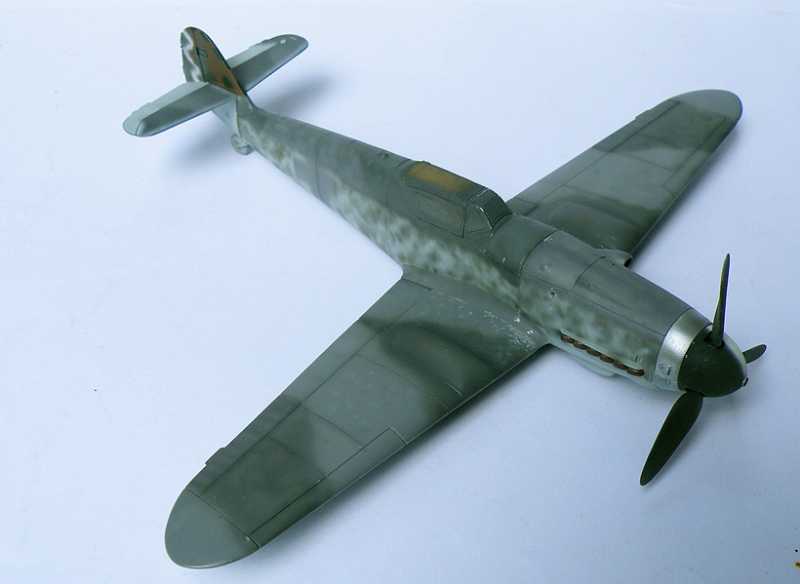
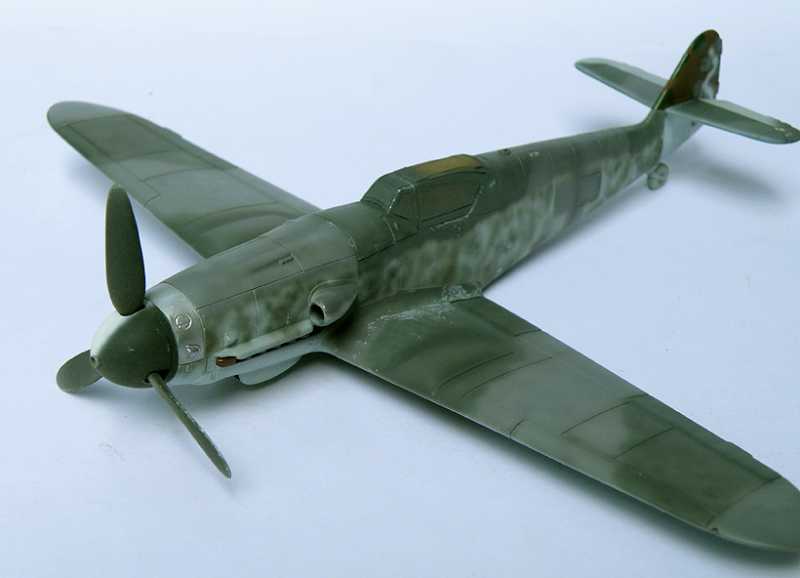
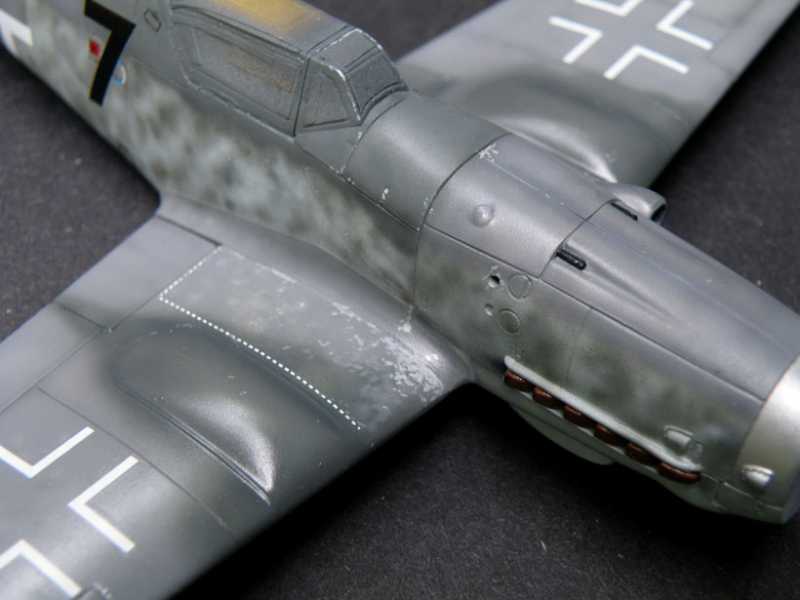
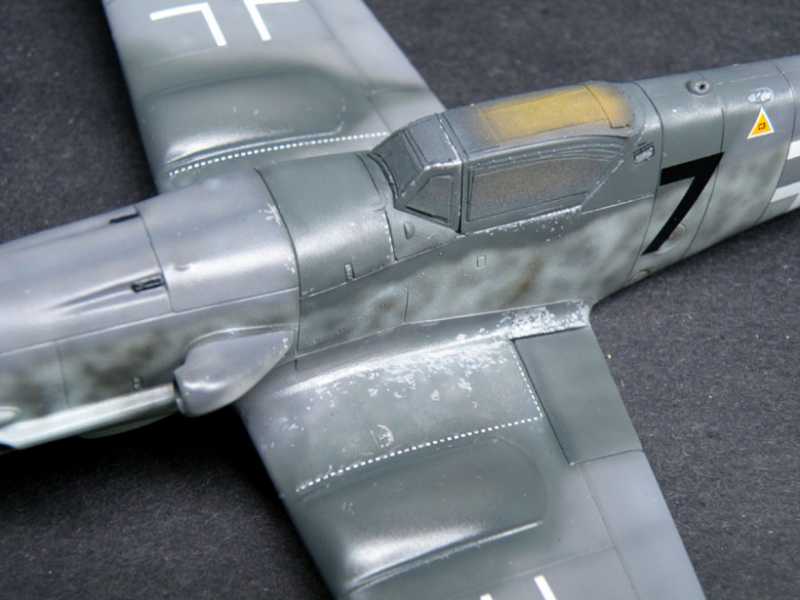
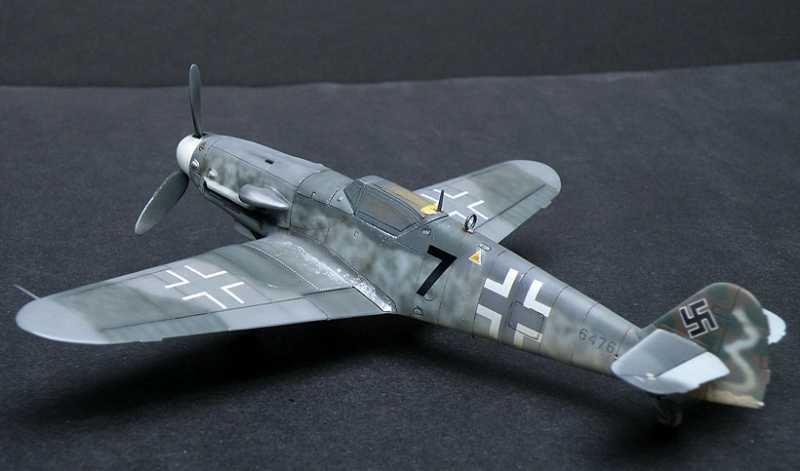
Some detail painting was done, the exhaust stubs and some paint chipping were hand painted while the natural metal upper half of the oil cooler cover was masked and airbrushed.
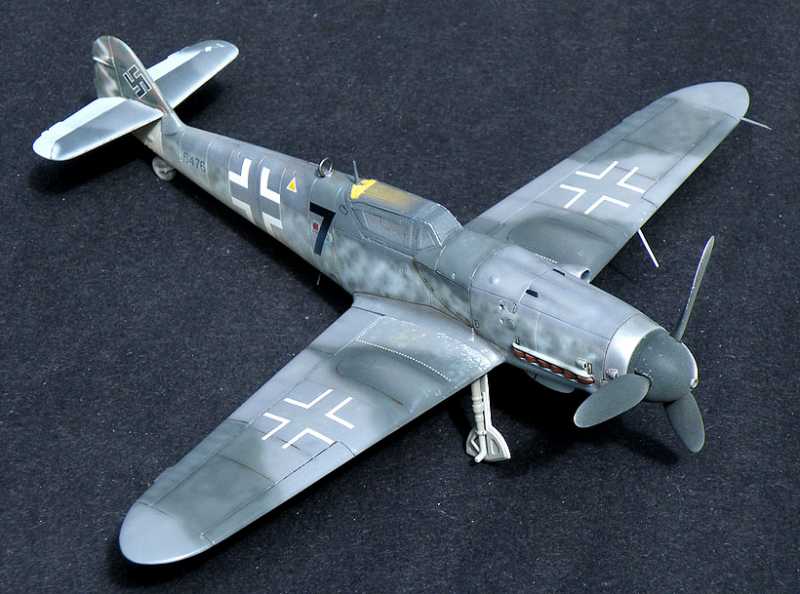
There will be more paint chipping done later on after some of the other weathering effects are on the model, my goal is to have the paint chipping look like it was done over a period of time and not all at once.


h5b70388.JPG


h70d91b1.JPG


hf64bb7b.JPG


Matrixone
 
Thanks for the comments!

The chipping on the wing roots looks too dramatic right now but some of that chipping will be lightly covered up by the exhaust stains and will have a more natural look by the time the model is finished.

Matrixone
 
Thanks very much for the comments!

I did some dry brushing with a light earth color on the wing roots and later I will be painting the tail wheel, after that the only thing left is spraying on a coat of Future in preparation for decaling. :cheer:

BTW, this 109 will be marked as ''black 7'' of 2./JG 52, ''black 7'' was actually a Bf 109G-14/AS which is externally the same as the Bf 109G-10 which Revell based their kit on.


Matrixone
 
Decaling is now finished and the next step is misting on a thin coat of Future in preparation for the weathering with oil paints.


hfad2f71.JPG


Here is a close up of the right side wing root, I added a little more paint chipping on the place where the ground crew would stand while turning the crank while starting the engine.

h3e3f1d9.JPG


...and here is a close up of the left wing root, I did a little more paint chipping here too as it was a high wear area from the pilot entering and exiting the aircraft. ''Black 7'' survived until the end of the war and looked very tattered when it was photographed.

ha8bb7f1.JPG


Matrixone
 
Thanks Luiz!
This 109 is maxed out for the chipping effect, any more than this will ruin it. After the flat clear coat is on I will go over some of the paint chipping with a silver artists pencil to represent some fresh wear and tear.

Matrixone
 
Thank you Ian,
After looking at a great many photographs of late war Luftwaffe fighters some of them did have a little bit of paint wearing off of the windscreen and canopy frame and I wanted to add this feature to my model of ''black 7'' since it was a war weary machine.

Matrixone
 
...more in-progress pictures, here is the result of the work with oil paints.

The upper surfaces only had a small amount oil paints added to them mostly around the control surfaces and access panels, the undersurfaces were more heavily weathered and the oil paints were used to add some dirt stains and mud splatters. The tail planes have not yet received any weathering yet, they will be glued on first and then I will use enamel paints sprayed on to add the weathering to them and the rest of the tail.


had0948d.JPG


hfb8beb0.JPG


hc24a5fc.JPG


Matrixone
 
Thanks again Luiz!

Most all the small bits have been added and also some additional weathering done with the airbrush.


h2b4b265.JPG


h03a9a09.JPG


hc1fc6ab.JPG


h8bd5aaa.JPG


Next will be spraying on the clear flat coat and then the exhaust stains will be airbrushed on.

Matrixone
 
Matrix,

Very nicely done finish on this build. Not at all overly done, but just enough to make it realistic, especially on the bottom...lovely work.

Best

Geoff
 
...the underside weathering looks so realistic....particulary,those that were done by the tires...so good (y)

Luiz
 
Maybe I'm :gogo , but I plan to buy some more 109... very very inspiring work Les! :coolio

All the best!
Dusan.
 
Back
Top