• Modelers Alliance has updated the forum software on our website. We have migrated all post, content and user accounts but we could not migrate the passwords.
    This requires that you manually reset your password.
    Please click here, http://modelersalliance.org/forums/login to go to logon page and use the "Forgot your Password" option.

1/48 Revell B-25J

Another great build I've just found here at MA - too many great artists here to see them all!!! :D

I might use some of Phil's build for the CTA for some inspiration for this build! His looked fantastic! Hope you don't mind Phil!

Go for it Warren, and thankyou!

if you get stuck on anything just PM me and I'll do what I can to help out.
 
Thanks Phil!!


Just a little update, might have some more later this weekend...

Added some weathering powders to the interior (at least some areas you can see)

b25-24_zpsb64e9daf.jpg


b25-23_zps0956bc62.jpg


b25-22_zps26ba295b.jpg


Got the cockpit done and shaved off the molded handle (I assume for climbing into the aircraft) and replaced it with a wire one

b25-20_zps1ee94436.jpg


started to incorporate some lead fishing weights into the hidden spaces so she's not a tail sitter (I think its going to take a fair amount!)

b25-21_zpse3696029.jpg


For the GB I'm building this kit for it was originally discussed to build the kits OOB, but I think that rule was abandoned...my intention was to build this kit with only additions I could build myself out of scrap styrene but after looking at the very bad gun barrels and seeing how well Phil's model of this same kit turned out with these barrels from Master, I had to cave. (That's it though). Fortunately, I didn't have to buy as many as Phil since mine will be a glass nose version! (too many guns on the B-25)!

b25-19_zpsd1c3b590.jpg


They were a little pricey but I think they'll make a world of difference. As Phil said in his post, they are very delicate so if you haven't used them before, be very careful with them!

b25-18_zpsfe89fa91.jpg


That's all for now!
 
That kit really is a nice build. Looks like you are doing a great job on her. Now whip up some floats for her lol.
 
Thanks Nerdling!

Now whip up some floats for her lol.

Don't tempt me! :evil: Though if one were too, it might look similar to the Fiat RS.14


I have been thinking that a fictional Ju-88 or even a Ju-388 would look interesting with some floats. I'll finish the 189 first though.
 
Going well Warren! yes those brass barrels really give it a kick, they do look the goods when in place.

PM sent to you.
 
Its been tough these past couple weeks to get a bit of time in at the bench! Been a busy month but i did get to sit down for a couple hours last night.

I finished up the last of the cockpit and glued that in place.

b25-26_zps1ade0aec.jpg


and then added another ounce of weight in the bomb bay (that makes 2 ounces so far in the body). I'm using 1/2 ounce fishing weights. Like my hap hazard way of securing them?

b25-25_zps2f1f87a8.jpg


With the last of the insides done, I finally closed up the fuselage. Now for the dreaded fill, sand, repeat.... fill, sand, repeat!!

b25-27_zps7abaf1e4.jpg


One last thing though, thought I'd set it up as Phil did to check to see if I can get away with enough weight in the nacelles so she's not a tail sitter.

b25-28_zps7c11e1d2.jpg


I taped it all together here. Right now there's 1 ounce of lead in each nacelle and another 1/2 ounce taped to the top of each. 5 ounces total. Pretty heavy but I think the gear can take it and I may be able to cut it down to 4 1/2 total. They need to make resin nose wheels filled with steel!
 
I was wondering if the weight in the bomb bay would be far enough forward, looks like you got that fixed. :popcorn
 
Pretty heavy but I think the gear can take it and I may be able to cut it down to 4 1/2 total.

Try to cut the weight down as much as possible Warren, it will save a mishap further down the track, the nose wheel is fairly strong but don't push your luck too far!

Mine is just right, with the rear access hatch off it will sit on it's tail, but when pushed up it balances nice on the front wheel, less strain on it.

if you do this, when the access hatch is glued open, it will never sit on it's tail, as the hatch stops it from reaching the rear tail sit balance.

Coming along very nice! keep her going! (y)
 
Thanks for the comments guys!

Phil, I'm complicating this more by having the rear access hatch closed! i think I can work it down to 4 oz of weight which should be ok and I should be able to get it all in the engine nacelles. I still have a fair pit of plastic to add to the nose!


Very brief update!

Started the first round of sanding and filling on these three


and did a quick check to see how the canopies will line up. These will need some work too.

 
Looking very cool. I think when I did it I put weight on the other side of the tunnel. Its farther away from the CG line so you need less weight.
:popcorn
James
 
A very busy place but yet so neat :huh: Mine has not looked that nice since the need to pack up after every cession has ended :woohoo:

I'm not sure if this will help since mine was in 1/72 scale but I had to fill the gun nose and add some in the tunnel to get mine to balance.

Best thing is to do a dry run to be sure. :popcorn

Cheers. Christian B)
 
On the bench you are Warren... :coolio

Thanks for the comments guys!

Phil, I'm complicating this more by having the rear access hatch closed! i think I can work it down to 4 oz of weight which should be ok and I should be able to get it all in the engine nacelles. I still have a fair pit of plastic to add to the nose!


Very brief update!

Started the first round of sanding and filling on these three


and did a quick check to see how the canopies will line up. These will need some work too.


Always glad to see folks building models, like how you're foiling as you go. Gives me inspiration on that P47 in the corner.
 
A little bit of an update on this one as my "lab" is still in a state of chaos.

Don't get too excited!

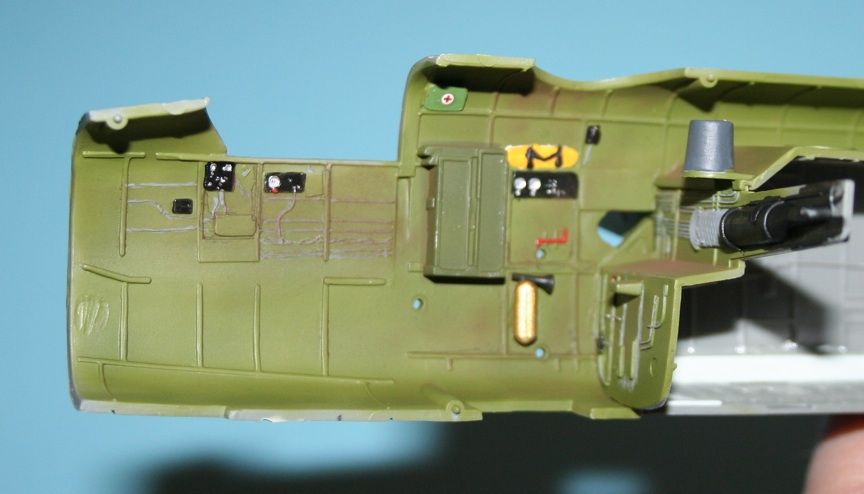
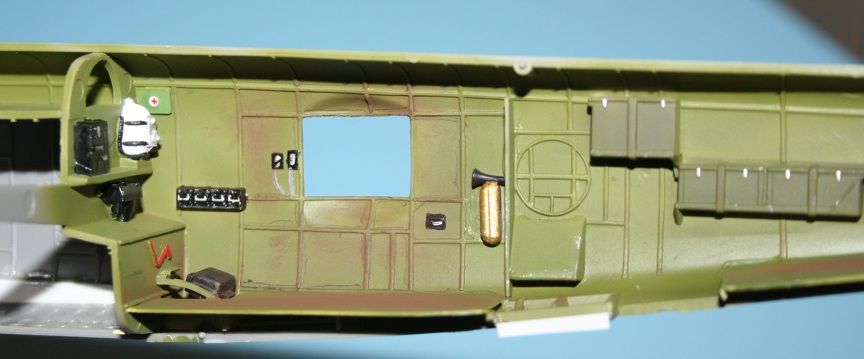
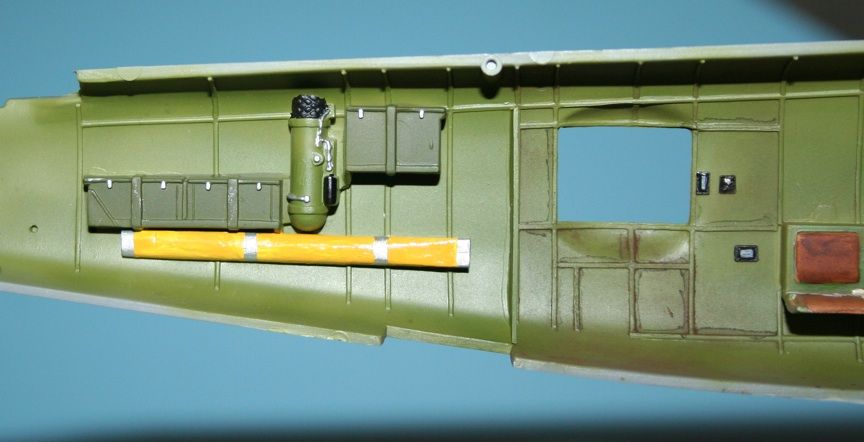
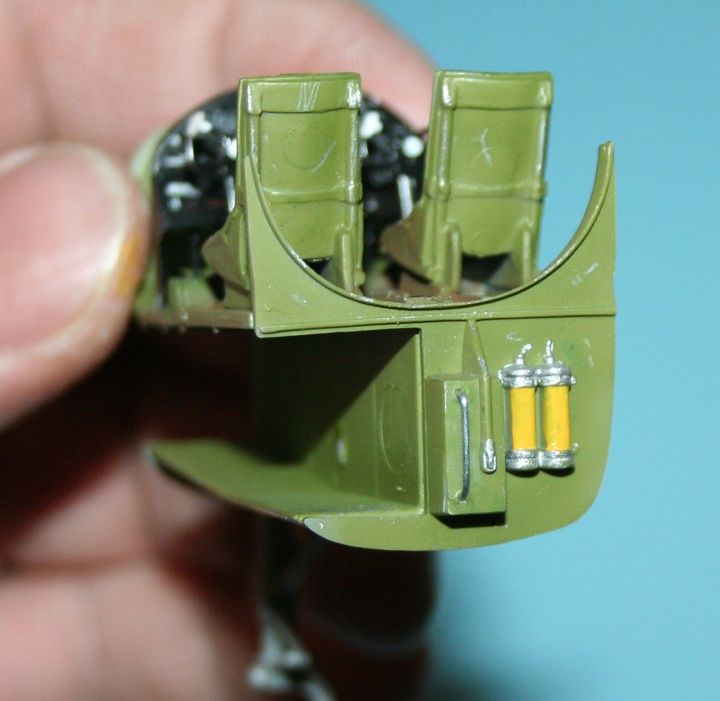
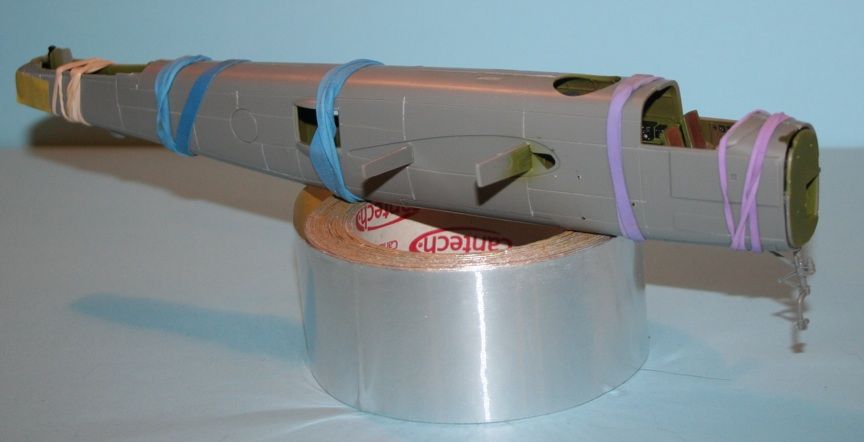
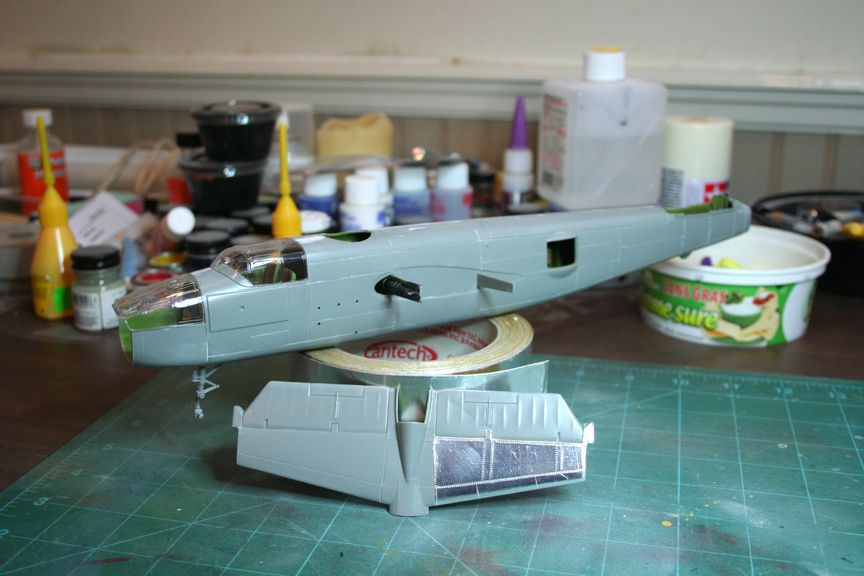
Here's where she sits now. I've pretty much finished the filling and sanding of the fuselage and had put some more thought into the aluminum finish. I've pulled off the few test pieces of the aluminum tape (with the exception of the rear tailplanes).


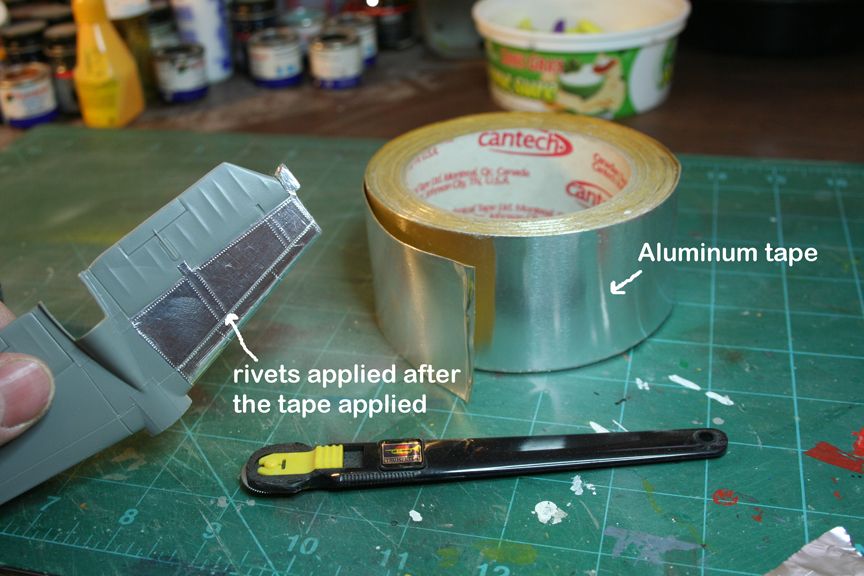
Up to this point, I had been using only aluminum tape and then adding rivets with my rivet wheel after it was applied. Didn't look too bad and I had wanted to try some other types like Bare Metal Foil.


After a night of blindly searching around the net I stumbled on this thread over on LSP (if you haven't seen this yet, its a great build!)

http://forum.largescaleplanes.com/index.php?showtopic=38905&page=23

Rich, the builder, had used pewter sheet to make the skin of his B-17 (and a fantastic job he did). So, it got me thinking if I could do the same with aluminum foil and tape with this build.... Time for a test!

I tried making rivets on the backside of both....


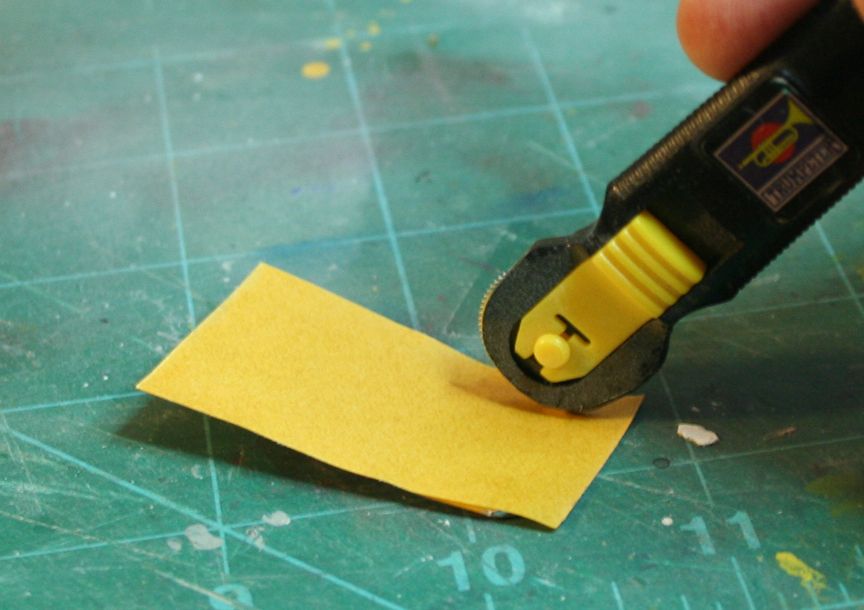
and they actually come out quite nice!


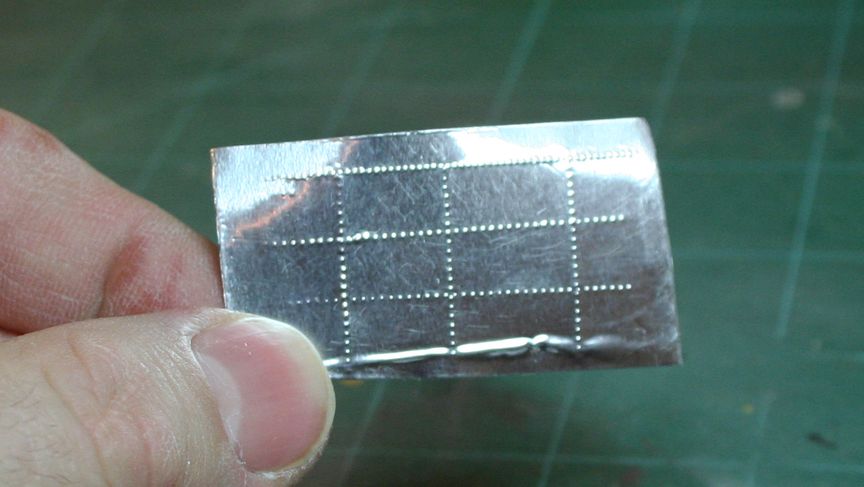
I think it gives a more realistic look and there might be a chance to actually make the skin look a little stressed too.

The only problem with this is that it might be hard to match up rivet lines with each piece (as it will have to be done before its applied to the model). Anyway, I'm working on a solution!

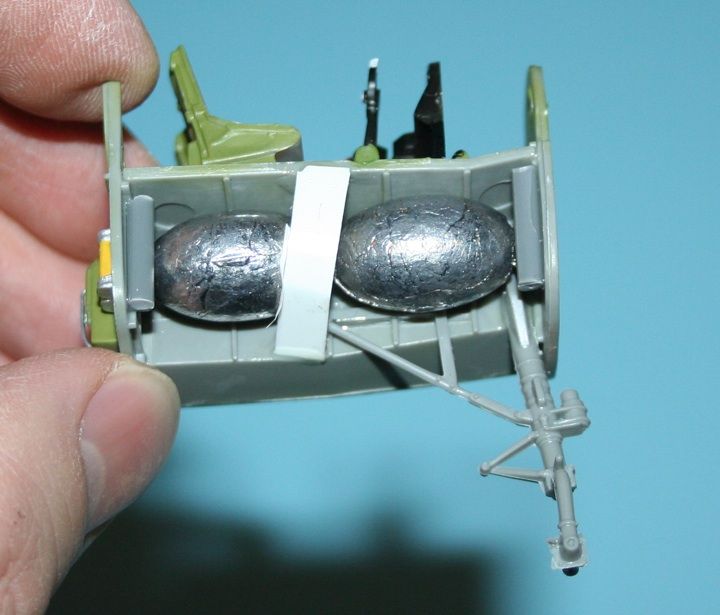
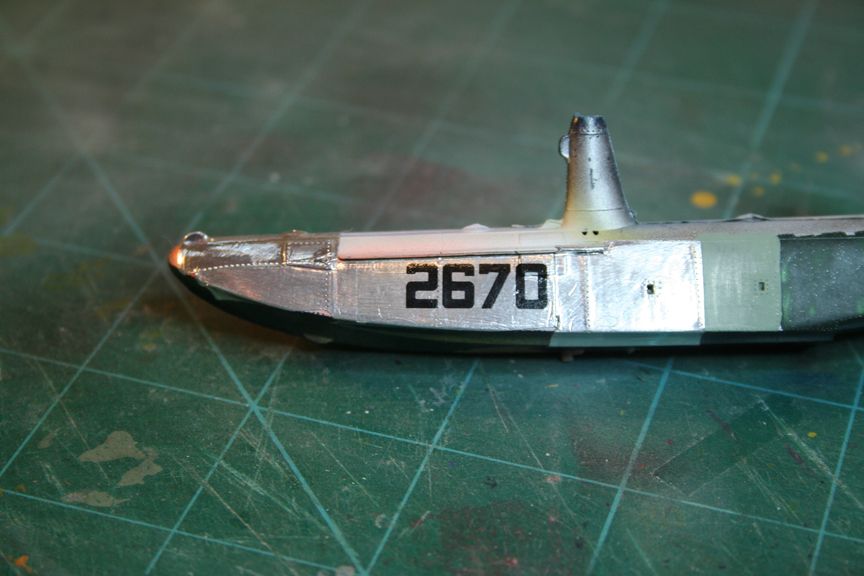
I tried a small piece on an old float and it worked ok (though its hard to see in this picture). I even tested how paint would stick and it was very easy to add scratches and wear points too.


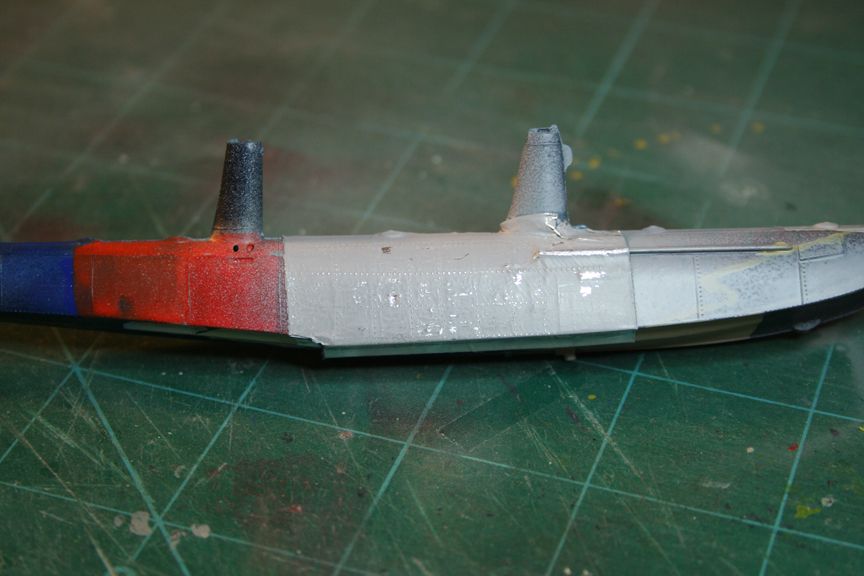
Also took a moment to see how decals would stick to the aluminum, no issues with a little Micro set and sol!


that's all for the moment!
 
Back
Top