-
Modelers Alliance has updated the forum software on our website. We have migrated all post, content and user accounts but we could not migrate the passwords.
This requires that you manually reset your password.
Please click here, http://modelersalliance.org/forums/login to go to logon page and use the "Forgot your Password" option.
You are using an out of date browser. It may not display this or other websites correctly.
You should upgrade or use an alternative browser.
You should upgrade or use an alternative browser.
1/32 P-38M "M" for madness
- Thread starter dirtball
- Start date
I did not see a pivoting waste gate in the exhaust. So here are some more images to make your life difficult.. er, cough, cough, make your model more detailed...
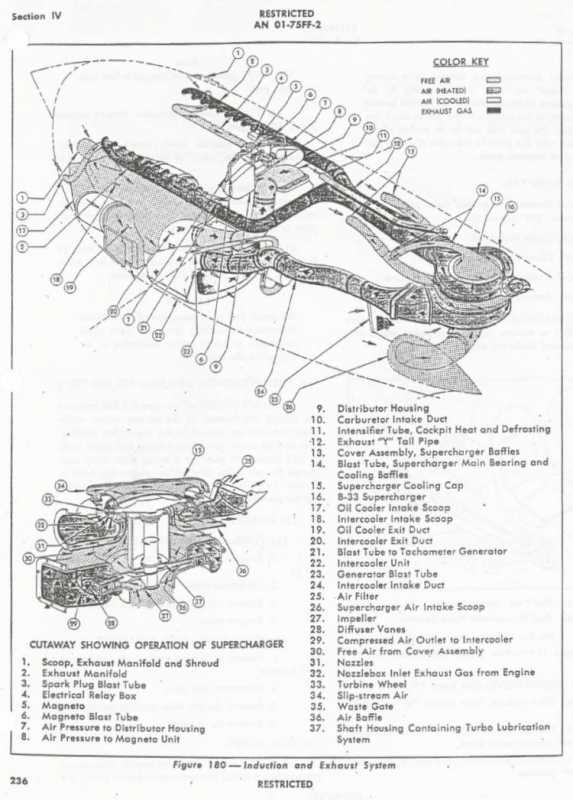
Waste gate is number 35 above.
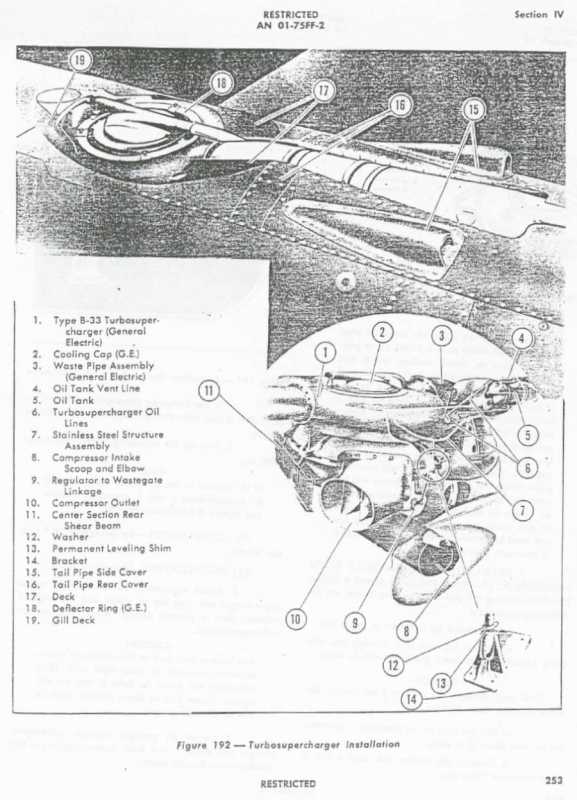
Only clear image showing the pivoting waste gate:

Regards,

Waste gate is number 35 above.

Only clear image showing the pivoting waste gate:

Regards,
AHEM, if you look at the name on the images, these are from the Erection and Maintenance Instructions for the P-38L-1...document AN 01-75FF-2/Lockheed 01-75FF-2 D52.1
Yep, I am a troublemaker!
Regards,
Yep, I am a troublemaker!
Regards,
Wait a second, are you using museum Lightnings for reference? It is true that these don't have waste gates, as seen in some of the photos I posted, but they are probably modified. It is best to stick to war time references and use the color images to help you with heat discoloration.
Regards,
Regards,
"The thrill is back" as BB King would sing. I'm excited again. These turbo's have me going and would like to share.
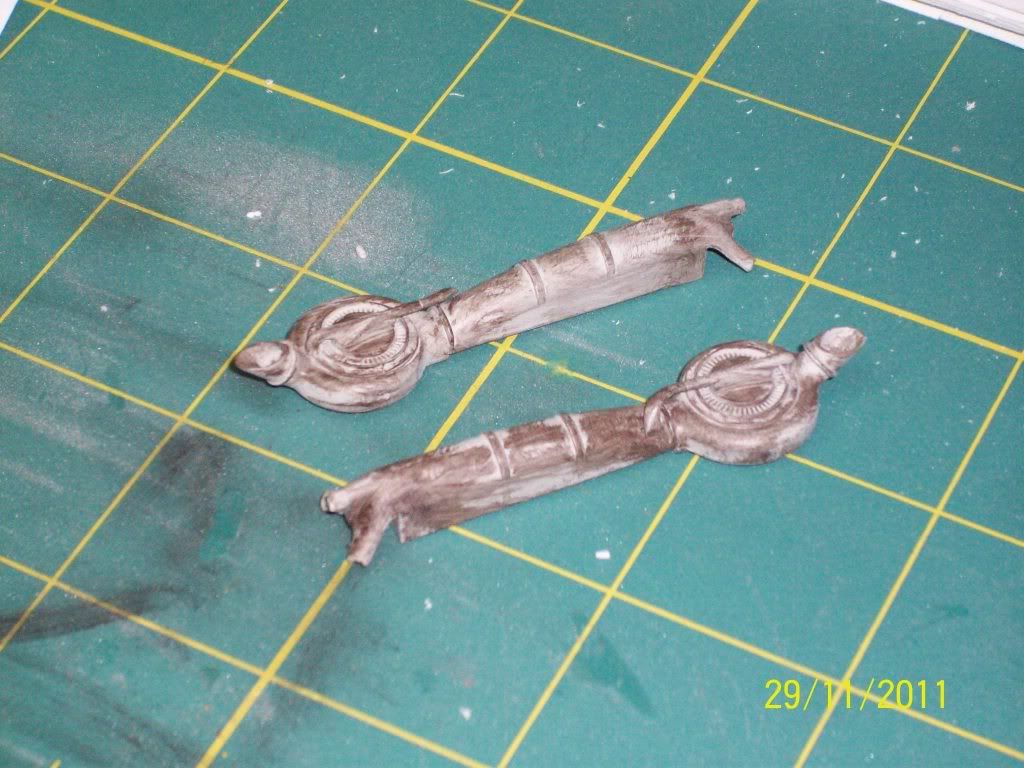
First up, made the front more "real"
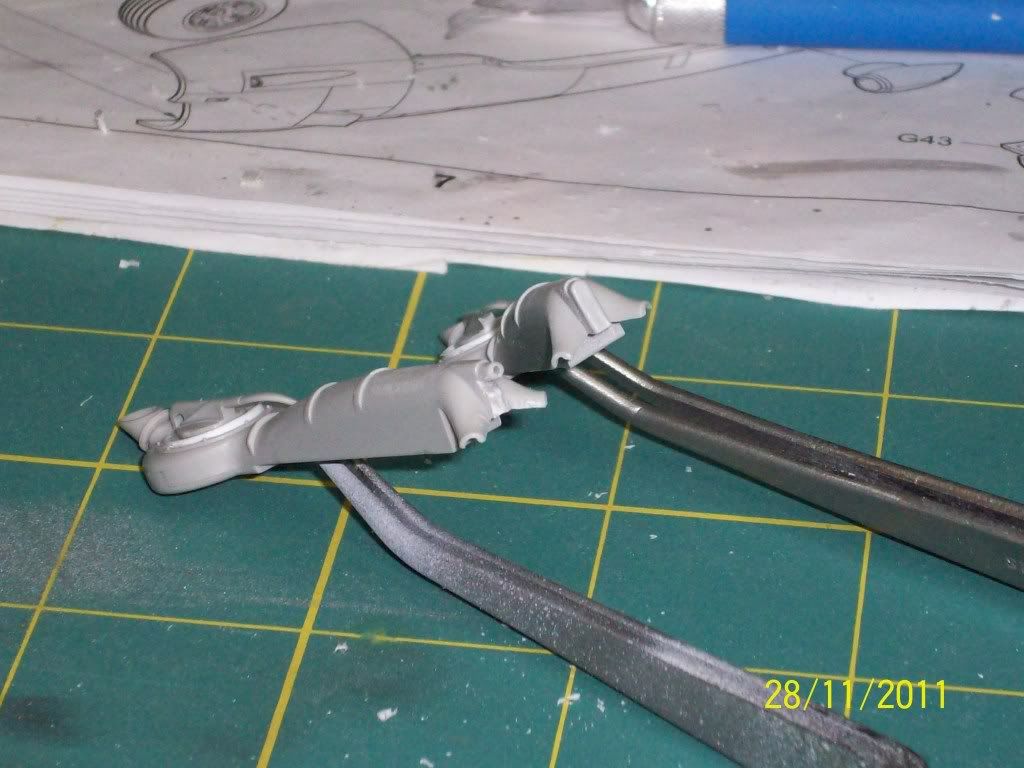
Base coat of MM acrylic dull gray
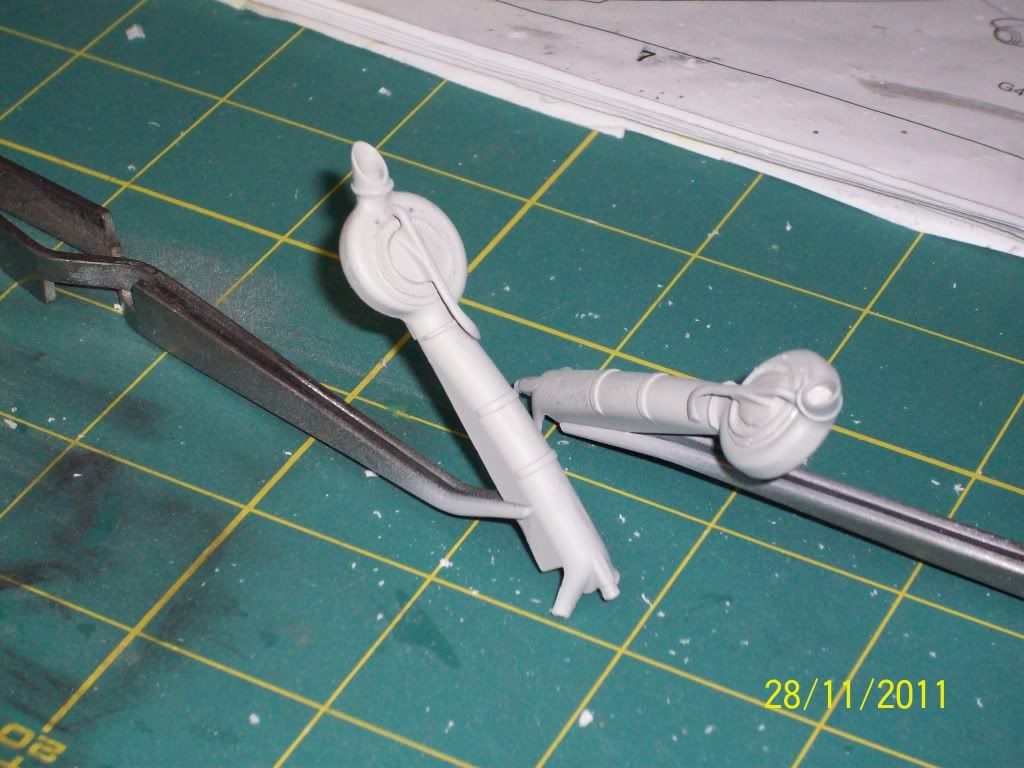
Dry brushing som MM raw umber
Now the pigments. Never worked with these before. This is red brick
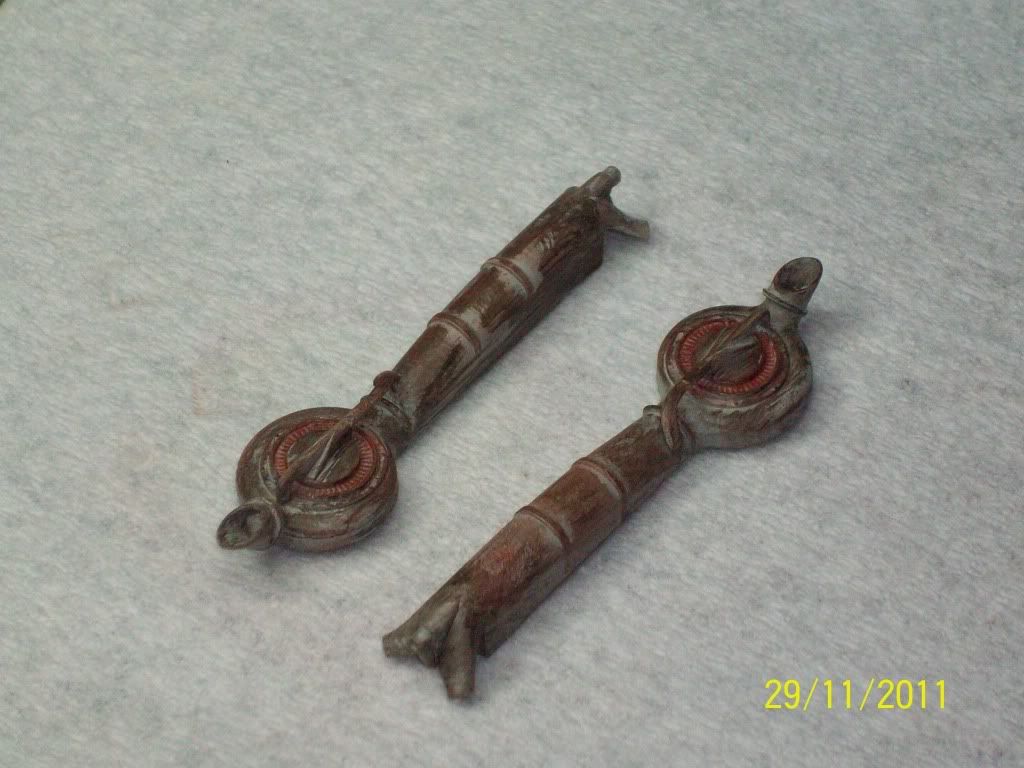
Dark green and rust
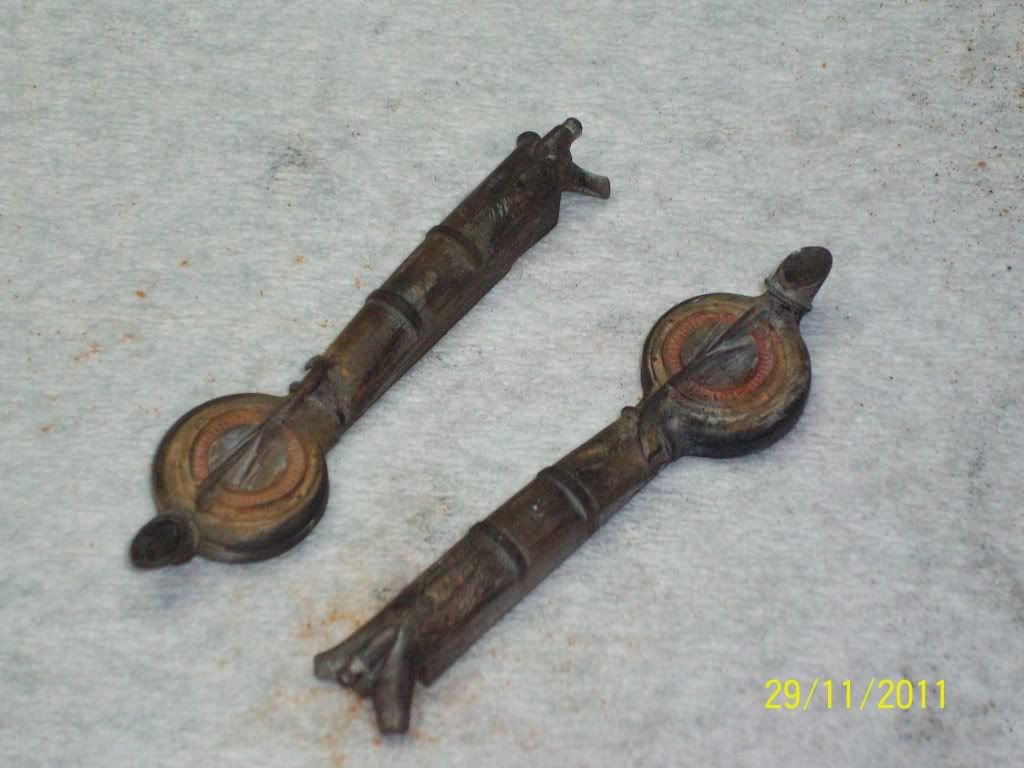
So....what do you think? Too dark? Not dark enough? Add more color? Please let me know what you think. I'm a first timer at this and need feedback. TIA.....Harv
First up, made the front more "real"

Base coat of MM acrylic dull gray

Dry brushing som MM raw umber

Now the pigments. Never worked with these before. This is red brick

Dark green and rust

So....what do you think? Too dark? Not dark enough? Add more color? Please let me know what you think. I'm a first timer at this and need feedback. TIA.....Harv

NAILED IT!!! 

Have NAILED IT means you Nailed it first time, it looks great and I'm going to copy your post to one of our Sprue U sections. It looks great. 
[quote name='harvey' timestamp='1322955375' post='356745']
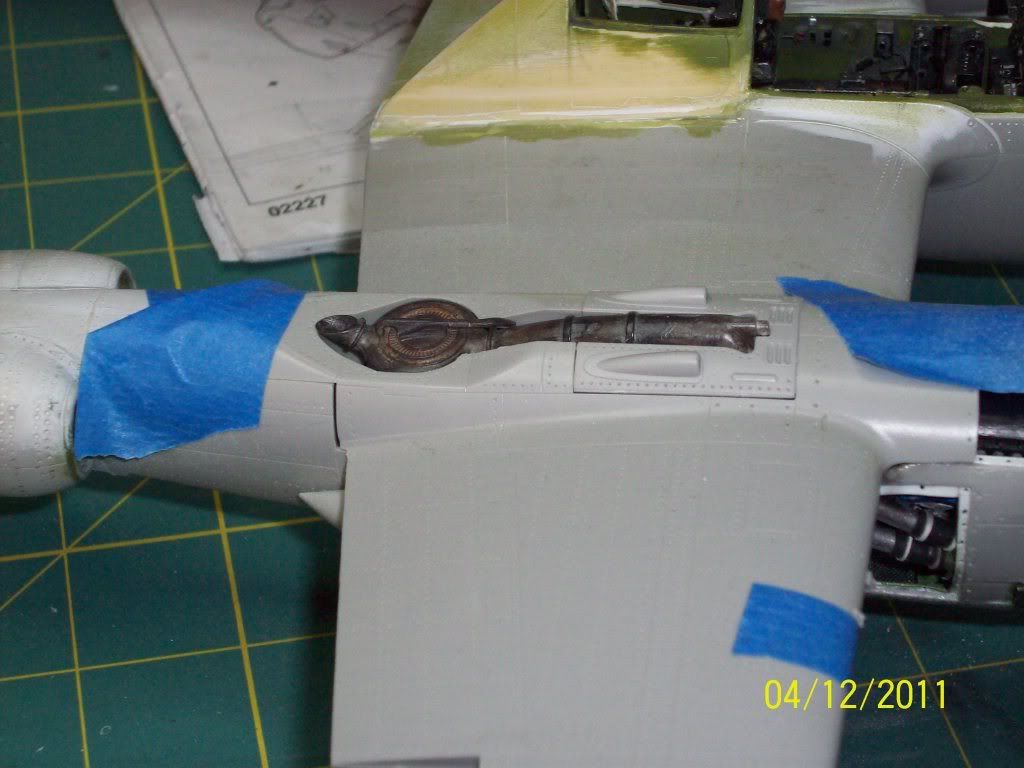
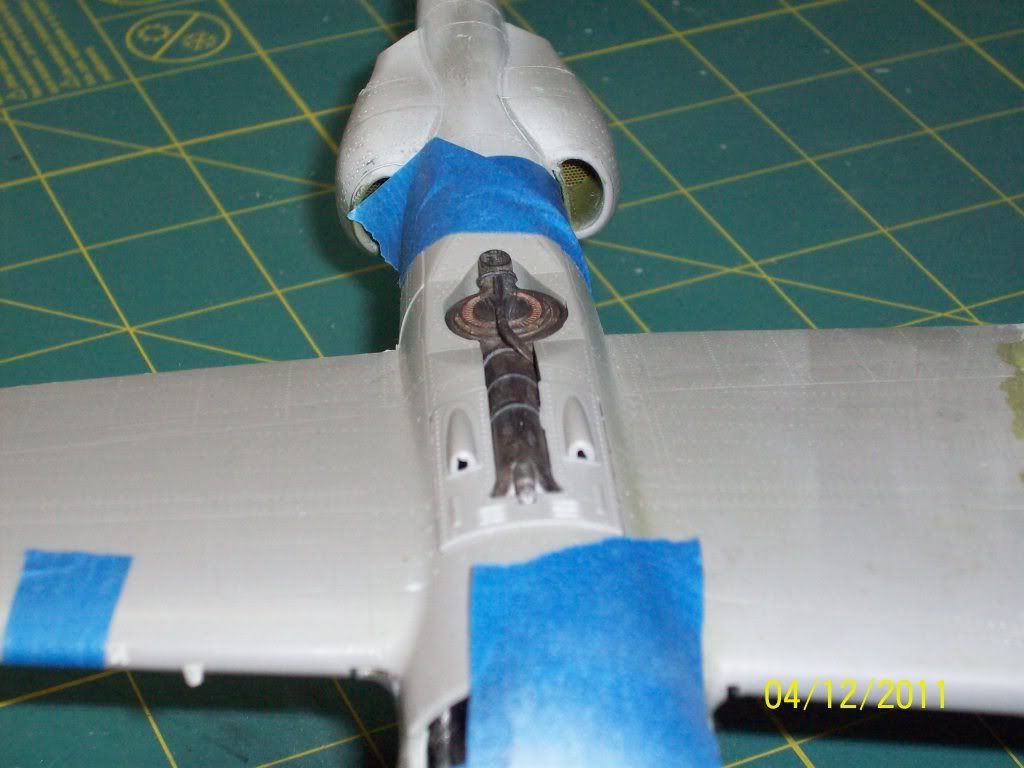
Hey gang. Decided to post here to get the maximum exposure. I do like the way they came out. I've never used pigments of any kind before, so this is another first. Not quite sure if I should leave them the way they are or do some more to them. I keep looking at them and think to my self, is it enough? Know what I mean ? Let me know what you all think.....Harv
[/quote]
Hey gang. Decided to post here to get the maximum exposure. I do like the way they came out. I've never used pigments of any kind before, so this is another first. Not quite sure if I should leave them the way they are or do some more to them. I keep looking at them and think to my self, is it enough? Know what I mean ? Let me know what you all think.....Harv


[/quote]
How will I find it MP ?
I haven't move it yet Harv, like the technique.
Leave it as you have it right now, I think they rock!
phantom II
Master at Arms
Hi Harv. They look very convincing when buried in the fuselage. Can't wait for more paint...
Cheers, Christian B)
Cheers, Christian B)
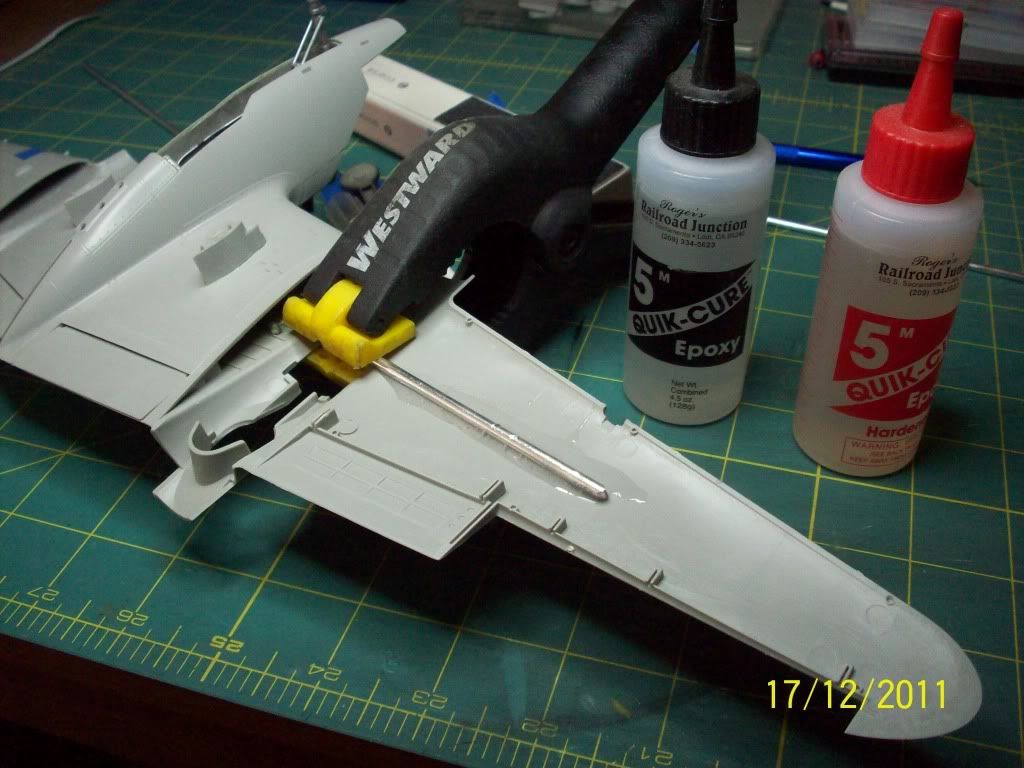
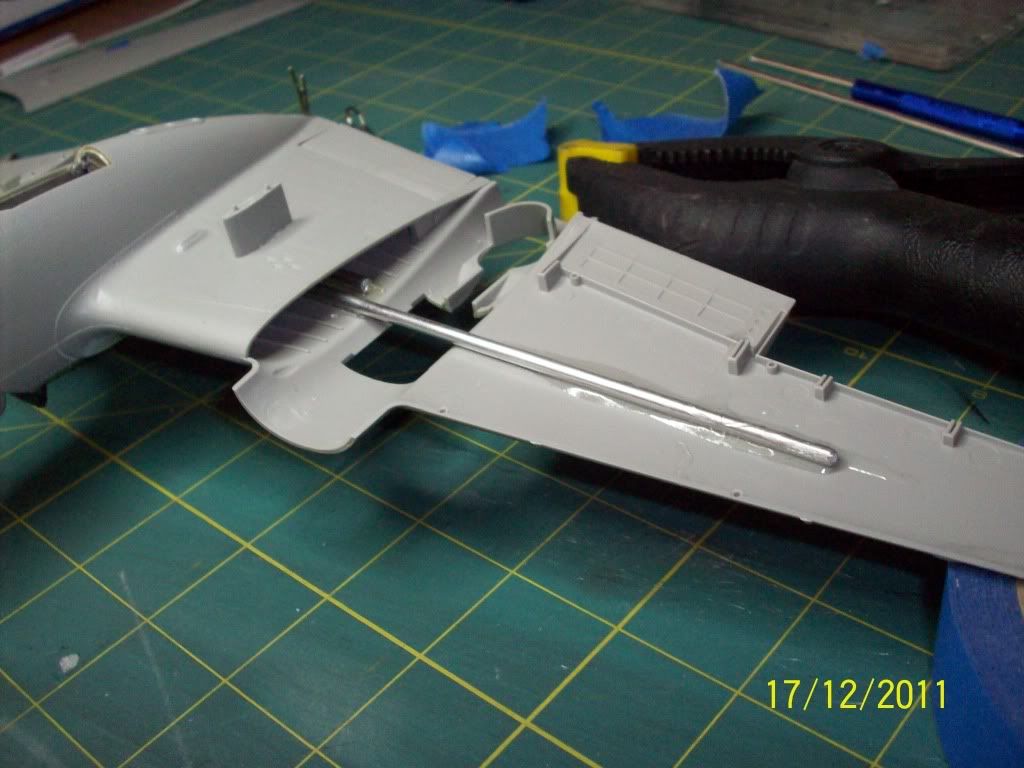
Wow Christian, you posted. Thanks. Now on to new stuff.Well, I was planning on putting some alum. color down around the turbo's and weather them. But with the boom off, its two separate parts. So I have to assemble the booms to the wings. One other prob was I wasn't happy with the weakness between the pod and booms plus wing tips. I knew I had to strengthen this some how. I remembered I had to strengthen the inner wings and pod because of the conversion of the radar opp. pit. I used 1/8th aluminum welding rod. So, this is what I came up with. Cut a couple of pieces about 7 " long. Mixed up some 2 part epoxy and glued and clamped in place. Much more sturdy. I need to know if you think the wing angle is right? It fallows the natural sweep of the inner wing, so I THINK its right. What say ye all?? TIA......Harv
This is what I,m talking about------
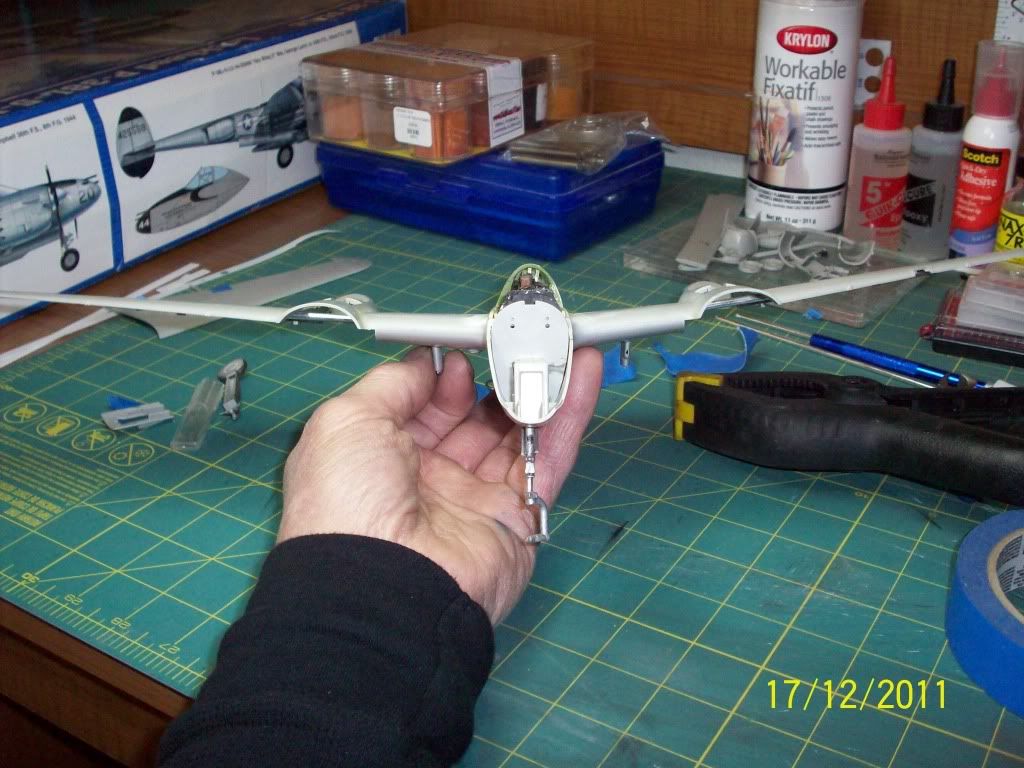


This is what I,m talking about------

HARV! Didn't notice you updated. The wing looks good from here. But what do I know, don't have a caliper. If anyone calls you on it just don't take a picture from that angle anymore. It's really shaping up well Harv, 

phantom II
Master at Arms
Hi Harv just comparing it to the pictures I just found but can't post. It looks correct.
The wing does not change angles.
Cheers, Christian B)
The wing does not change angles.
Cheers, Christian B)
OK, a little venting here. I have a couple days off and thought I could get more work done on the booms. These things are kicking my A$$. Seems even the "good side" is requiring a lot of tweaking and some shimming to get a half decent fit. What was Trumpeter thinking??? Very frustrating. Wish I had a good enough camera to show what I'm up against. But I still have the radiators to finish up and install, so I'll try and get that much done. Thanks for listening to me gripe ! Merry Christmas all!......Harv 

Positive vibes to you Harv... :zen
Similar threads
- Replies
- 104
- Views
- 16K
- Replies
- 103
- Views
- 19K
- Replies
- 82
- Views
- 16K
- Replies
- 138
- Views
- 27K

 ... I like the Superchargers......