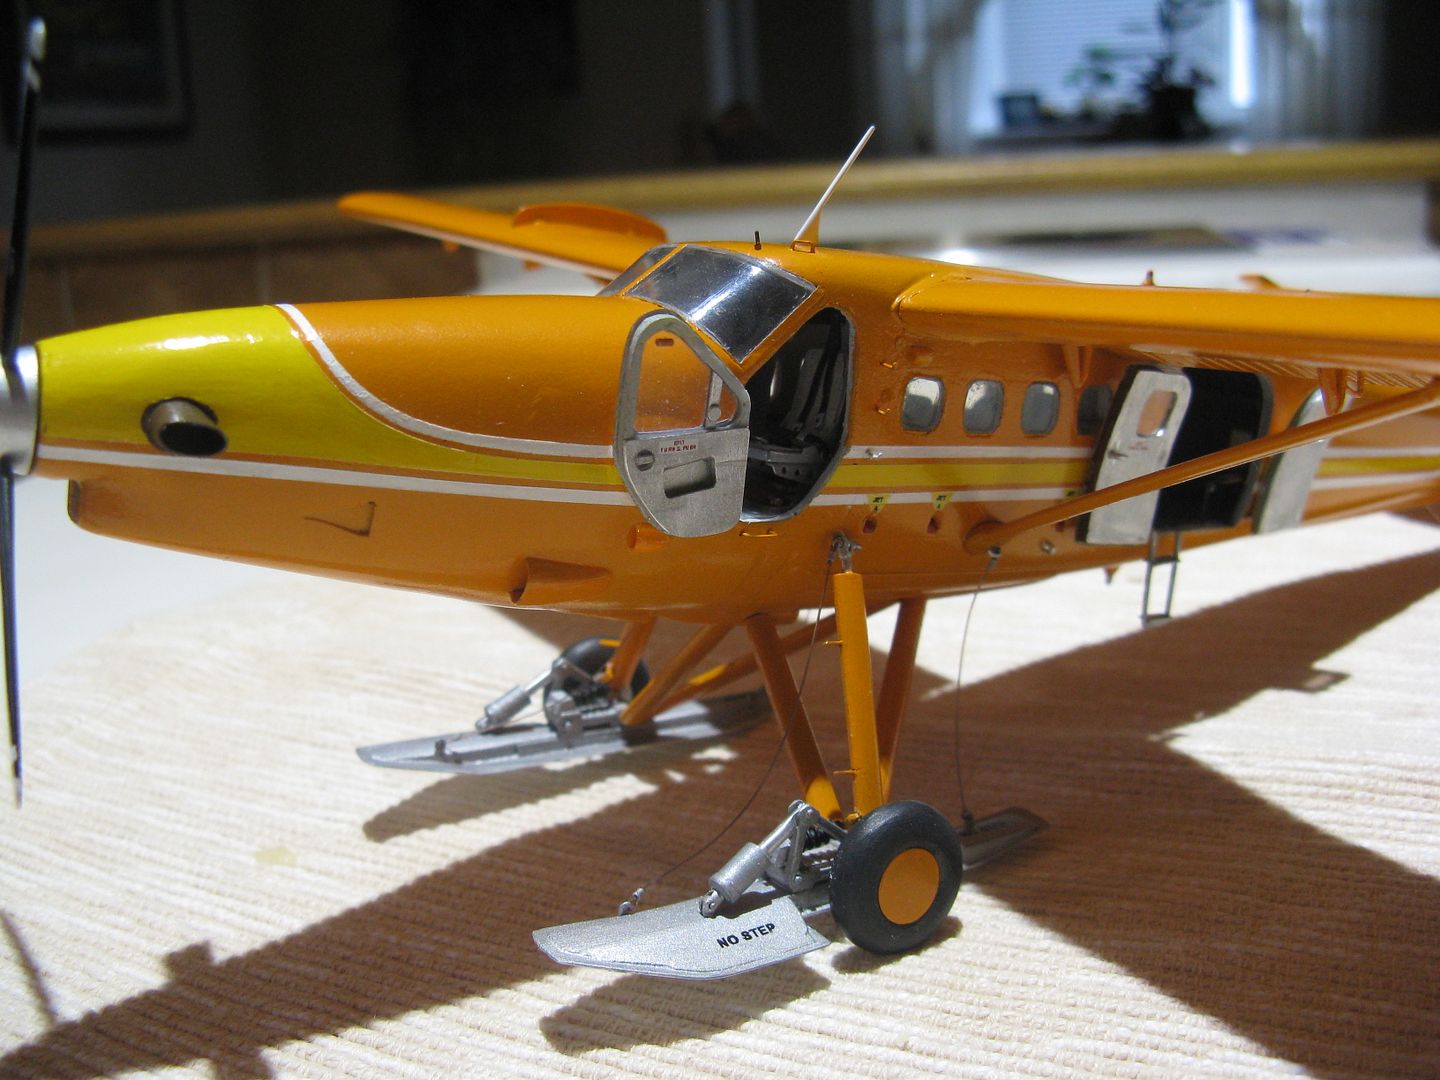
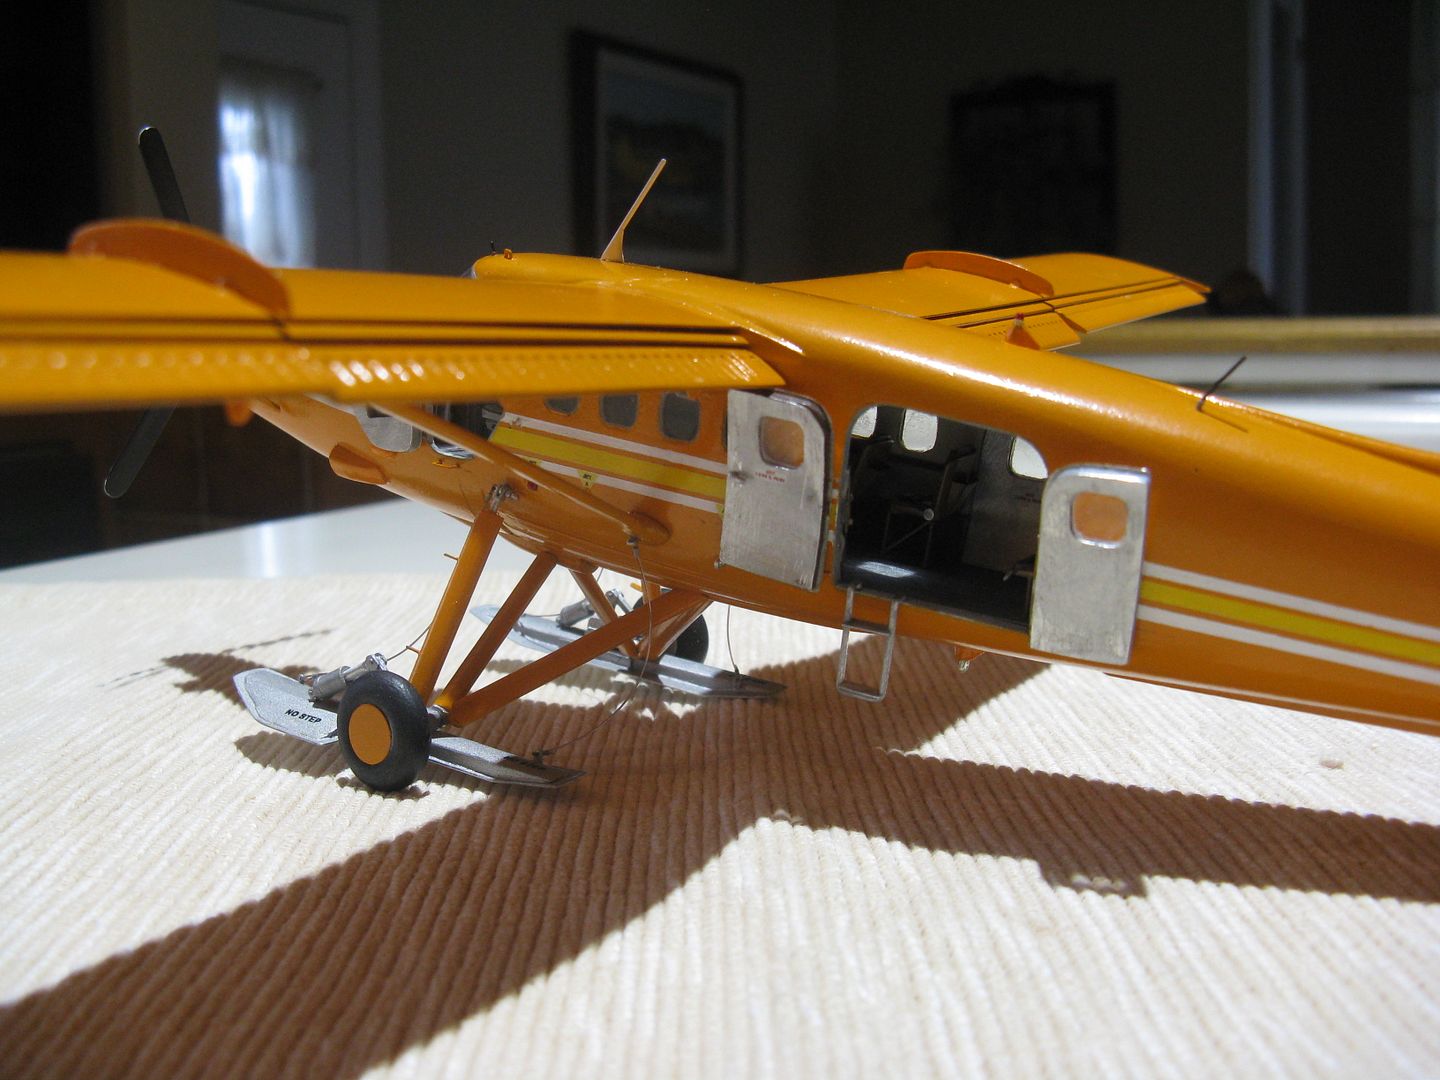
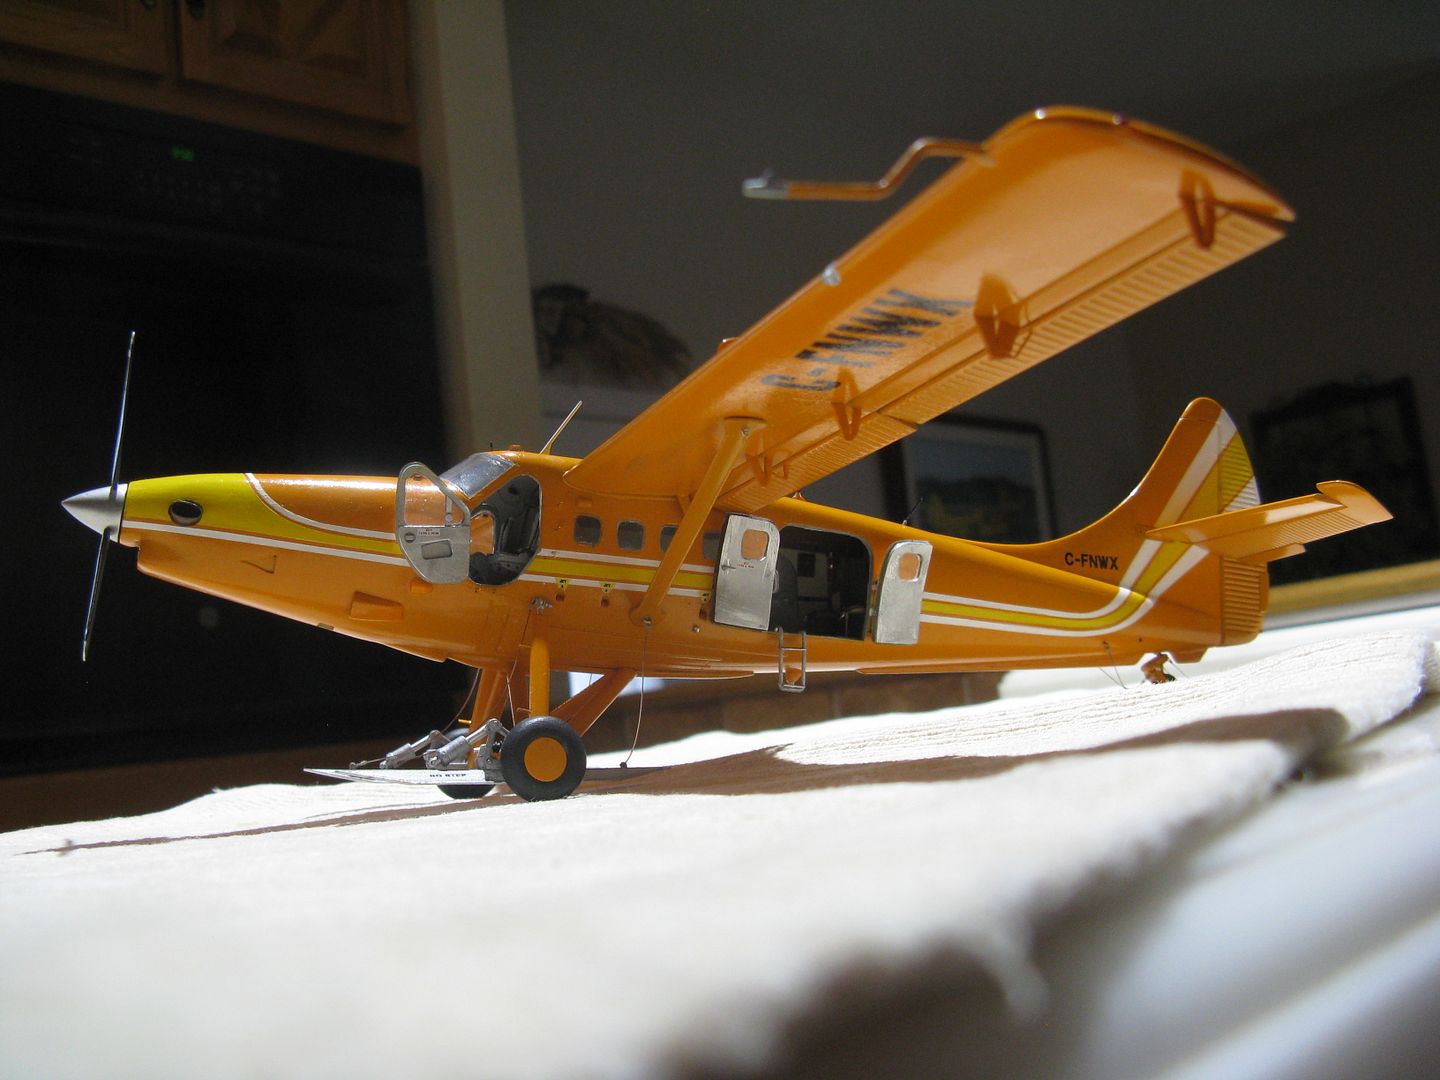
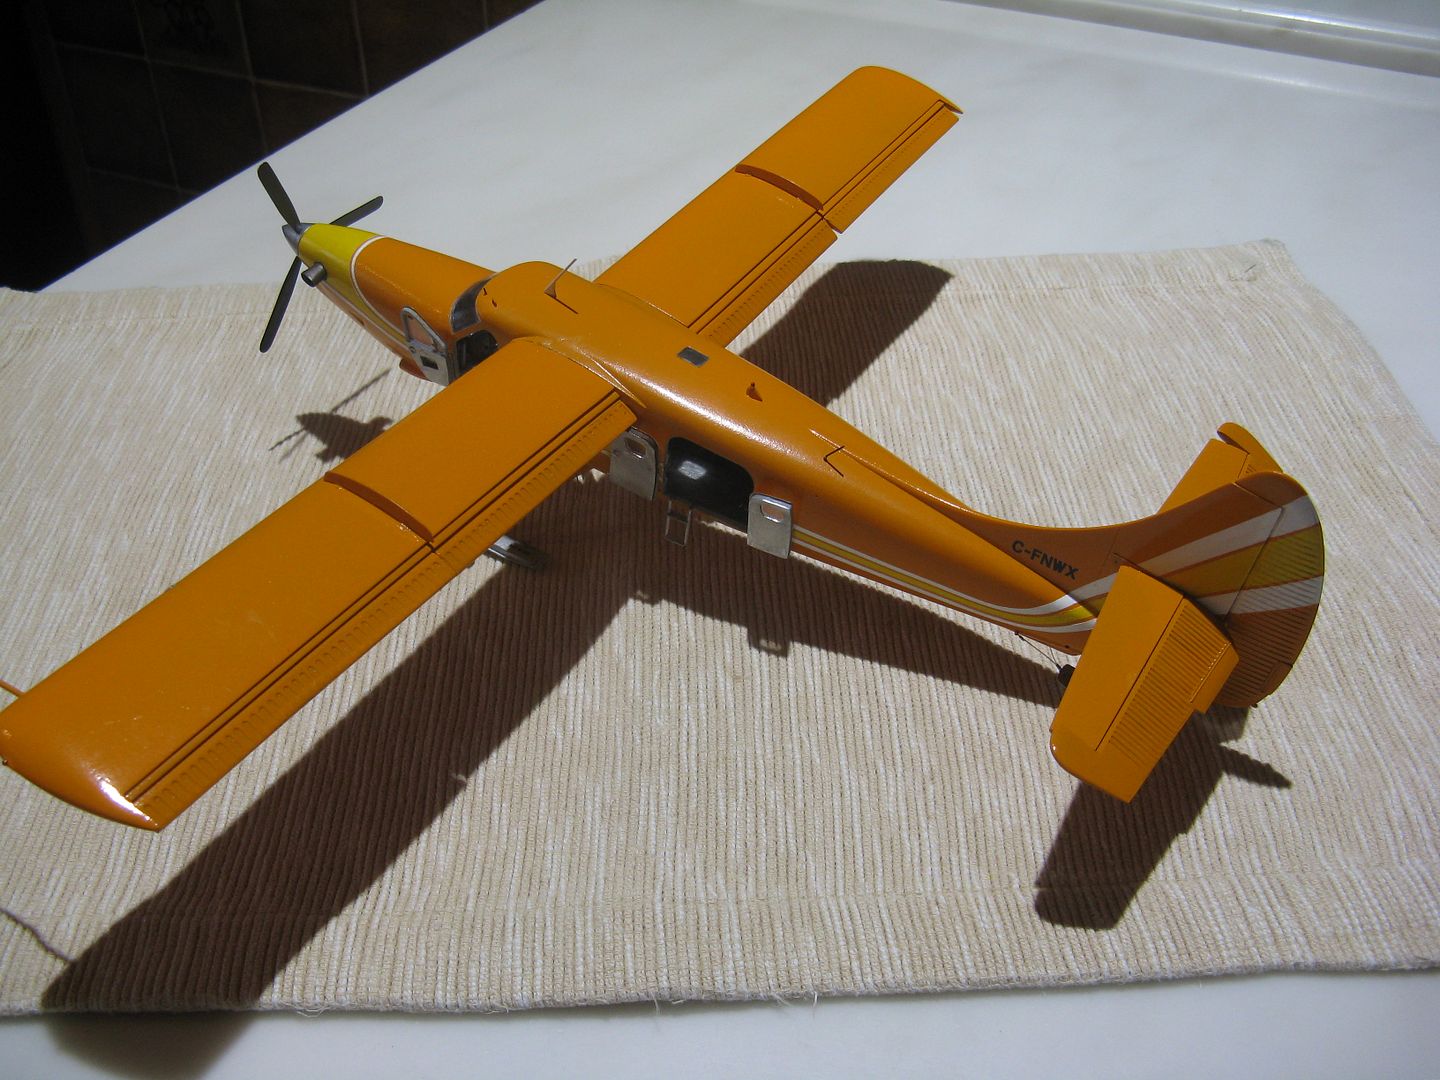
Thanks Uros.
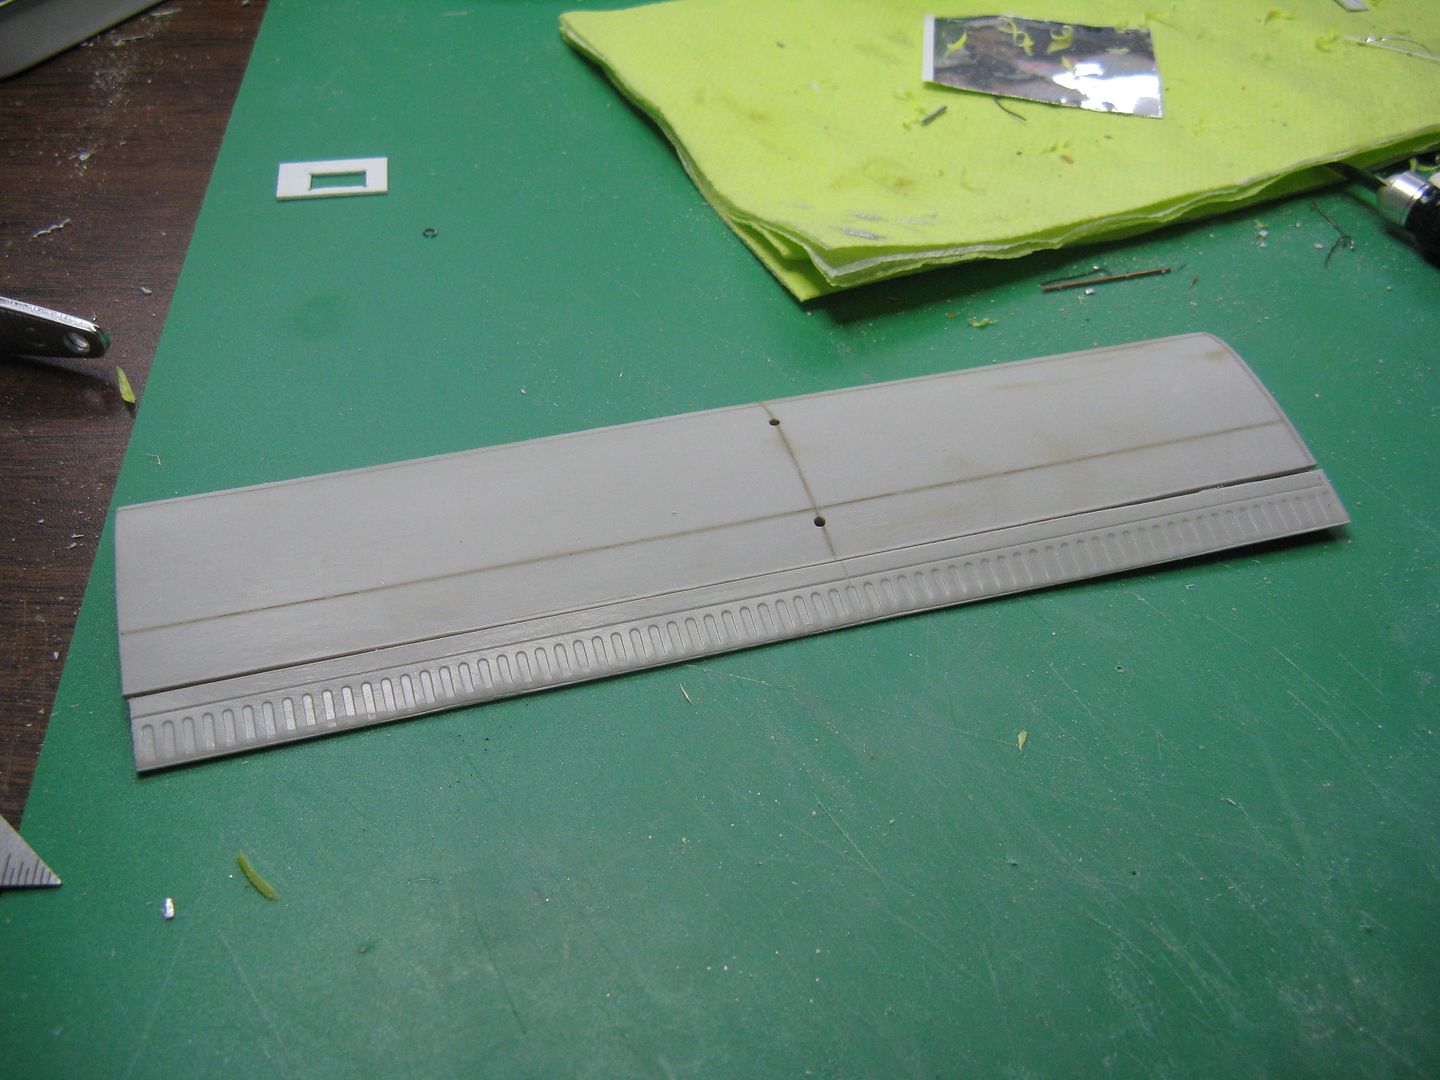
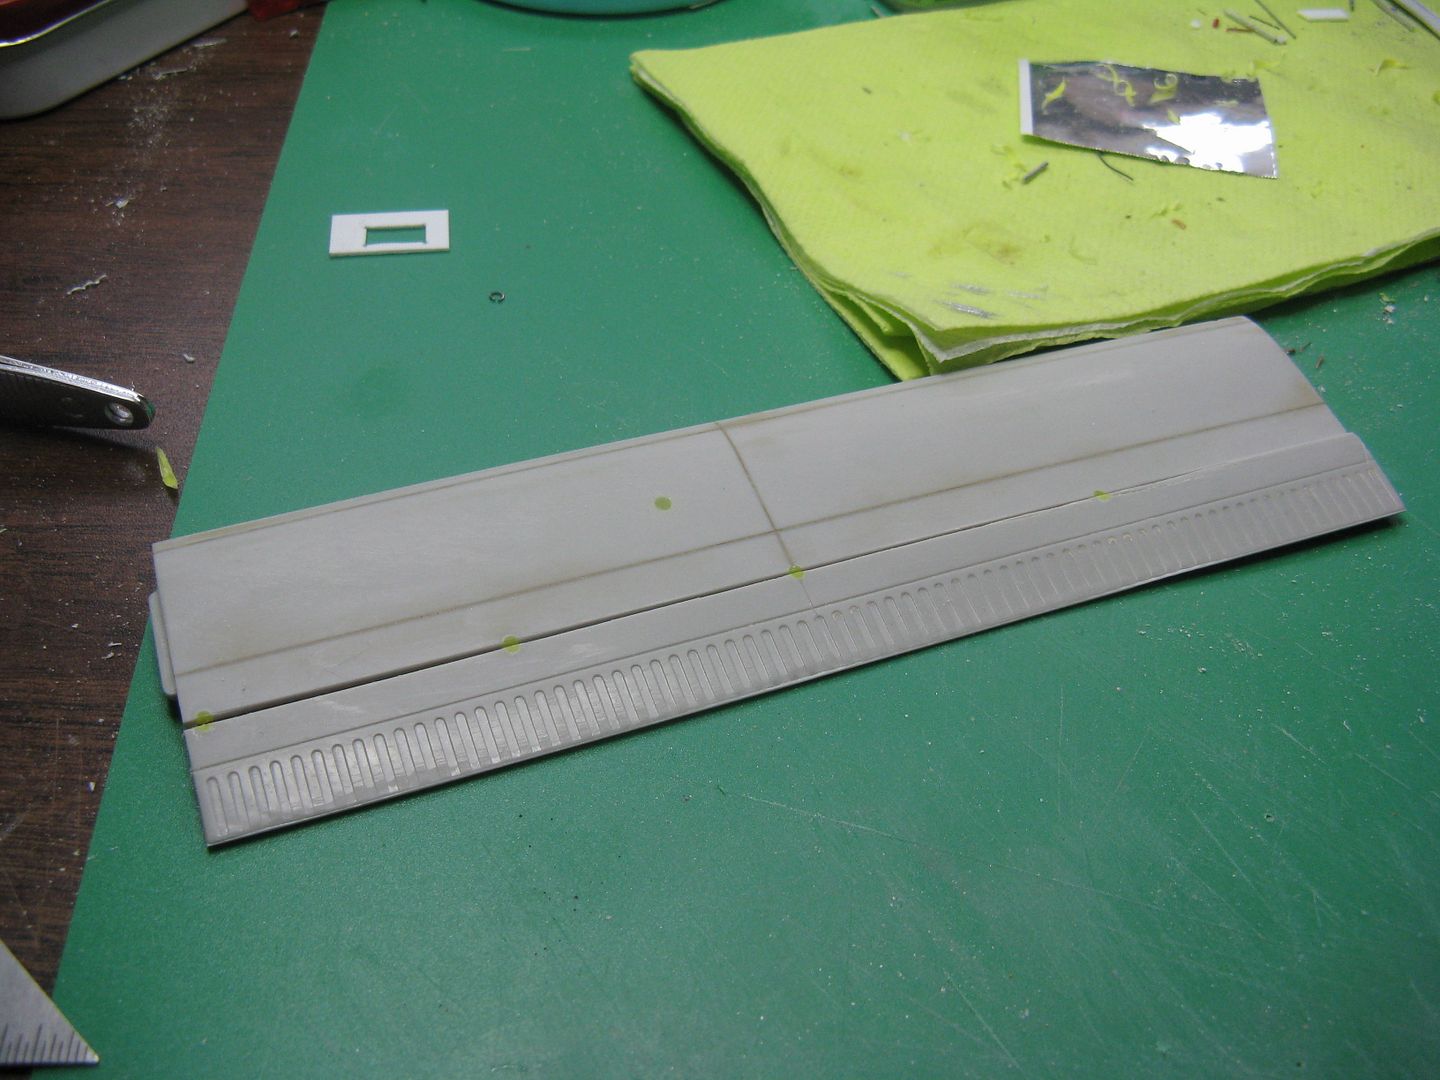
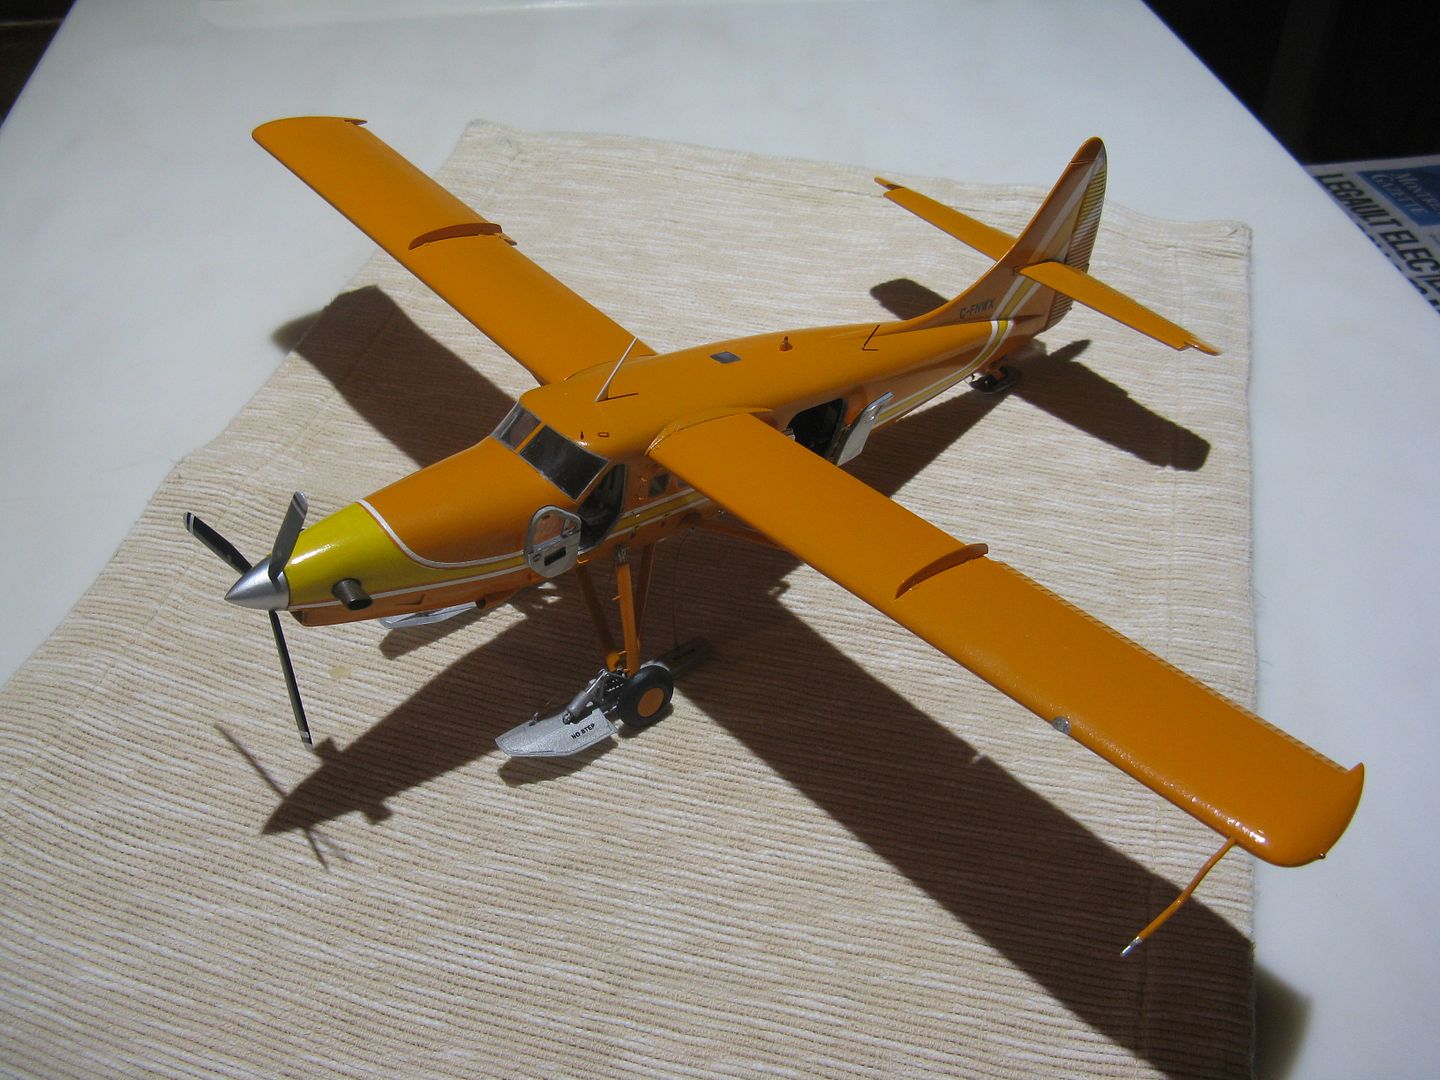
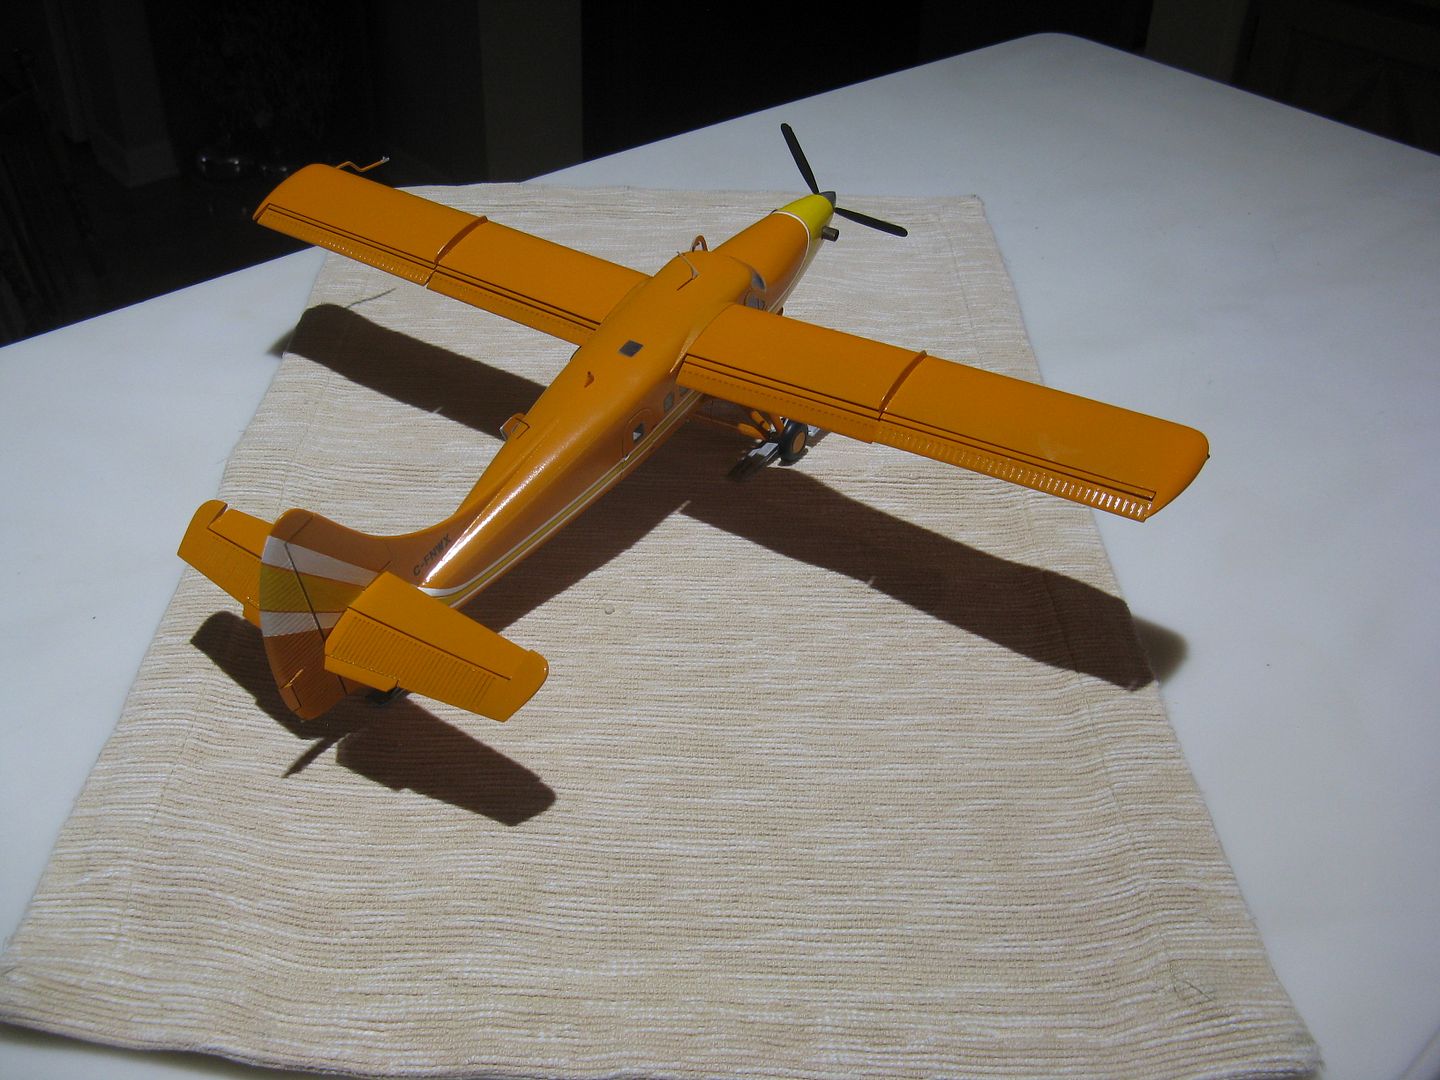
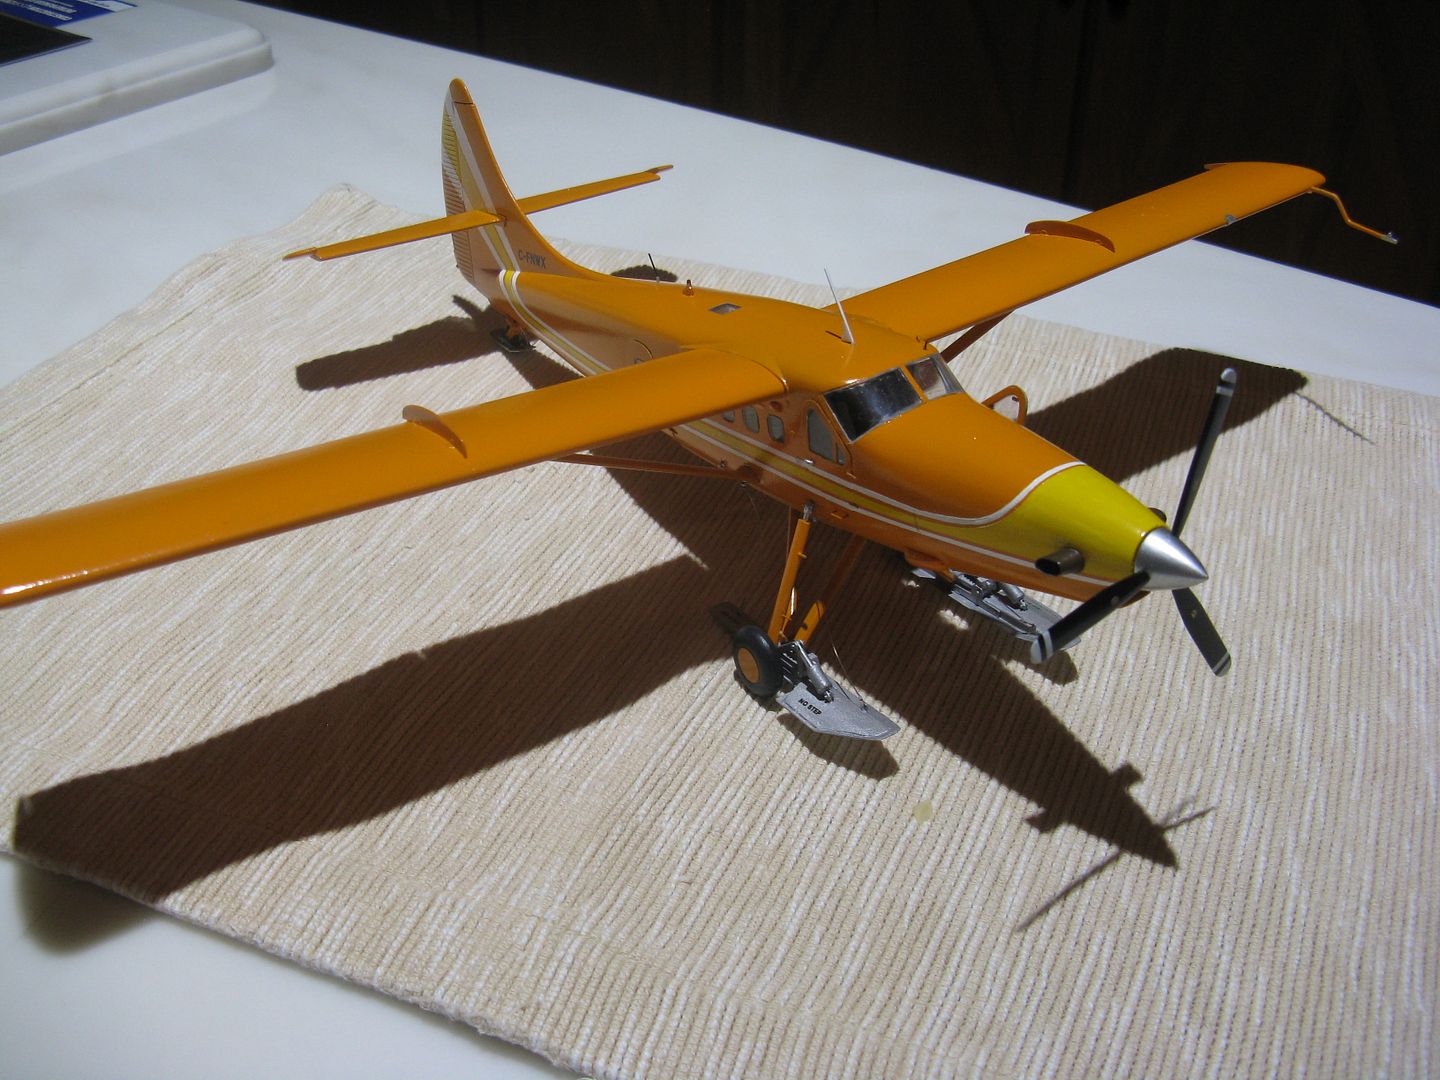
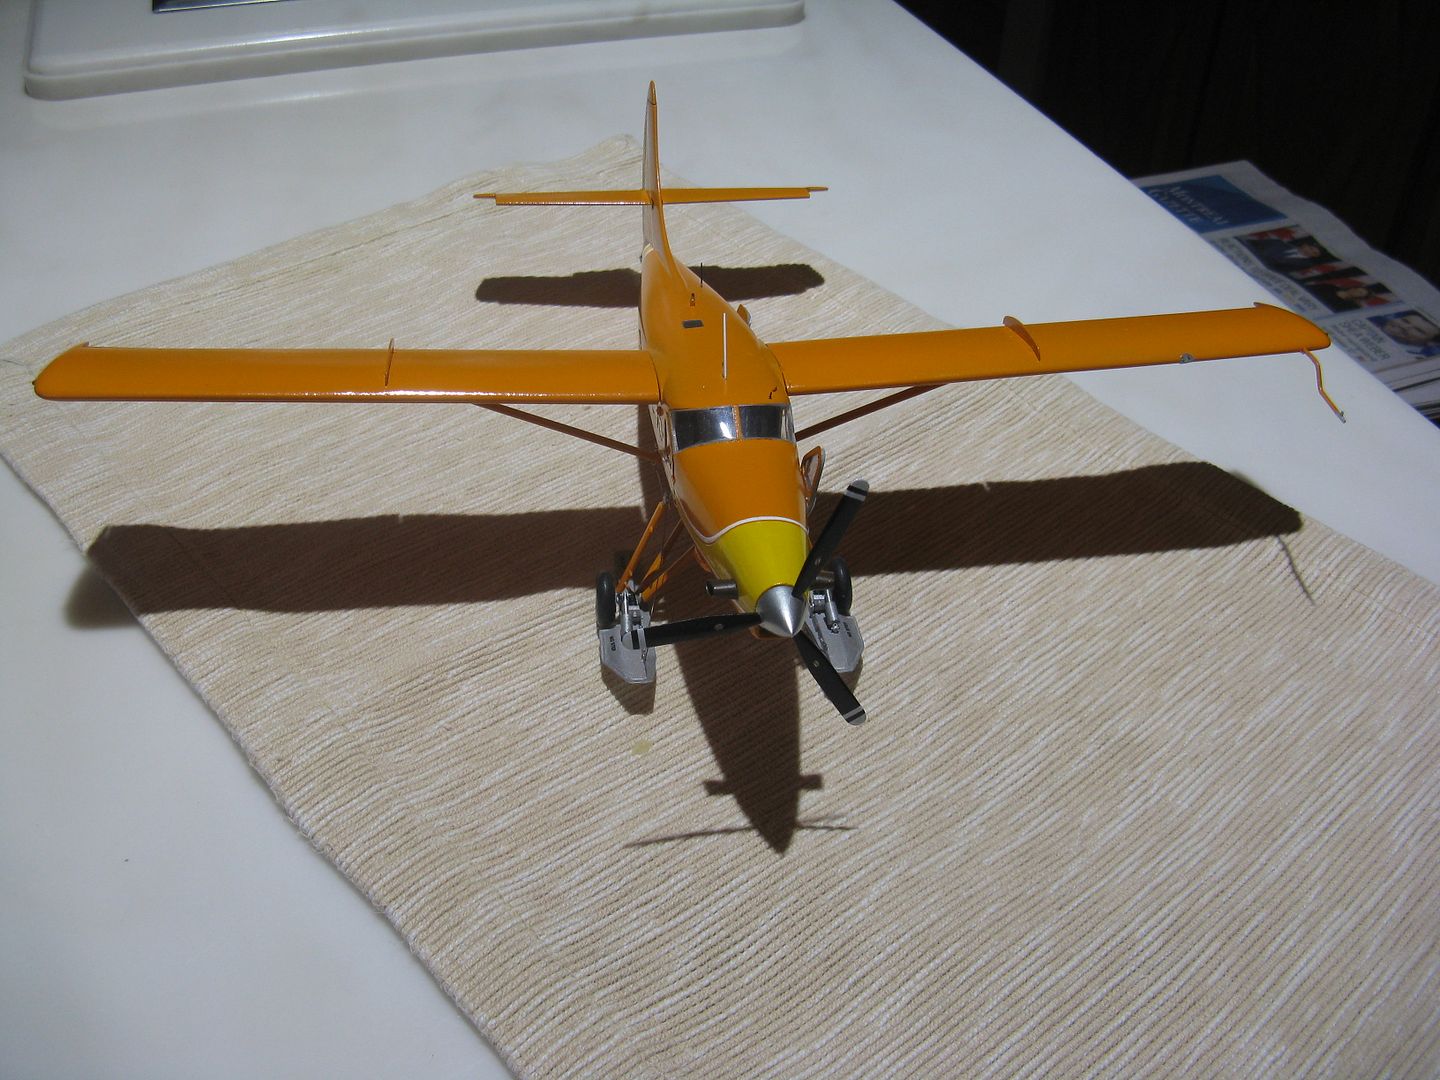
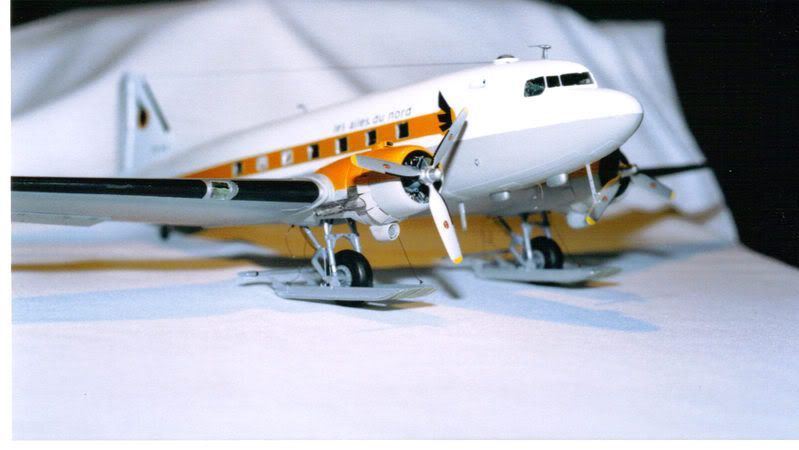
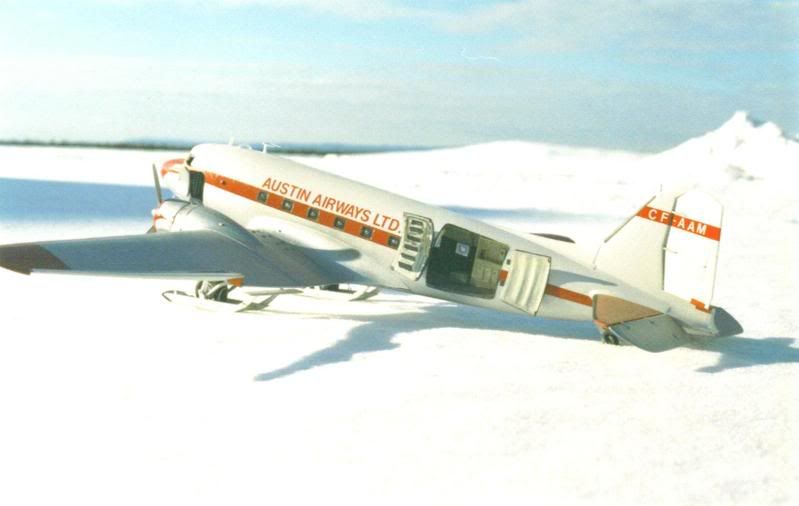
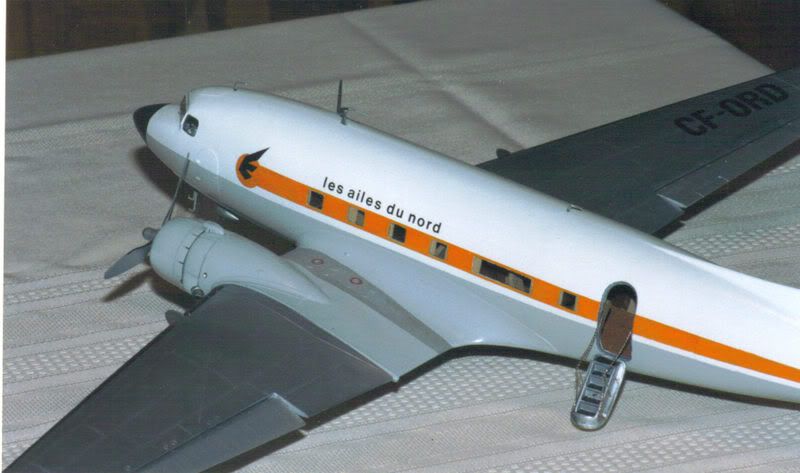
Well, this one is done and dusted, finished it this afternoon. Before then, I had to fabricate the double slotted flaps. After cutting off the wing tips - for reasons that will become apparent - cut off the flaps lines in two locations on the top...
...And bottom of the wings.
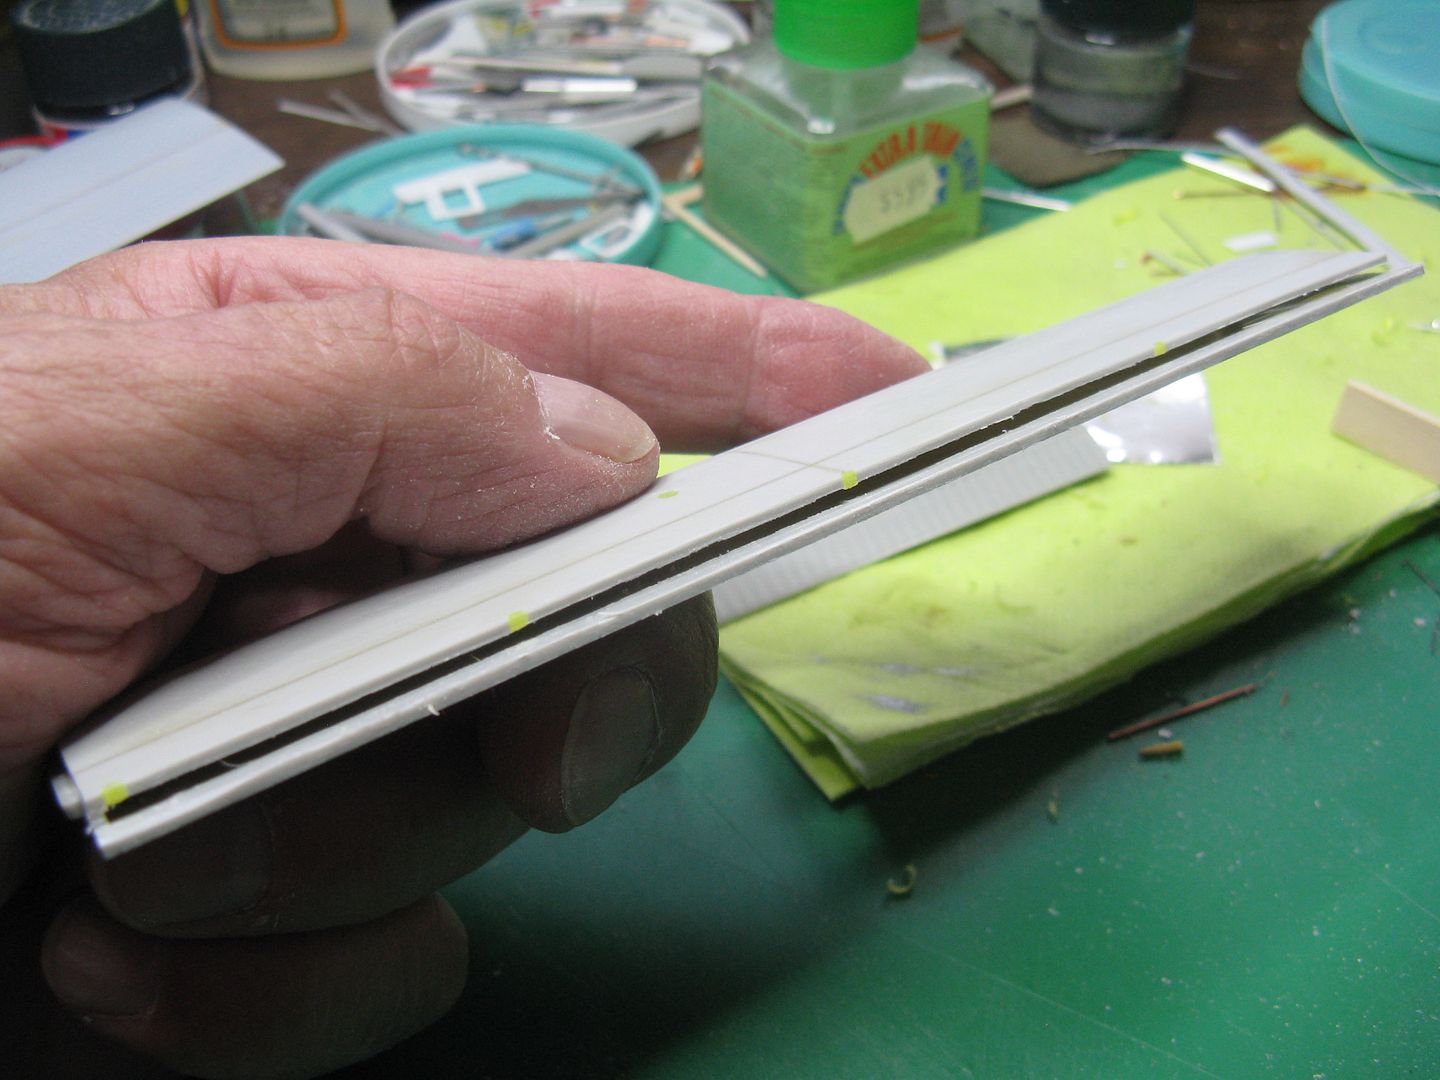
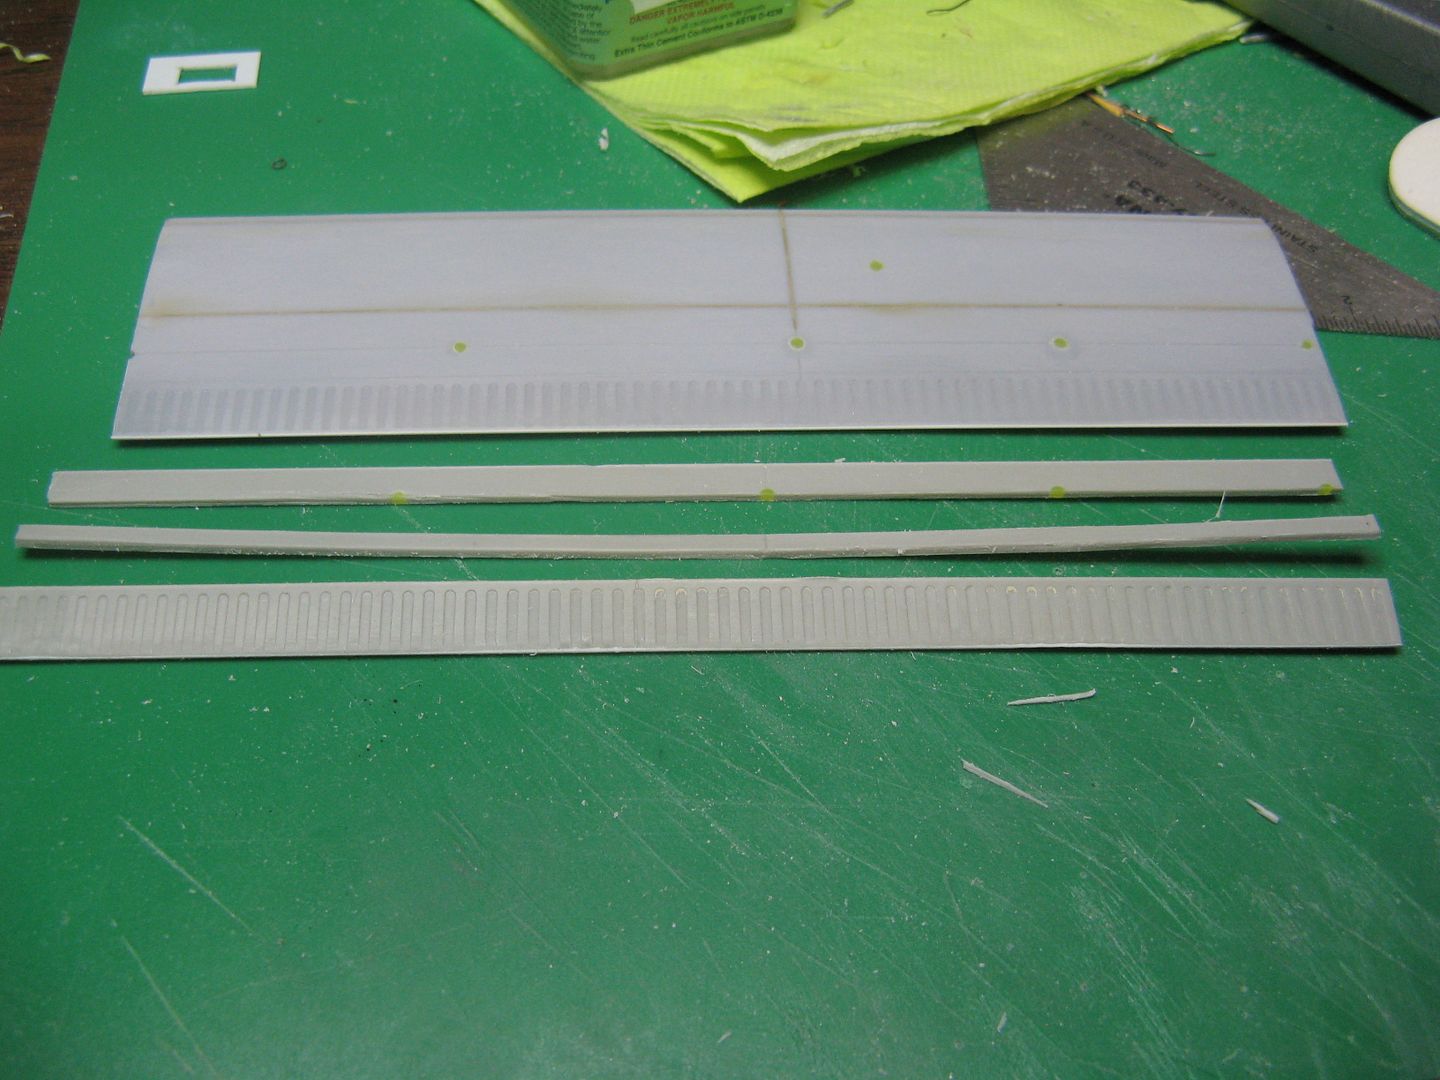
This will leave the gap you see here:
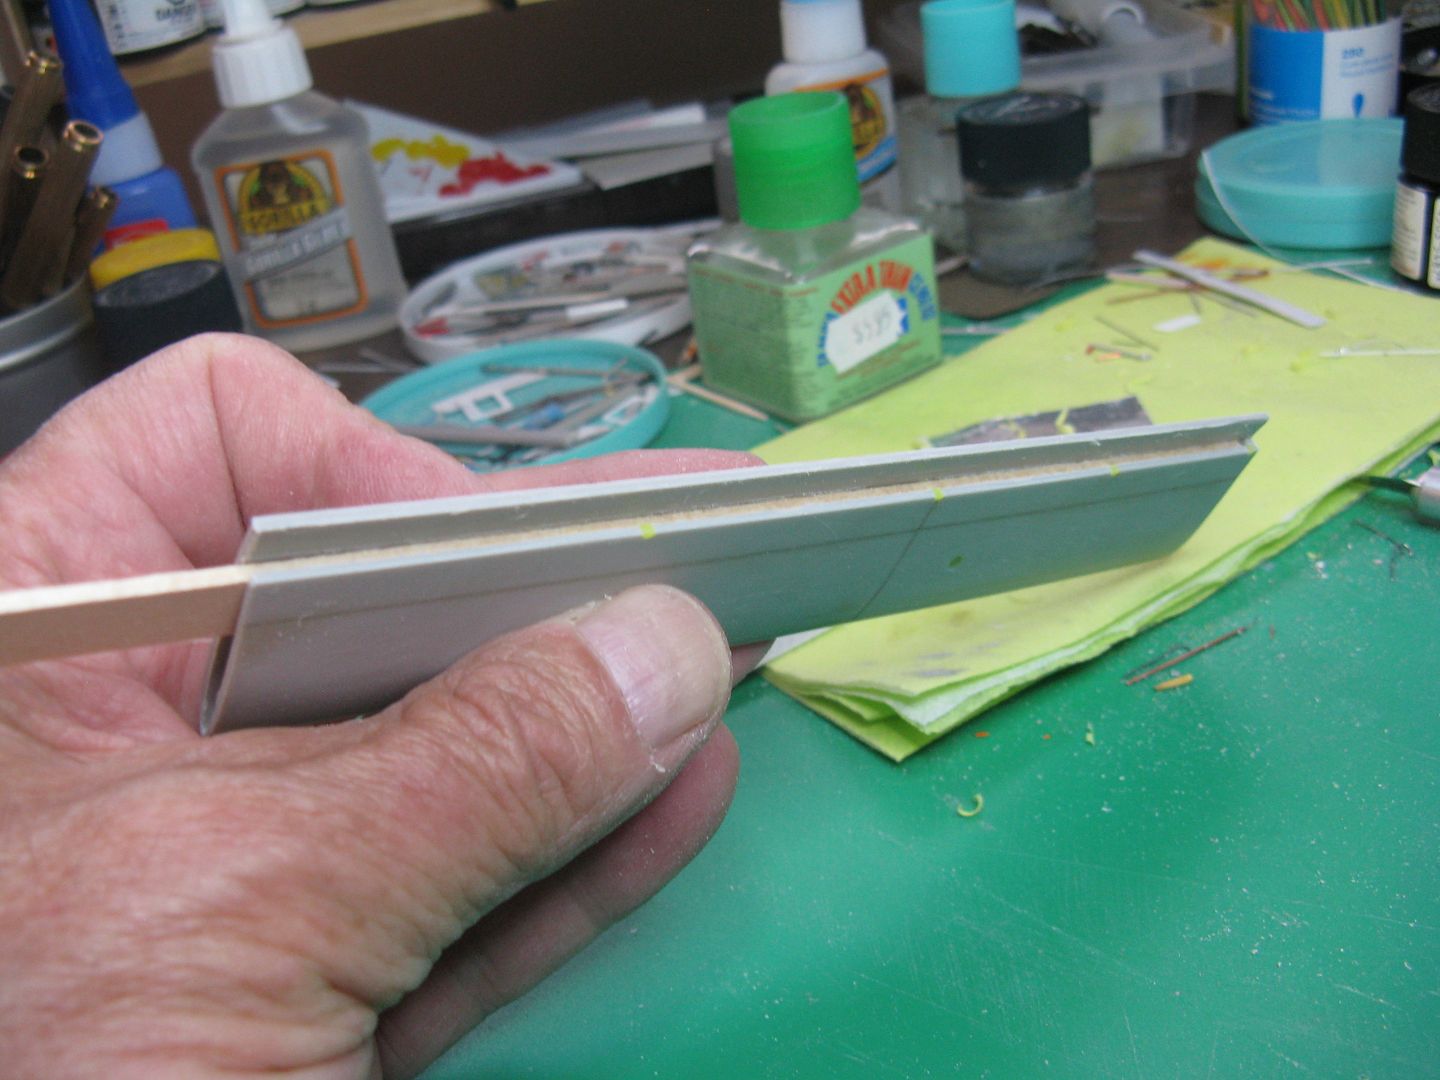
Since you need something to fill the gap and attach the flaps to, I slid a 1/4" wide length of 1/8" basswood into the opening to use as a spar.
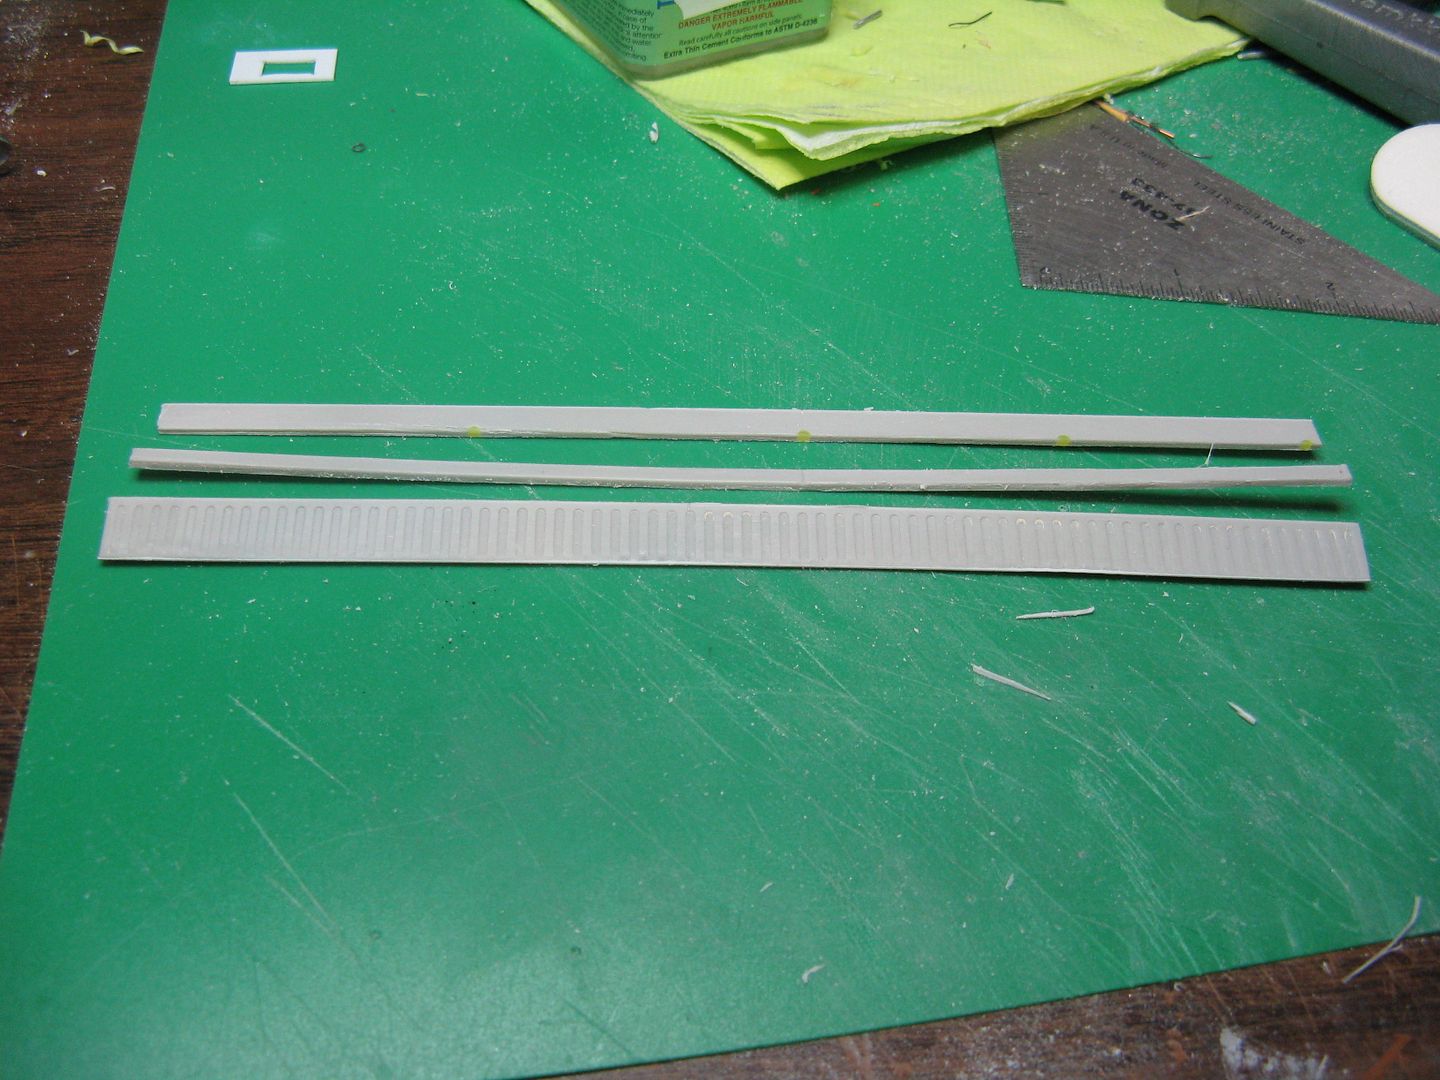
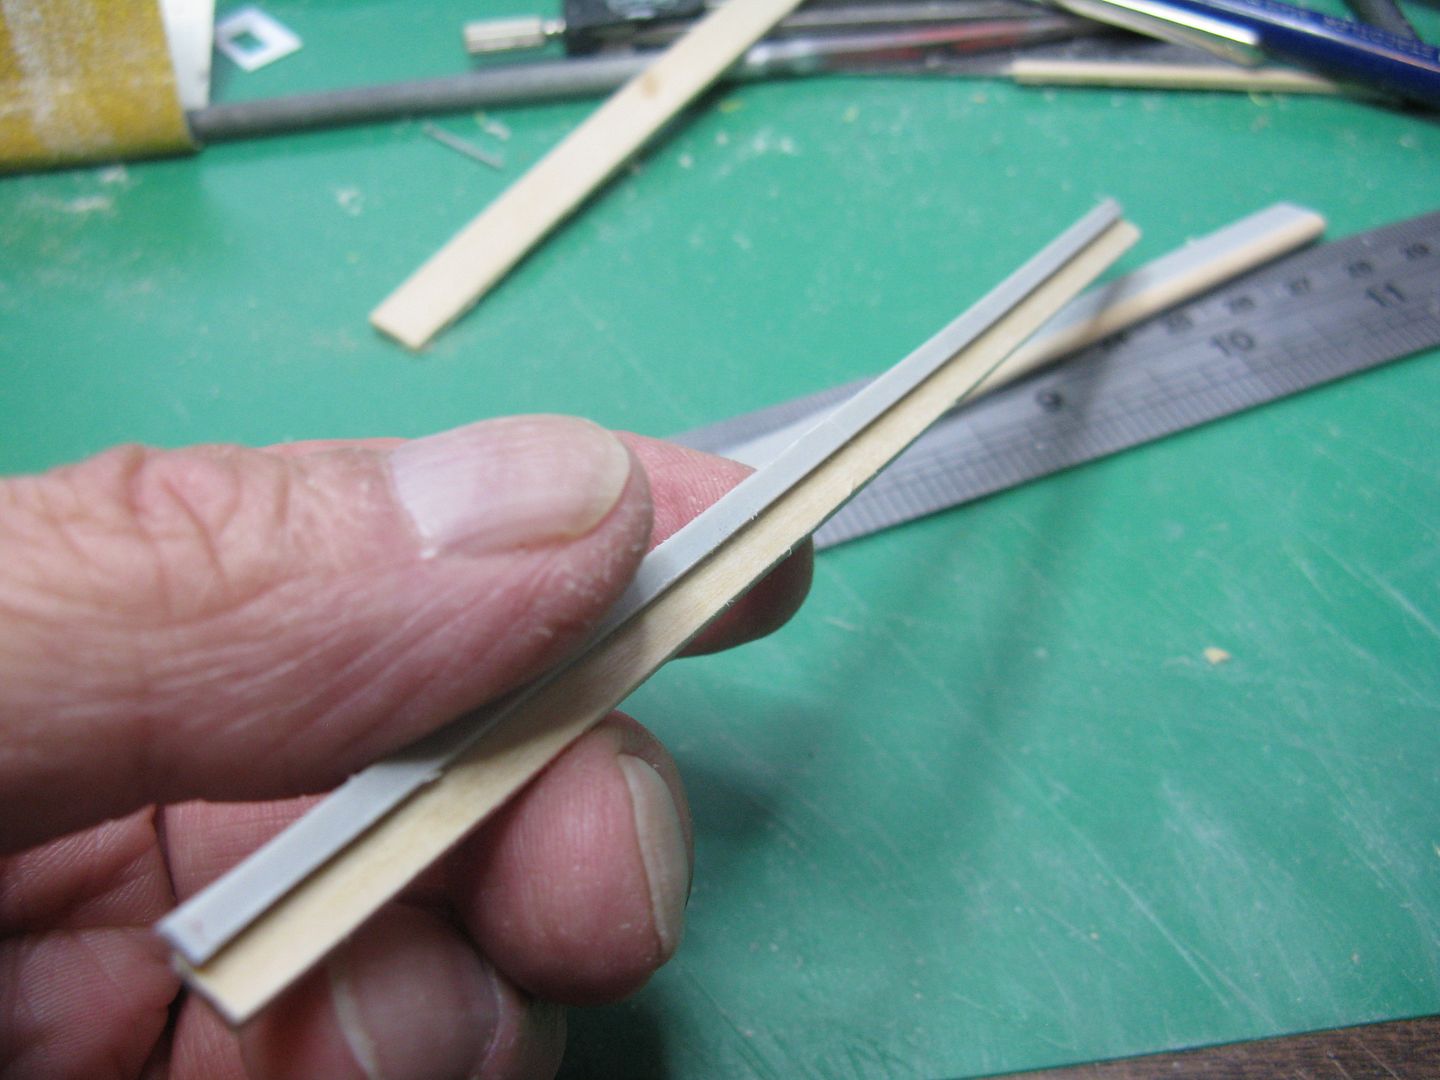
After cutting off the flaps, you are left with three strips of plastic.
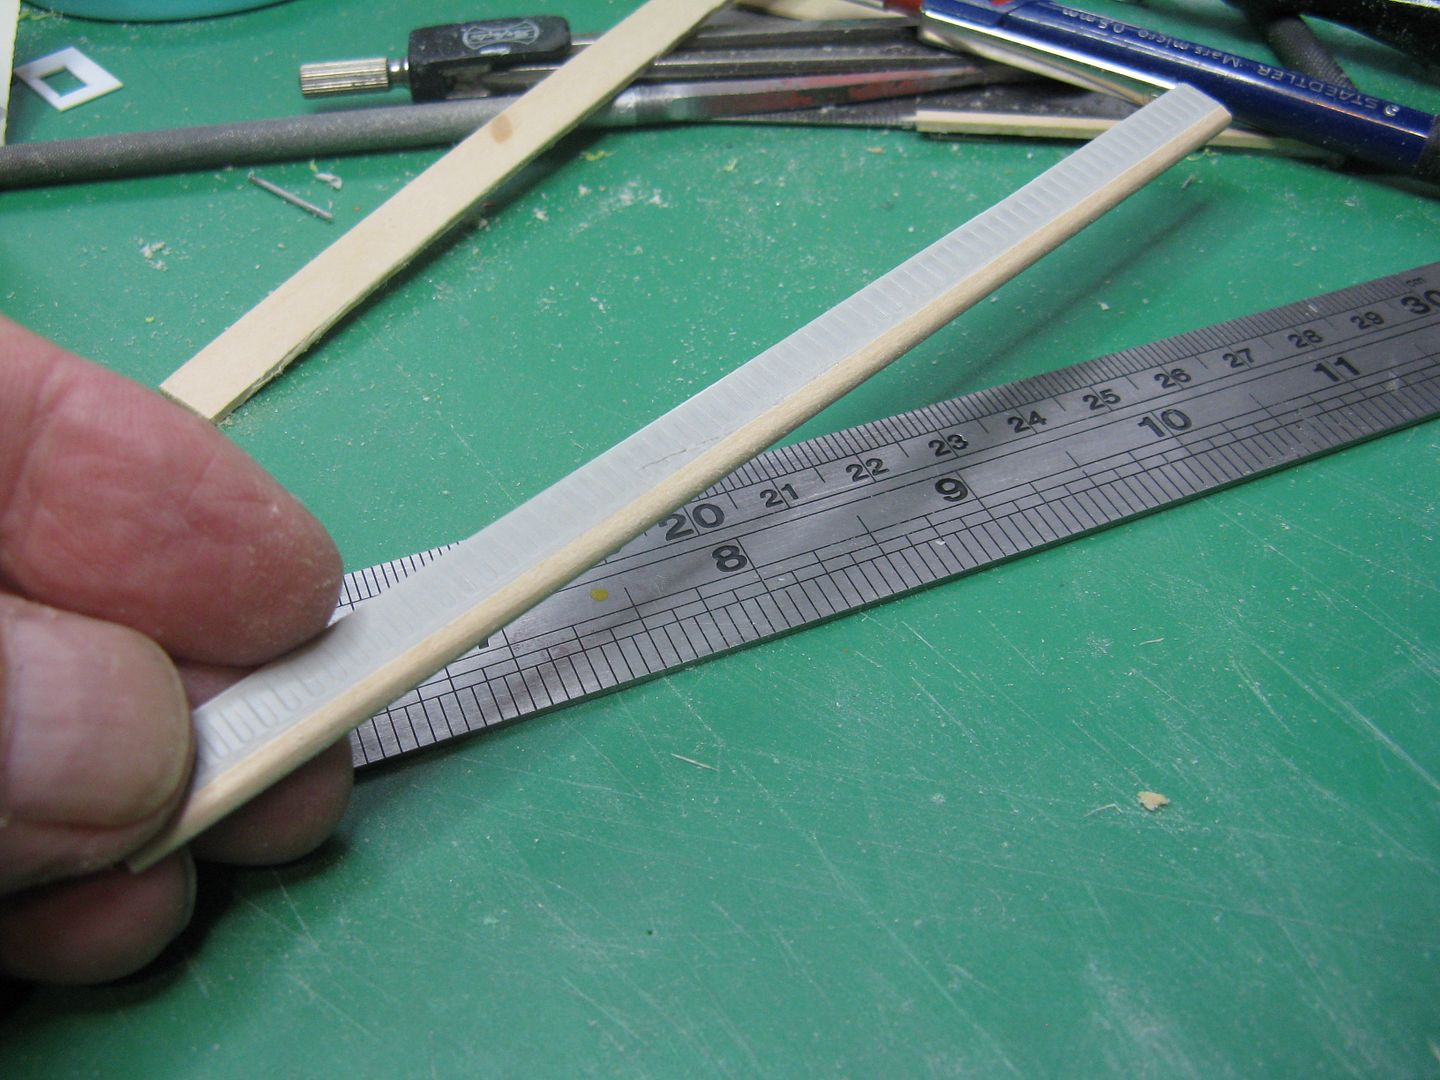
The lower strip is actually the rear flap. It needs a rounded leading edge that will fit into the trailing edge of the front or nose flap, so glue a strip of 1/16" basswood to the front of it. After a bit o' firkytootling with various grades of sandpaper, Viola! one rear flap. I might add that the flap also included the aileron.
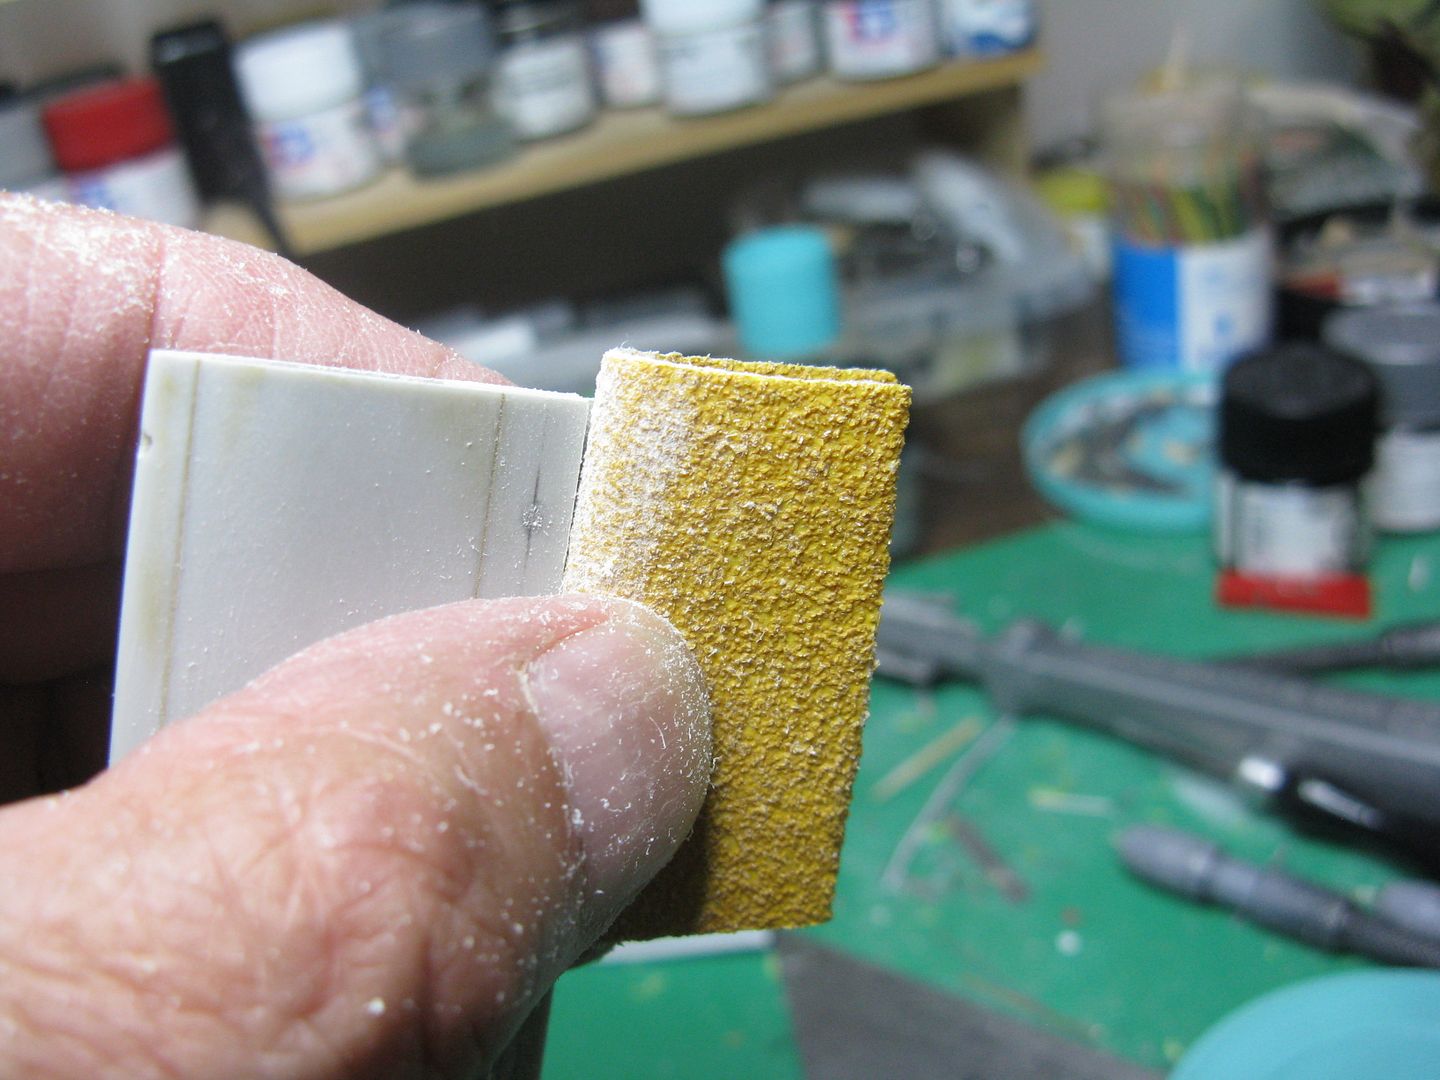
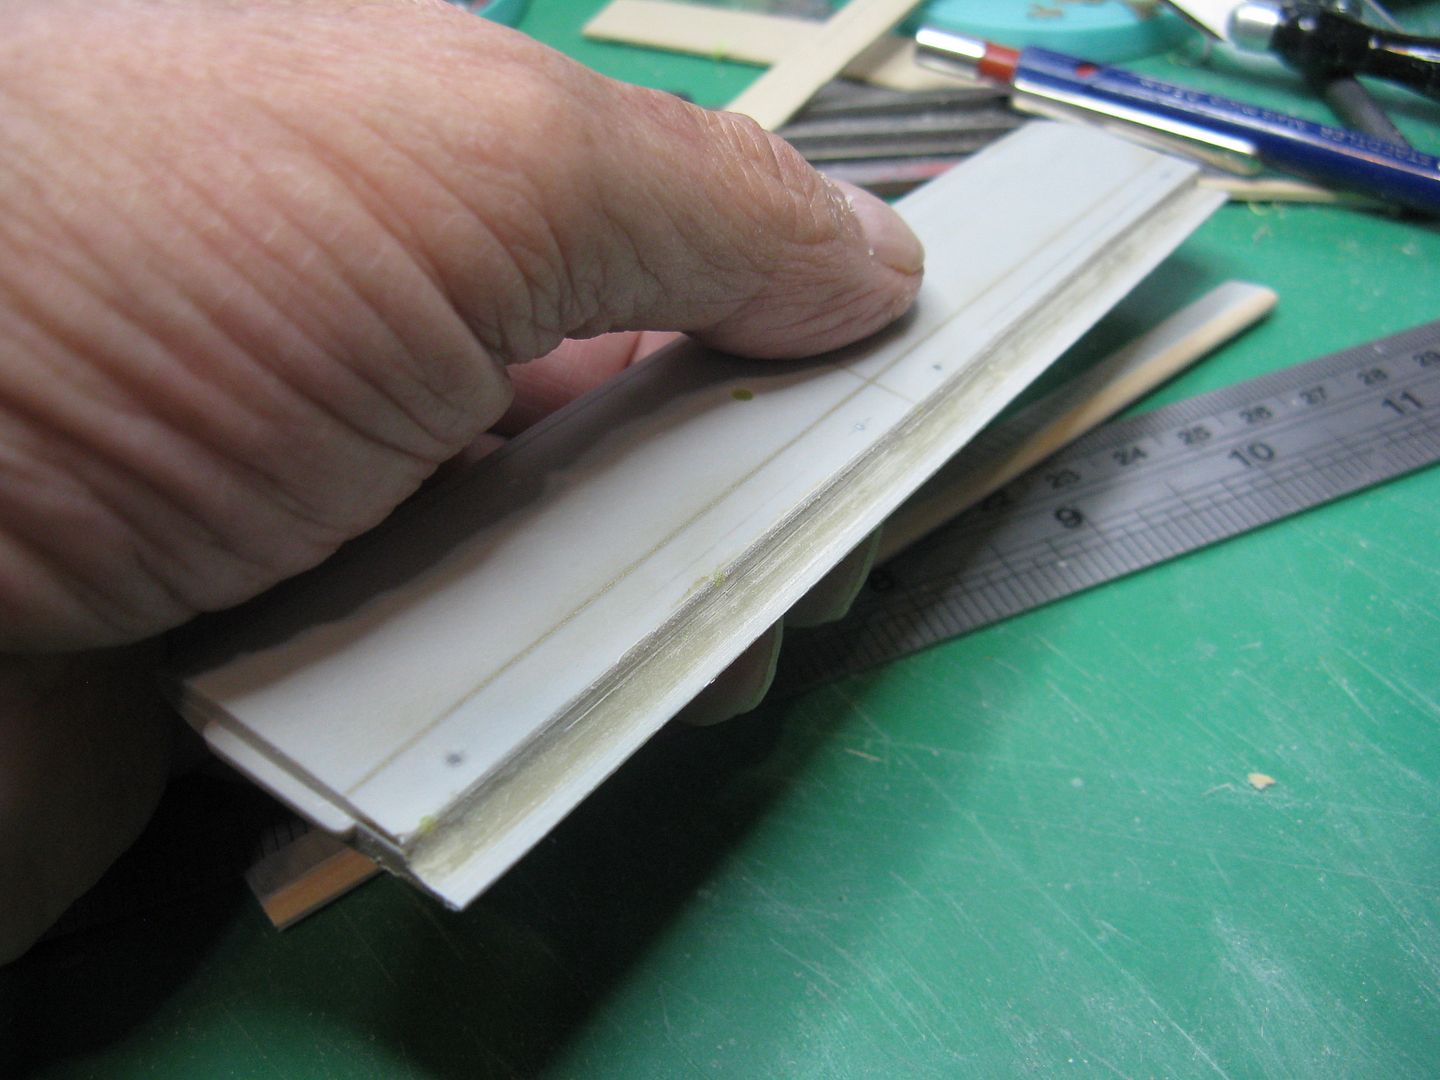
I'll jump one step to show how the trailing edge of the wing is cambered to accept the leading edge of the front flap. It involves filling the square corner of the wing and that wooden spar I installed, with body filler, then firkytootling the heck out of it with coarse sandpaper to remove all the unwanted material. The sharp eyed will also see why I removed the wing tips.

More than one application of filler and sanding - with various grades of paper - is required, but eventually a correct combination is arrived at. With the sanding completed, the wing tip can now be reinstalled.
To build the nose flap, follow the same procedure as for the rear flap. Glue a piece of 1/16" basswood to the bottom piece of plastic, then glue the top piece on, fill with body filler and sand your heart out, making the front of the flap rounded and the rear cambered like the trailing edge of the fixed portion of the wing.
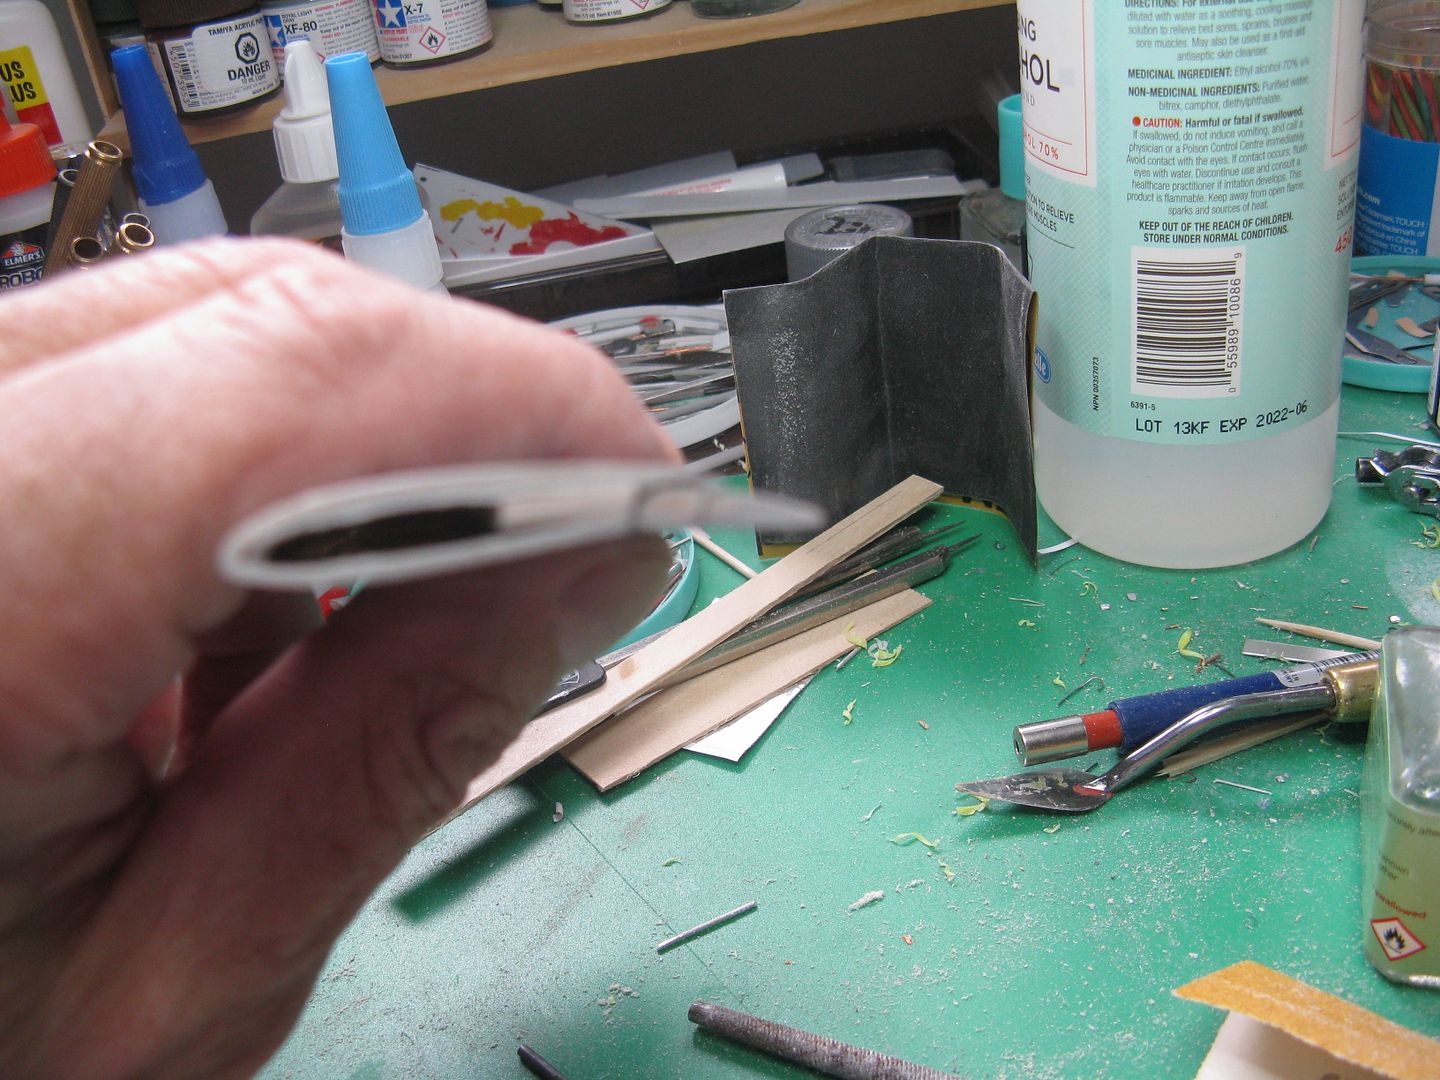
When everything is copacetic, the flaps should fit snugly into each other and both fit into the cambered wing. Then take an out of focus pic and post it on Modelers Alliance.
After cutting the flaps and ailerons into four pieces, everything is pinned in place using wire pins glued into the wooden supports. I dropped the flaps to the takeoff position - 20 degrees if I remember correctly - and this also allows the ailerons to droop about 12 or 15 degrees. I then glued the flap hangers in place and painted everything. The next post will be the finished product.


