Brokeneagle
Master at Arms
This will be my build of a 1/24 scale Trumpeter FW190 D9 that is being built in 'tandem' with my painting of the same subject found at the Franfurt- Rhein Main airfield in 1945. The unit was JG4 and the plane belonged to Major Biem, Geschwader Staff Flight Officer.
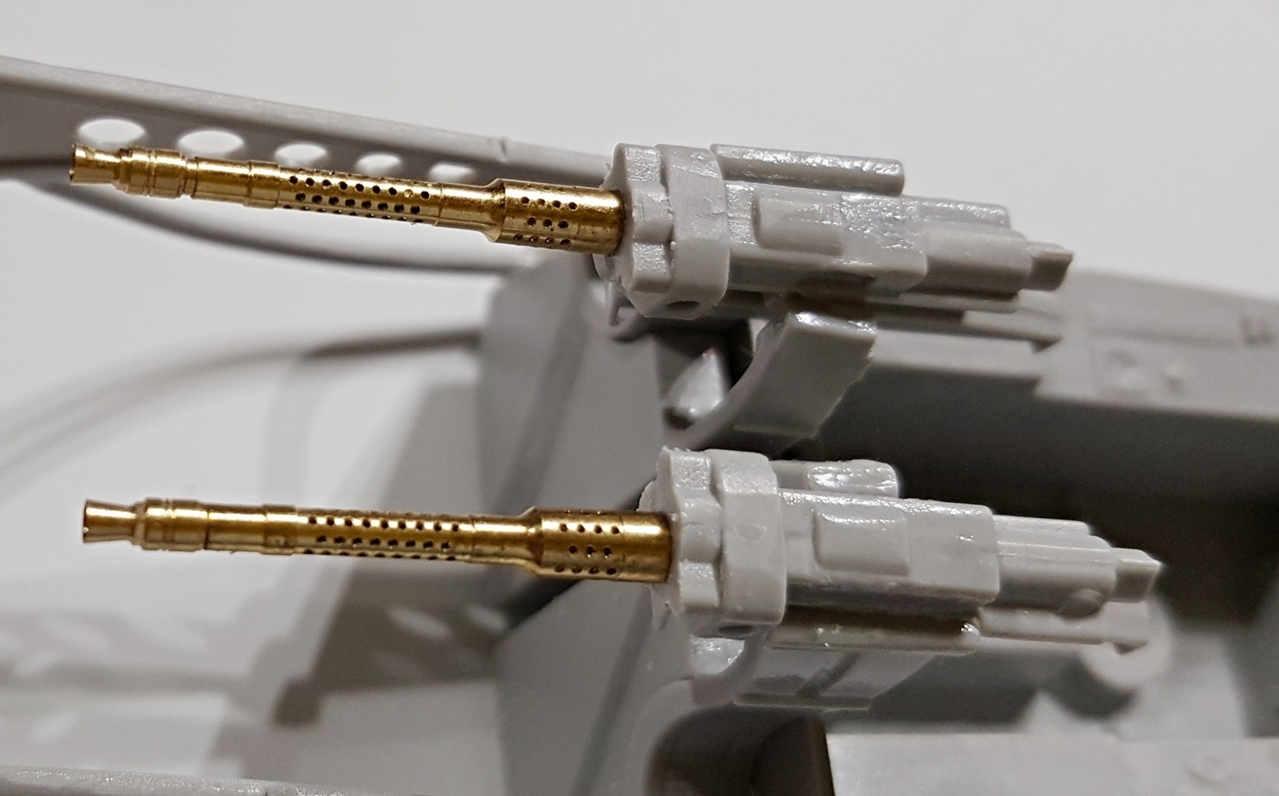
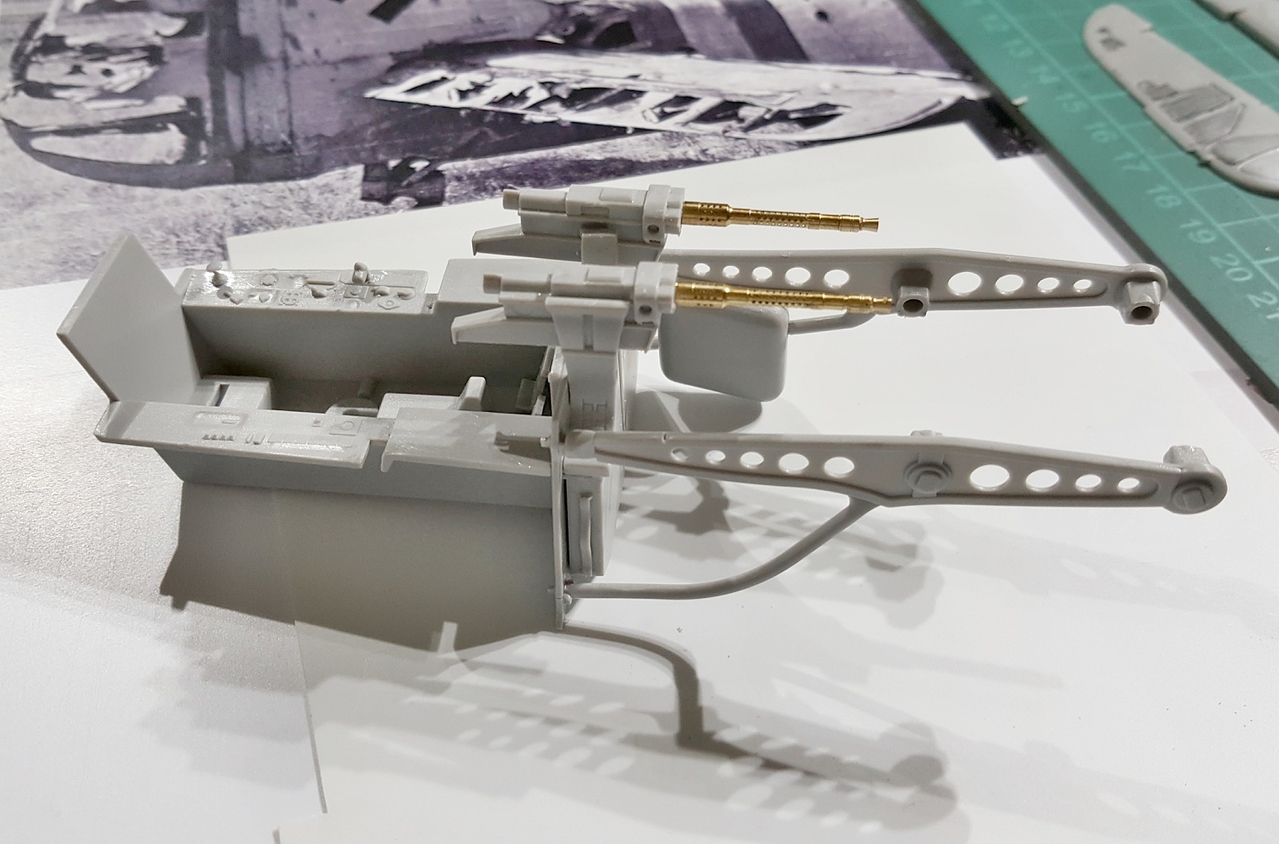
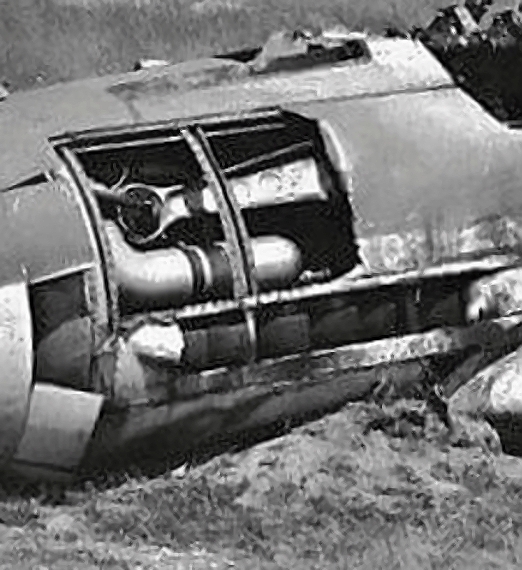
I wish to get the fuselage and gun bay built-up so that I can refer to the detail in perspective for my painting as the photos show basically nothing.
A quick overview of the damage
The photographs below represent a period of time that may very well be 18 Months to 2 years. I am not sure , however I have studied this plane from a number of angles and chased up about 10 photos to make sure I can weather the plane correctly for the time of 1945 and also complete the details on my painting as well.

As you can see the details change across the images so I think quite a period has gome by. On the earliest photo I have (from directly in front), there is very little damage except for some tearing of the rear flap canvas. Both wing MG covers are in place and the cowlings are untouched.
The markings and wing-flap canvas really seem to take a beating, while the souvenir hunters steadily strip back the panels. The rear Swastika seems to remain in very good condition while the fuselage crosses fade to nearly 'see through ' by the last photo. Cowling paint remains in good condition but the fuselage and spine color has faded rapidly, probably due to the contractor delivery system that was in place by the end of the war. A main contractor would have sprayed the cowling cammo and another the rear tail, while sub contractors would have completed the fuselage cammo and markings with a more inferior mix.
Because we know this is a JG4 plane, the spinner would be painted in a black with a white spiral line and the rear tail bands would be black-white-black.
The model
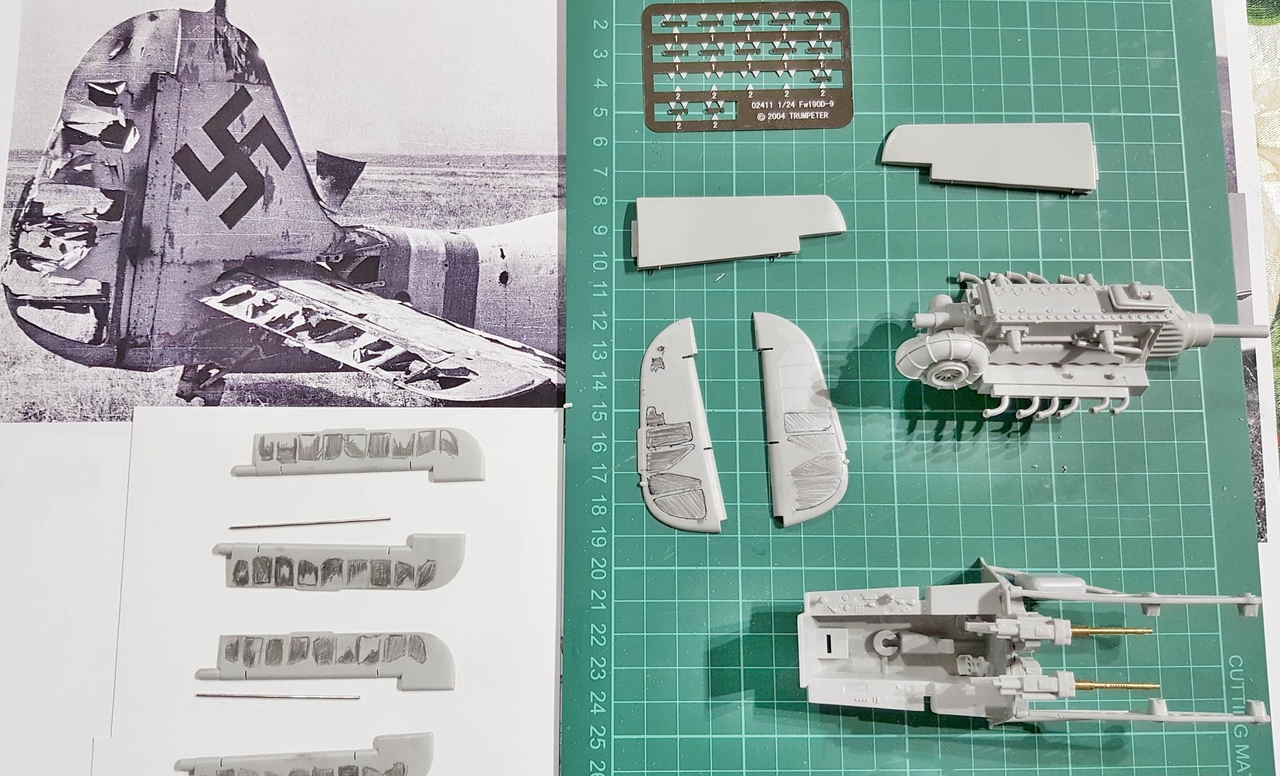
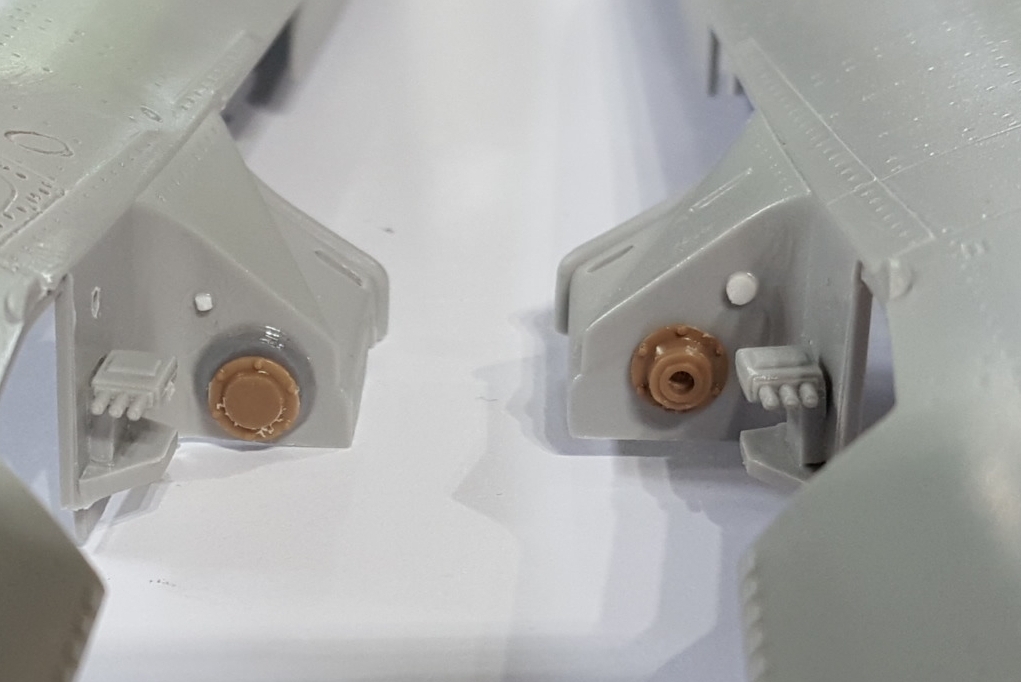
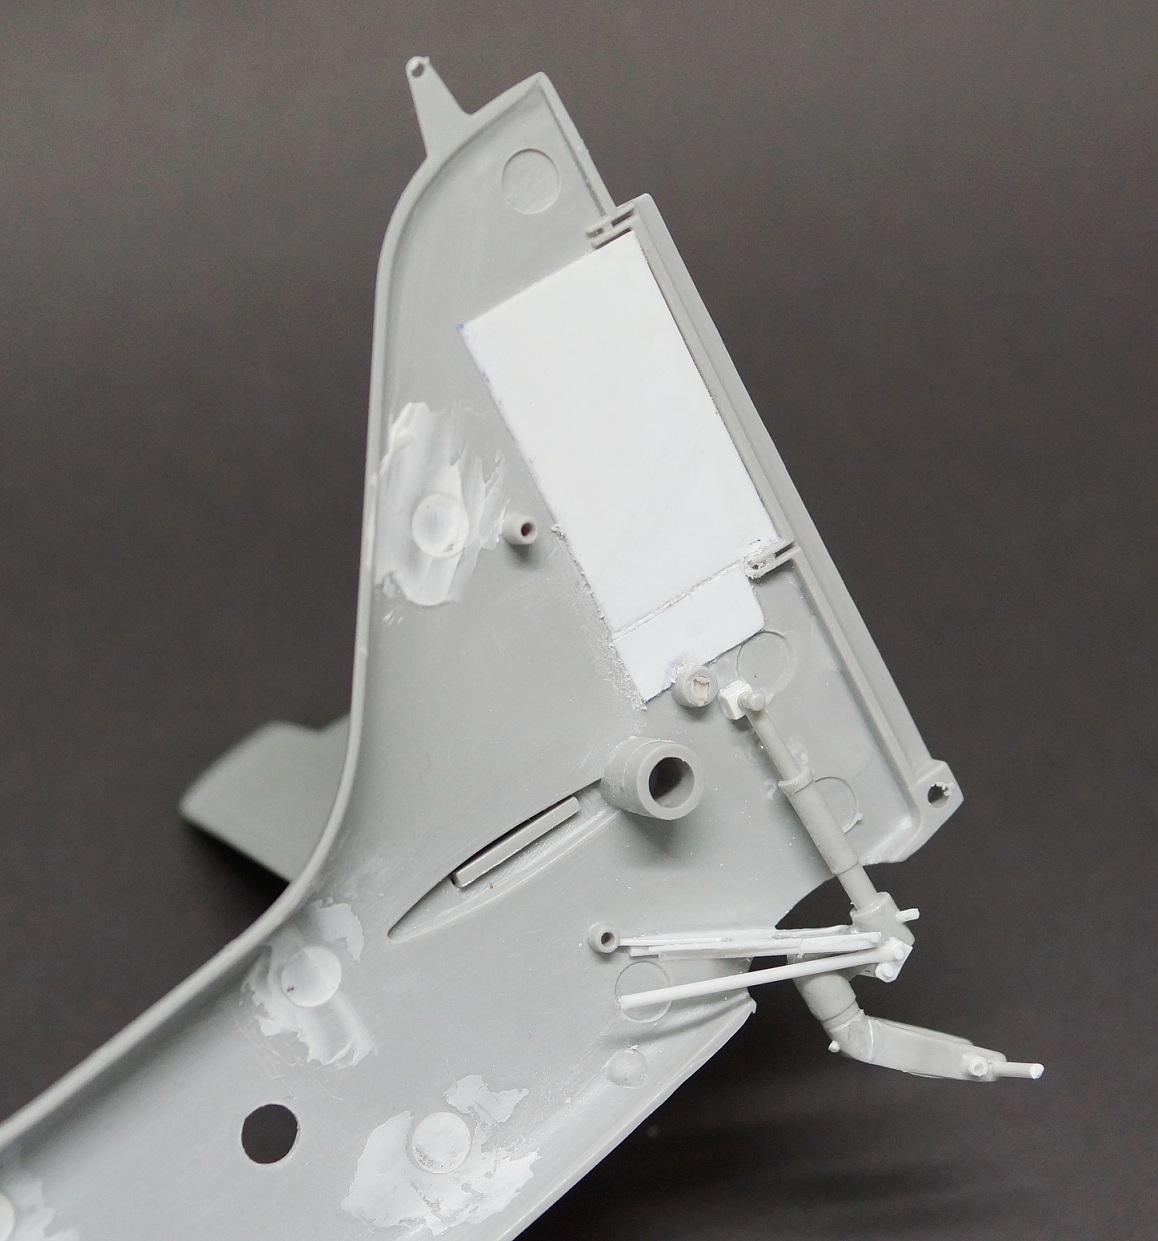
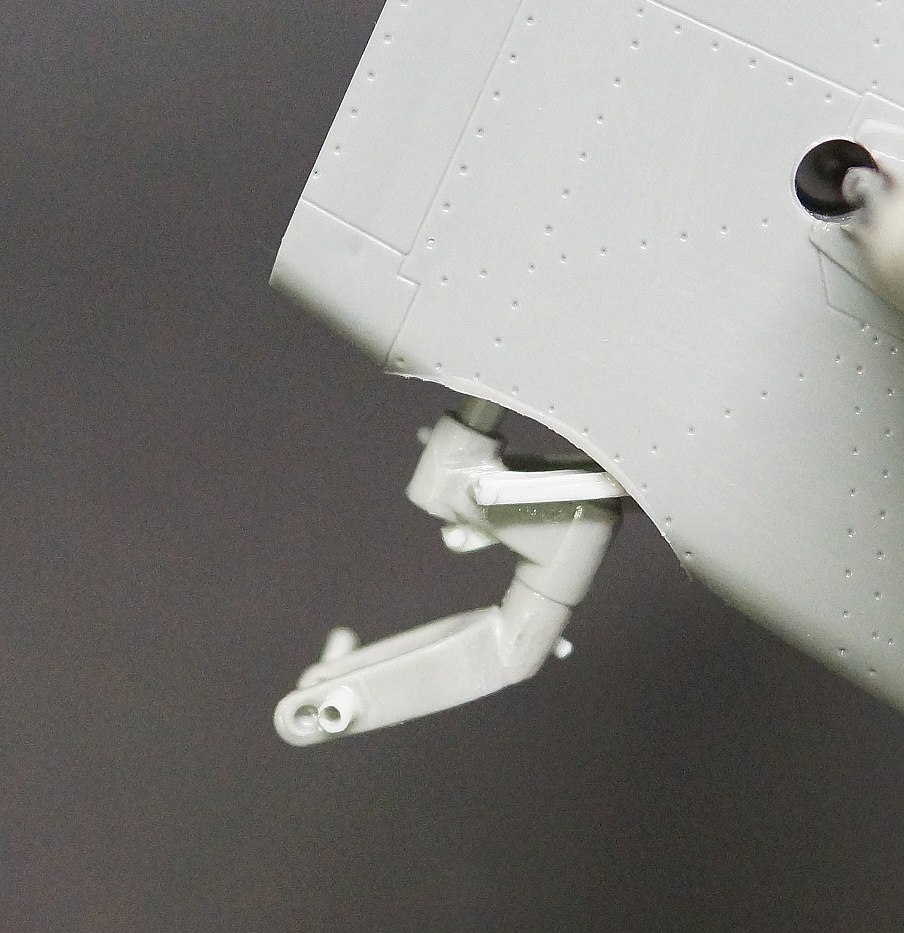
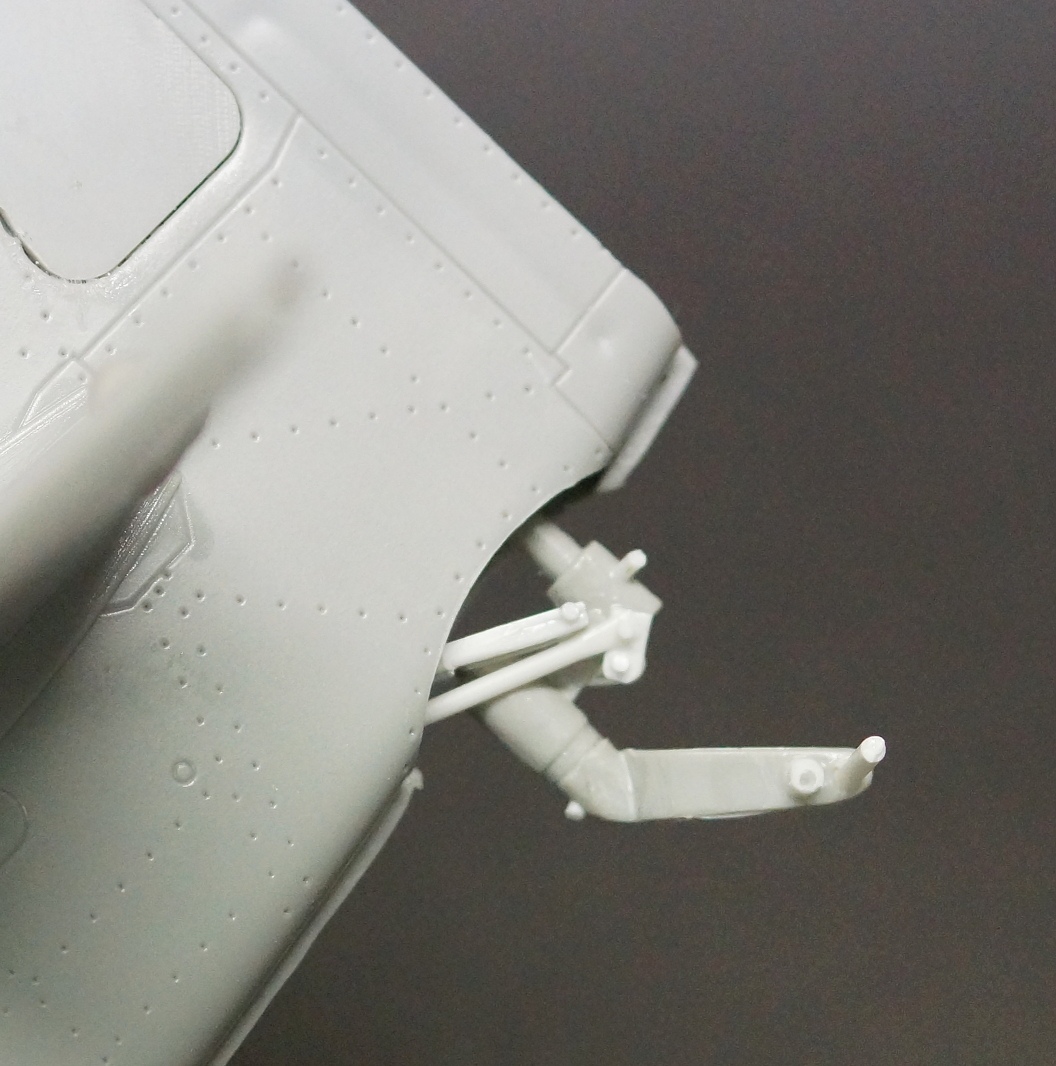
The Trumpeter kit itself is OK but very basic. I picked up some additional details that will be suplimented with some extra scratch work mainly on the gun bay area, cockpit and flap damage. I will also have to add a little extra where the eye can see in the panels I am stripping back.
This kind of takes me back to the last FW190 I had to mod extensively for my Dragon and the Wulfe dio, though it was in 1/32 scale. Nearly 20 years ago now!

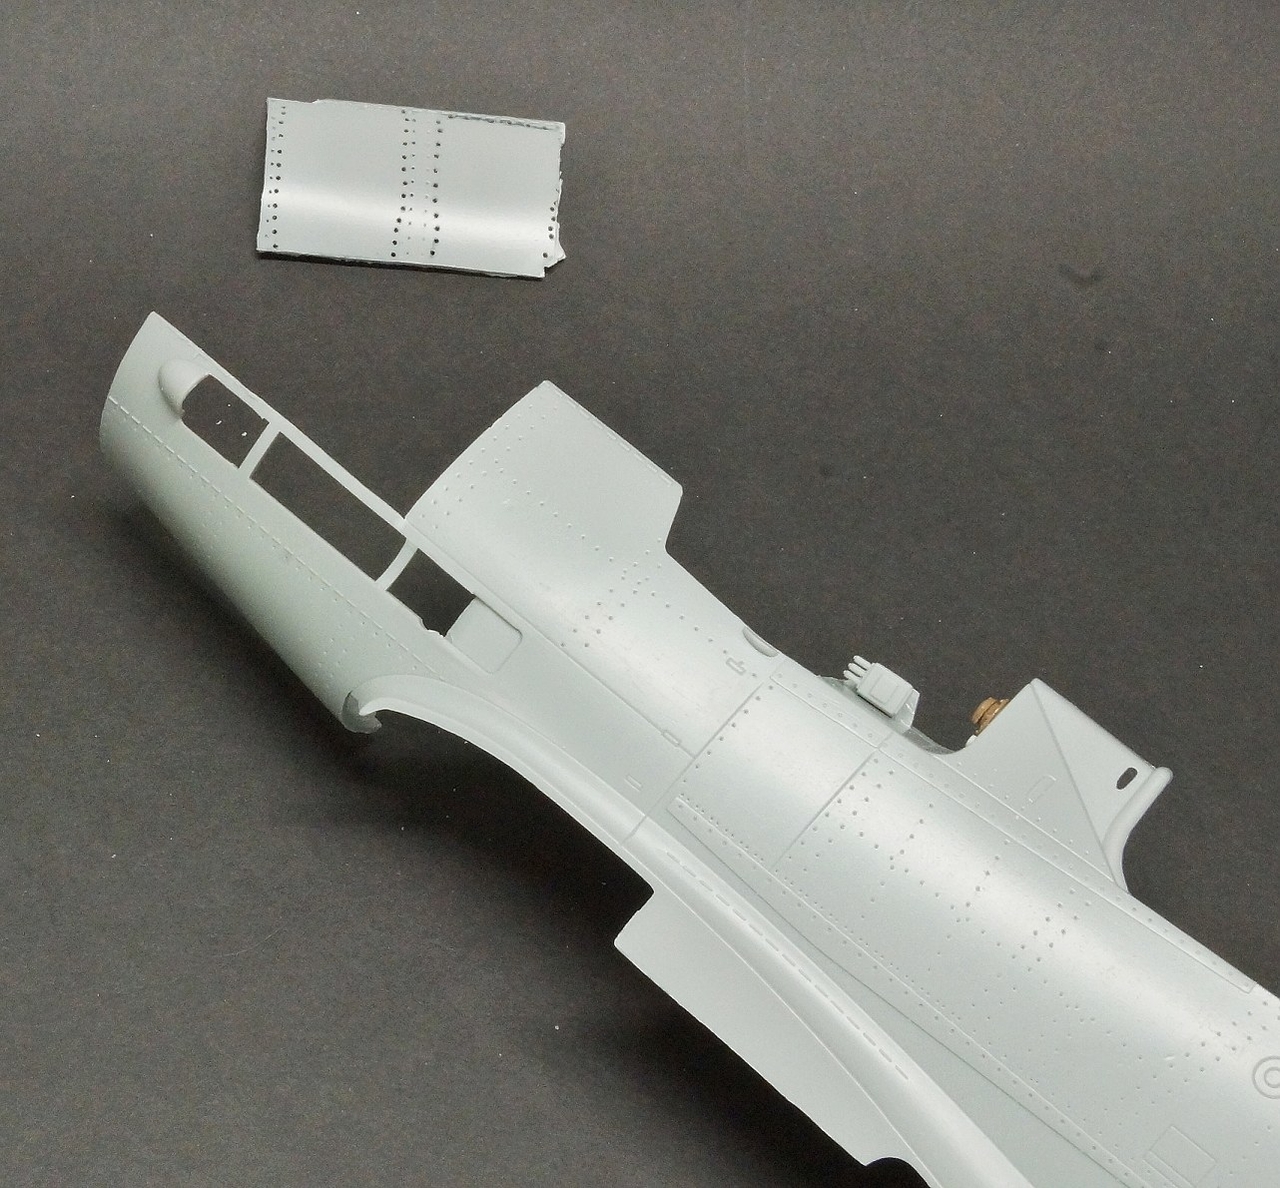
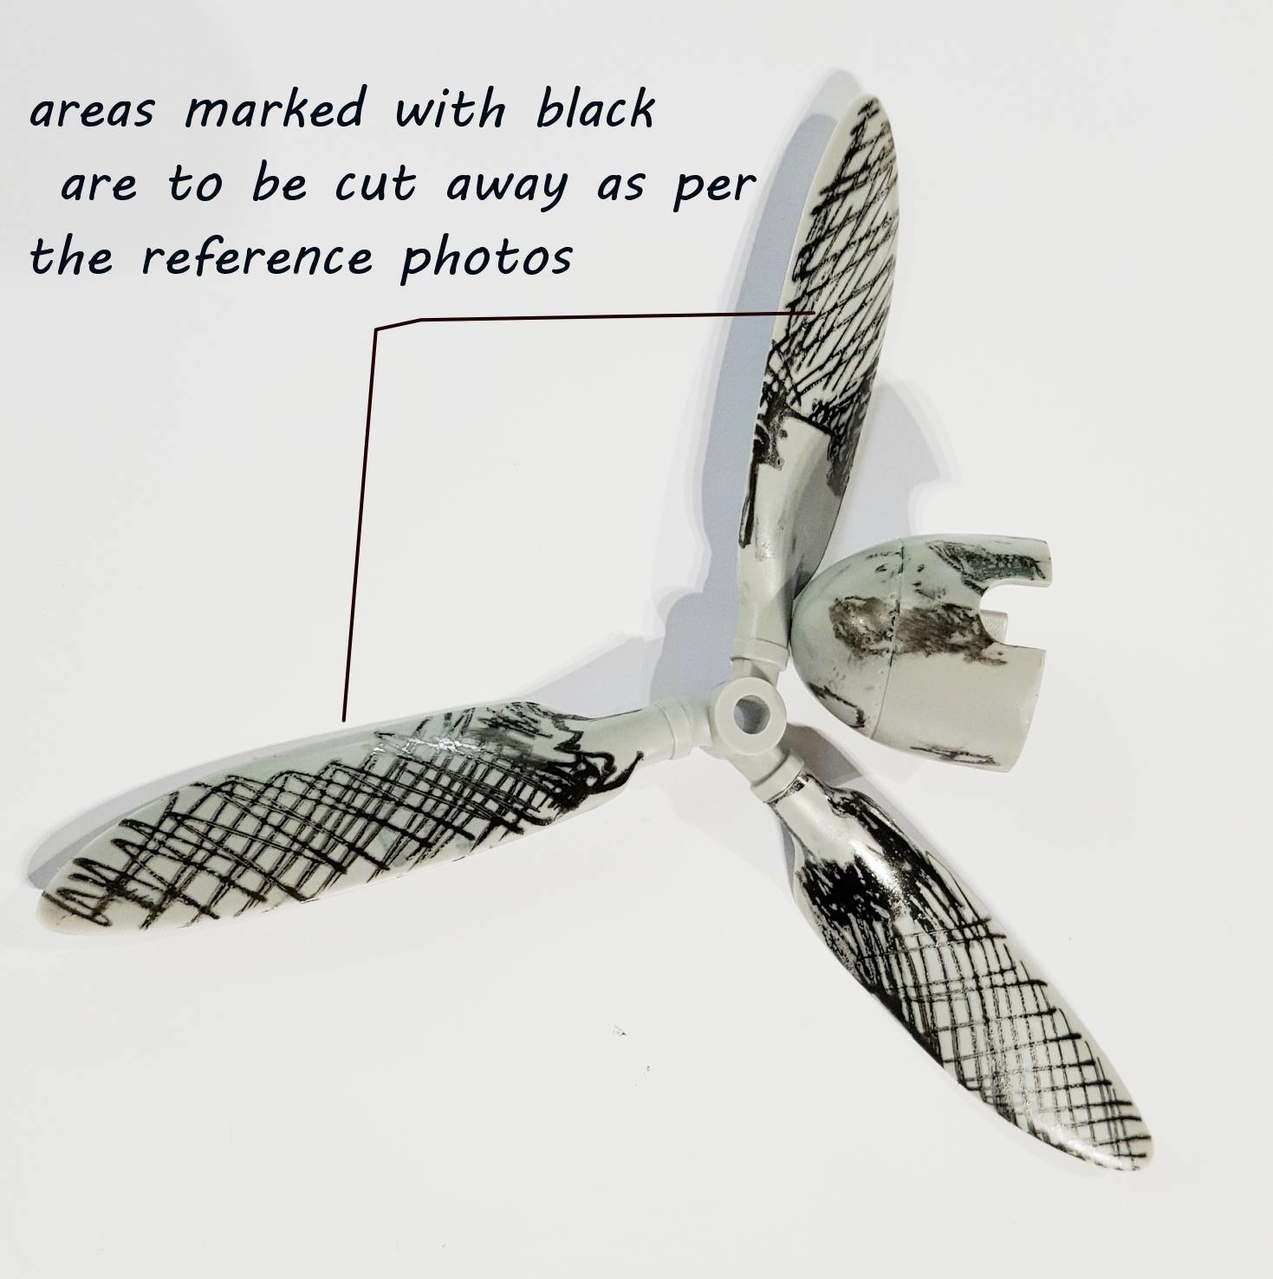
First up I had to mark-up the panels that I would have to remove as per the photo.
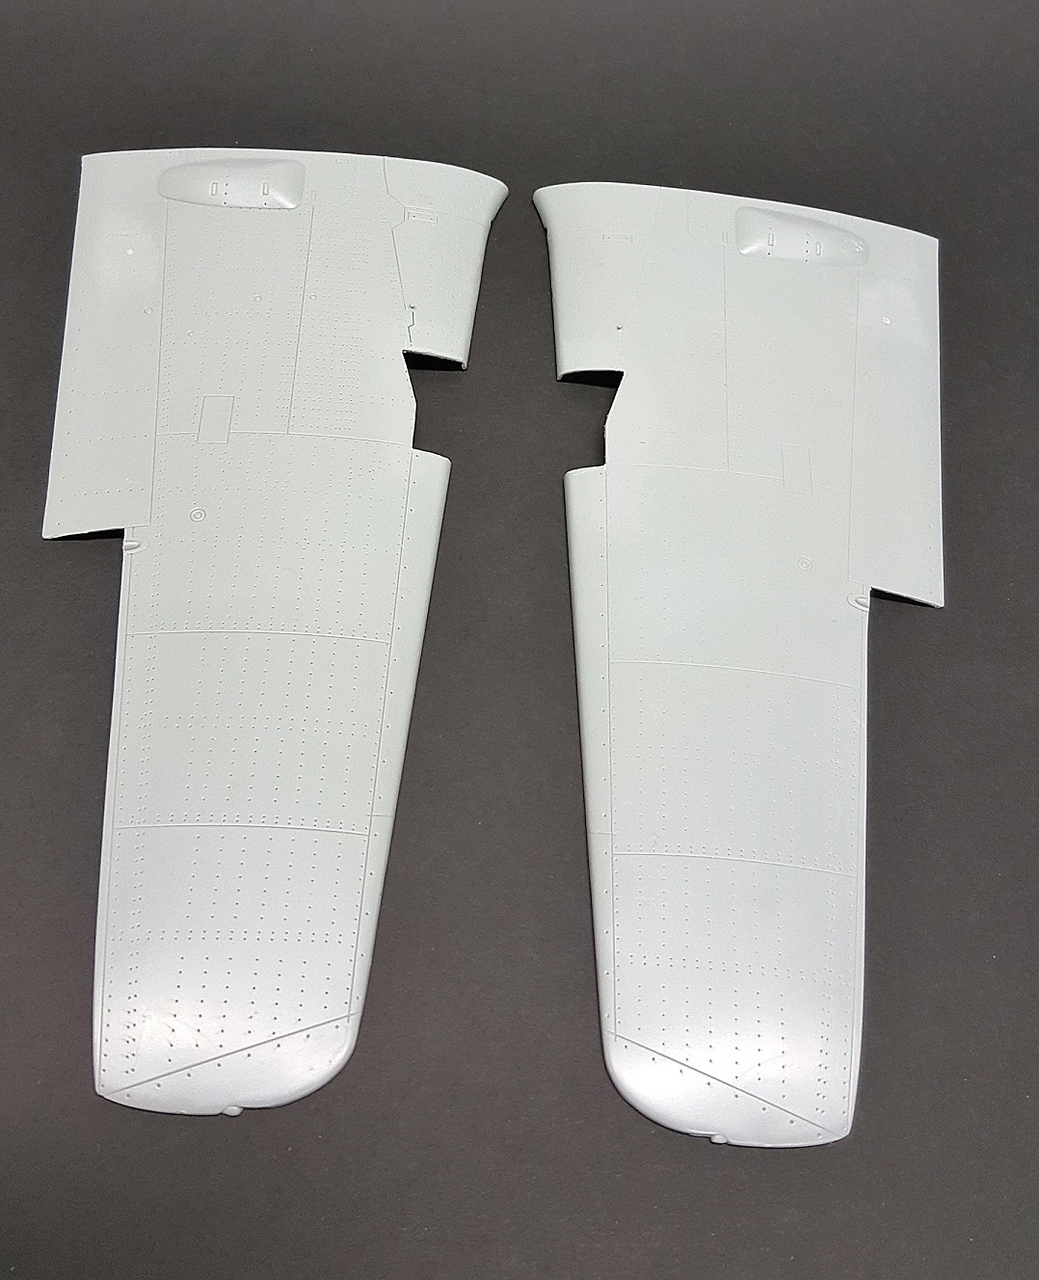
The plastic is quite thick, so these required a considerable amount of scoring, after which I will need to thin back the leading edges so they are the correct thickness. The surface detail is quite nice with all the rivets and panel detail that can be enhanced at the paint stage.


The engine is very basic but it gives you a good starting point to build on. The joins between parts is quite hideous on the engine but overall the fit and shape are not effected - you just need some putty and plastic card.
Usual trumpeter. I was concerned about Trumpeters habit of smashing out huge ejector pin marks where you least need them but that hasn't been see much on this kit. The sparse detail on the engine is probably due to the fact that Trumpeter have closed up the detail (like they always do) and have supplied a basic engine for the modeler like me who wants to take it a few steps further and packaged the kit for the basic OOTB builder(though I would have thought that the people who approach the 1/24 subjects are looking to go deep due to the size).


Another project on the bench. See you with the next update and drop by my paint blog to get a look at the D9 progress in 2D.
I wish to get the fuselage and gun bay built-up so that I can refer to the detail in perspective for my painting as the photos show basically nothing.
A quick overview of the damage
The photographs below represent a period of time that may very well be 18 Months to 2 years. I am not sure , however I have studied this plane from a number of angles and chased up about 10 photos to make sure I can weather the plane correctly for the time of 1945 and also complete the details on my painting as well.

As you can see the details change across the images so I think quite a period has gome by. On the earliest photo I have (from directly in front), there is very little damage except for some tearing of the rear flap canvas. Both wing MG covers are in place and the cowlings are untouched.
The markings and wing-flap canvas really seem to take a beating, while the souvenir hunters steadily strip back the panels. The rear Swastika seems to remain in very good condition while the fuselage crosses fade to nearly 'see through ' by the last photo. Cowling paint remains in good condition but the fuselage and spine color has faded rapidly, probably due to the contractor delivery system that was in place by the end of the war. A main contractor would have sprayed the cowling cammo and another the rear tail, while sub contractors would have completed the fuselage cammo and markings with a more inferior mix.
Because we know this is a JG4 plane, the spinner would be painted in a black with a white spiral line and the rear tail bands would be black-white-black.
The model
The Trumpeter kit itself is OK but very basic. I picked up some additional details that will be suplimented with some extra scratch work mainly on the gun bay area, cockpit and flap damage. I will also have to add a little extra where the eye can see in the panels I am stripping back.
This kind of takes me back to the last FW190 I had to mod extensively for my Dragon and the Wulfe dio, though it was in 1/32 scale. Nearly 20 years ago now!

First up I had to mark-up the panels that I would have to remove as per the photo.
The plastic is quite thick, so these required a considerable amount of scoring, after which I will need to thin back the leading edges so they are the correct thickness. The surface detail is quite nice with all the rivets and panel detail that can be enhanced at the paint stage.


The engine is very basic but it gives you a good starting point to build on. The joins between parts is quite hideous on the engine but overall the fit and shape are not effected - you just need some putty and plastic card.
Usual trumpeter. I was concerned about Trumpeters habit of smashing out huge ejector pin marks where you least need them but that hasn't been see much on this kit. The sparse detail on the engine is probably due to the fact that Trumpeter have closed up the detail (like they always do) and have supplied a basic engine for the modeler like me who wants to take it a few steps further and packaged the kit for the basic OOTB builder(though I would have thought that the people who approach the 1/24 subjects are looking to go deep due to the size).


Another project on the bench. See you with the next update and drop by my paint blog to get a look at the D9 progress in 2D.


