Steve Ski
Well-known member
Prep for Painting
All of you AC builders will recognize my shortcomings right off the bat, so no sense in trying to hide em, onward.
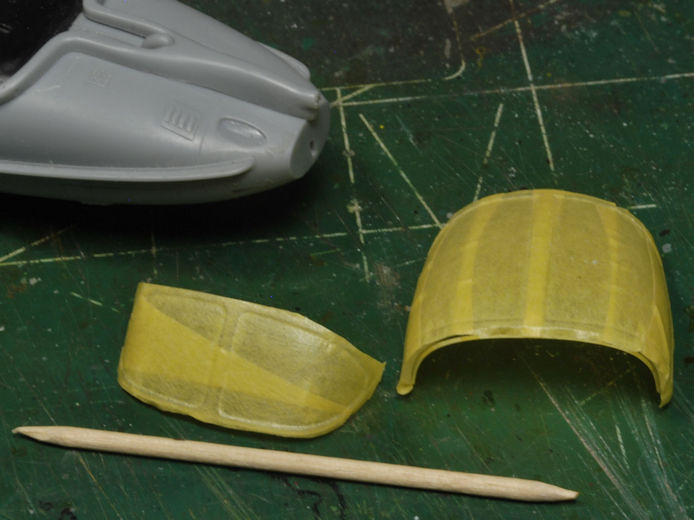
In an effort to keep this build moving along I stepped right into paint prep, and probably wasn’t exactly ready for it. Oh, I did get the canopy taped good and bomb racks installed ahead of the instructions, for good reason, but I didn’t fiddle with my airbrush enough. I’ll explain shortly.
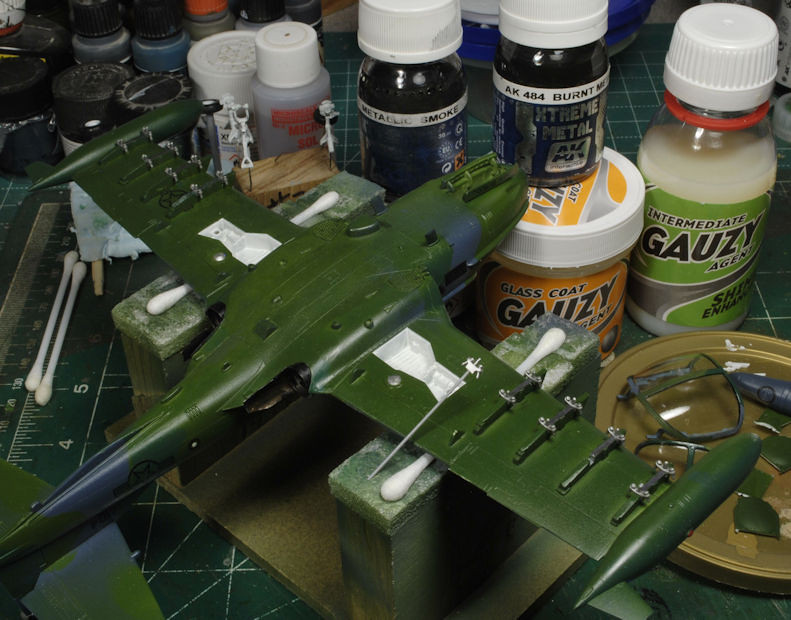
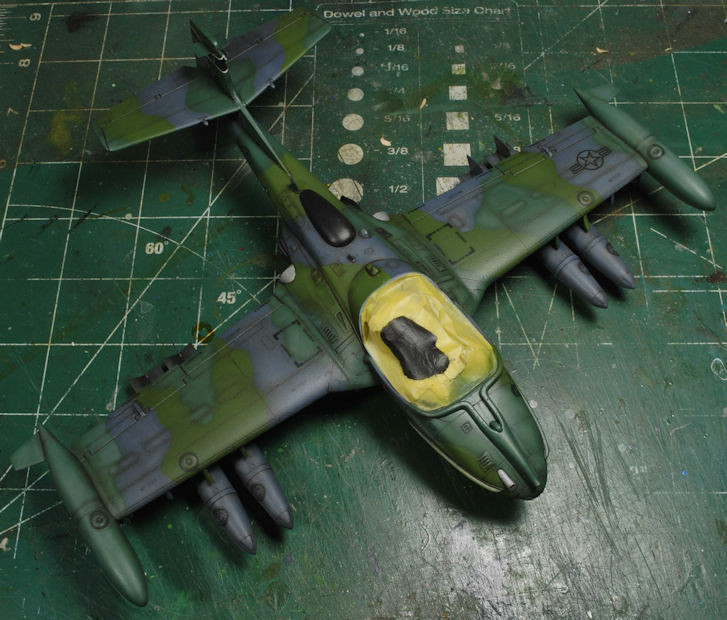
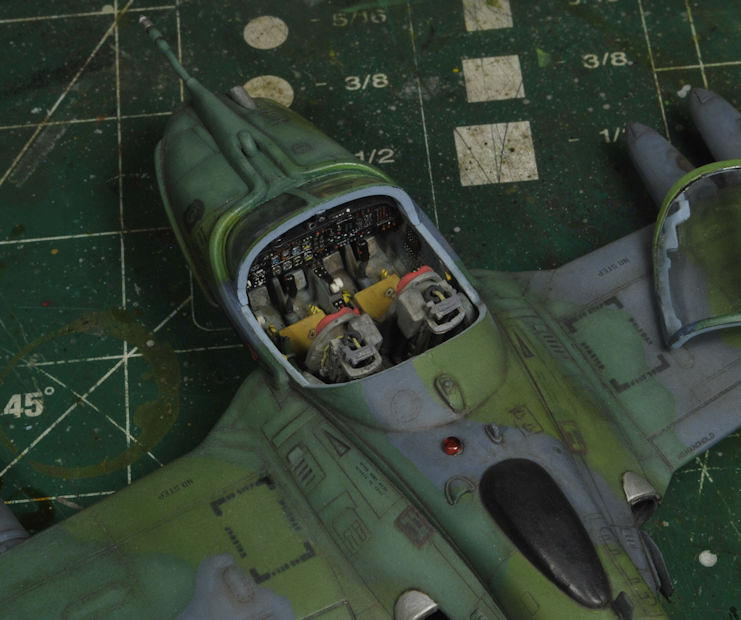
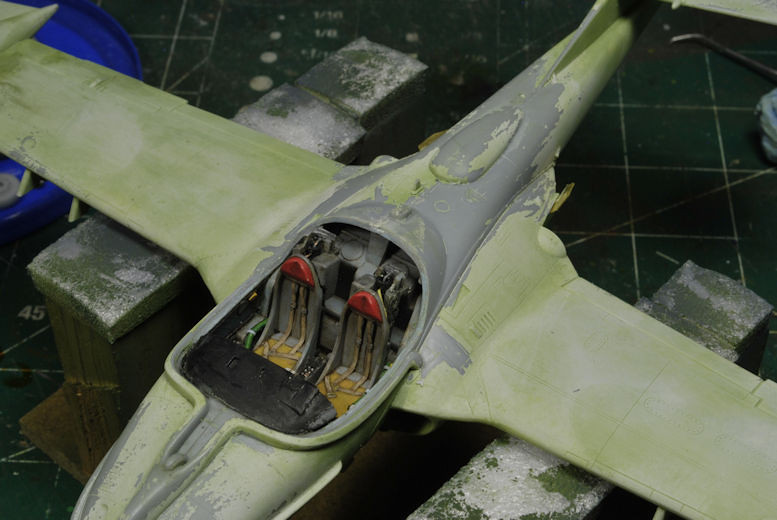
I added some foam into the cockpit to help alleviate overspray mess. I’ll soon find out how well that worked, but I think it’s fine. I had to sand off some edges of the ejection seats to get the canopy to even come close to sitting in a fully closed position. Normally this would be from the seats not completely set in the cockpit tub, but not here. Not sure what that’s all about, but I got enough taken off the top to work the paint session.
As you can see below, the racks are installed early, minus the bomb sway bolts. If you wait until the recommended step you’ll easily lose many of the small fuselage antenna parts that will get knocked off during handling as the bomb racks can be testy to install.


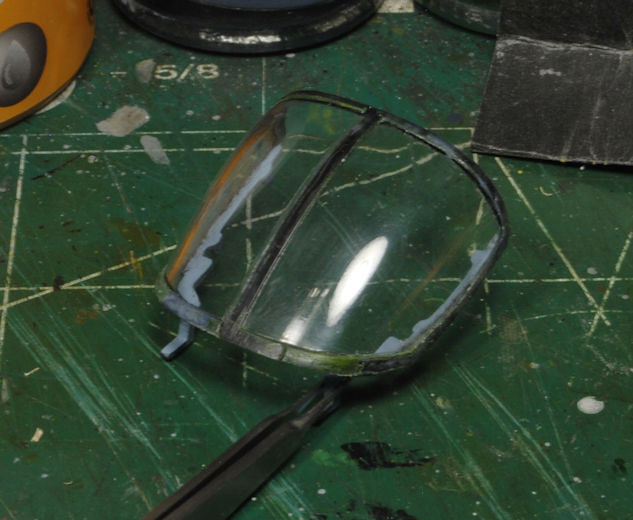
Why I’m feeling confident right now about no overspray in the cockpit is that I used very thin pieces of silly putty along the canopy sill since this canopy would not close completely. I made sure any oozing was cleaned off before the paint was applied. So far, so good, right?

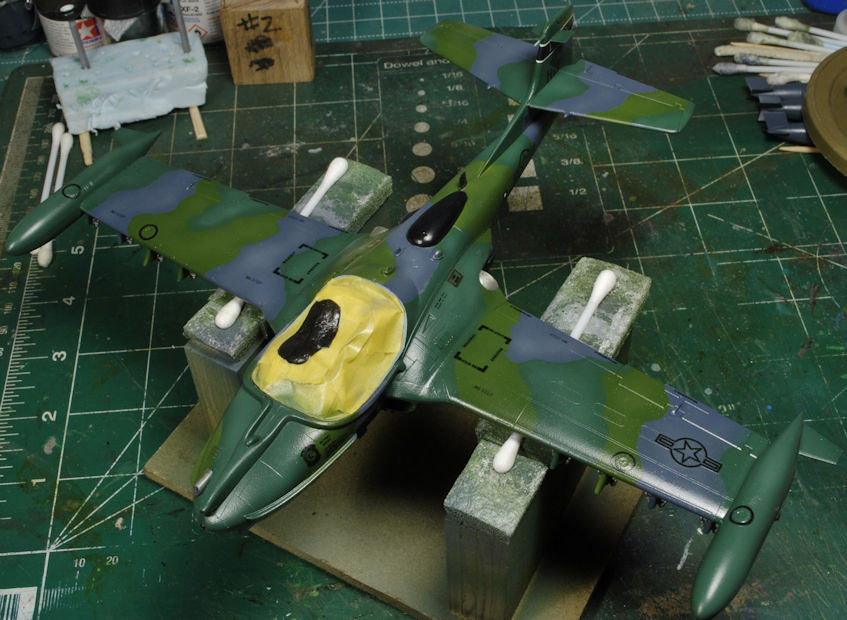
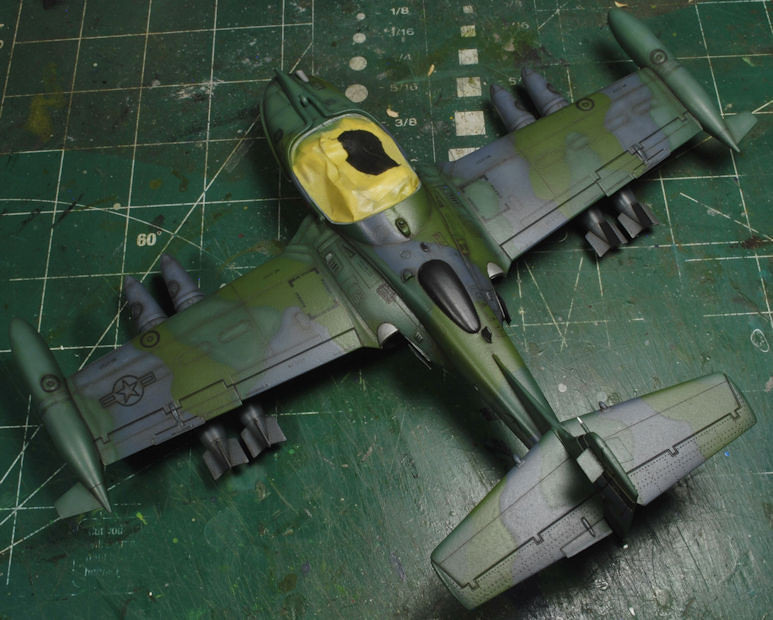
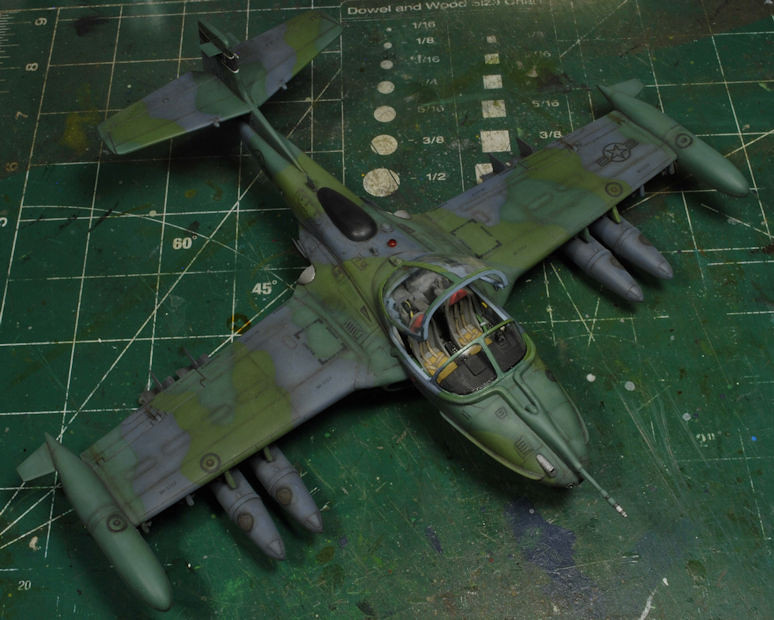
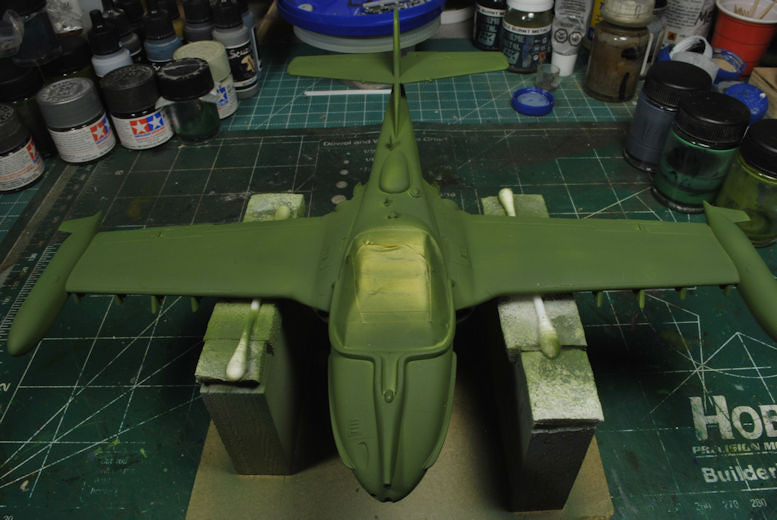
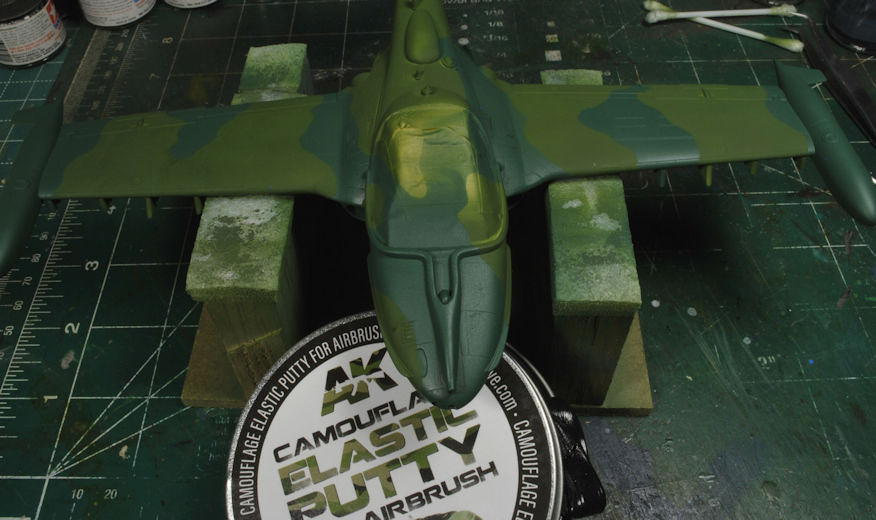
Then came the primer coat, no biggy, using Vallejo’s light grey, as I didn’t have any black primer on hand. The step I neglected was the panel line definitions after the primer, which is probably a good thing since my airbrush was spitting water. Yes, there is a condensation cup, water separator, but that was not making any difference. I switched to a smaller AB and didn’t have any issues once I began the camo pattern. Using AK’s elastic camo putty, I was able to get a decent rendition of the actual pattern we would have seen on the flight line in Panama, back in ‘85-‘87. I don’t have a ton of photos, but enough to get a fairly accurate idea of what colors went where.
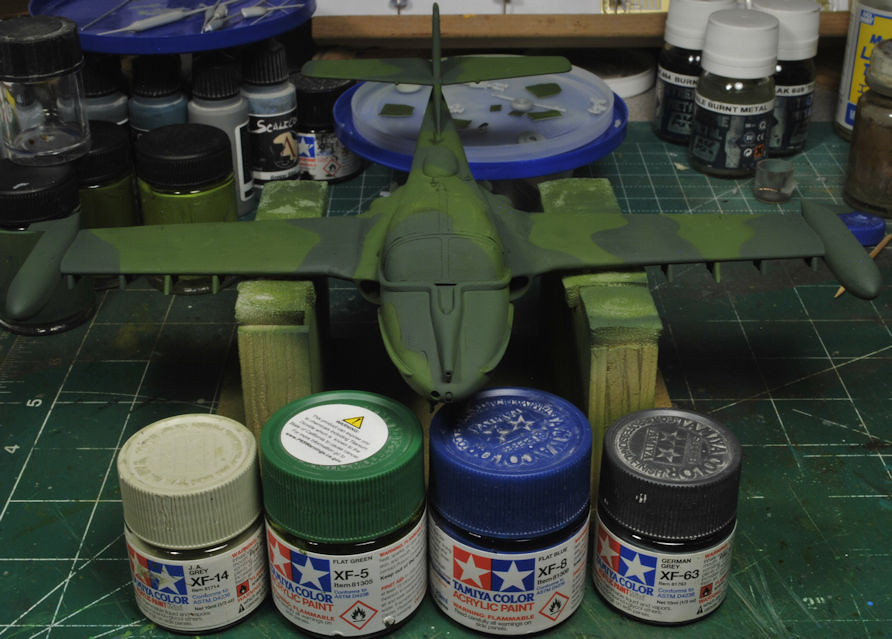
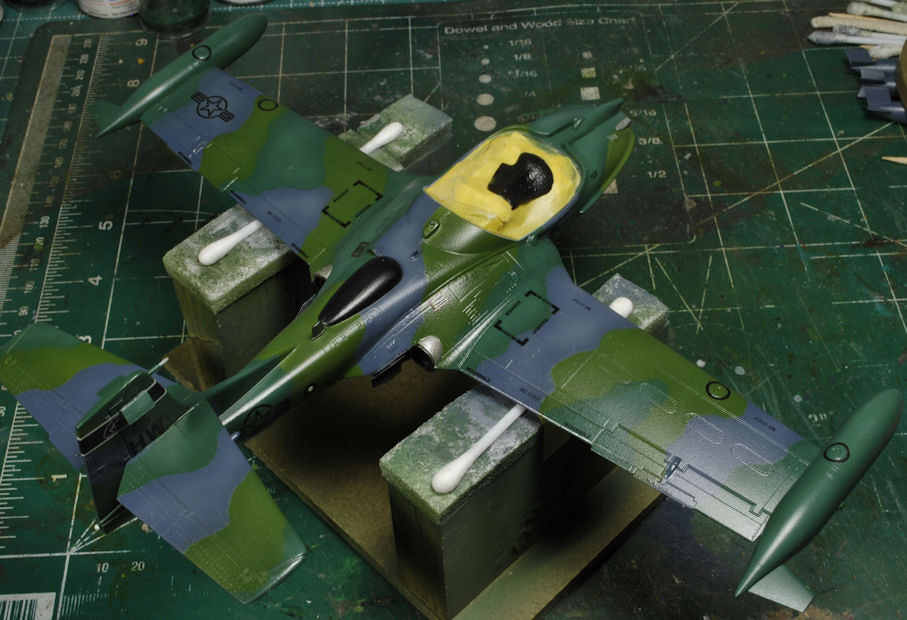
Using Tamiya paint and thinner I was able to get a decent layer placed on Tweety. I used XF-5 and XF-14 for the lighter green tone, XF-5 and XF-8 for the darker green, and I will be using XF-63 with a little touch of black for the grey tone.
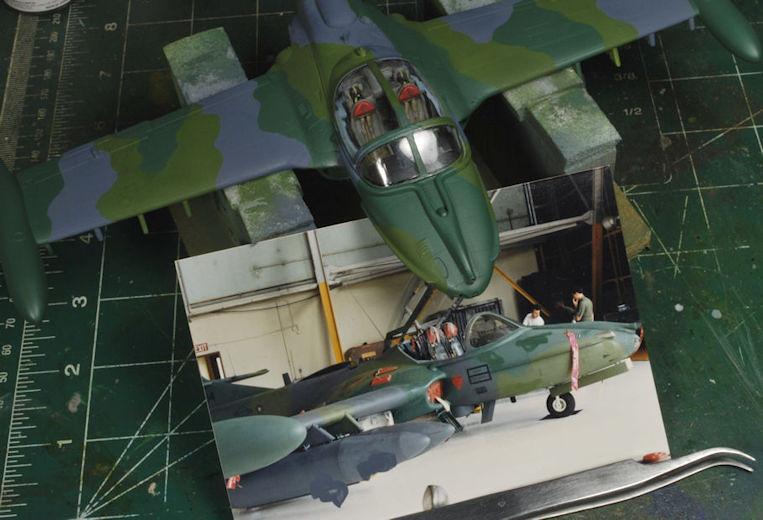
Now, having been 40yrs since I had access to the paint barn on Howard AFB, I had to mix my own tones. Some are thinking these are a little dark, but those birds all wore dark camo tones. The O-2A, UH-1N, and the A-37B all had the same paint colors and basically the same tyle of pattern, and they were all dark. The jungle down there is dark, so went the birds. BTW, there is some room for some very light color modulation on the wings and fuselage, but only if my airbrush cooperates. I will be making some test runs beforehand.
Oh wow, did I say 40yrs earlier? Yep, wow! I built a Revell Heuy while I was stationed there and had my airbrush with me, too, so the paint shop was more than happy to get me small quantities of paint for my project. Looking at that same Huey that is on the shelf today, I’m pretty close.
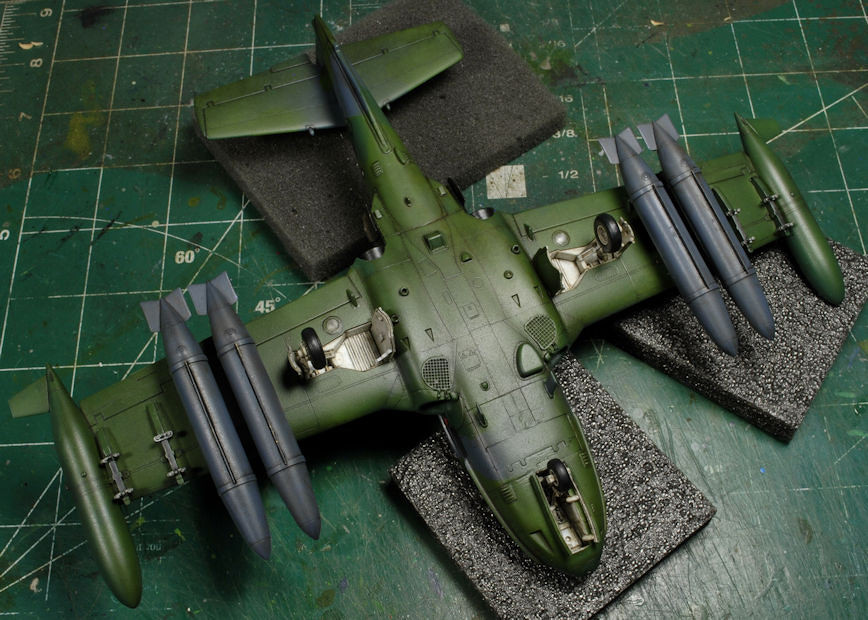
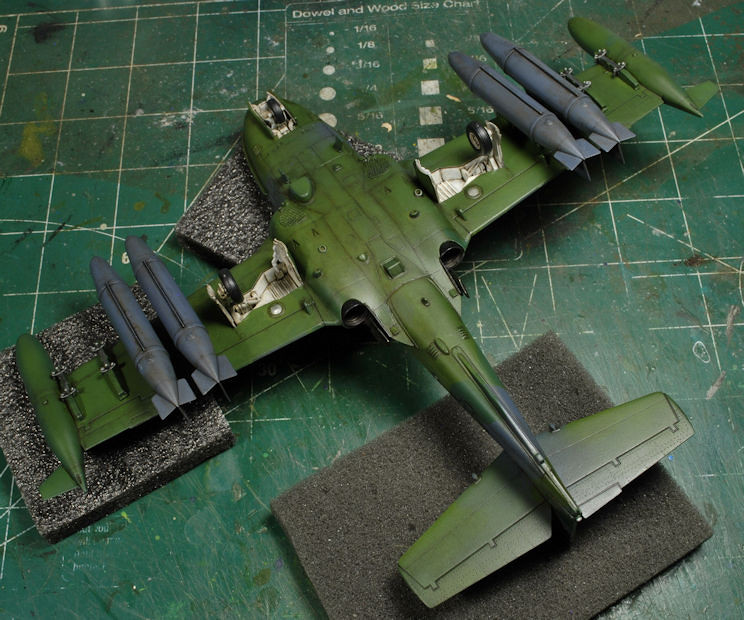
The grey tone will be tomorrow with modulation following. I’m no pro AB guy, still learning. Hopefully I will remember the final painting sequences so I’m not having to repeat any steps unnecessarily, and get to the landing gear, canopy install, and weathering phase soon.
Thanks for watchin. Cheers, Ski.
All of you AC builders will recognize my shortcomings right off the bat, so no sense in trying to hide em, onward.
In an effort to keep this build moving along I stepped right into paint prep, and probably wasn’t exactly ready for it. Oh, I did get the canopy taped good and bomb racks installed ahead of the instructions, for good reason, but I didn’t fiddle with my airbrush enough. I’ll explain shortly.
I added some foam into the cockpit to help alleviate overspray mess. I’ll soon find out how well that worked, but I think it’s fine. I had to sand off some edges of the ejection seats to get the canopy to even come close to sitting in a fully closed position. Normally this would be from the seats not completely set in the cockpit tub, but not here. Not sure what that’s all about, but I got enough taken off the top to work the paint session.
As you can see below, the racks are installed early, minus the bomb sway bolts. If you wait until the recommended step you’ll easily lose many of the small fuselage antenna parts that will get knocked off during handling as the bomb racks can be testy to install.
Why I’m feeling confident right now about no overspray in the cockpit is that I used very thin pieces of silly putty along the canopy sill since this canopy would not close completely. I made sure any oozing was cleaned off before the paint was applied. So far, so good, right?
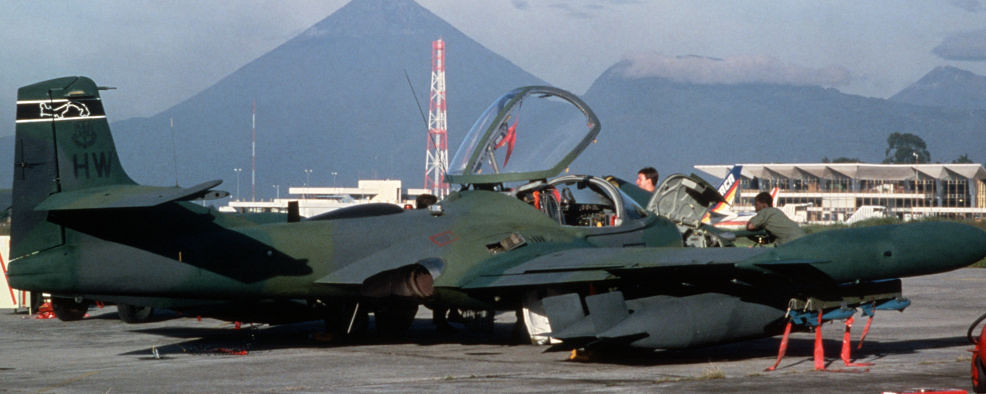
Then came the primer coat, no biggy, using Vallejo’s light grey, as I didn’t have any black primer on hand. The step I neglected was the panel line definitions after the primer, which is probably a good thing since my airbrush was spitting water. Yes, there is a condensation cup, water separator, but that was not making any difference. I switched to a smaller AB and didn’t have any issues once I began the camo pattern. Using AK’s elastic camo putty, I was able to get a decent rendition of the actual pattern we would have seen on the flight line in Panama, back in ‘85-‘87. I don’t have a ton of photos, but enough to get a fairly accurate idea of what colors went where.
Using Tamiya paint and thinner I was able to get a decent layer placed on Tweety. I used XF-5 and XF-14 for the lighter green tone, XF-5 and XF-8 for the darker green, and I will be using XF-63 with a little touch of black for the grey tone.
Now, having been 40yrs since I had access to the paint barn on Howard AFB, I had to mix my own tones. Some are thinking these are a little dark, but those birds all wore dark camo tones. The O-2A, UH-1N, and the A-37B all had the same paint colors and basically the same tyle of pattern, and they were all dark. The jungle down there is dark, so went the birds. BTW, there is some room for some very light color modulation on the wings and fuselage, but only if my airbrush cooperates. I will be making some test runs beforehand.
Oh wow, did I say 40yrs earlier? Yep, wow! I built a Revell Heuy while I was stationed there and had my airbrush with me, too, so the paint shop was more than happy to get me small quantities of paint for my project. Looking at that same Huey that is on the shelf today, I’m pretty close.
The grey tone will be tomorrow with modulation following. I’m no pro AB guy, still learning. Hopefully I will remember the final painting sequences so I’m not having to repeat any steps unnecessarily, and get to the landing gear, canopy install, and weathering phase soon.
Thanks for watchin. Cheers, Ski.
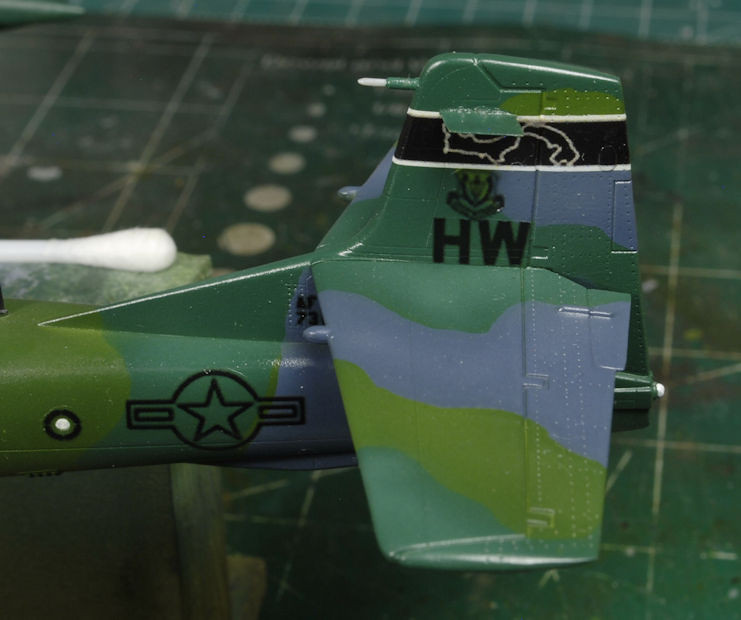
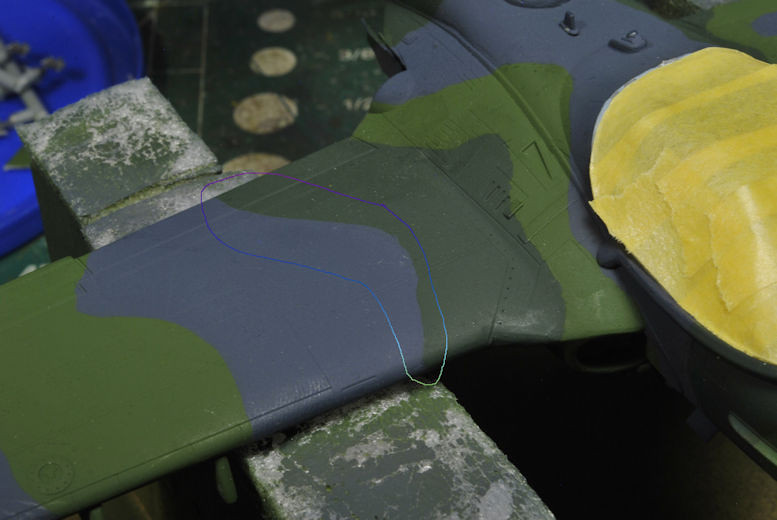
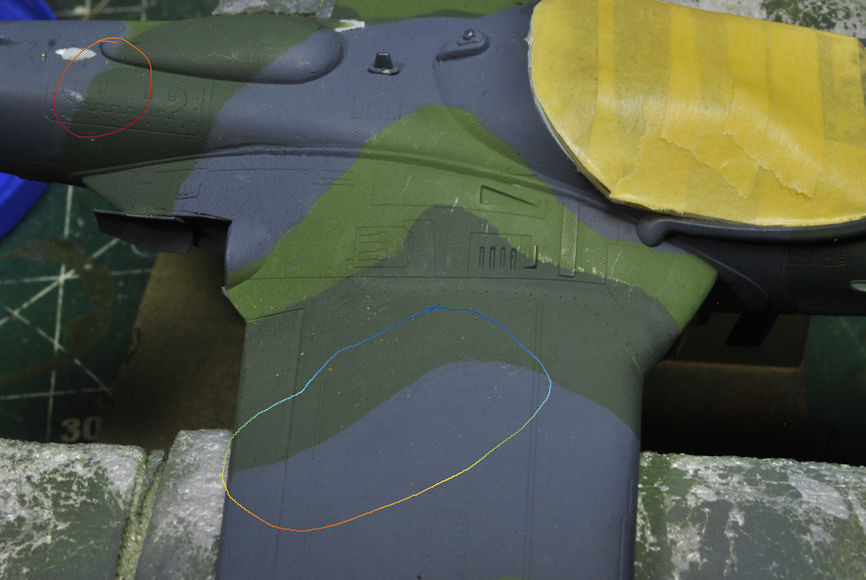
 This is actually an easy fix, as I can remove the camo paint and redo it correctly. Thanks for the added intel, Saul. I knew I was in a rush. I will see how best to remedy this issue.


 It's one of those things about being "anal retentive" that just never goes away, HA!