• Modelers Alliance has updated the forum software on our website. We have migrated all post, content and user accounts but we could not migrate the passwords.
    This requires that you manually reset your password.
    Please click here, http://modelersalliance.org/forums/login to go to logon page and use the "Forgot your Password" option.

Wildcat F4F-4 the sequel

Well, I'm a day late and a dollar short, but here are some pics for that whole intercooler mess. I smacked myself in the head when I realized I had the Aires 1/48 detail set:

Wildcat_01.jpg

Wildcat_02.jpg

Wildcat_03.jpg

Wildcat_04.jpg

And, fair use, educational purpose, etc- from the Detail and Scale volumes on the subject. Buy it now!!
Wildcat_05.jpg

Wildcat_06.jpg
 
I've never had much luck with that James, there's a guy down in Florida who still owes me some Piper Cub pictures.

I know this seems to be stuck but there is a method to my madness.

wildcat148.jpg


This is the rear end of the firewall where the intercoolers will attach. Several holes will be cut allowing the carb and intercooler ducts as well as electrical conduits. Some notches will be cut out allowing the exhaust ports to poke out. The edge of the brass can be sanded down to catch that slight curvature

wildcat149.jpg


The styrene assembly in the top right started out to be just a form for me to work the brass around but upon further review, and frustration, it will be used in conjunction with the brass parts. I was going to use this to attempt to press out the thinner brass to make it look like the pressed Stainless that was used. Can't seem to get the curvature or look right. So now I'm thinking of filling in the corner of the ring with filler and sand it down.

wildcat144.jpg

I took a piece of brass I'd been working on and wrapped a brass strip around the circumference and applied heat. Don't laugh at my hold down tool, yes, it's a compass and it worked very well thank you!

wildcat145.jpg

I got my lovely Bride to help with the picture taking on this one, you can see how the solder was running into the corner. Using a file to keep things flat and sound.

wildcat146.jpg

This is dry fitting on the F4F-3, the firewall and engine mount are installed inside holding the engine mount ring in place. I know it looks a little cockeyed but it's going to work out. Oh, remember all that brass work on the mounts? I cut them out. Too long, too far forward. Reworking that as well.

wildcat147.jpg

Here's the dryfit with the intercoolers and rear end of the engine. The wierd looking star looking thing is the part that will be sandwiched between the rear and front of the engine and then it will attach to the ring mount. OK, I can see from here it looks out of whack, I'll see if I can whack it around, seems like there's been a lot of whackin' going around.

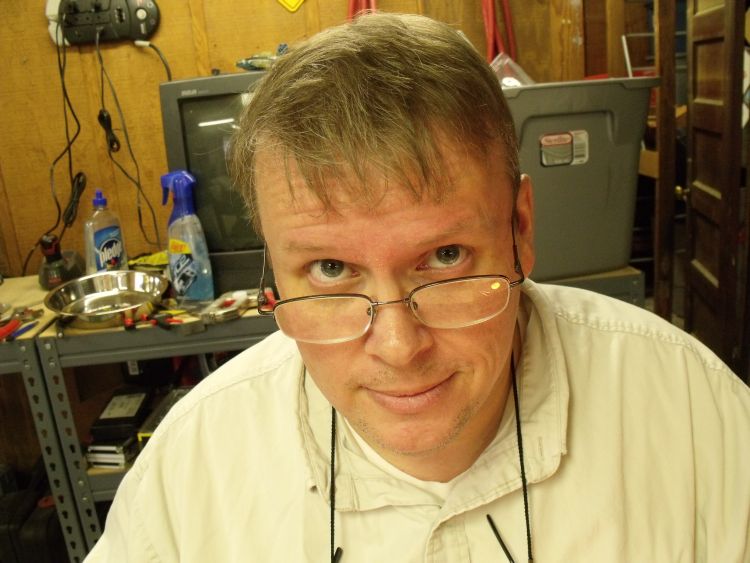
moonpuppy.jpg

And since my Bride had the camera in hand she snapped this, yes there's two sets of reading glasses..it's sad getting old.
 
Wow Chuck, I hit submit and I see your stuff! Thanks for this, that does give an answer to where and how the intercoolers connect. The bigger question is, just what problem does Aries have with 1:32?
 
For a second there I thought I was back in 1972 and looking at Roy DeSoto from Emergency!

:woohoo:

"Rampart, this is Squad fifty one, how do you read?"
 
Comparing reference photos, and looking at this Aires set, I'm thinking the exhaust was routed two different ways on the Wildcat between the -3 and -4. The collection manifold seems to be of two styles. one larger size that is mounted on the forward side of this firewall and a smaller diameter one that is mounted behind the firewall on the -3. That's the only way I can figure the discrepency between the photos I have. The other question is, why am I obsessing over this because i'll never even enter this in a show for competition.
 
Beautiful work man , you're taking a lot of care and applying a lot of ref. work , ............ it's paying off big time !!!!
 
I read with 1.5 readers, keep them on my neck (hides the red). I got 3.0 in the garage to work on the little things like push rod covers and such. For the really small things, I put them both on so i'm up to 4.5, just don't take any pictures when I do that!

Thanks for the kind words guys. Trick is going to be when all this comes together.
 
Got it! After much trail and tribulation, not to mention some invading hordes and playing catchup at work I finally got down and figured out what to do here.

Reworked the brass rods for the engine mounts. Engine will sit closer aft than it was going to, panels that were cut out should fit back in as a test of how close I am. Each rod does measure the same on the opposite side, within some +/- tolerances...

wildcat151.jpg


I know it doesn't look like much, and it really isn't that much to it, just getting to this point was a problem for me for some reason.

wildcat152.jpg


I know it's hard to make out but I got that pressed sheet metal look and curvature in there.

What I did was to take the part I made to act as a test/former for the brass piece I was working on. I started building up the corner where the inner ring mated with the disk of the firewall. Using strips of styrene and gobs of Tanex7 I melted in the styrene pushing it into the corner all the way around. Once I had it filled in I started laying in Mr. Surfacer 500 to fill in even further. When that cured I can back with the dremel on the inside pealing way what I had built up till I had a good inside curved surface, used the sanding sticks chucked up (thanks to Chuck for that tip a while back) and rounded the outside. On the inside I have enough gap to allow the engine mount brace to connect to the Engine Ring. Still have more clean up to do of the part before movign forward but couple of layers of Mr. Surfacer and some sanding should have it ready for some AlcladII Stainless Steel. After cutting out the duct work holes and various conduit pathways.

Speaking of cleaning up..

wildcat150.jpg

this is just too much, glad spring cleaning time has come around!
 
Well why didn't someone tell me there was a picamature of Bob here on this thread ? :idonno

Are you growing a goatee or is your face dirty ? :D

Jenny :kiss:
 
moon puppy wrote:
Nope, that was Sunday afternoon weekend growth. Cleans right up Monday morning.

I would call that every night when I come home (testosterone overloaded Latino)... :unsure:

Great work there!

Regards,
 
Saul I was bless with slow growth beard. Only tried to grow it out once and that was laughable.

Tom, Sherm, whachall been smokin and save me some!! :woohoo: :woohoo: :evil: No seriously, don't bogart!
 
Back
Top