• Modelers Alliance has updated the forum software on our website. We have migrated all post, content and user accounts but we could not migrate the passwords.
    This requires that you manually reset your password.
    Please click here, http://modelersalliance.org/forums/login to go to logon page and use the "Forgot your Password" option.

Trumpeter 1/32 P-40B. Update 8/26

fightnjoe

Well-known member
Trumpeter 1/32 P-40B. New project, familiar kit.


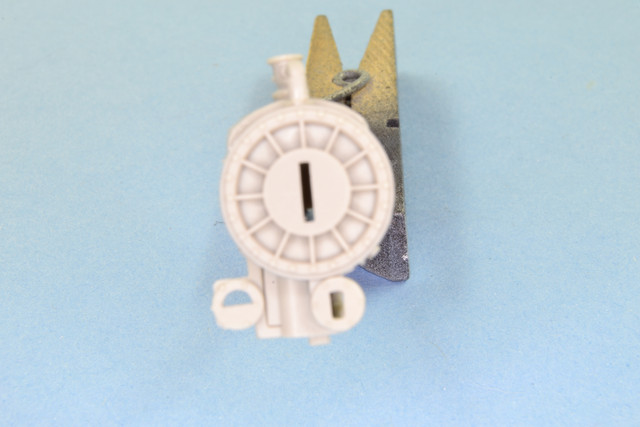
The project begins with the engine which has decent detail.


Now word of warning, the exhaust pipes are two pieces that are interesting to put together.

Next was paint.


Next is to add some more detai to the engine and firewall.

More soon.
Joe
 
Last edited:
Thank you MP.

Saul I have a question orfifty. Lets start with, in your collection do you have a wiring diagram for the B version? Second, what are the differences for the B versus E firewalls?


Joe
 
Some information...

1781667284467.png

1781667598001.png
1781668571435.png

1781668605208.png

1781668731239.png
]
1781668747226.png

1781668826297.png


XP-40 as in Feb 1940.png

1781669150406.png

More to come...
 
Trumpeter 1/32 P-40B. Well it has been a while. Three months.
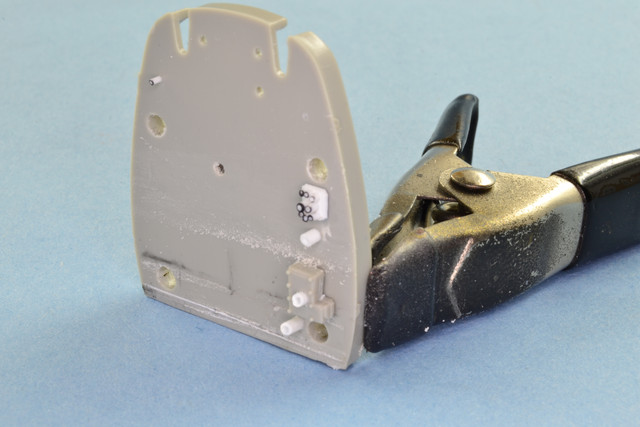
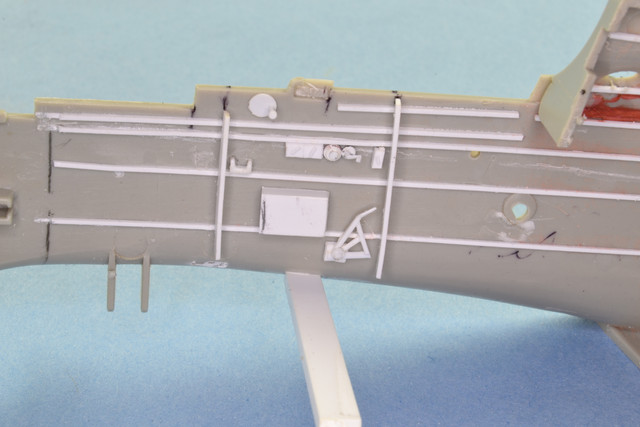
I have done a little work on this. I continued on the firewall and added some connectors for future plumbing. On the interior I framed out stringers, separate for cockpit and rear areas. I scratchbuilt some radio equipment and odds and ends for the cockpit.
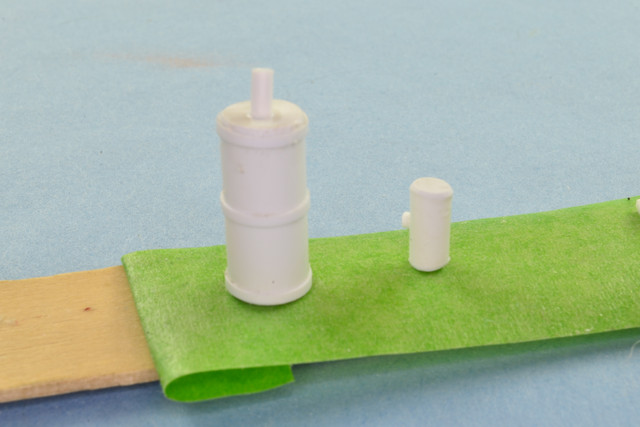
I scratchbuilt the reciever, dynamoter, and transmitter for the SCR 183. I scratchbuilt an oil tank and hydraulic tank. I cut open large sections for viewing. I scratchbuilt the fuselage fuel tank as well.

Pictures for your viewing pinstallation. Parts are white glued in place.


I am currently scratchbuilding the seat and it's frame. I have the bulkheads roughed out waiting for cleanup. Painting will follow and then the wiring/plumbing and equipment install. One issue I am having is finding pictures or drawings of the .50 cal ammunition storage forward of the instrument panel.

There you have it. Doesn't seem like much but very time consuming.

More soon I hope.
 
Back
Top