• Modelers Alliance has updated the forum software on our website. We have migrated all post, content and user accounts but we could not migrate the passwords.
    This requires that you manually reset your password.
    Please click here, http://modelersalliance.org/forums/login to go to logon page and use the "Forgot your Password" option.

Semovente El Alamein circa 1942 COMPLETE!

Semovente El Alamein circa 1942 Flat and Dirty!

You do know that these aren't Tamiya's standard decals ;) That's what I will keep telling myself as they look too nice to be kit issue.. Special boxing kits get special decals and they look GREAT!

Regards,
 
Semovente El Alamein circa 1942 Flat and Dirty!

These are from the first Semovente I built eight or so years ago,it was the Tamiya reissue that included link and length tracks as well. The decal sheet from this kit is yellowed and not useable,sure glad I saved first set. There are still a few left if you want them,Saul.
 
Semovente El Alamein circa 1942 Flat and Dirty!

Meanwhile, back in Africa, the Semovente waits patiently. I've pecked away at a few details in between rasslin' the Jagdpanther into shape and wanted to post some photos.

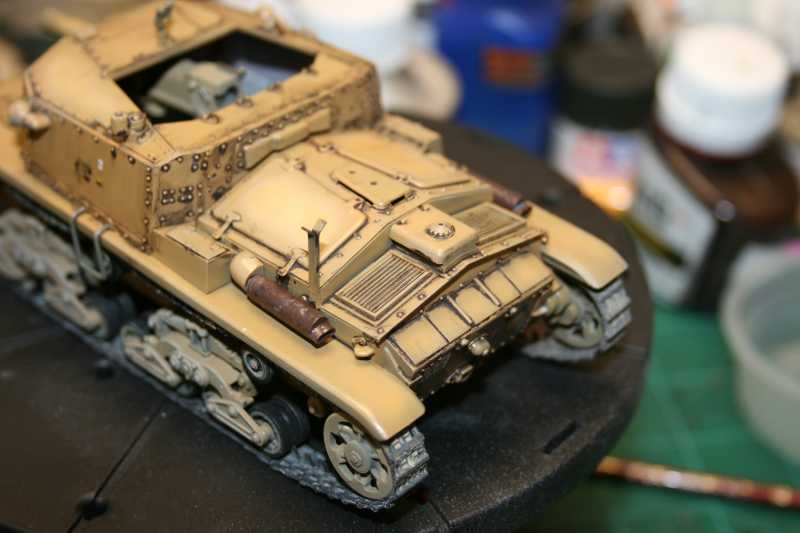
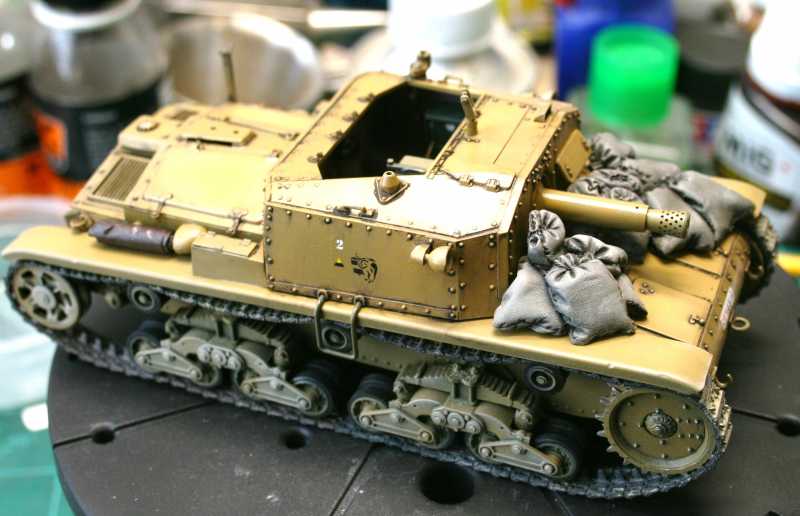
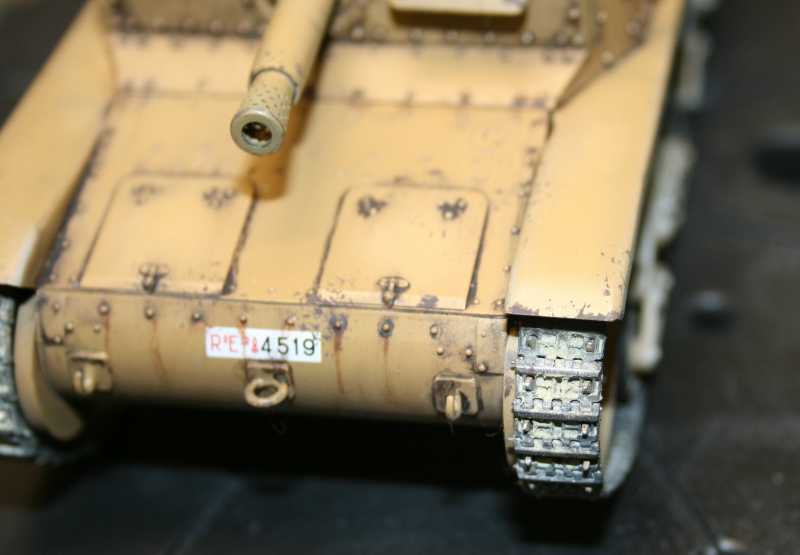
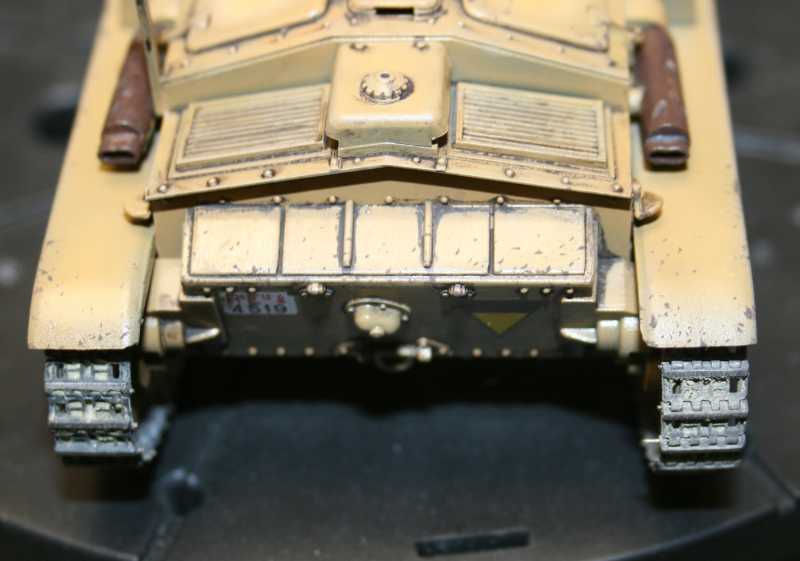
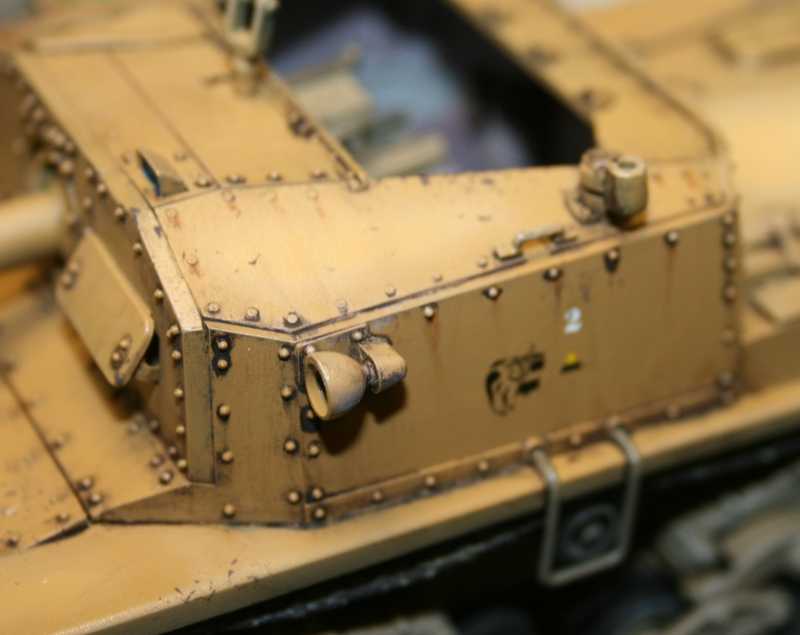
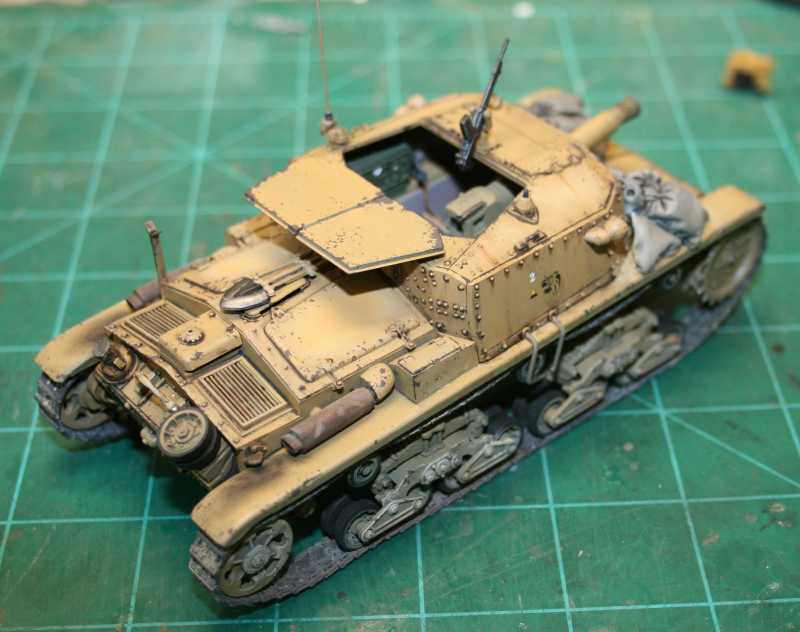
I shot clear over the entire hull in preparation for the panel lines, rust streaks and chips.


h16707c0.JPG


hdabfad3.JPG


The panel lines are Mig's Dark Wash. I usually get carried away and have to clean up around the edges, but at least I know I hit what needed hitting. :laugh:


h5123573.JPG


h39f45a4.JPG


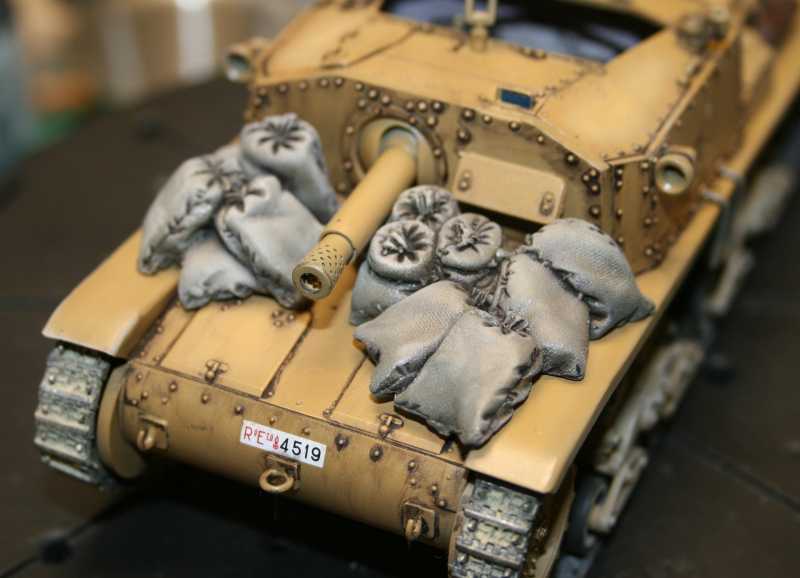
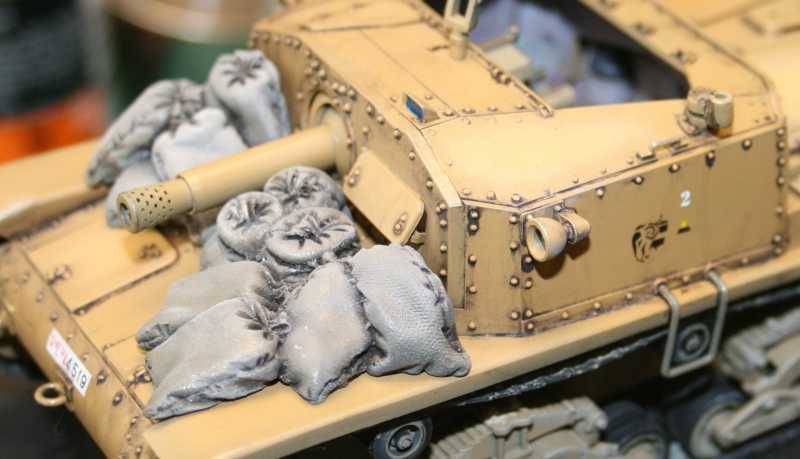
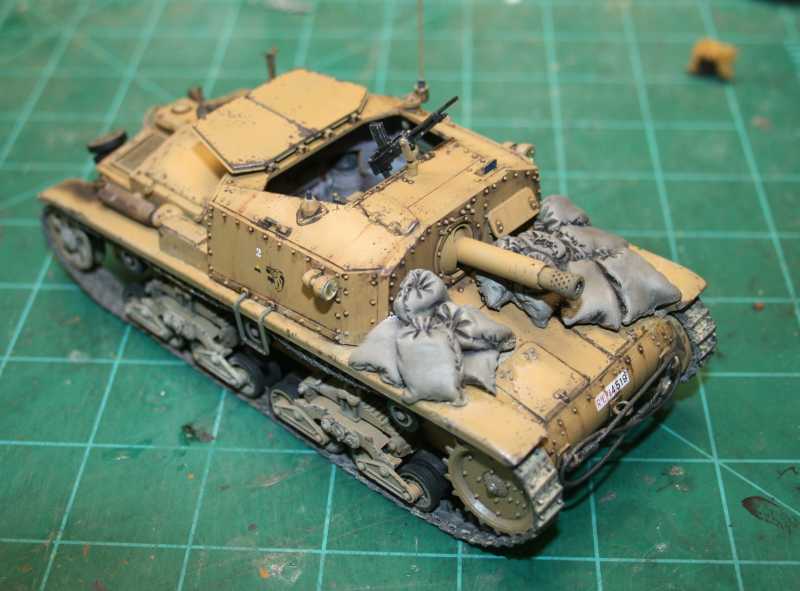
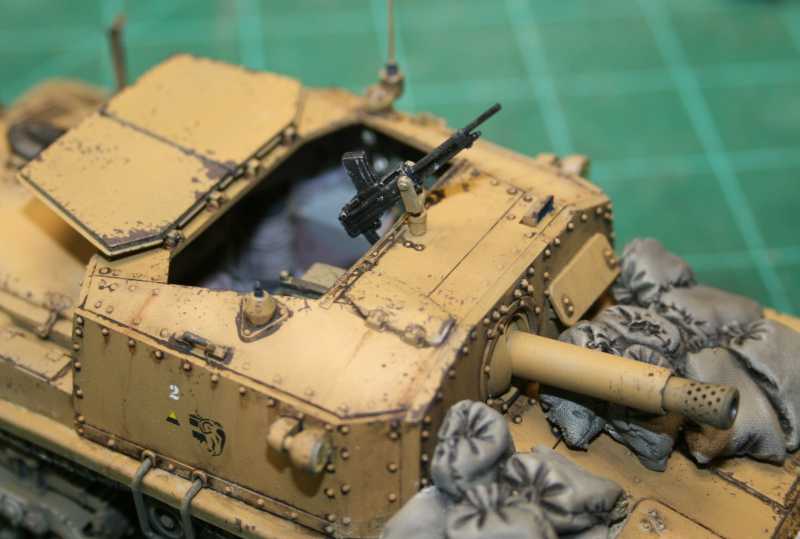
Sand bags mocked up to see what it looks like. :eek:hyeah

hf90de54.JPG


h339e32e.JPG


h09ee2f7.JPG


h9e2ee48.JPG


h7d6ee85.JPG


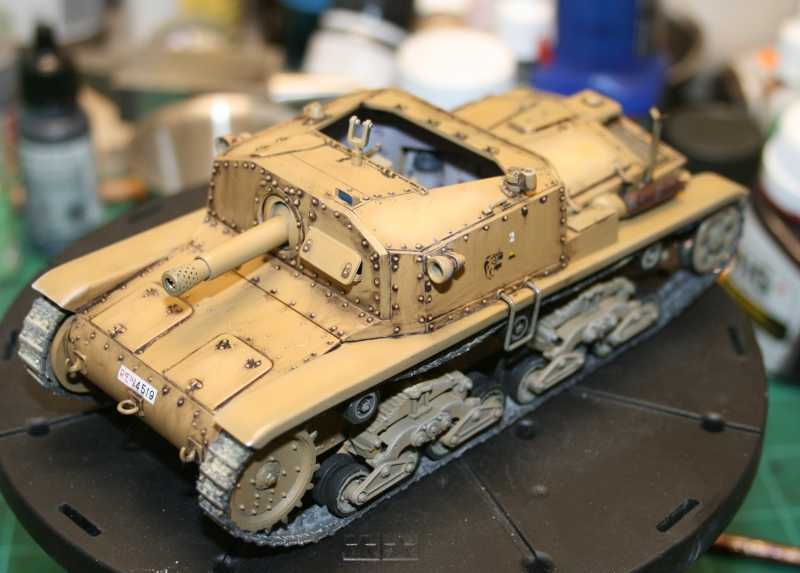
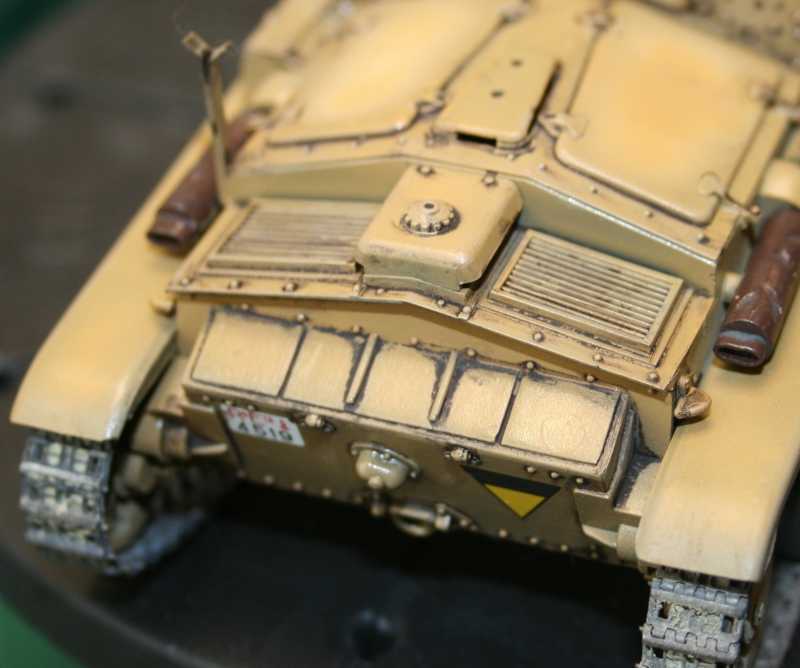
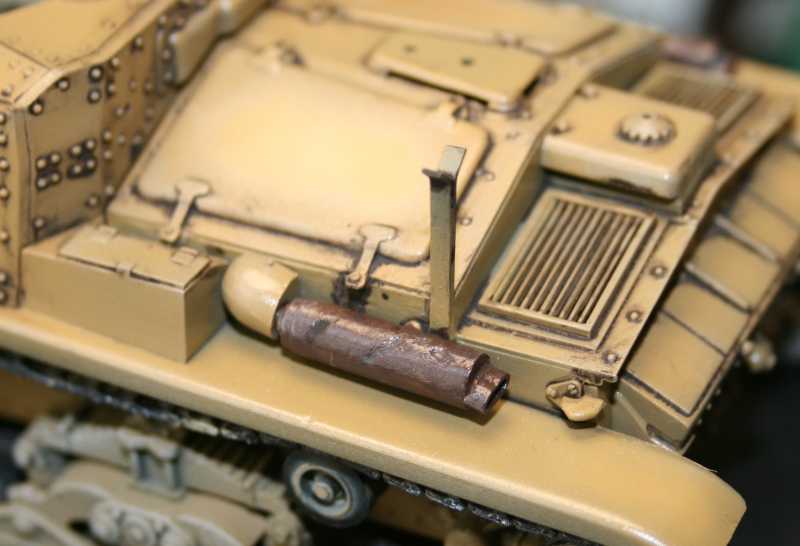
One of the cool things about the Mig wash is you can let it dry and still clean up tide pools and places you missed removing excess, I used AK Interactive's White Spirits since it had been a week since I applied the wash. If you try to remove the wash too soon, it wicks out of the lines. Humbrol thinner works well too. You can see when I cleaned it up more this morning in the later photos.

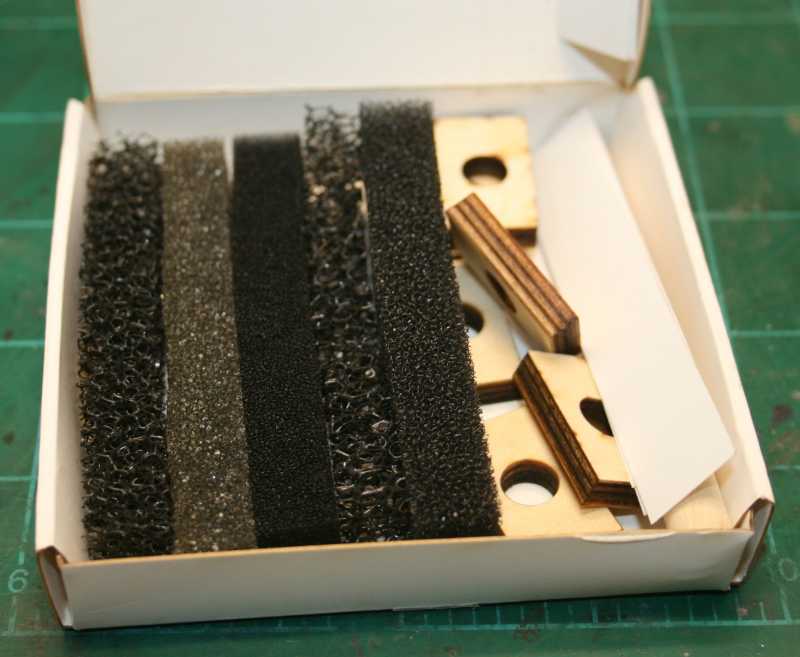
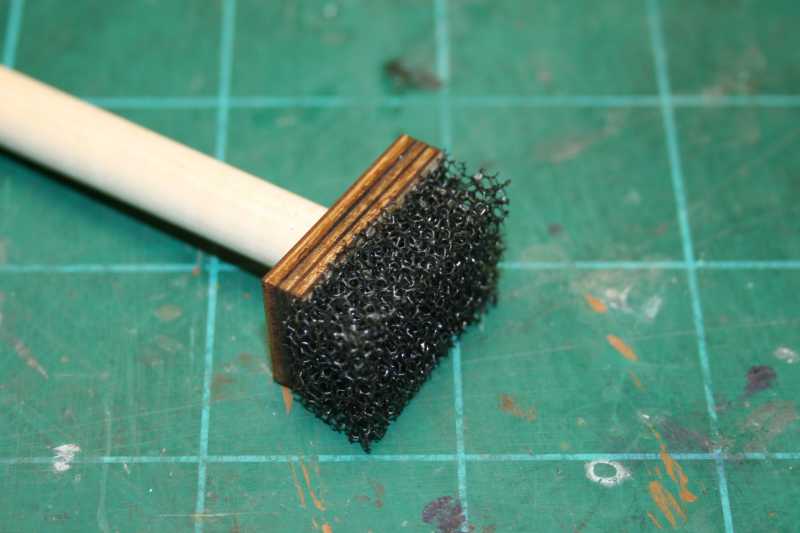
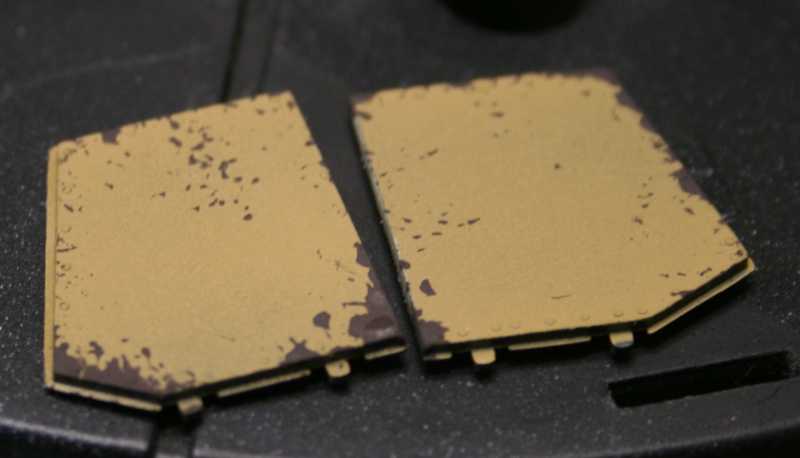
As anyone who knows me can tell you, I'm a sucker for tools. Last winter, I purchased a set of J's Work Chipping Tools. :ro:

h612afaf.JPG


The set consists of several sponges of different porosity, double sided tape, several wooden blocks to attach the sponges to and a handy dandy wooden handle.


hf5431d1.JPG


I assembled one to test it out.


hea05506.JPG


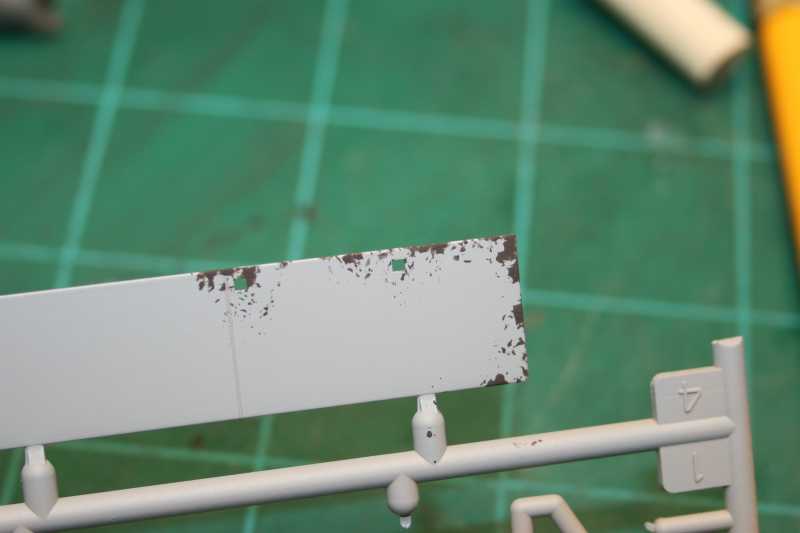
I had leftover schurzen from the JP, so I primed one to use as a test bed.


h8556256.JPG


Using your favorite mix of chipping color, dip the sponge in the paint, blot it on some paper or cardboard and get with it!


hb9b9274.JPG


h3adf496.JPG


hbe924e8.JPG


h75fad42.JPG


I worked around edges in places that would either had traffic on them or where they could be abraded. Next up, flat coat tomorrow. Thanks for coming by!

:drinks

Oh yeah, Happy Easter!

h6cb9d63.jpg


:rotf
 
Semovente El Alamein circa 1942 Flat and Dirty!

Thanks, Bob! Truth is, that sponge is probably available in less expensive, greater quantities, but it works well. Had to try it! :ro:
 
Semovente El Alamein circa 1942 Flat and Dirty!

That set came from MegaHobby. https://www.megahobby.com/products/chipping-effect-pen-set-js-work-models.html
The sponges can be reused if you blot the paint out of them and store them somewhere that will stay clean and not get misplaced on the bench. I figure to keep the new ones in their box and in the weathering tool drawer and the used ones in a ziplock bag in there too. :mpup
 
Semovente El Alamein circa 1942 Flat and Dirty!

Really digging how the wash makes those tickets pop Mike- this one is turning out to be stellar!
 
Semovente El Alamein circa 1942 Flat and Dirty!

Bloody hell dont these Italians ever was theyr tanks :woohoo:
 
Semovente El Alamein circa 1942 Flat and Dirty!

That set came from MegaHobby. https://www.megahobby.com/products/chipping-effect-pen-set-js-work-models.html
The sponges can be reused if you blot the paint out of them and store them somewhere that will stay clean and not get misplaced on the bench. I figure to keep the new ones in their box and in the weathering tool drawer and the used ones in a ziplock bag in there too. :mpup


Mike , are they different from what Hobby Lobby carries ?

Cheers, Christian B)
 
Semovente El Alamein circa 1942 Flat and Dirty!

As I said before, I'm sure there are other sources for sponges, this was convenient and I figured to try it. :ro:
 
Semovente El Alamein circa 1942 Flat and Dirty!

Thanks to all, I really appreciate your support.

:drinks
 
Semovente El Alamein circa 1942 Flat and Dirty!

Truth? One could gin one up from scraps for a whole lot less expense. But there's that convenience factor...
 
Semovente El Alamein circa 1942 Flat and Dirty!

Alright gang, we're getting down to the end. Yesterday, it was cold and rainy in the Carolinas, so I went to the bench. I tweaked a few places on the streaks and shot a very light layer of Testors Dullcote over the hull. After letting that dry about an hour, I started rubbing a graphite pencil on some of the areas that will be bare metal and installed the hatches. This kit came with molded headlights and there's just no way to make those look like anything realistic. SO, I used a round burr and my Dremel to remove the molded lens and installed a clear lens from MV Lenses. If you haven't tried these, they are AWESOME (and pretty cheap too).


he019e96.JPG


I attached them with a dab of 3M Quick Dry Adhesive and let them dry.


h7e782ac.JPG


Moving forward, I installed the sandbags.


h092750b.JPG


h4f714a3.JPG


h6116321.JPG


h64607e9.JPG


hcb2be04.JPG


h3c541e3.JPG


h4284717.JPG


I had to make an antenna because Tamiya did not include one, I made the base from two styrene discs and a piece of .020 brass wire. We're getting closer! Thanks for dropping by!

:drinks
 
Back
Top